Hey hey! Hope your week is off to a banner start!
I have been plugging away at the living and dining room trim. Let me tell you, I can not wait until it is done. We’ll be looking at new trim around six windows, the front door and the new double French door on the side and molding and baseboards throughout. I’m making my way around the vaulted ceiling and weird angles all the while trying to wedge my ladder in between what furniture we do have strewn about. Whoever says Key West living isn’t always a party clearly doesn’t know a thing.
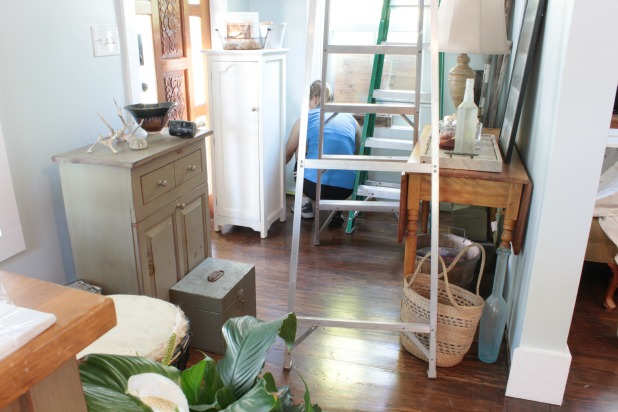
Like everything, it’s taking longer than I’d thought hoped like. But we’re getting there in little spurts of measuring, cutting, hanging, caulking and touching up paint (wall paint, trim paint and ceiling paint). And in between all of that, one other little item got checked off the ol to-do list.
It was actually the “next on the list” project before the whole book thing came along so it feels like it’s been a long time coming.
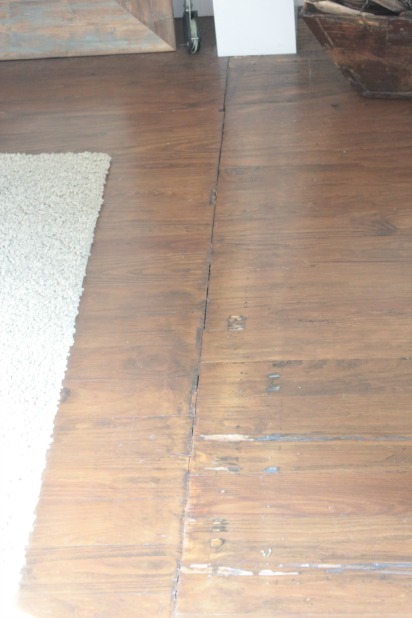
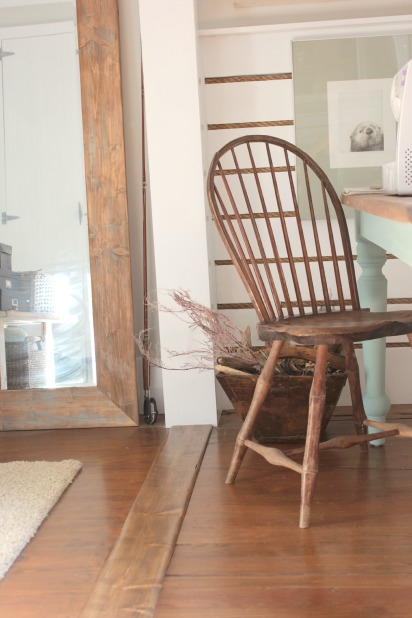
So, that’s called a saddle. I had no idea. I kept calling it a threshold. Which I guess is only the term when the transition is in a doorway. This used to be a doorway, to the old closet, before we started the guest bedroom transformation. But now it is just a spot in the middle of our guest bedroom floor where one side of the hardwood flooring ends and another side begins.
For a real flash back, here is that spot before, it’s where the sliding mirrored doors ran.
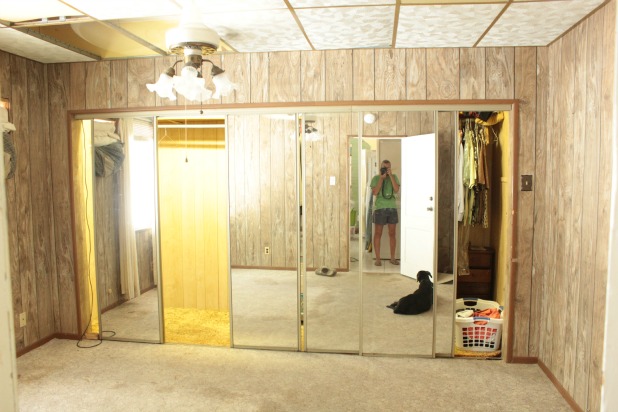
That closet was an add on and they somewhat haphazardly added the wood flooring so we wanted to cover up the gaps.
Enter the process of using a planer to make a saddle. The opening I needed to cover is about 11 feet long so I bought a 1 x 6 x 12 even though I knew that I didn’t want the saddle to be 3/4″ thick. I just thought people would trip over it at that thickness. (And by “people” I totally mean “me”.) So I called our contractor friend (the same one who raised our roof during the best weekend ever). His work shop is only a few blocks from our house so even though I called to get recommendations on how to best make the saddle the thickness I wanted, he offered to let me just bring over the 1 x 6 and my camera so he could run it through his planer.
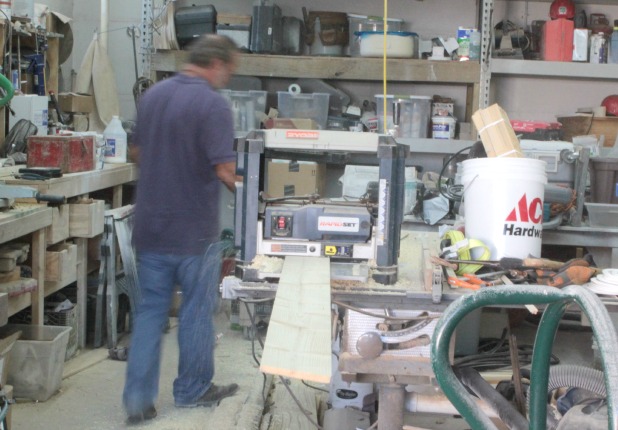
The whole thing took maybe 10 minutes. The planer really does do all of the work. Essentially you just shave off a bit of the board with each pass and we ran it through 5 or 6 times. You can see here how the board behind the planer is thinner than the board in front of the planer.
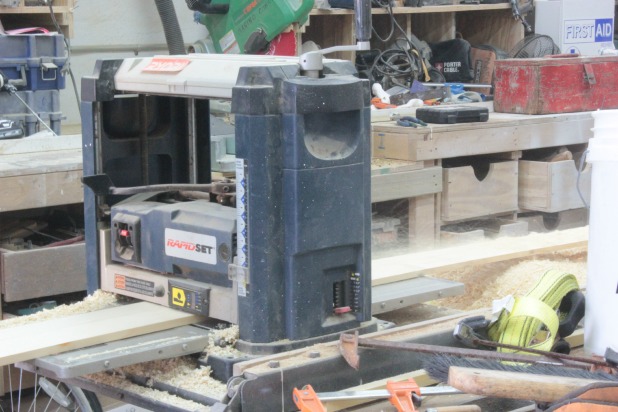
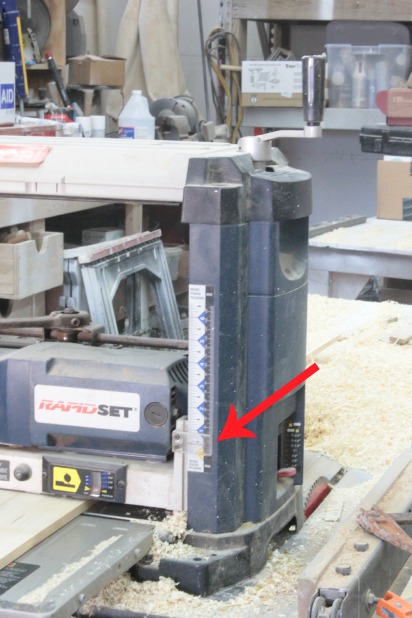
To plane down long boards like this you really do need enough space though. Essentially you need open area in front and behind your planer that is longer than the length of your board. Mike doesn’t keep his planer out at all times, but to set it up he just lowered the blade on his table saw and used that as a stand for the planer. He took off between 1/16″ and 1/8″ with each pass through the planer. The planer is easy to adjust with a hand lever and just follow the measurement guide that runs up the side.
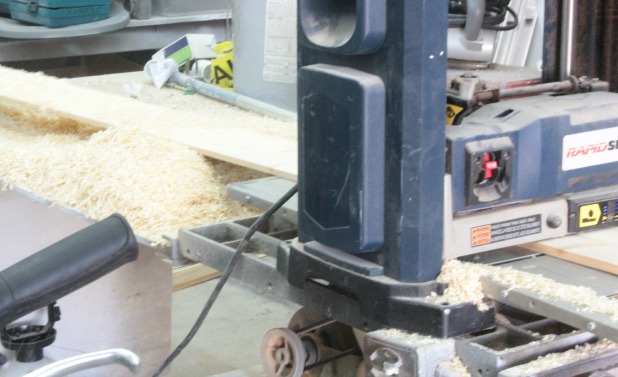
And be ready to clean up a mess since the planer basically takes your board and turns it into a pile of shavings and sawdust.
I may or may not have run off with my newly thinned board without even offering to help clean up. Sorry Mike! We brought it down to about a 3/16″ thickness and then Mike sent me home with his belt sander to make quick work of sanding it smooth and rounding the corners to create smooth edges. The edges were definitely a two person job with the power of the belt sander. I needed to keep two hands on the belt sander it while Joel held the board steady.
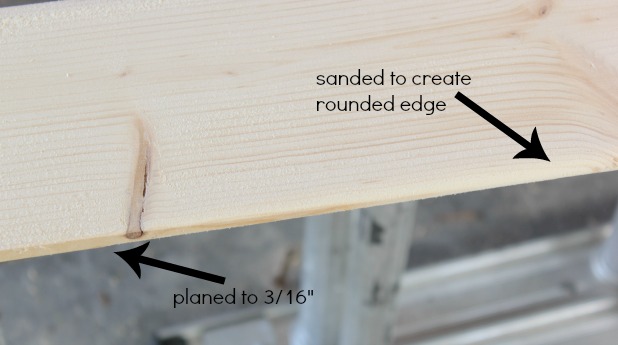
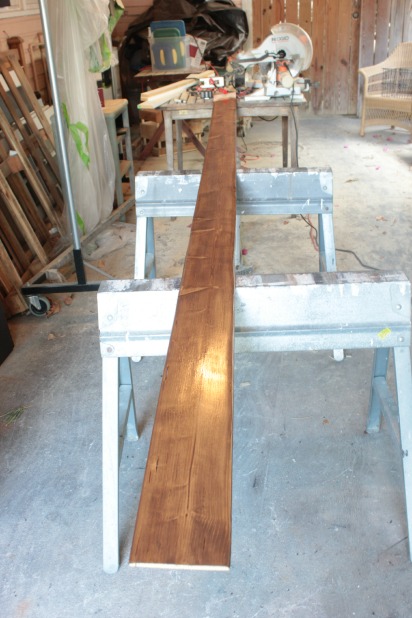
And then I followed the steps I took when I refinished the floors. I sanded it with a really fine grit sandpaper, 220 is the grit I used, I deglossed the board and then applied a coat of the same stain we used when we refinished the hardwood floors. Followed by 3 coats of polyurethane, putting my brush in some mineral spirits in between coats to prevent it from hardening, that’s a trick I learned from our local floor refinishing professional. Works like a charm.
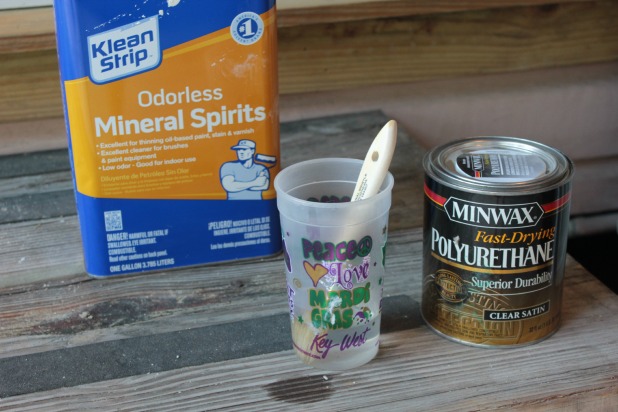
And here’s a confession, I just use a cheap paint brush. It says to use a good quality brush, but it’s basically a one-time use since you can’t really clean a brush after applying poly … and I’m too cheap to use a good brush for a one-time use. So far no one has seemed to notice. 
Install is as easy as cutting the board to length, I made the cut nice and tight because I didn’t want any gaps at either end so I had to use a mallet to wedge it into place and then I just secured it with a few finish nails.
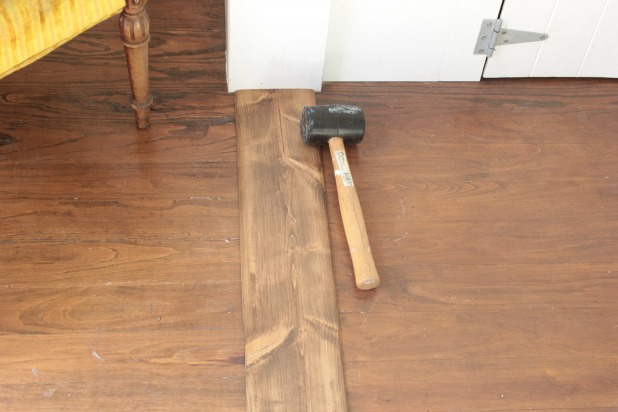
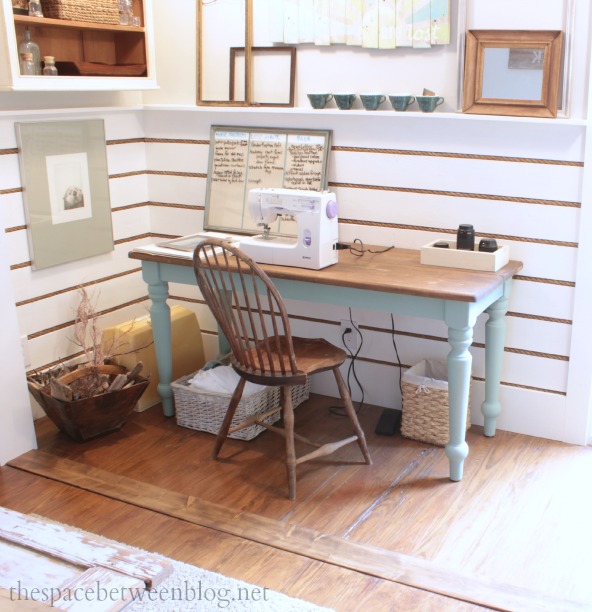
It is such a small thing, but really makes the room feel more finished. It’s so much better than the exposed seam in between the two sides of hardwood. And the 3/16″ thickness hasn’t caused any trouble, even though it is really close to my desk chair.
One step closer to actually finishing off that guest bedroom. All of the trim and touch-up in the living room has reminded me I never did complete the touch-up painting after I caulked all of the trim in there, dangnabit! And I have yet to make the curtains … but I show the fabric to everyone who comes over and everyone agrees they are going to be beautiful. #onedaytheywillbemade
Huge thanks again to Mike for the help and use of the tools. I can’t think of anything else I’ll need a planer for in the near future so it was nice to be able to borrow one. If you are in the market, though, here are a few options. One for about $200, one for about $400 and this one is just under $600.
And I am considering investing in a belt sander, it amazed me how quickly it just manhandled the whole board. A few options I like are here, here and here. The brand Mike has is Porter Cable, that’s the last affiliate link.
Now, have you been tackling any little nagging projects like this? Or steadily working toward completing something more like the trim project? I couldn’t blame you if you were just sitting around sipping margaritas either … let me know, I’ll join you.
For a few looks back at the guest bedroom transformation you can check out the before, removing two drop ceilings, insulating, building the room back, wall repair, drywall (and here), painting, repairing the floor, refinishing the floor, the DIY wall to wall closet, making wood slat doors. And if you’ve got a room ready for a bed you might want to read how to make a wood bed frame. Last but not least is our favorite feature, the rope and wood accent walls around my craft nook in the back corner of the room.