This post may contain affiliate links which won’t change your price but will share some commission.
***Have you entered the giveaway yet? Lynch Creek Farm is offering a $100 gift certificate to one lucky winner to shop on their site full of beautiful wreaths, garland and holiday accessories. Enter to win here.***
First, a huge, ginormous hug (sorry if you’re not a hugger) to those of you who gave me the heads up about that uncooperative ad that was showing up over our posts. Super sorry about that but I think I have it fixed. I think it was specific to tablets (ipads, kindles, etc), but if anyone continues to have any problems please just give me a shout so I can ring someone’s neck take care of it. Thanks!!
“Who knew I had it in me?”.
Those were Joel’s first words after he finished replacing the hardwood floors in our vestibule all by himself.
And just for clarity, it’s a vestibule because we’re high falutin’.
Remember what the floors looked like after we pulled up the carpet in there?
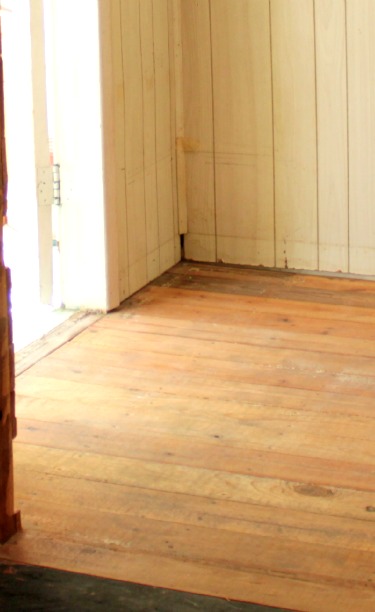
A few weeks ago I was busy installing the new drywall all around the front of the inside of our living room and vestibule so I suggested that he tackle the floor.
Drywall for me is the type of project that I can do all by myself, until it comes time to install large sheets up high. So I wanted him available but not in my way didn’t necessarily need his constant help. 🙂
Originally we considered keeping the old floor boards and painting them, even though they were a different width than the rest of the floor and whoever installed them just nailed right down through them.
But there was a little incident during the best weekend ever that left us with this.
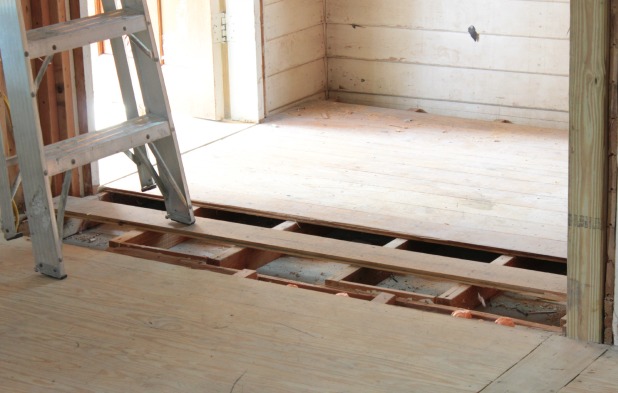
Whoops!
But we just went with it. Joel actually drilled through the now exposed floor joists to run the electric to the new switches right inside our front door that control the porch light, recessed lights and chandelier in the new vaulted ceiling. And by “control” I mean “will control” when all of those lights are installed. 🙂
In the end we just decided to buy the same yellow pine floor boards we discovered at our little neighborhood hardware store when we needed to do a little hardwood floor repair in the guest bedroom a few months back.
And while I was pretending to not notice, Joel installed the new hardwood floor like a boss. #ProudWifeMoment
First he had to use the cat’s paw to remove all of the nails to remove all of the old floor boards.
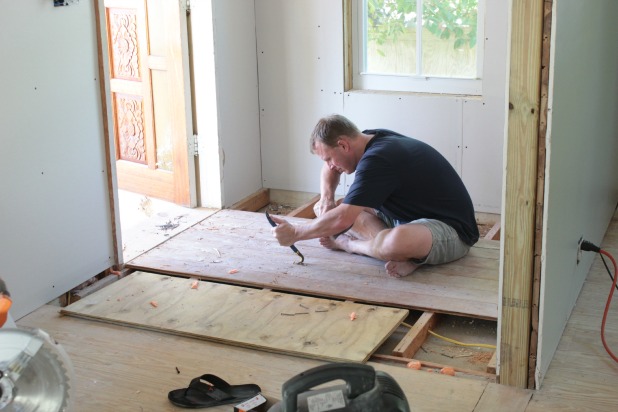
Let’s not focus on the stray flip-flop and bare feet and lack of safety glasses. No really, let’s not. Read up on our dumba$$ disclaimer for more detail. 🙂
With all of the old floor boards removed, supporting the first few rows of new boards proved to be the most challenging part of the project. You might remember we had two little walls right there that we removed?
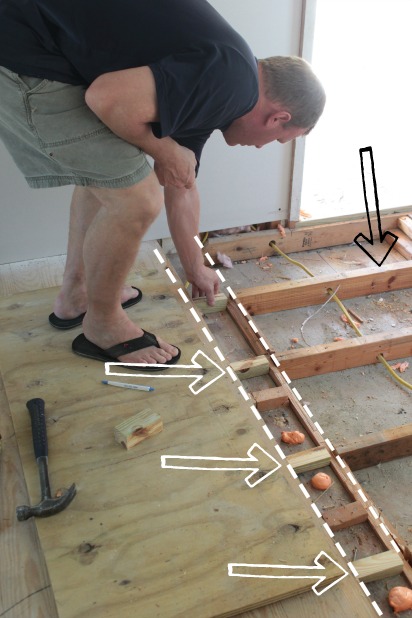
The white dotted lines show where the walls used to be and the white arrows are pointed to the blocks that Joel measured and cut to create supports for the new floor that would line up with the existing floor level once he got to the floor joists (black arrow).
He had a little process of putting a piece of wood in the old wall area and then setting a piece flat on top of the existing floor joists to mark where he needed to cut his blocks with the miter saw.
I was still pretending not to notice. 🙂
From there it was just a matter of cutting each new board to length and installing. We were lucky because our entry is only about 6 feet wide and the floor boards were 8 feet long so each row is one full board. We do have a decent amount of scrap, but I’m holding onto it in hopes of using it for something.
Here he is installing the first new board.
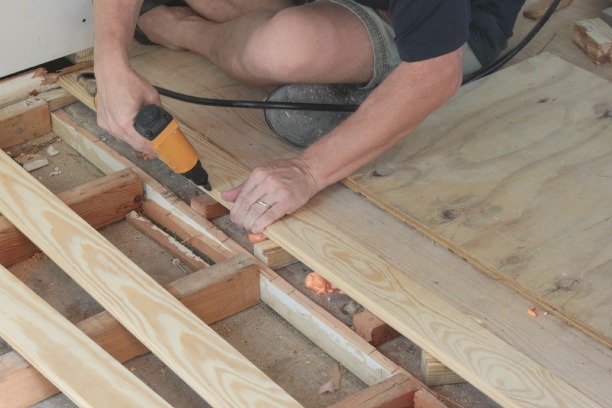
They are tongue and groove boards so he would just hold it tight up against the previous board and nail into the board just behind the tongue with our finish nailer.
Tip!!! Nail at an angle, leaning the tip of the gun toward the board your nailing (like the picture above) so your nails grab more of the wood and don’t come out below the tongue which will prevent your next board from installing properly.
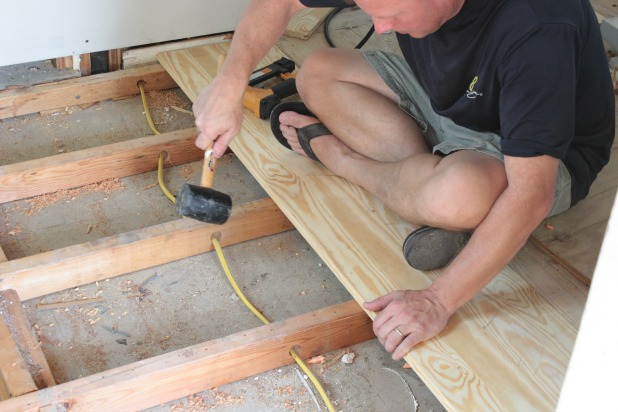
Some boards he had to nudge into place with a rubber mallet. One might want to use a piece of scrap wood to protect the tongue of the board, but Joel’s perfect mallet technique didn’t require it. 🙂
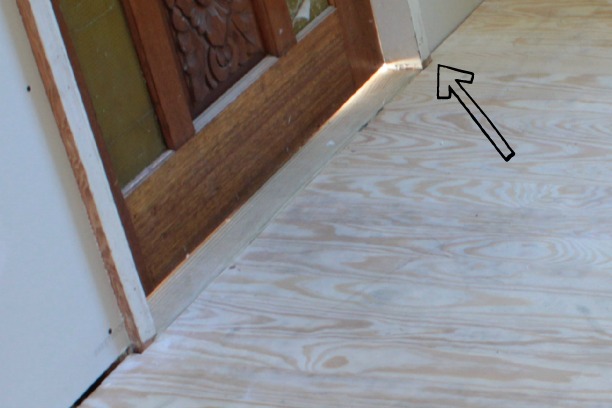
And he had to notch around one corner of the front door … the other corner miraculously lined up with a seam between two boards, no notching required.
I didn’t actually see this work happening, but you could notch this wood pretty easily with a hand saw or a jig saw.
For the last board, we ran it through the table saw to cut it to the right width and we used this same method to cut off the bottom groove for easy installation.
And even though the transition from the old floor to the new floor boards was obvious when he was done, we knew from our guest bedroom repair experience that it would all blend nicely after they were stained.
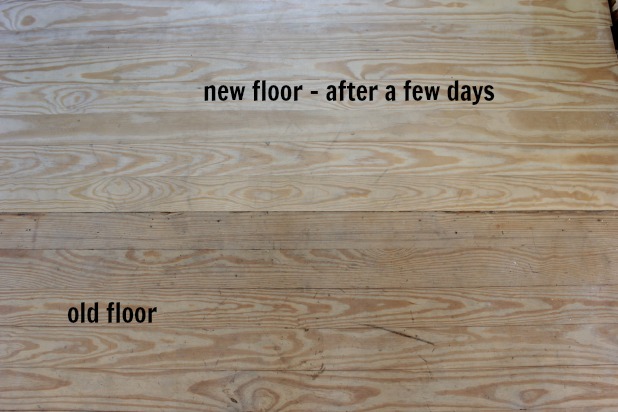
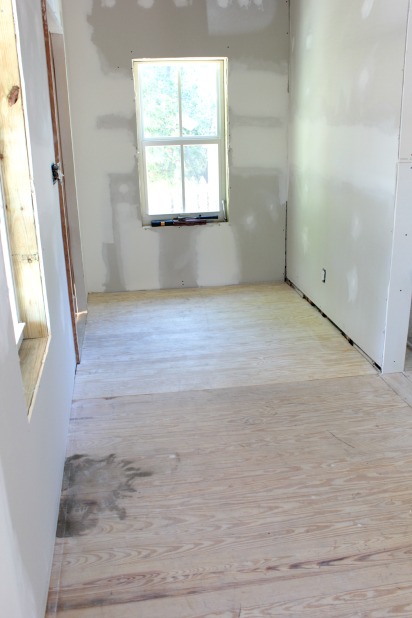
Here’s a little bigger picture of the floors before stain and poly.
And after.
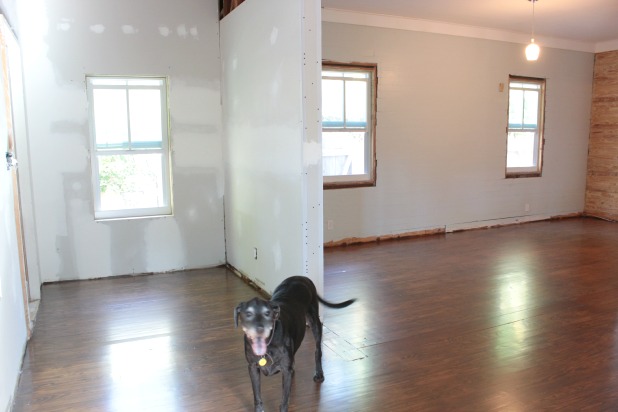
That dark line you see in the window reflection on the floor is just a shadow from the window.
And what she looks like today.
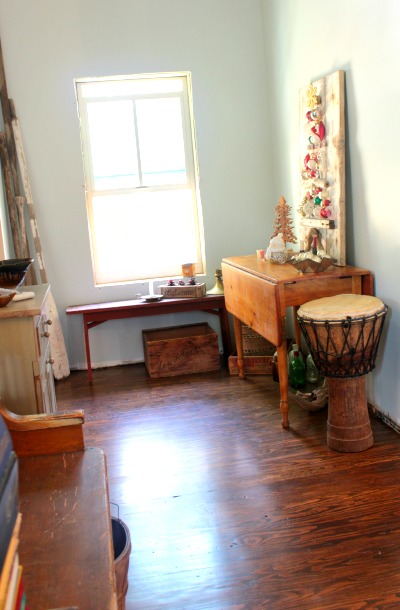
It’s definitely not completely unnoticeable, that picture actually seems to accentuate a color difference if you look just in front of the drum.
But in real life it is very subtle and since difference boards absorb the stain at different rates there is a lot of variance of color throughout.
How about a look back into the living from the vestibule.
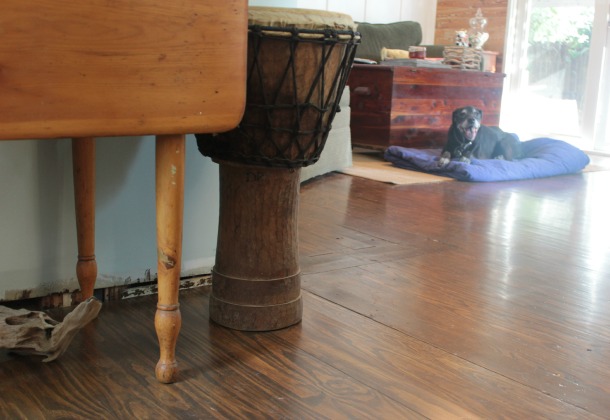
From that shot no color difference is apparent, but you can see a bit of a shadow where the last old floor board had been dinged up on the edge just over years of use. So, yeah, the look of it all together I think is pretty typical of what a hardwood floor in a 60-year-old would look like. 🙂
And one other fun little quirk in our floor is evidence of where the original wall was long before we ever bought the house. We first thought we would cover it up with some sort of wood threshold.
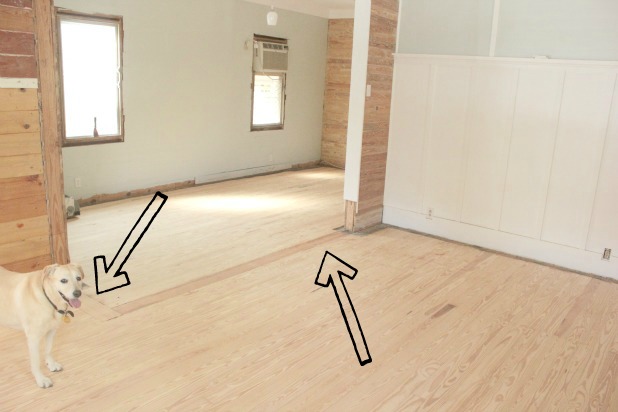
But now that it is all sanded and stained, we actually really like the ode to the home’s history and reminder of the evolution of the space.
It’s not something that immediately jumps right out at you, but we love seeing it there.

And to answer Joel’s question, I did. I knew he had it in him. 🙂

You can check out our other floor upgrades so far here, here, here and here.

cassie says
they look fabulous! and i also love the fancy pants word vestibule. 🙂
Karah says
fancy pants = us … clearly
Kelly @ View Along the Way says
Wow, I can’t believe how good that turned out! I love that stain color on the floors!
Karah says
Ugh! I think I have that resolved. Would love for you to check back and let me know. I am so sorry for that inconvenience!!
CeeCee says
Beautiful floors! Way to go!
Gina says
The floors look great! The pesky ad is gone……yay!
Karah says
Yay!!! SO glad it’s finally gone!!
Kelly @ Eclectically Vintage says
I’m sure you are jumping for joy on your wood floors – or maybe tap dancing?!
Kelly
shirley@housepitalitydesigns says
I am loving your journey of the house reno….the floors look great and I just love seeing “the girls”…
kc says
I was very interested when I read that he installed a hardwood floor, but then you said he used soft wood, pine, and indeed the pictures showed a soft wood being installed. For the record, softwood isn’t hardwood.
Karah says
Hi KC, thanks for checking out the post. Although it is softer than other hardwoods, southern yellow pine is considered a hardwood. If you’re getting reading to tackle your own flooring project, good luck! All of the concepts shared in this post would still apply.