the space between

upcycle, repurpose and reinvent your space

  • about
  • aruba
  • key west
  • curacao
  • projects
  • house tours
  • privacy policy

upcycling idea – a pallet project from the book!

August 7, 2014

Hey guys!!

Today is a little break from the master bathroom renovation project to share an actual tutorial from the book!

upcycling idea - diy pallet slat flag

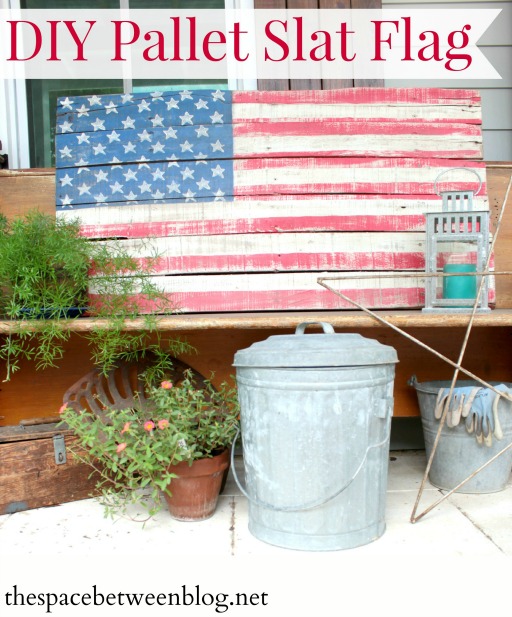
This is not like the pallet project fail I shared already. This is one of those upcycling ideas for a pallet that is simple to assemble, requires remedial painting skills (so I can do it!) and makes a huge statement. I love the rustic, aged feel of it, like it has weathered many a storm.

upcycling idea - diy pallet slat flag

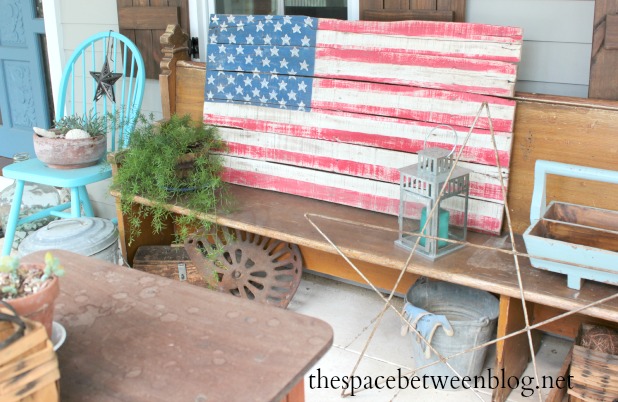
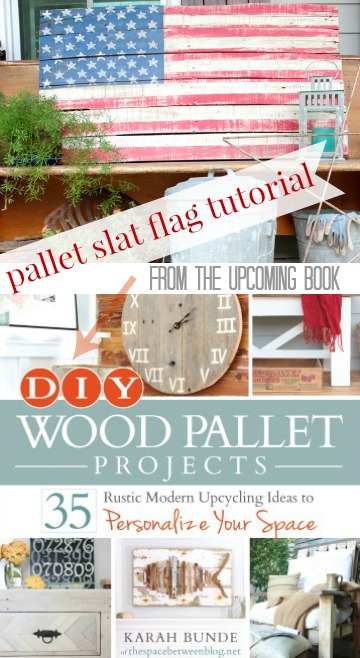
I couldn’t resist taking it outside to the front porch. You might remember work on the exterior siding, trim, painting and our new blue front door all happened in between my mad dash to create 35+ pallet projects for the book. Available for pre-order now here.

I would now like to draw your attention to the still alive plants on the porch! That succulent on the table (that needs to be refinished since random rain sprays are creating water spots) is holding on for dear life. But two of the three others that are in the pot on the aqua chair are thriving! Let’s not talk about the third one. 🙂  And that viney thing on the church pew must be impossible to kill. Hearty little guy. If you know what it’s called please let me know because clearly I need more of them.

The pallet slat flag is the perfect addition to the front porch just in time for Labor Day.

upcycling idea - diy pallet slat flag


As part of my contributor series on Remodelaholic.com I’m actually sharing the tutorial over there today. So hope on over to the post and check it out here.

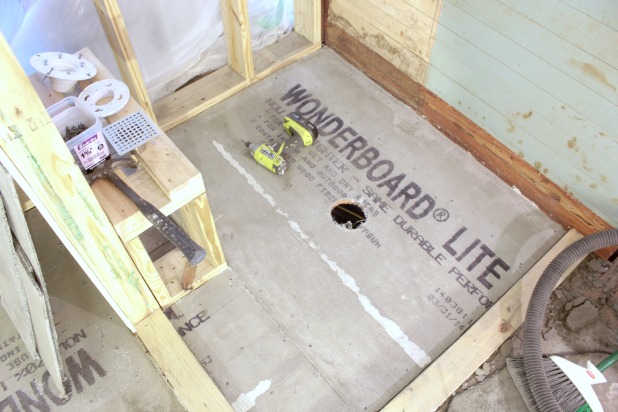
And if you’re looking for a renovation update, click on over here to get caught up. If you want to pre-order, the book is now available here.

how to DIY a shower pan {preparation and planning}

August 4, 2014

how to diy a shower pan - instructional tutorial covering all of the steps from start to finish

Hey guys! I took a little blog vacation last week that started off with my 38th birthday, a Red Sox baseball game (and win!) and meeting Nene Leakes. And ended with me declaring victory over the learning curve of how to DIY a shower pan. Thank goodness.

how to DIY a shower pan preslope

Other title contender’s for this post include “third time’s a charm” and “let’s talk about sand mix, baby”.

As in … let’s talk about sand mix, baby, let’s talk about you and me, let’s talk about all the good things and the bad things that may be … let’s talk abouuuuuut sand mix.

If we could start with the bad things …

how to DIY a shower pan

You know when you think you know how to do something. Then you research it. Then you think you “really” know how to do something. Then you keep researching just to be sure. And it turns out there are a lot of “right” ways to do something. And you’re more confused than when you started.

Yeah, that’s the story of me and my search for how to DIY a shower pan. I started out really confident, because I’ve actually DIYed a shower pan before that we then tiled. But I always wished I’d put more of a slope toward the drain in it so I started by researching the amount of slope to add.

1/4″ for every foot is the standard amount of slope to add to a shower pan. Easy.

But then I read about preslope. And the use of a liner, which some say is “sooo 1970s”. And the use of these corner clips, so you don’t have to cut the liner, which my local HD doesn’t carry in stock, but the do carry this shower liner adhesive. (aff links)

So, for anyone getting ready to tackle this project I would say do a fair share of research and devise a plan that you feel comfortable with. And here’s what I did, which is just an amalgamation (because I’ve been dying to use that word in a blog post) of a lot of different techniques I read about, watched videos for and got advice about from a plumber with 20+ years of experience. Who I reached out to only after I had messed it up twice. Ugh.

how to DIY a shower pan

Step 1: Preparation

Before you’re ready for any work on the shower pan liner be sure you have your shower area prepped and ready.

1. Make sure you have enough support under your house for all of the added weight of the mortar and tile. A good gauge is if you’re floor joists are only 2 x 6 or 2 x 8 you should beef them up with added support.

2. Make sure you have a solid 3/4″ subfloor. We have 3/4″ oak flooring but there were a few gaps that I didn’t like so I added a layer of 1/4″ cement board right on top of it (after I built the bench). More on that when we talk about tiling because we actually laid 1/4″ cement board over the entire bathroom floor, set with a little thinset and screwed in with cement board screws.

how to DIY a shower pan

3. Create a “curb” around the surround of your shower. You will most likely want the curb to be 4 1/2″ high (3 pressure treated 2 x 4s stacked on top of each other) but for this first step I just attached one 2 x 4 directly to our subfloor with my framing nailer. (I have this one and LOVE it.)  If your shower is larger you might need to add the full curb here as well as add boards in between your wall studs so you have the proper surround to hold in the shower pan mortar up to the appropriate 1/4″ per 1′ slope you will be creating. And I will want to come check out your extra-large shower for sure!

4. If you’re adding a bench in your shower now is the time to frame it. I just used pressure treated 2 x 6s and 2 x 4s we had left over from wall framing projects and created two boxes.

framing a shower bench

(You can see I didn’t necessarily do these steps in any particular order. You can see the gaps in between the floor boards in that picture above since we hadn’t added the cement board yet.)

Our bench is not large, and was really Joel’s idea as a nice feature suggesting it’d be a nice stoop for my leg shaving. Seems like someone might want me to shave those legs more frequently. TMI? #BlondeHairIsAwesome  It’s not often we get so exhausted in the shower we need a sit break, but it really does seem like a nice, upgraded feature. After I snapped this next shot I did add another 2 x 4 where that red arrow is.

framing a shower bench

5. Drill your drain hole. You will need an adjustable drain and drill your hole large enough so the flange sits flat on your subfloor, about 4″ in diameter. Add a little caulk under the flange and attach only that one part of the drain to your subfloor.

adjustable shower drain

adjustable shower drain

Tip!!!  If you attach your drain pipe here be sure to plug up the drain with a sponge or something so nothing falls in there.

6. Now clean your area thoroughly. Sweep, shop vac, hand mop, toothbrush … whatever you got.

Step 2: Preslope

We are going to thoroughly discuss the what’s and what nots when it comes to the preslope and quite frankly it’s just too much information to tack on right here. So that’s coming to you soon. Hold onto your hats!

Update:  The shower pan series is complete. Here are the other posts that might come in handy if you’re making your own shower pan.

  • how to make a preslope and if you even need one
  • installing a PVC shower pan liner
  • the final steps of the shower pan
  • how to prepare your shower for tile

And to see what direction we’re headed with the tile just click here.

And please tell me you’ve messed up a project, the same project, more than once. It feels crappy doesn’t it. But to overcome it. It’s kind of the best, no?!?!

  • « Previous Page
  • 1
  • …
  • 24
  • 25
  • 26
  • 27
  • 28
  • …
  • 169
  • Next Page »

Copyright © 2025 · custom theme design by this bold girl · Built on the Genesis Framework 

  • pinterest
  • facebook
  • instagram
  • rss