This post may contain affiliate links which won’t change your price but will share some commission.
Happy happy Tuesday everyone!
I hope you all had an awesome holiday weekend. I am so seriously excited about how all of the roof work turned out I can hardly stand it. I keep saying “It’s like a whole new house” which is followed by Joel’s “Have you seen the rest of the house?” which I shut down with “Don’t step on my happy!” to which he concedes “It is pretty fricken awesome” which brings us full to circle to my “I know, it’s like a whole new house!”.
And so it goes.
But honestly, I have never been so excited about any change we’ve ever made to any house.
Ever.
And it doesn’t diminish my joy in the least that we didn’t actually make this update ourselves. We could have never accomplished what these guys made happen in two short days and we are so incredibly thankful they agreed to take on our little project in the midst of their “real” work … and over Labor Day weekend to boot.
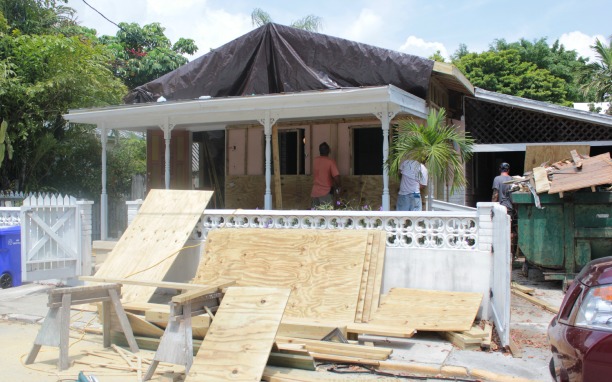
True, they’ve left us looking a bit like we’re squatters in a house wrapped in tarp and plywood, but on so many levels leaps and bounds of progress has been made on this little house. And the forward momentum potential that is now opened up is enough to keep us going amidst the chaos and overwhelming desire to renew our tetanus shots.
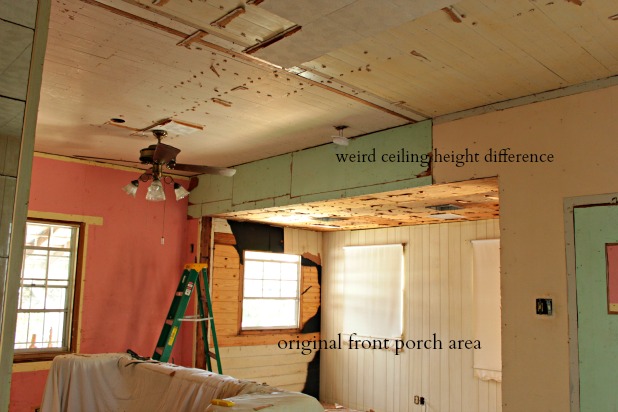
I’ve mentioned a couple of times that we had grand plans to change the roofline for the front of our house in hopes of accomplishing 1) any shred of curb appeal and 2) ceiling unity in the living room and entry. No more weird lower ceiling right when you enter.
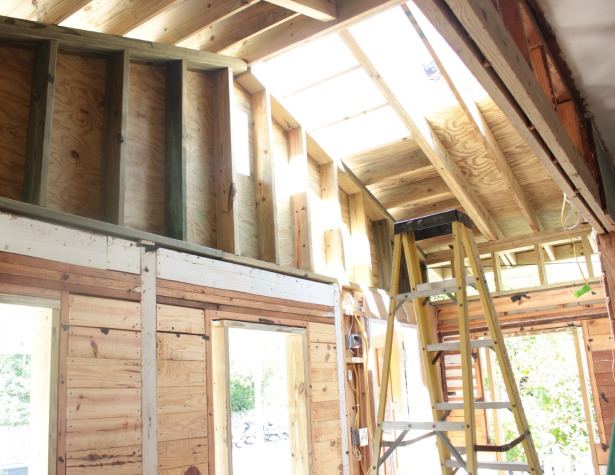
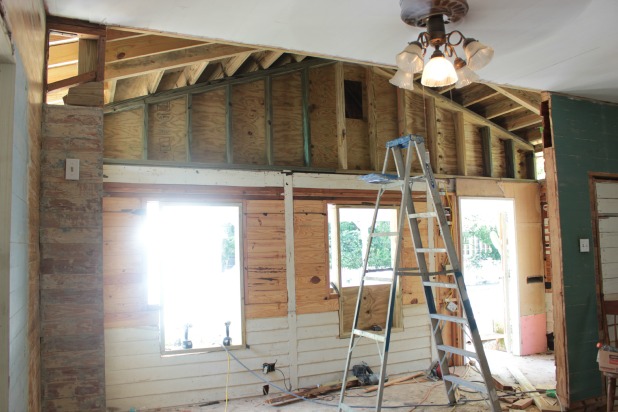
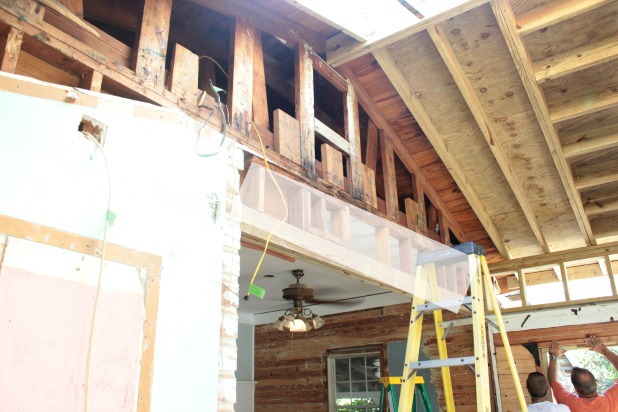
But instead of ending up with ceiling unity we have gone all the way to ceiling euphoria. Once the new roof line was framed in, and all remnants of the old, oddly low ceiling were gone we looked up and just knew we should keep it vaulted.
We had considered it as an option way back when we first decided we would change the roof, but had kind of dismissed it as unnecessary. But seriously, this vaulted area right when you walk in is like a whole new house walking in and hearing angels singing the perfect first impression.
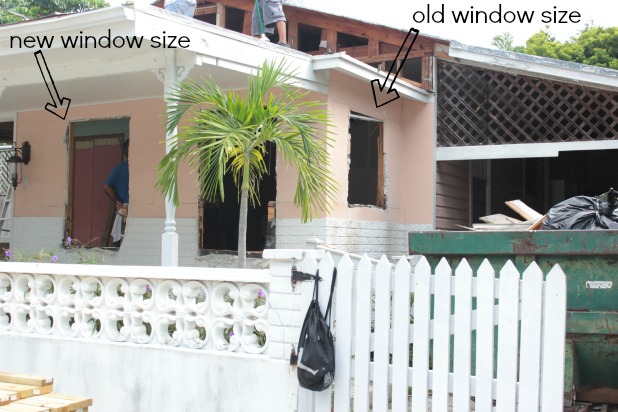
And the new, larger window sizes let in so much light and just feel so much better than those awkward, stubby old window sizes.
The pictures don’t even do it justice. Well, that … and the fact that it’s just framed in. But I am already day dreaming, and night dreaming, about the possibilities.
High book shelves with a rolling ladder?
Huge art of some kind?
More wood slats? Reclaimed wood? Oars and old water skis?
Oh, the ideas are keeping my mind busy, that is for sure!
That shaded rectangle area is gone now too. Sorry I didn’t get a good picture of that, it’s actually really dark in there now because we have even the window openings covered in plywood until our new windows come next week.
One of the things that has been so great about working with this contractor is that he’s totally willing to work with us as we try to DIY as much as we can. So last Wednesday night we bribed him and his wife with wine to come over and let us know if there was anything else we could do to prepare for the weekend.
You know, stuff we could do ahead of time so we wouldn’t have to pay him and his guys to do it. We’re fun customers. 🙂
And here was my list:
- clear out all old wiring and tie off any wires we will need for new lights, etc
- remove the ceiling joists
- remove the wall between the entry and the living room
It was a short list but his input was critical because Joel and I had both thought that wall was holding up the old porch ceiling. We were wrong. It happens. I guess.
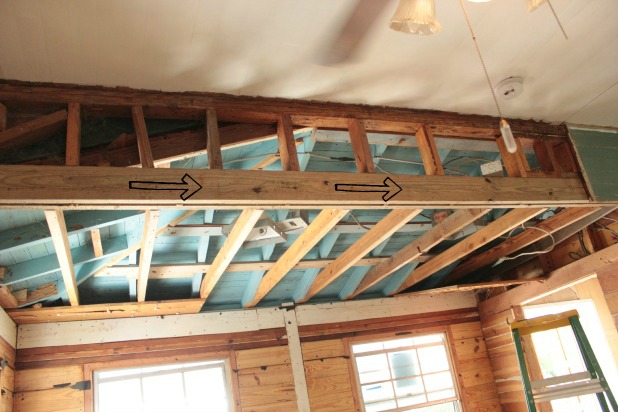
This beam is what is holding up the old porch ceiling.
So, I didn’t touch that.
And for the wiring, this DIY isn’t for everyone but we’re confident in our ability to identify breakers, follow lines and use electrical testers which were the main tasks in identifying which of the old wires were still in use and which ones we want to keep active for future lights and switches.
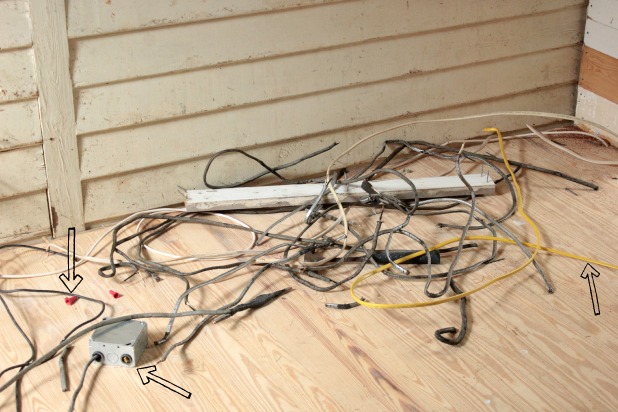
When we were done we had this pile o’ fun.
We did salvage to reuse a junction box, some wire nuts and a modern-day wire (where the arrows are pointing) but unfortunately everything else is just junk. Ungrounded wiring, wires to old light fixtures we removed and some wires that just randomly stopped in the middle of the wall … which is a big code no-no for anyone interested. If you ever need to close off a wire that doesn’t function for anything most codes indicate that you have to wire nut it in a junction box that is accessible by unscrewing the plate cover.
Anyhow, we were oddly excited to get that mess cleaned up.
As for the rest of the demolition, armed with the professional direction I got to work. And seriously, I did all of this demo by myself, while Joel was at work. And it took me less than 2 hours. So it can easily be a one person job. Even for a girl. 😉
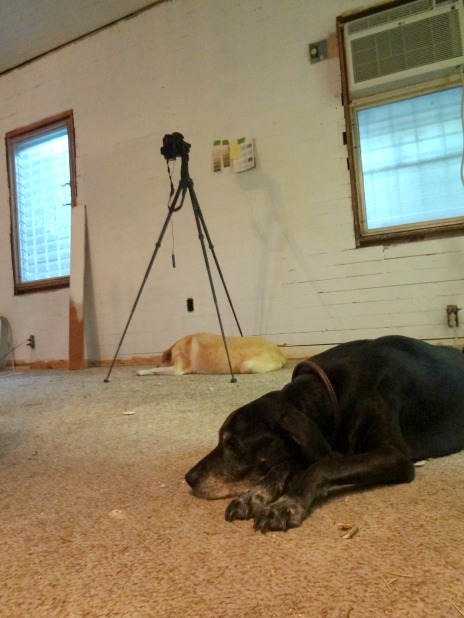
I may have even said out loud to Marley who was looking on apprehensively from under the safety of the camera tripod “I’m a beast”. Which seems odd now that I’m admitting it, but whatev … have tools, will demo.
This picture is not from this project (hello there berber carpet from before the time of asbestos tiles and hardwood floor refinishing) but just proof that Marley does, in fact, find security under the camera tripod. #lovethosedogs
Ok, back to me being a beast the task at hand. Demolition baby!!
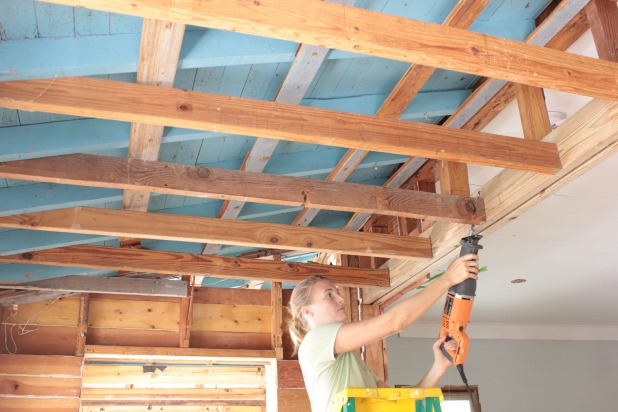
The main tools needed are a reciprocating saw, hammer and pry bar (of course). You can find out why the pry bar is our most used tool so far in this demo right here.
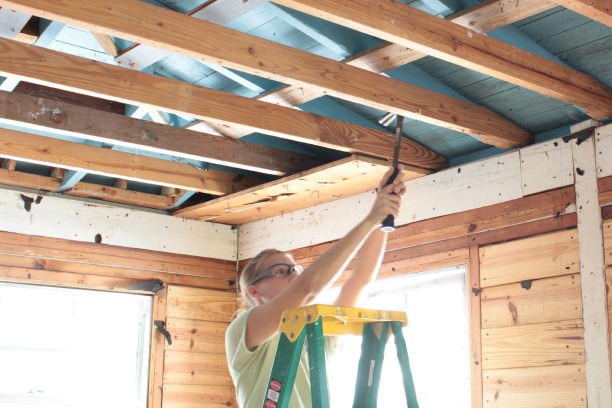
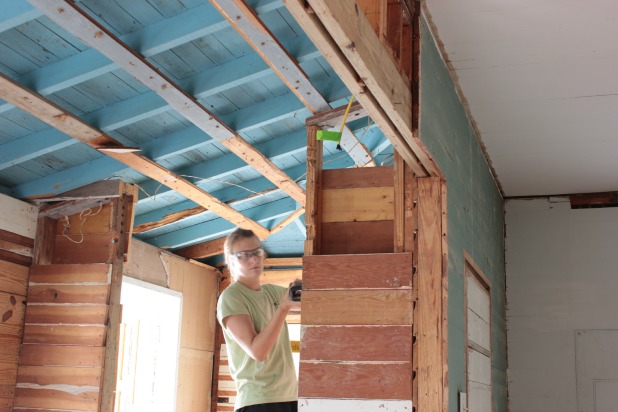
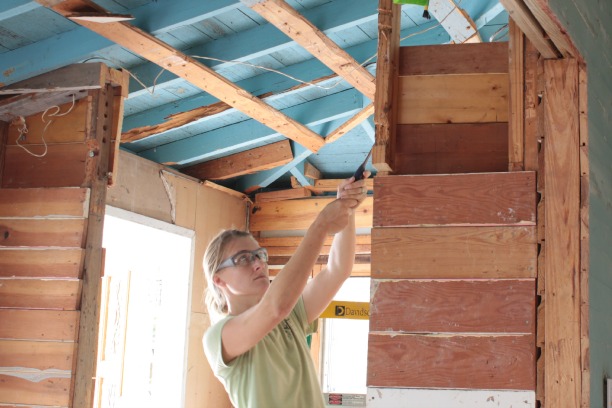
The ceiling joists came out really easy. I first ran the reciprocating saw through all of the nails that secured it to the beam.
And I quickly ran for my safety glasses after some sawdust specks irritated my delicate eyes on that first cut. But, either way, you’ve already been warned about my tendencies here.
Then a few hefty whacks with the hammer on the other end and I was ready to try to figure out how to remove that little entry wall.
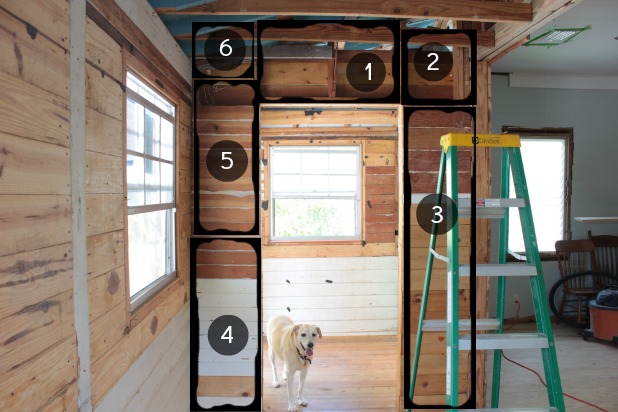
When it came to the wall, breaking it down into manageable sections was the best way I could figure out how to get it all down.
That tends to be my strategy with most projects. It can be hard to conceptualize one huge undertaking, so I give my brain bite sized bits of information to digest and it seems to work out for me.
Step 1 – Remove cute puppy from work area. 🙂
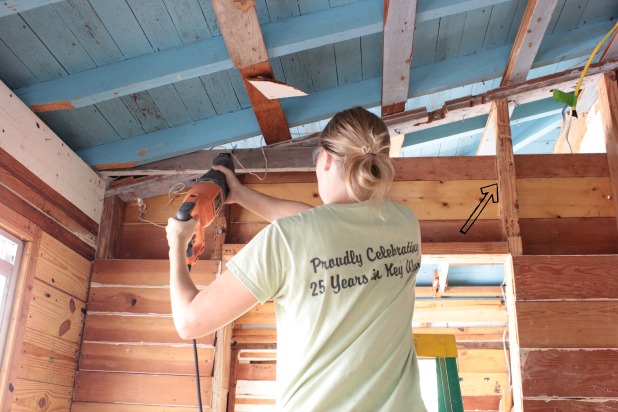
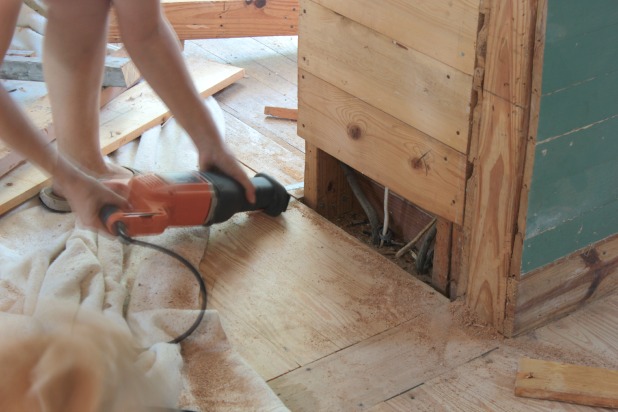
Each section took similar steps to get out. First sawzall through any nails or studs that are holding the section in place … you can kind of see that I had already cut down the left side of the 2 x 4 where the arrow is pointing below.
That little wire above the sawzall is for our doorbell and you can see some taped off wires in the top right of that picture, we’ll keep the breaker off to those wires as well until all new fixtures, etc are hooked up.
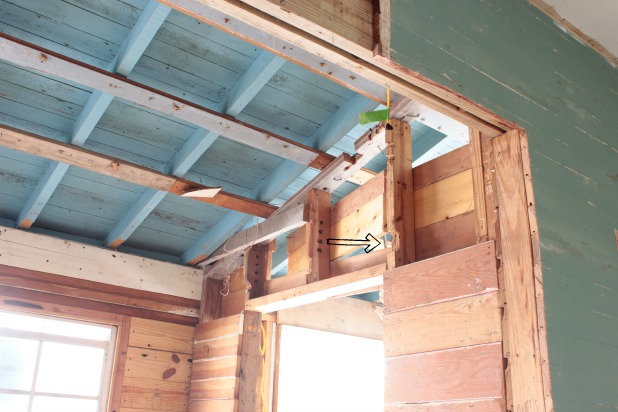
And then just whack it like you mean it. All beast like. You can kind of see the handle of my hammer where the arrow is pointing.
And then magic happens!
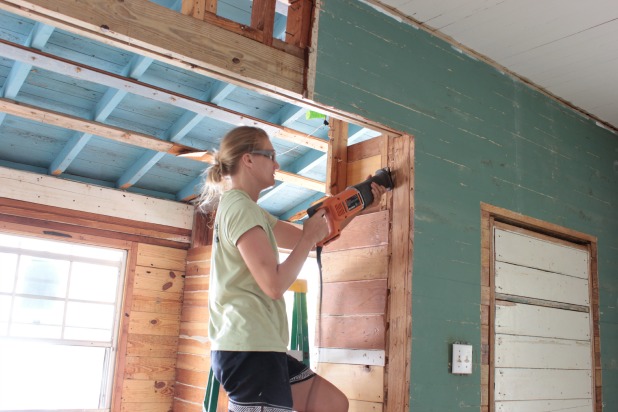
Each section took basically the same steps (I feel like I said that already). For the wall on the right I could just run the sawzall between the wall to come down and the wall it was nailed into to cut through all of the nails.
And I had to cut off the bottom of both sides because the studs ran deeper than the floor, apparently the old porch floor was lower than the inside of the house … which makes sense, I guess. I used the hammer and pry bar to wedge out any blocks of wood that were left behind.
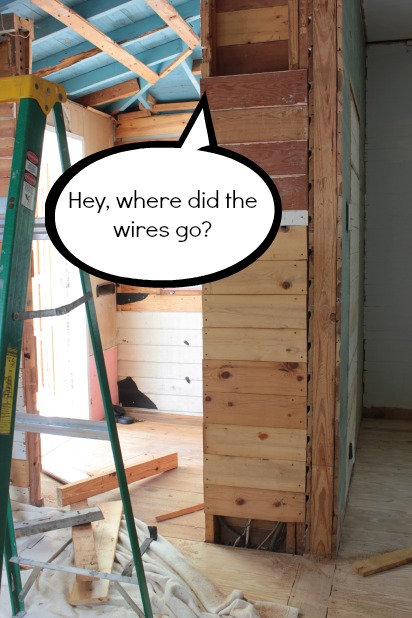
Yep, those are more arrant wires you see there. You definitely need to have a handle on where your wiring is before tackling something like this. We knew about all of these old wires because when we had the electric updated right when we moved in the electricians just cut all of these off and left them because I told them we would be tearing out the wall. Part of that electrical upgrade was actually to get rid of an old electic panel that was in that wall when we moved in, so we could eventually remove that wall.
That seems like so long ago now, it’s nice to have that wall behind us now.
Oh, and just so you can see … no wires at the top of the wall … we just need to get into the crawl space to pull them out completely and throw them away, the electricians couldn’t do that because they were stapled into the studs in the wall.
Some more cuttin’.
And hammerin’.
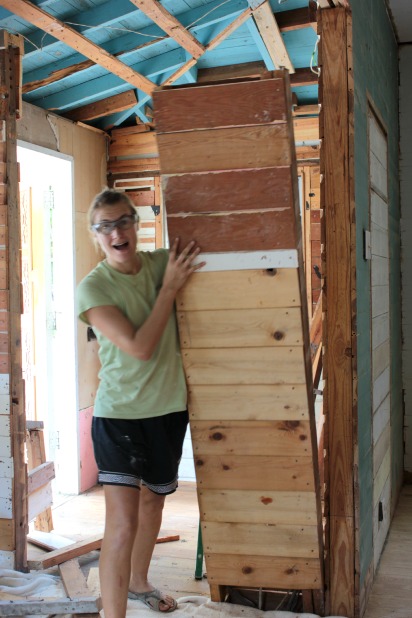
And one awkward pose with a wall as it comes down.
Just a reminder that I was home alone for this and these are all timer set photos, so yes, I knew the camera was going to go off and still thought it a good idea to share my awkward excitement at getting that big part of the wall down with you all.
You’re welcome. 😉
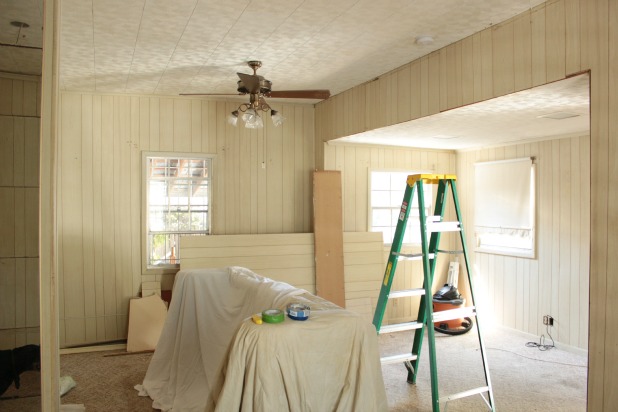
And man, oh man, once that little area was opened up I knew that we were going to be in for a major space-opening-endeavor if this one small change was any indication.
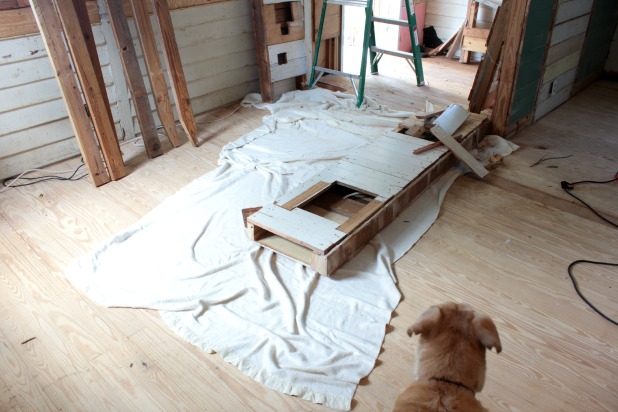
Heck, even Marley ventured out from the tripod a bit to get a closer look.
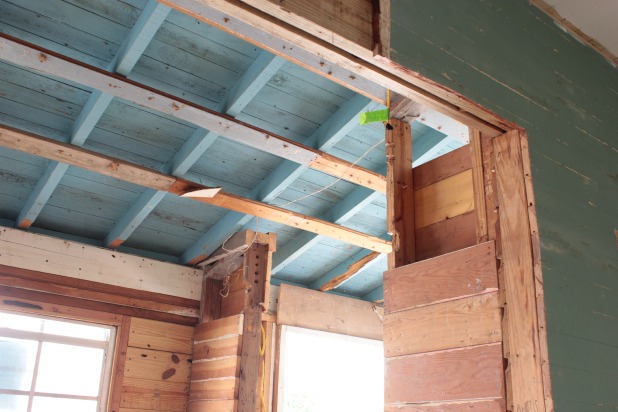
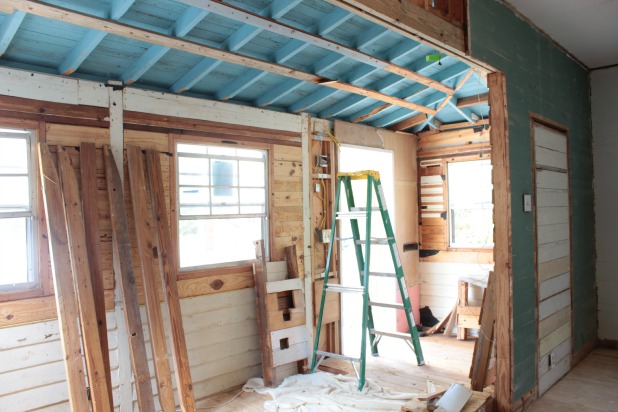
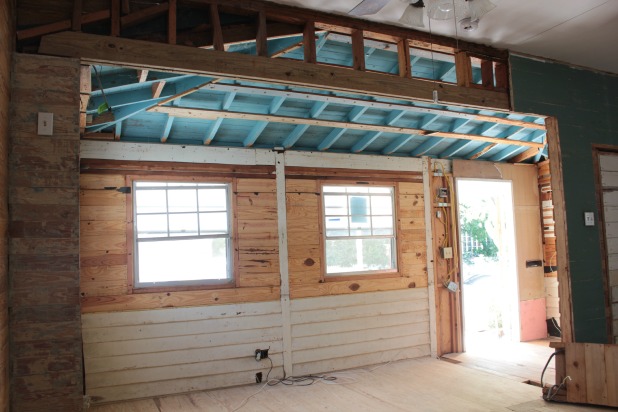
And then once I got everything all cleared out.
Holy canoli … can’t you just see from this change what a difference raising that little section of ceiling was going to make?!?!
Pretty much all of my nervousness about this big roof adventure got swept away with the sawdust from this prep work.
I could hardly sleep on Friday night, it was the like the night before Christmas as a kid, all of the anticipation for what was going to happen the next day!
Ahhh!! I can’t wait to tell you all about it. It was entirely exhilarating and completely exhausting and 100% an experience we will never forget.
And seriously, you are welcome for this little reminder of all of the paneling and drop ceilings of just a few short months ago. 🙂
For a trip down memory lane you can view the full video tour of the house before we did anything here. Be prepared for lots and lots of paneling … can’t say I didn’t warn you. 🙂
Update: I’ve added all the details of our weekend adventure with the professionals here.



Hanna Cage says
It looks incredible! Seriously, you are going to have jaw-dropping before and after pictures to share — it already looks so much better!
Heidi @ Decor & More says
You never cease to amaze me, Karah! So exciting to see it taking shape!
xo Heidi
Ally says
What a difference! I LOVE DEMOLITION! I’m weird that way.
Karah says
We would be fast friends. 🙂
laura says
You are my hero. I am sure joel was floored when he walked in and saw your progress. Good thing the weather is cooperating for you.
Karah says
It poured yesterday but luckily the tarp is holding up. Fingers crossed!
Shannah @ Just Us Four says
This is amazing! You’re going to have an amazing after photo! I can’t wait to see it!
Karah says
I can NOT wait to get to some afters!
cassie says
WOW! it is looking so good! you are my hero!
Karah says
I love you, Cassie!
Betsy says
wow…just WOW! I’m so impressed! I can see why you’re excited! Looking good!
Karah says
Thanks you so much, Betsy!
breida @ breidawithab.com says
That was such a fun post to read!! I am further energized to come and visit you – RIGHT NOW – and it’s NOT just because I am procrastinating something that I don’t want to do!
I mean, serioulsy, how long could it take to drive from New York State to Key West??
Karah says
Come on down! Get a tetanus shot first. 🙂 Start now and you should be here by October. 😉
karen@somewhatquirky says
It’s getting kind of amazing! Just curious, why are you not removing the other entry wall?
Karah says
We’ve gone back and forth on that wall, Karen. It’s much easier to keep it from the construction/expense perspective since it is load bearing and removing it creates a lot more work, but also we’ve learned to love having it there because it prevents people who come to the front door from seeing all the way to the back of the house. And, of course now we have fun plans for both sides of it. 🙂
KarenAnita says
Amazing! And go you doing so much of it yourself! Also, it looks so unbelievably tidy for such a big job 🙂 Can’t wait to see the end result x
Karah says
Thank you so much. Trust me, it is a hot mess!! Tidy doesn’t seem to last around here. 🙂
Karah says
I have some fun ideas for that there vestibule! I just hope they all come together!
Jesse @ Scout & Nimble says
Wow!!???! That is an incredible difference already and you are a total rock star!!! I love it!!!
Karah says
Thank you Jesse!! We are so excited about the potential it’s hard to stay focused. 🙂
Erin says
Ah Karah, this is the first time I’ve seen your whole front of the house. LOVE IT!!! I can just imagine what it will look like when it’s all done. I do not get how you live through it all. It is just so cute. I am in awe of y’all’s talents.
Karah says
Blinders and wine. hahahaha I just ignore as much of the ugly as I can and enjoy a good happy hour with my husband whenever we can. It’s just a phase, right?!?! We are literally in “the space between” right now. I’m so happy you enjoy the updates, I’ve got more pictures of the outside of the house coming up, I think I just realized I hadn’t really posted any full on shots.
Good Time Charlie says
Wow! That is a huge change! I can’t believe the before with the after. So impressed with all your DIY. What is up with all those wires????
Karah says
Crazy, right?!?! Seems as though through the years the owners just cut out old wires, but never removed them. Goodness!!
chris aka monkey says
wow all i can say is you go girl great job xx
Karah says
Ahhhh, we’re a little speechless ourselves. 🙂
Ashley@AttemptsAtDomestication says
The higher roof/ceiling is amazing! Love the decision to keep it vaulted! I wouldn’t trade the high ceilings in our house for anything!
Kim Gaynor says
Oh, your post reminds me so much of when I used to work full-time. I LOVED 3-day weekends because I could get so much done on my house. I lived for those 3 day weekends.
Karah says
Thank you, Kim. Weekends really are great project times!!