Hey hey. Happy Thursday!
I’m sharing a super cute and easy little spring craft over at Remodelaholic today. Amidst all of the more home renovation stuff we’ve been up to I find it fun to just sit at the table with a little glue and glitter every now and again and work on something that I don’t need to think “will the future home owner’s like this?”, “how will this effect resale?” or “how exactly am I going to repaint the entire exterior all by myself?”. You know, without making a mess of the entire sidewalk. 🙂
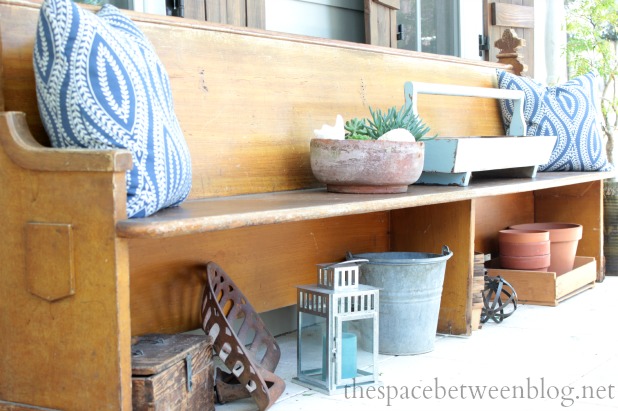
And in the last couple of weeks we had visits from my mom, mother-in-law, sister-in-law and niece (who turned 12 while she was here!) so there’s been quite a bit of non-house stuff going on, in addition to some just-for-plain-fun house stuff. You know … pillows and plantings and decorating a church pew stuff.
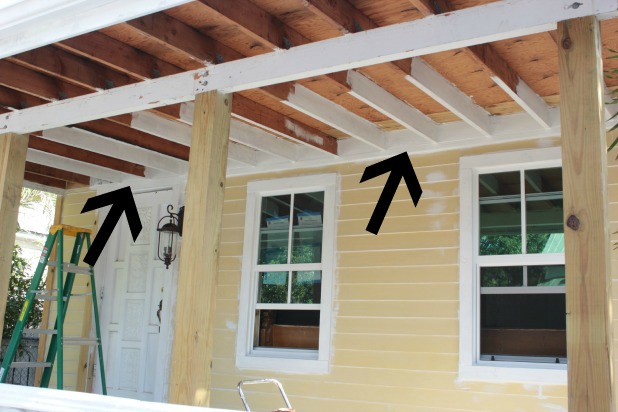
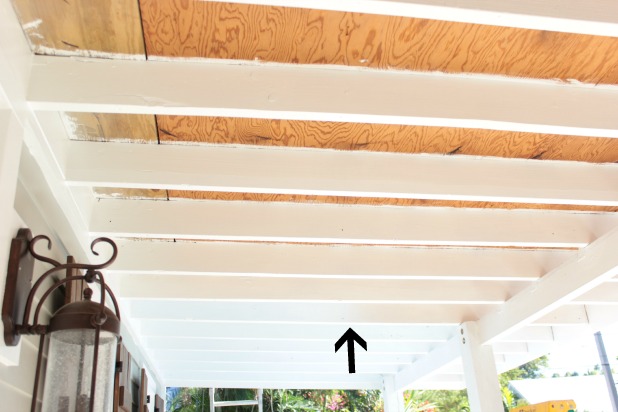
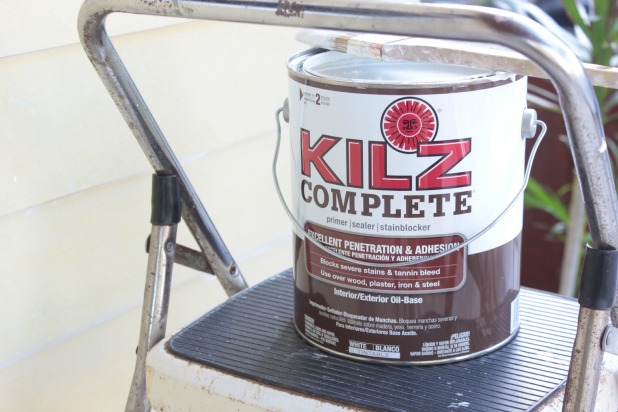
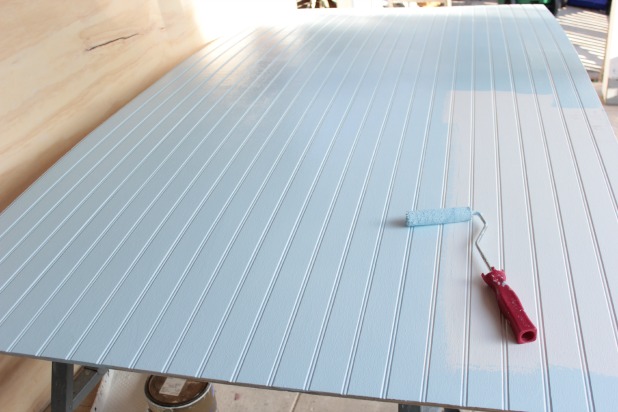
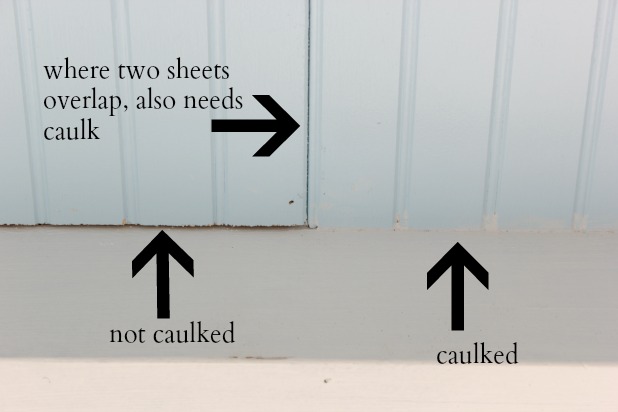
But, back along the home improvement front, we talked about the primer we used on the exterior here. And I was thrilled to get more “sometimes we’ve just gotta use some VOCs” comments than “I would never ever use VOCs, even if it was apparent it would be the best product for the job”. So thanks for that. Sometimes it just is what it is, if you know what I mean.
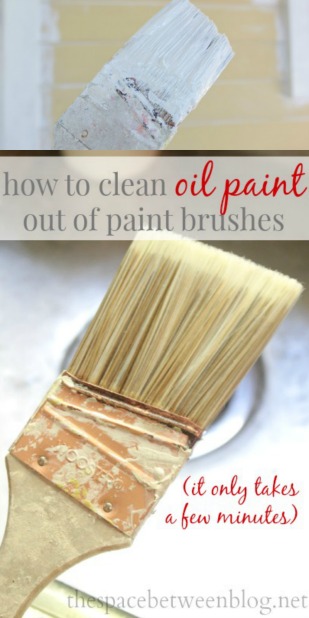
And with the use of the oil based primer and paint comes either the a) throw the brush away after every use or, b) figure out how to clean all of that nasty stuff off that dang brush solution.
And since good quality paint brushes are not exactly pocket change I opted to try my hand at option b. And it worked.
Like most new things, the process for figuring out how to clean my oil based paint brushes started with a little googling and I quickly found this tutorial from Kristi, but I didn’t have any mineral spirits on hand so I improvised and after a few minutes I had a nice and clean paint brush.
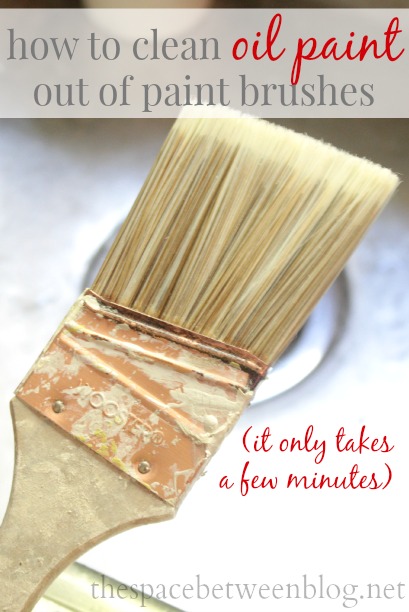
Here’s what worked for me.
All you need:
- oil based paint soaked brush
- rag
- disposable cup
- acetone (the active ingredient in fingernail polish remover)
- olive oil
- running tap water
- a little bit of patience
1 – Find some oil paint and dunk your brush in it. 😉
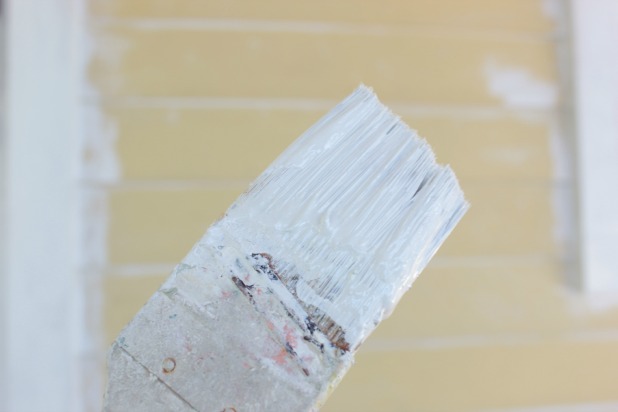
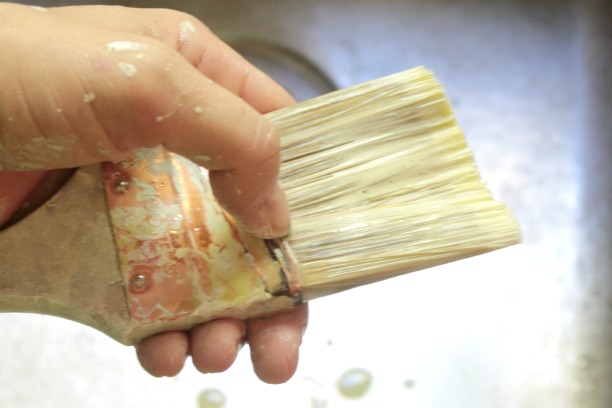
2 – Wipe as much excess paint out of the brush with a rag, or in my case a dish towel.
3 – Fill a cup with a cup or so of acetone, I happened to have a can of it on hand from that time I tried to cut a bottle with string. Acetone is inexpensive an easy to find in any home improvement store.
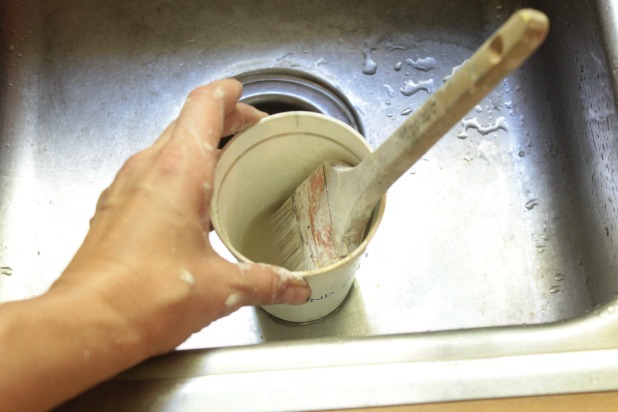
4 – Dunk the brush and swish it around. Much of the paint will magically fall off and accumulate in the bottom of the cup. It is seriously kind of amazing how thick this paint is and how much it clumps up at the bottom of the cup.
You could dispose of this acetone paint mixture and repeat if you feel like it would help. Depending on the brush I sometimes do this twice.
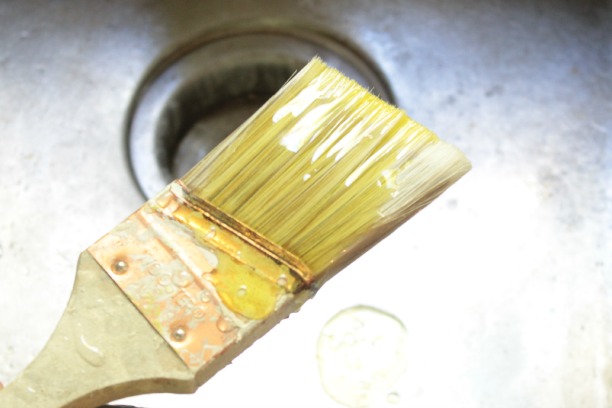
5 – Pour about a teaspoon of oil onto the brush. Keep the brush over the sink and warm tap water running so the paint doesn’t accumulate in your sink. I used olive oil, but I’m sure vegetable or another kind would work just fine.
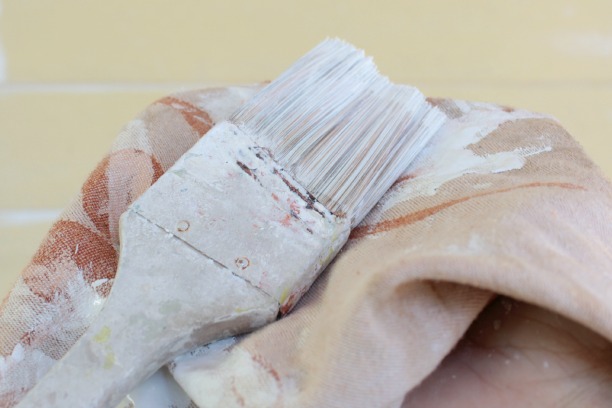
6 – Work it, work it, work it. Get your fingernails and tips right in there and literally work the paint out of the brush.
Run your fingers right up through the bristles and you will be a mess, and now that I’m looking at the picture, you should start out by taking off your rings, especially if they happen to be of the wedding variety. Oops.
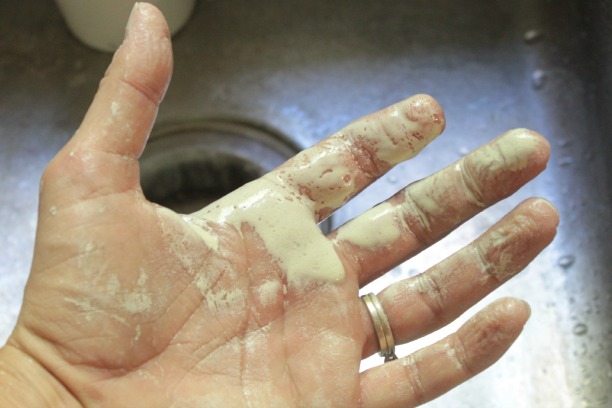
You’re going to need to repeat this step a few times, and don’t forget to keep the water running. But I was so happy that at the end of it all I had a perfectly usable brush.
I did put it in the fridge until the next time I used it, because that works whenever you don’t want to wash your brush at all between uses (we all know that by now, right?!?!) and I just wanted to be safe. But I’ve gone back to using the brush with regular old paint and have since washed it a few more times with just water and it is definitely good to go.
So, for a few dollars and a few minutes I saved one lone paint brush. That makes my cheap self a very happy cheap self. 🙂

************************************