This post may contain affiliate links which won’t change your price but will share some commission.
Can we all just say … FINALLY!
As DIYers, we’re pretty well versed in the universal truth that “everything takes longer than you think it’s going to”. Everything. Without fail. It just is what it is.
And technically that’s why we don’t have any sort of set timeline on home projects. We take them as they come and tick them off the list as we discover a huge appliance sale or some random weekend when extra help is available for just as time allows, even if company is visiting.
And can we just agree now that the question “when do you plan on being finished?” is as equally inappropriate to ask as “are you pregnant?” or “how much do you weigh?”.
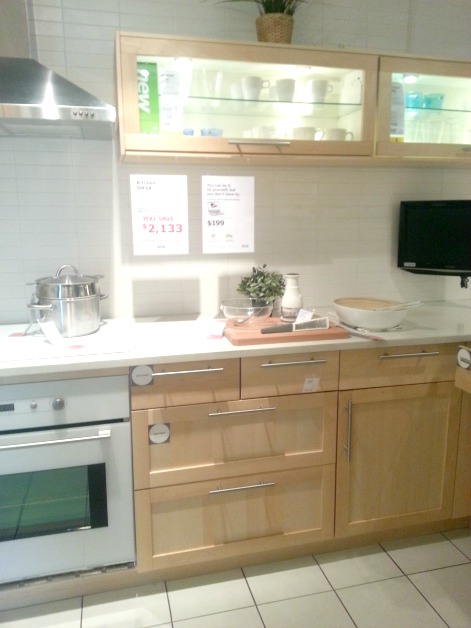
It’d be one thing if we were professionals working on a contracted job, but we’re just homeowners making improvements as we can. Improvements that are totally dependant on availability of supplies, finances and even inspiration. I’m not one to tackle a project just because it’s next on the list if I don’t really know what I want to do yet. Which is how we found ourselves in IKEA during the trip where I met Stephen King checking out kitchens.
But wait, this post isn’t about kitchens, it’s about the beadboard on the ceiling, specifically on the underside of our front porch roof, and the story of how it took me sooooo much longer to complete than expected. But I will tell you it was sooooo worth it.
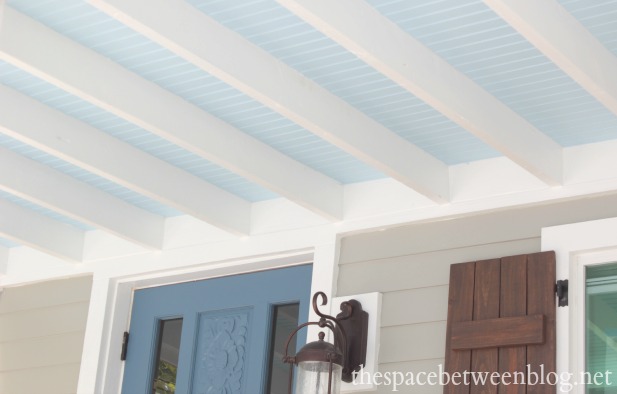
Even though I am actively willing away from my muscle memory all of the hours spent looking up with my arms above my head hanging the beadboard and caulking all the seams and then all of the touch-up paint to finish her off.
So please don’t ask me when we’re going to be done with the house. You never know, we might decide an Asian vacation is in order this fall.
UPDATE: Turns out a move to Aruba was actually in the cards for us. Find out more here.
But today we’ve got a really high impact upgrade to talk about so let’s get to it. And because this project is longer in every aspect than I expected there are quite a few words coming at you right here so you may want to grab a glass of wine coffee.
So we’ve got this porch.
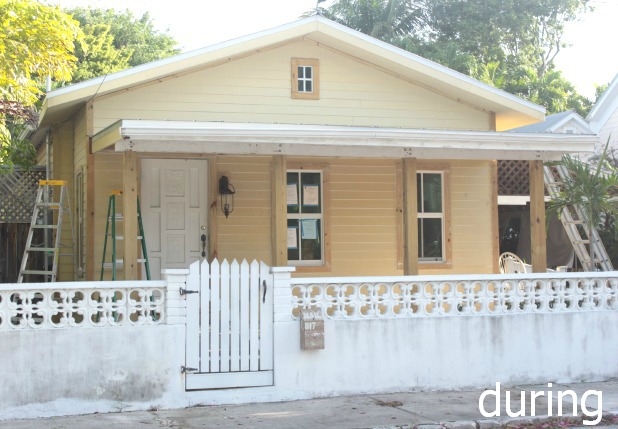
So far we’ve upgraded the size of the windows, covered up the old faux brick, installed all new hardiboard siding and trim, removed the plain plywood that used to cover the ceiling joists to expose the empty rafters and give her as much height as possible, installed glass panels in the front door and gave her a fresh coat of paint.
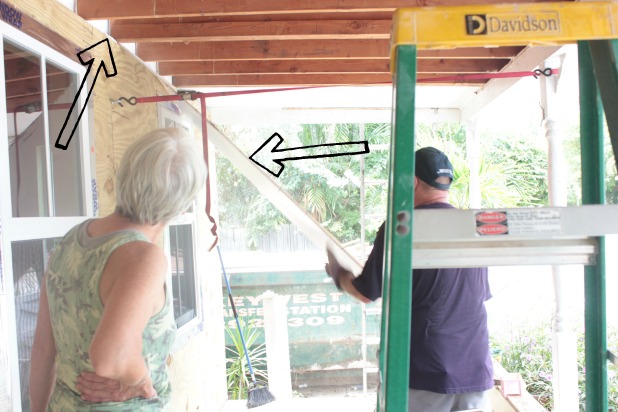
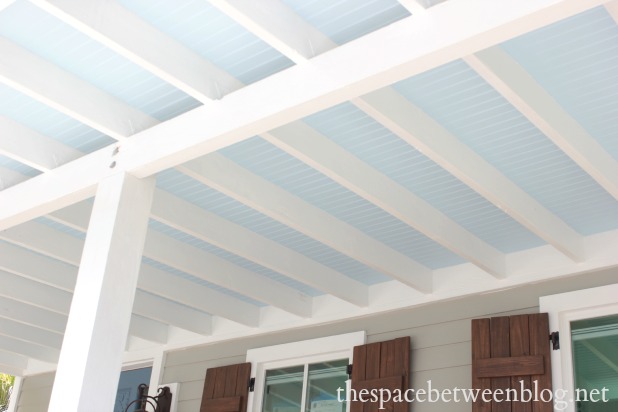
We’ve known from the very beginning that we wanted to paint the underside a pale shade of blue, which is really common around here, and apparently all over the south, there is a lot of discussion about it in the comments of this post. And a while back at an open house we visited, because that’s the kind of thing we do on a Sunday afternoon for fun, we saw a house that had painted the ceiling joists and trim white and just the insets blue and we both immediately stared and pointed and said “yep, let’s do that”.
One of the reasons being that we have so much trim along the house right along the underside of the roof that would be white anyway, we thought the look of white ceiling joists would feel more cohesive than the look of blue ceiling joists butting up against white trim.
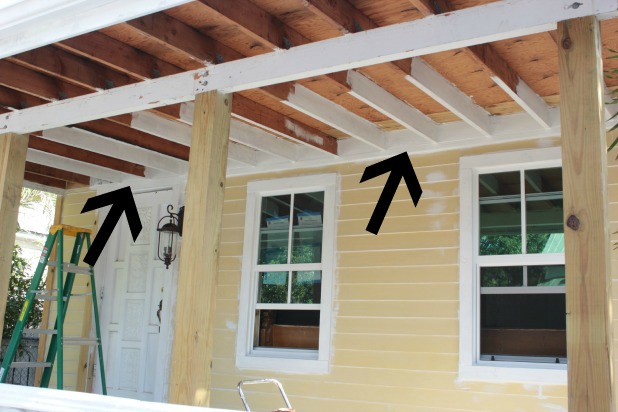
So the prep steps to get the house ready for the beadboard included priming and painting each of the ceiling joists. I just figured that would be easier done first but, honestly, I don’t know if it saved any time because after installing the beadboard I needed to caulk each edge and touch-up paint (both blue and white) so I spent a decent amount of time with my head in the clouds rafters anyway. But having them already painted really made the project exciting as we installed each row of beadboard.
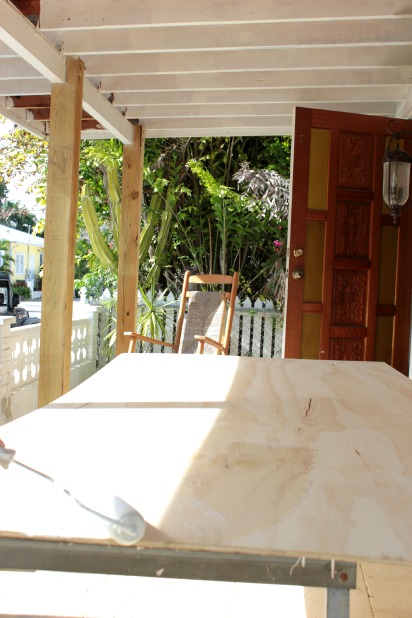
We were amazed at the different way the light reflected off the blue than off of the plain plywood. You can clearly see where we had stopped when I took this picture, this was really exciting for us and reenforced that the project was worth the hard work.
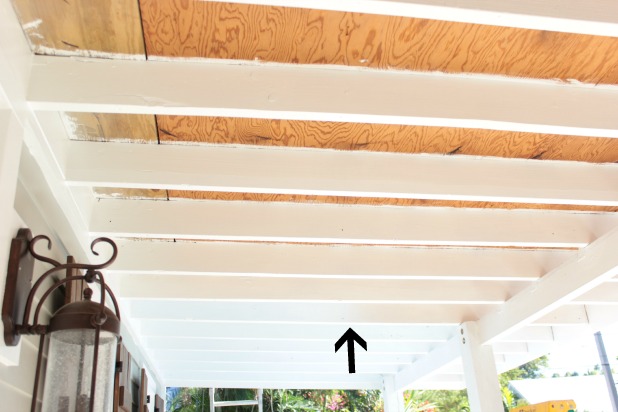
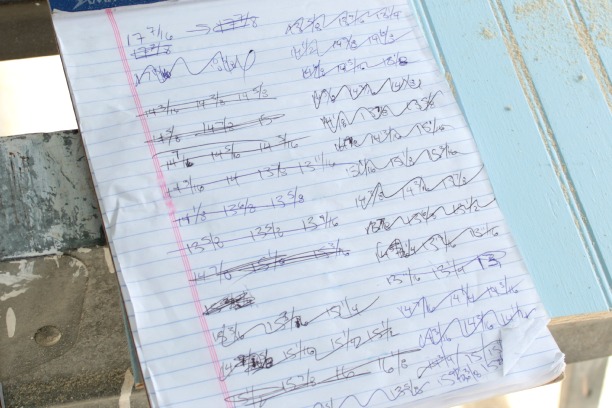
What made the project so hard difficult particular, was that the joists weren’t an equal distance apart from one end (near the house) to the other (near the street). So it wasn’t like we could make one measurement, run the sheets of beadboard through the table saw, shoot a few nails up there and call it done. We ended up finding that three measurements per 4 foot length gave us a pretty accurate line, which resulted in this sophisticated sheet of math.
To talk about the specific beadboard for just a second, we ended up with basic 1/4 luaun beadboard that is sold at most home improvement stores/lumber yards. I really wanted to use a product called T1-11 (I used it on the front of our floating shelf in Curacao) because it was pressure treated but we don’t have any available locally that was thinner than 5/8″ thick and just the thought of lifting more than we needed to, knowing the arduous nature of the work, was enough to deter us and convince us the regular beadboard was fine.
I did consult our contractor just to be sure that we didn’t need to use pressure treated, even though this project is outside it is completely protected from the elements since it is literally in the ceiling. He just said to paint it well.
So paint it well I did.
I actually put two coats of primer on the back side of the beadboard just to seal it all in from all sides. It was the perfect application for the KILZ Klear I told you about here, since I really just wanted to seal the wood.
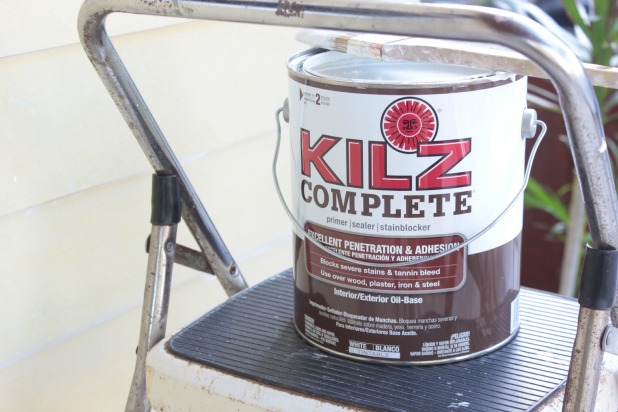
Followed but two coats of the same KILZ Complete that I used on all of the exterior trim, I just felt the oil-base was going to give the bare wood the extra protection it might need.
And finally paint. I chose a Glidden color called Clear Blue Sky, totally not why I picked it but the name seemed appropriate, mixed in a Behr Exterior Satin finish. Two coats using both a 4″ roller and a brush to get into each little crevice of the beadboard.
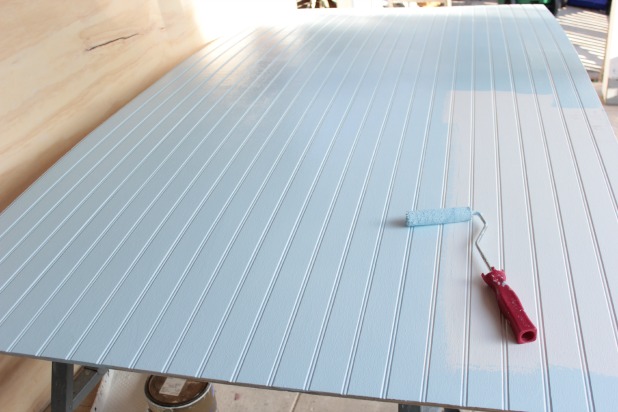
You can see in that picture that the beadboard pattern runs horizontally along the 8 foot length of the board, so the plan was to cut the sections for each row perpendicular to the beadboard pattern, giving us 4 foot long sections to work with since the full sheet measures 4 x 8 feet.
And now it was finally time for some install. I’ll admit it took us a few rows to get into our rhythm, but once we found it we trucked right along. But even still, it took us probably 6 or 7 hours and a few marital disagreements total to just get all the dang beadboard up there.
Here’s what seemed to work most efficiently for us, and having that second set of hands really does just help the project move a little more smoothly.
1 – Joel would measure three spots in a 4 foot section after it was mutually agreed upon that my measuring skills were in serious need of a makeover. While he did that I prepped the sheet of beadboard to cut, made sure it was on the saw horses, and after the first cut I had to make an additional square cut every time since our cuts for the roof were irregular. Our drywall t-square worked well to make the squaring off marks.
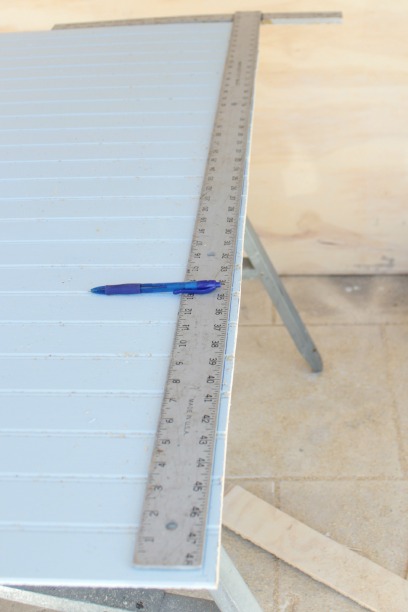
2 – I would transfer Joel’s measurements to the beadboard and use a 4 foot level to connect the marks and our battery operated Ryobi 5 1/2 circular saw to make the cuts. I opted for this saw because I knew it would be a lot of cuts and our larger 7 1/4″ circular saw can get really heavy. But we did burn through a number of batteries, we had 3 in rotation and we would have needed to take more breaks if we had any less.
3 – Use a piece of fine sandpaper to sand away any splinters created from the cut (this will make caulking later much easier) and use a magic eraser to remove any marks left from the blade guard of the saw. Consider these two things that are much easier to do before you get the board installed above your head. Trust me.
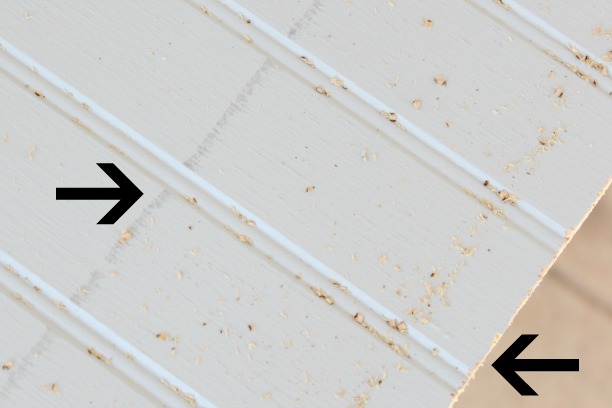
4 – We ran beads of wood glue along the back of each cut section and then together we would wiggle it into place (some fit more snugly than others, and the row that went above our porch posts was tricky at times). We used a rubber mallet if necessary and our Ryobi battery operated Airstrike brad nailer to hang each piece.
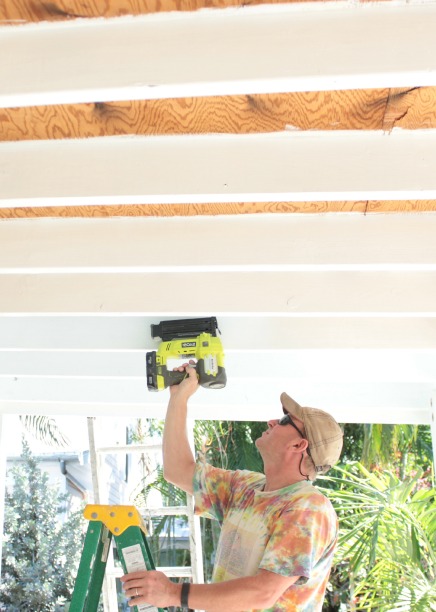
One thing to be sure is that you start with the end of the beadboard with the overlapping tongue up next to the house so the underlapping tongue is at the other end and ready for the overlapping tongue of the next sheet of plywood.
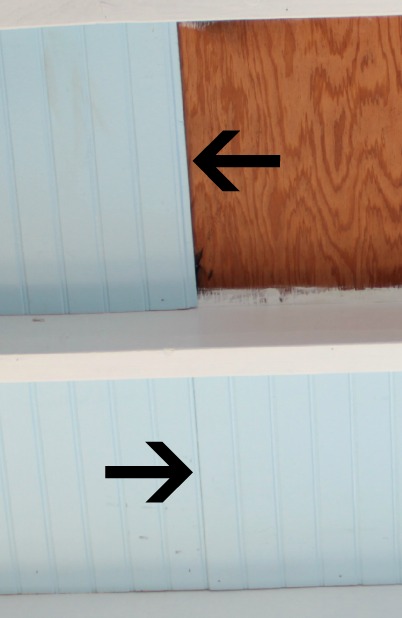
From here on out you’re pretty much on autopilot. Our porch roof just so happens to be 9 feet wide so we did have an awkward one foot section to add to each end. And, knowing that we wouldn’t have sections of the beadboard with the overlapping tongue available for each row we did start cutting off the underlapping tongue at some point in a middle row. We didn’t really calculate it but, as things do, it just worked out with Joel only having to go back and trim off the underlapping tongue from one section that was already hung.
I’m not sure that all makes sense so I’m going to toss some more words at you. So the full plywood sheet is 4 x 8 feet with one 8 foot length having an underlapping tongue and one 8 foot length having an overlapping tongue. With our row width we were getting 6 rows per sheet of plywood. We have 14 rows total so we knew that for that last little one foot section of each row we were only going to get about 8 of those cut from the end of the plywood with the overlapping tongue, the others were going to be cut from the middle of the sheet of plywood and we would need to butt them right up to the edge of the previous piece. So we cut the underlapping tongues off before we installed the second sections in about half of the rows.
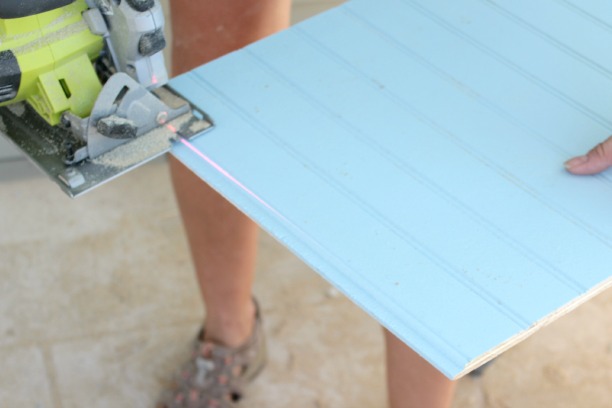
So when it came time to add that last little piece I would just make sure the starting point was at beaded part of the board, making any cuts necessary to ensure that and then cut the piece to size to complete each row.
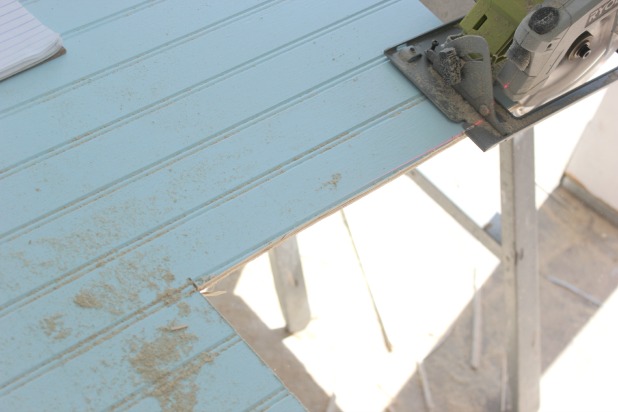
I could really only handle caulking for about 2 hours at a time so over the next week or so, a couple of hours a day I headed out to caulk every seam.
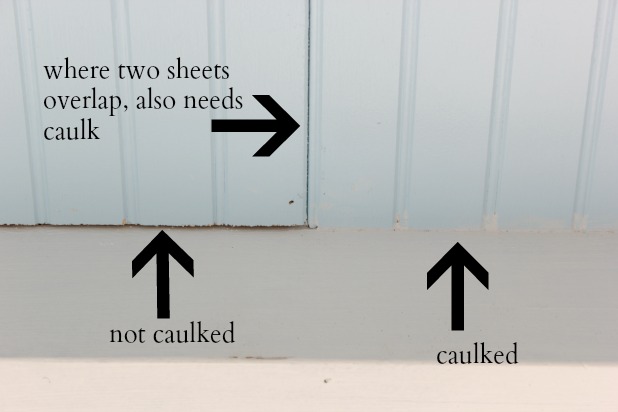
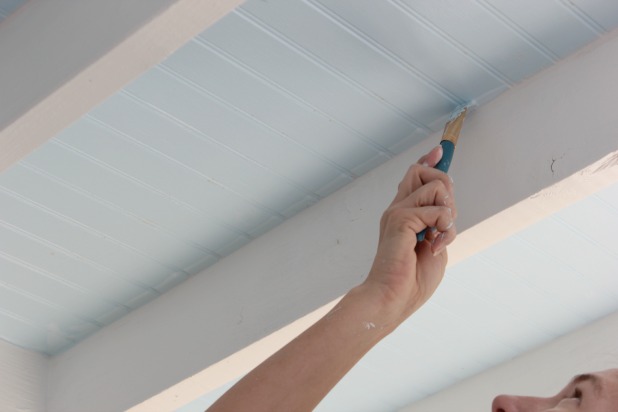
Followed by the same routine for blue touch-up paint. I found the using a regular angled brush worked well to apply paint along each seam and then a smaller craft brush worked to pull the paint up the “beads” in the beadboard.
This step made me want to poke my eyes out. The caulk made a huge difference seeing all of the gaps disappear, this step was definitely necessary, but definitely not fun.
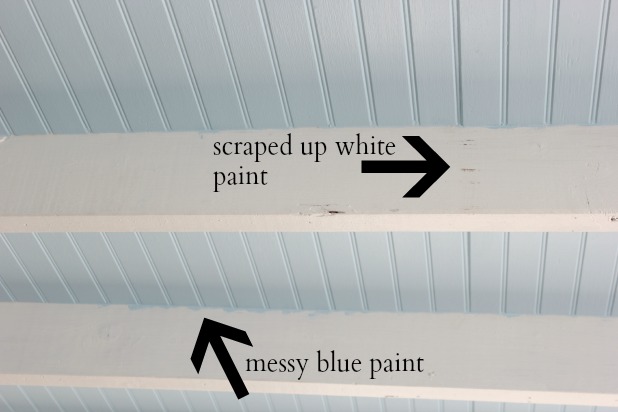
And then I skipped my way through some white paint touch-up. As it goes, the longer the process took, the messier the blue paint touch-up became, and there were also some spots we have scraped off the white paint when installing the tighter fitting pieces of beadboard.
And then there were some moments of pure bliss about getting through this whole process. And then my mom visited and some of this might have happened. Plants and furniture and accessories, oh my.
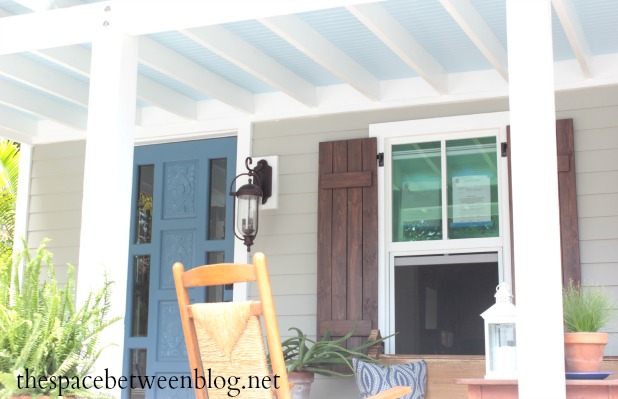
It’s still a work in progress so we’ll have more detailed pretty porch shots coming up here in a bit. My mother-in-law is actually arriving today and she’s quite the gardener so all of the plants that are just placed in pots now will find their real homes and she’ll (hopefully) give me some tips for maximizing the likelihood of keeping them all alive.
Anyone else done any beadboarding? It would have been so much easier to go over the ceiling joists, but the added height we gain really does make a difference. And the white trim leading up to the blue really seems to just keep drawing the eye up. I’m linking up to the Thrifty Decor Chick Before and After party.


cassie says
oh what a feeling when there’s beadboard on the ceiling!!!!
love it!!!
Karah says
oh what a feeling … to be done with beadboard on the ceiling.
Ally says
It looks beautiful! Just looking at the pictures of you two working over your heads like that gives me a headache and neckache. Well worth it though.
Karah says
Thank you Ally!! That’s all I kept telling myself … it will be worth it! But I’m so happy it’s over, lol.
kellylynngoldman says
That’s awesome! It’s so nice when help arrives in the form of Moms!
Karah says
hahaha, exactly!!
Carol D says
So beautiful! Well done.
Karah says
Thank you!!
Sandy says
Whew, what an accomplishment! It looks fantastic! (wondering what a contractor would charge for this install or if one would even tackle the project?) Perfect Key West vibe!
Karah says
That is a great question about what a contractor would charge, it would definitely vary by region but I wouldn’t think it should be more than a few hundred dollars, but that’s just a guess.
Hali says
This is GORGEOUS!!! I just recently found you (via Pinterest, I think) & I’m enjoying following along on your DIY path. Hali
Hali
Karah says
Thank you so much for taking the time to comment, Hali!!
Jessica @ Decor Adventures says
You deserve an award for this ceiling alone! I love the shade of blue, it looks great!
Karah says
Thank you!!
txvoodoo says
WOW. What an incredible transformation that beadboard makes. Who knew?? This makes me even more determined to do it in our vaulted ceilings, inside.
Good job!
Kim says
We just did this exact same project last summer…and it took us 2 months to do it. We used a combo of wood glue and nails into small trim pieces along the sides. Holy sore muscles! I’d originally planned on painting ours blue as well but ended up doing the same ultra pure white we did on the joists. My husband was highly afraid of the potentially painful repainting of the blue ceiling in the years to come! Figured white would be easier with the joists…but I do love how brigh it makes our once very dark covered porch. This spring I can’t wait to decorate! We added a ceiling fan, new furniture and lights already.
Yours looks wonderful!
Karah says
I will be thinking of you when the day comes I need to repaint that blue, it will be painful. I wish ours was tall enough to do a ceiling fan and lights, but it sure is fun to decorate it like it’s a real room. haha Thank you so much for the comment!
Danielle says
I would love to put bead board on the ceiling in our laundry room. There is a lot of moisture that gets trapped in there but I think it would be easier since there are no joints so 1 or 2 pieces would do the trick. Any advice on making sure no moisture will get under the bead board?
Karah says
You could probably do exactly what we did for the outside application. Prime both sides of the beadboard and then just be sure to caulk every seam. No guarantees but I would think it would be worth a try, it would look awesome in a laundry room!
Wendi @ H2OBungalow says
Adding beadboard was a brilliant idea! It’s perfect for your home! We are living through a remodel of a West Coast Fl 1950’s waterside bungalow. I completely related to what you wrote on the mindset of remodeling a home and being a DIY’er! Looking forward to reading lots more of your adventures!
Karah says
Thank you so much! And so glad you related to the DIY sentiment, it’s full of ebbs and flows for sure. We have only lived in FL for a year but love driving up the West Coast … I’m headed to Anna Maria Island for the first time next month.
kleinworthco says
It turned out beautiful- I’m so inspired to find a place to do this myself!!
Karah says
Thank you so much, I would love to see a picture if you do try it!
shannonatfoxhollowcottages says
Karah, that looks all kinds of wonderful!!!!!
Terri says
Do you think putting insulation board up before the bead board would make it a lot harder?
Karah says
I’ve never worked with insulation board, Terri, but after a quick look I wouldn’t think it would make the job harder. I would tack the insulation board up first with a few staples maybe so you’re not struggling to hang that and the beadboard at the same time. Just a thought.
Ron Hensley says
Looks amazing love your style awesome!!!!!
Karah says
Thank you so much, Ron! Hope you had a nice holiday weekend!
sarah says
Wondering how well it’s held up and if you’ve had any problems with moisture getting to it? We have the same joisted back porch and have been looking for something to freshen it up.
Karah says
Hi Sarah! We have had no problems at all, we did also replace the roof on that porch when we moved in so no moisture gets to the beadboard at all. It has been a fun focal point for new people when they come to the house, everyone notices it.
Kindred Spirit says
I know I’m a little behind in finding and commenting on your post, but I just have to say, “AMEN SISTER!” I’m right there with you on the inappropriateness of asking when we’ll be finished. I don’t want to explain to you that we were screwed by our original contractor and that finances and time are not limitless commodities!! If you have something nice to say, say it. If not, shove off. We (my husband and I) have worked harder and accomplished more than anyone I know, but there seems to be little positive feedback or offers of help (besides from my parents/uncle). However there seems to be endless amounts of disapproving looks and extremely inappropriate comments. I actually had a co-worker tell me, “just get a loan already and finish the job.” Um, I’m sorry? None of your business, but we’ve already had to get a second loan to recover from what the contractor did to us on the first go round, please think before you speak. But I’m ranting now so I’m going to stop and simply say beautiful job, I can see and feel the hard work that was put into it and you should be so proud! Keep up the good work!
A Kindred Spirit
Karah says
Hi Kindred Spirit! It’s always nice to hear from someone who can relate! Sounds like you have yourself quite a project. Enjoy the process of making it exactly what you want … no matter how long it takes. Happy Holidays!
Joi says
My patio porch is just like that but we have nails coming thru the plywood. How would you suggest to install the beadboard?
Karah says
Hi Joi! We had the same problem, I wrote about how we fixed it here, https://thespacebetweenblog.net/scariest-tool-ever-used-exterior-progress/. You can tell by the title of the post it’s not necessarily a process I can recommend anyone doing. Maybe you could hire someone? It doesn’t take long, I just found it scary. Sorry there isn’t a better answer!