This post may contain affiliate links which won’t change your price but will share some commission.
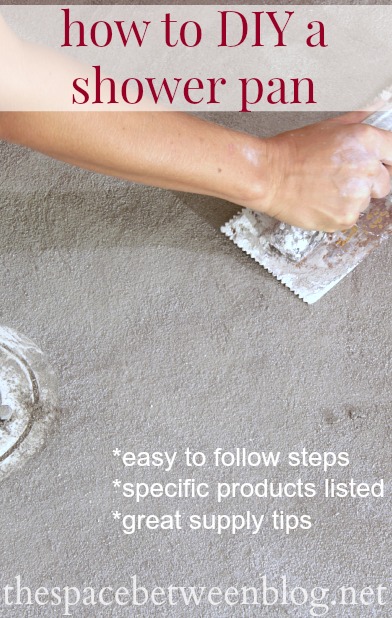
Hey guys! I took a little blog vacation last week that started off with my 38th birthday, a Red Sox baseball game (and win!) and meeting Nene Leakes. And ended with me declaring victory over the learning curve of how to DIY a shower pan. Thank goodness.
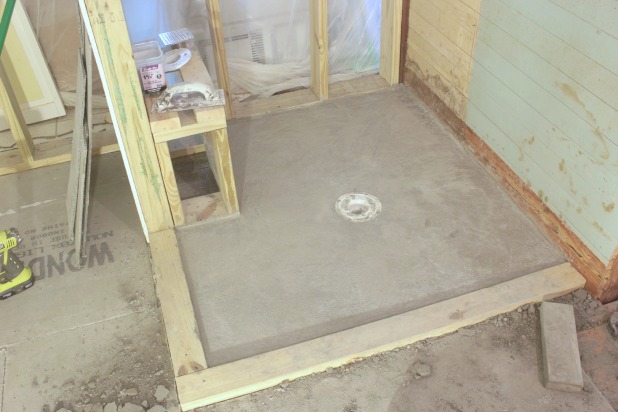
Other title contender’s for this post include “third time’s a charm” and “let’s talk about sand mix, baby”.
As in … let’s talk about sand mix, baby, let’s talk about you and me, let’s talk about all the good things and the bad things that may be … let’s talk abouuuuuut sand mix.
If we could start with the bad things …
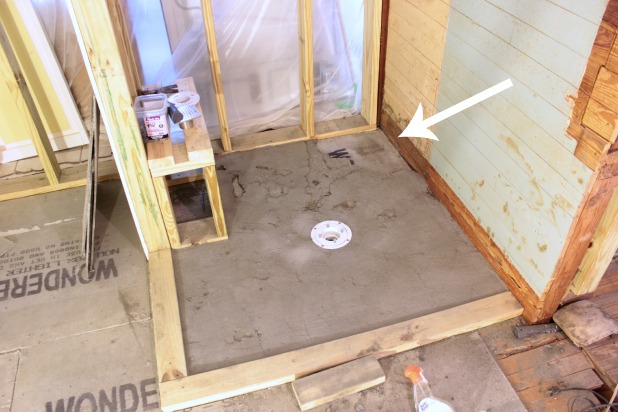
You know when you think you know how to do something. Then you research it. Then you think you “really” know how to do something. Then you keep researching just to be sure. And it turns out there are a lot of “right” ways to do something. And you’re more confused than when you started.
Yeah, that’s the story of me and my search for how to DIY a shower pan. I started out really confident, because I’ve actually DIYed a shower pan before that we then tiled. But I always wished I’d put more of a slope toward the drain in it so I started by researching the amount of slope to add.
1/4″ for every foot is the standard amount of slope to add to a shower pan. Easy.
But then I read about preslope. And the use of a liner, which some say is “sooo 1970s”. And the use of these corner clips, so you don’t have to cut the liner, which my local HD doesn’t carry in stock, but the do carry this shower liner adhesive. (aff links)
So, for anyone getting ready to tackle this project I would say do a fair share of research and devise a plan that you feel comfortable with. And here’s what I did, which is just an amalgamation (because I’ve been dying to use that word in a blog post) of a lot of different techniques I read about, watched videos for and got advice about from a plumber with 20+ years of experience. Who I reached out to only after I had messed it up twice. Ugh.
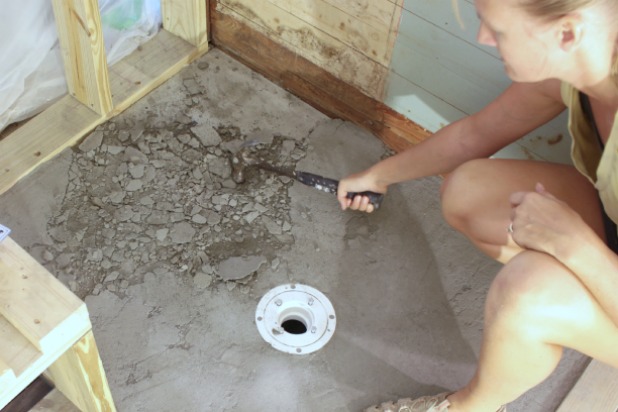
Step 1: Preparation
Before you’re ready for any work on the shower pan liner be sure you have your shower area prepped and ready.
1. Make sure you have enough support under your house for all of the added weight of the mortar and tile. A good gauge is if you’re floor joists are only 2 x 6 or 2 x 8 you should beef them up with added support.
2. Make sure you have a solid 3/4″ subfloor. We have 3/4″ oak flooring but there were a few gaps that I didn’t like so I added a layer of 1/4″ cement board right on top of it (after I built the bench). More on that when we talk about tiling because we actually laid 1/4″ cement board over the entire bathroom floor, set with a little thinset and screwed in with cement board screws.
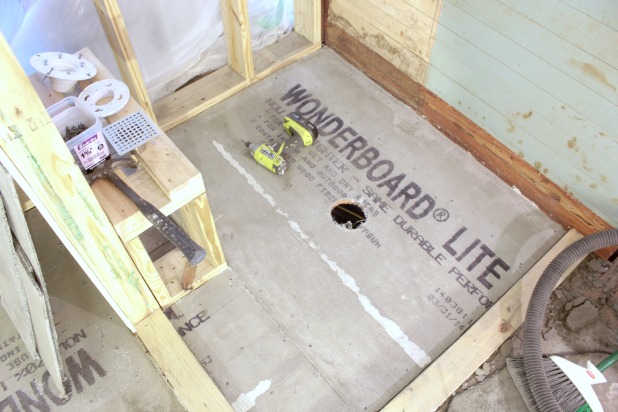
3. Create a “curb” around the surround of your shower. You will most likely want the curb to be 4 1/2″ high (3 pressure treated 2 x 4s stacked on top of each other) but for this first step I just attached one 2 x 4 directly to our subfloor with my framing nailer. (I have this one and LOVE it.) If your shower is larger you might need to add the full curb here as well as add boards in between your wall studs so you have the proper surround to hold in the shower pan mortar up to the appropriate 1/4″ per 1′ slope you will be creating. And I will want to come check out your extra-large shower for sure!
4. If you’re adding a bench in your shower now is the time to frame it. I just used pressure treated 2 x 6s and 2 x 4s we had left over from wall framing projects and created two boxes.
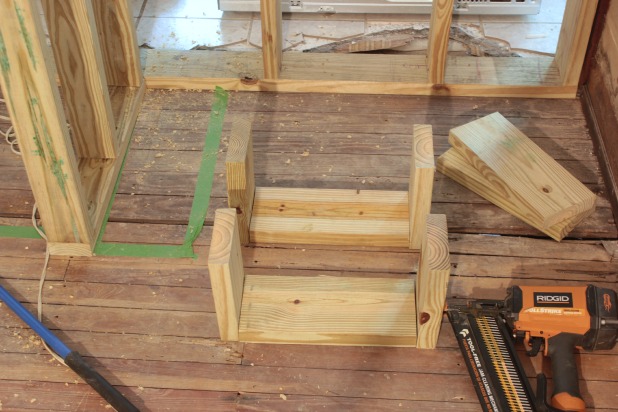
(You can see I didn’t necessarily do these steps in any particular order. You can see the gaps in between the floor boards in that picture above since we hadn’t added the cement board yet.)
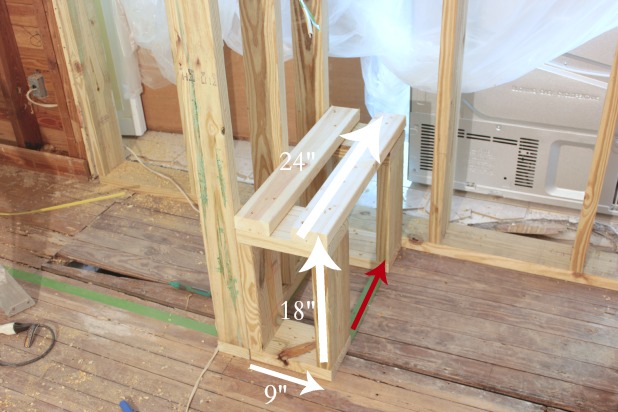
Our bench is not large, and was really Joel’s idea as a nice feature suggesting it’d be a nice stoop for my leg shaving. Seems like someone might want me to shave those legs more frequently. TMI? #BlondeHairIsAwesome It’s not often we get so exhausted in the shower we need a sit break, but it really does seem like a nice, upgraded feature. After I snapped this next shot I did add another 2 x 4 where that red arrow is.
5. Drill your drain hole. You will need an adjustable drain and drill your hole large enough so the flange sits flat on your subfloor, about 4″ in diameter. Add a little caulk under the flange and attach only that one part of the drain to your subfloor.
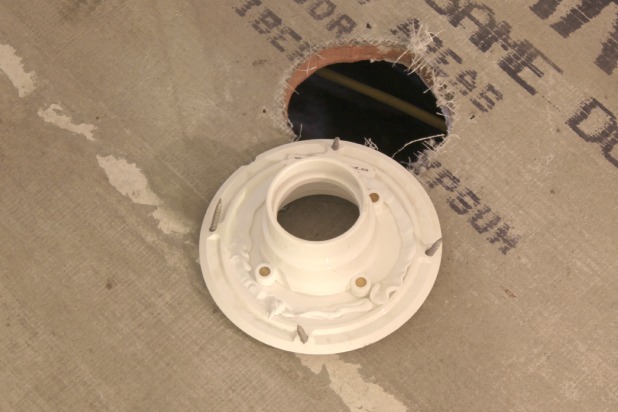
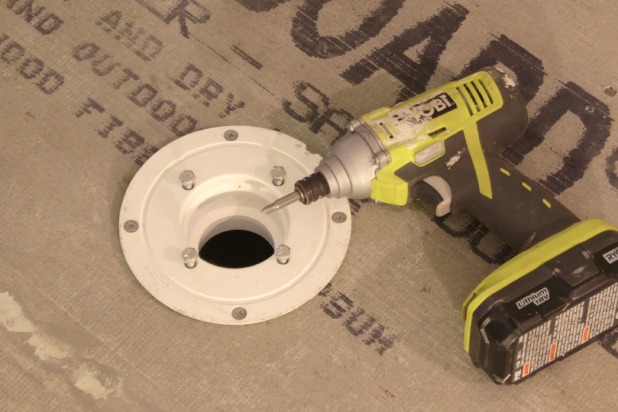
Tip!!! If you attach your drain pipe here be sure to plug up the drain with a sponge or something so nothing falls in there.
6. Now clean your area thoroughly. Sweep, shop vac, hand mop, toothbrush … whatever you got.
Step 2: Preslope
We are going to thoroughly discuss the what’s and what nots when it comes to the preslope and quite frankly it’s just too much information to tack on right here. So that’s coming to you soon. Hold onto your hats!
Update: The shower pan series is complete. Here are the other posts that might come in handy if you’re making your own shower pan.
- how to make a preslope and if you even need one
- installing a PVC shower pan liner
- the final steps of the shower pan
- how to prepare your shower for tile
And to see what direction we’re headed with the tile just click here.
And please tell me you’ve messed up a project, the same project, more than once. It feels crappy doesn’t it. But to overcome it. It’s kind of the best, no?!?!


Jessica @ Decor Adventures says
This is perfect timing because we have been thinking about how to make our shower floor in the basement for, oh – about a year now. And we’re thinking of adding a bench too. Since our shower is an unusual size, that might help us get a standard pan size, but we’ll see. I’ll keep you posted!
Karah says
Good luck! This is one of those projects I’m glad to have behind me. 🙂
Megan @ Our Pinteresting Family says
You always have such great information in your posts. My husband can’t wait to read your next post he said. This is on our never ending to do list.
Karah says
That is like the best comment ever. Sometimes I worry that the details just get skimmed over and no one really cares, but I want the posts to be useful … not just ugly pictures of an old bathroom. LOL
Barbara C says
Belated Happy Birthday. Glad you got to see a winning Sox game. I thought I recalled reading somewhere on your blog you came from the Boston area. I lived in Boston for my first 40 years and then moved to the South Shore.
Thanks for the shower post. It’s something I always thought of doing but hubby and I are too afraid of doing it ourselves. You make me feel brave!
Karah says
I believe you are brave, Barbara! We just returned from almost two weeks “back home” in Maine. It is always so fun to go back and experience a northern summer. We joked the whole time that the coldest winter we’ve had in a long time is this summer in Maine. haha
David says
I have one theory as to why your preslope failed. You laid the mud directly onto the cement board. Cement board is very thirsty and may have sucked a lot of moisture out of your mud, not allowing the mud to cure properly. A standard practice is to staple down a layer of roofing paper or felt paper onto the subfloor (along with metal lathe) before setting the preslope.
Karah says
Thanks for the insight, David! I ended up learning that I needed to mix the sand mix with mortar and that worked like a charm. I did see the roof paper/metal lathe process, too, might have to try that next time!
tammi says
getting ready to start my own bathroom remodel this summer and your blog is WONDERFUL!!! Thank you!
Karah says
Yay, I’m so glad you find it helpful. Have fun with your own project!!
Miranda says
My husband and I have been talking about doing this to our master bath but we are not sure if we can afford it. How much did your diy project cost?
Karah says
Hi Miranda! I don’t know the numbers right off the top of my head, sorry. A lot will depend on the tile you choose so I would start there if you’re thinking of tackling this project. Figuring out how much tile you need (up that number by 10-20% for budgeting purposes just to be safe) and then determining the cost of that will be the bulk of the expense. The glass, since we went with the thicker option and ours was a custom size, can also be expensive, but if you made your shower a standard size you could use a pre-made glass surround with door which could help bring down the cost. The bags of mortar and other tools will run probably run a few hundred dollars. Have fun if you do decide to take this on!
Chris says
Thank you so much for this comprehensive info. I have never done this before but am determined to do it myself (with the help of a good friend). I can relate to the difficulty of determining the best way to do this when there are so many different ways that people recommend. One question before I jump into it – is there anything you would do differently at this point, with the passage of time since the original post?
Karah says
Hi Chris! Sorry for my delayed reply, but the only thing that I would do different is not messing up my preslope two times before I actually got it right. haha That just delayed the process but was just part of my learning curve I guess. Good luck with your project!
Stephanie says
I have watched hundreds of YouTube videos and read so many articles and felt SOOOO OVERWHELMED to do our shower!!!!! BUT my husband sent me your blog and I was so happy!!!! This SAVED ME!! You just have no idea!!!!!!! So THANK YOU!!!!!!!
Karah says
Yayyyyyyy!! If you have a chance to, take the time to read the comments. Many of commented on their experiences and what has worked for them or what they disagree with that I’ve done. But it is holding strong and still looks amazing so I would do it again the exact same way if I had to. Good luck with your project!!