the space between

upcycle, repurpose and reinvent your space

  • about
  • aruba
  • key west
  • curacao
  • projects
  • house tours
  • privacy policy

DIY wood shutters {and a day I never really ever imagined}

September 18, 2014

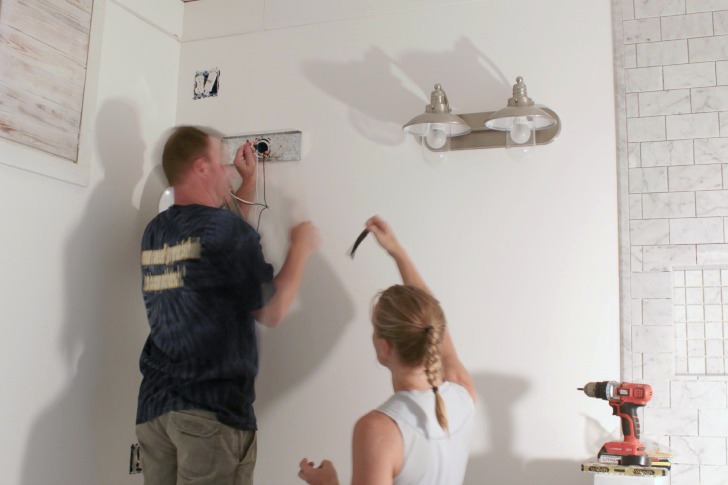
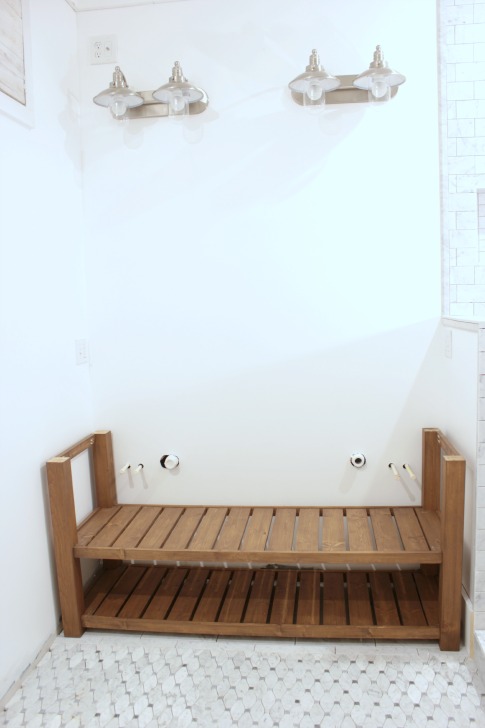
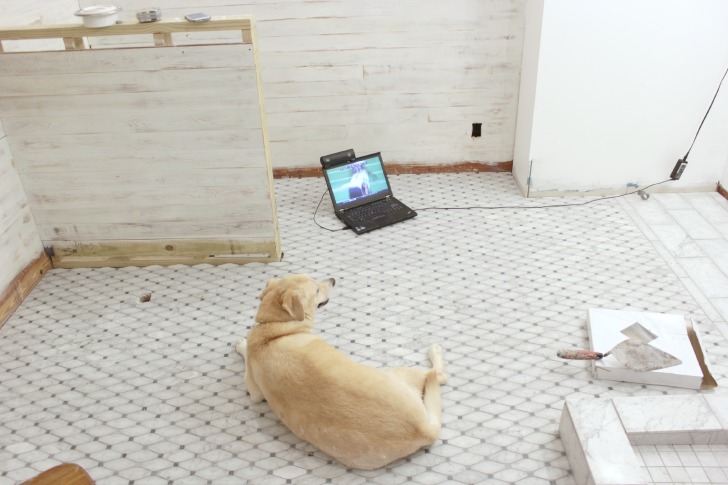
Hey hey! Things are trucking right along in the bathroom department … I may have just sent Joel this text saying “I know, I know … I’m getting a little ahead of myself”.

master bathroom vanity area

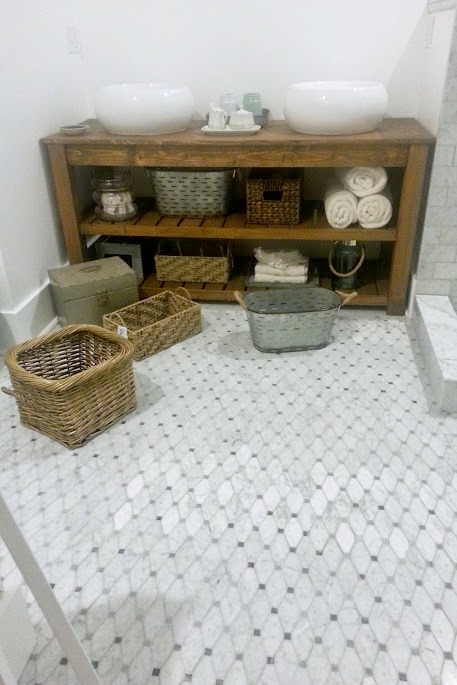
Yep, I’m already messing around with decorating and organizing … but the sinks aren’t even hooked up yet … and you might notice there aren’t any faucets.

I couldn’t help it. ๐Ÿ™‚

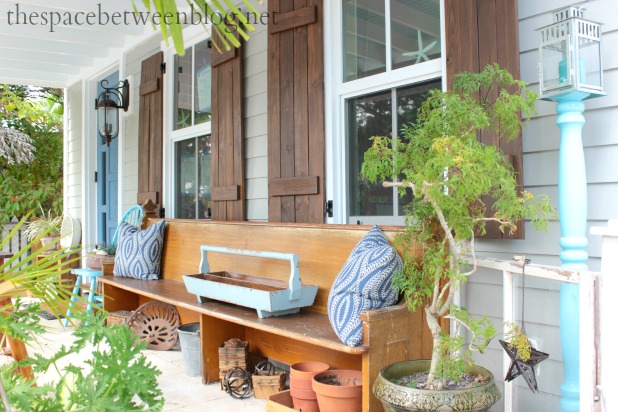
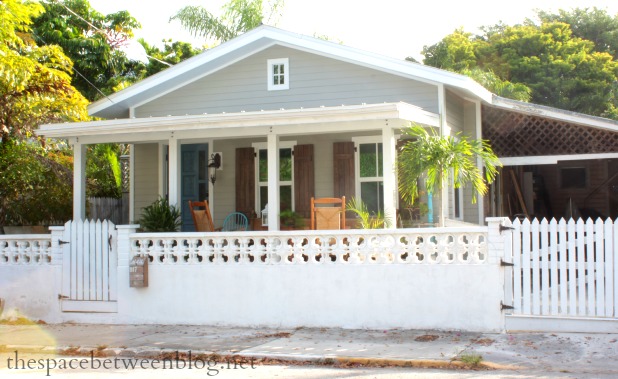
While I continue to mess around with baskets and pretty things make progress I wanted to share a project that I get asked about a lot … the DIY wood shutters we added to our front windows.

creating curb appeal with some front porch decorating

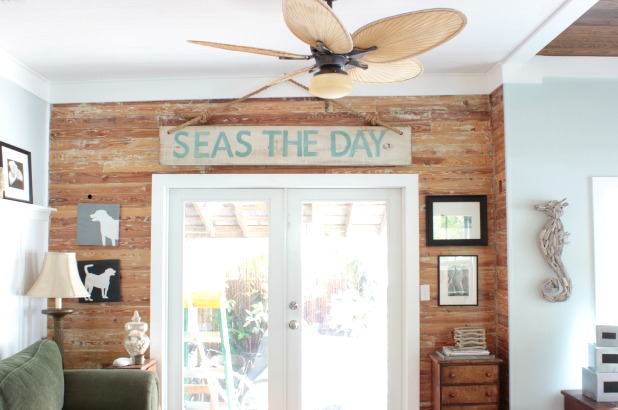
If you’re curious, the other project I get asked about a lot are the old DIY canvas silhouettes. And I didn’t share the tutorial when I first photographed them because they were a project I made for the book. And in a full circle moment, for all you Oprah fans, the release date for the book is today. When I received my copies in the mail it was just so surreal to see that all of the time and effort really did turn into a tangible thing.

And the funny thing about the shutters is that they aren’t even made out of pallets. Here’s the thing about the book. I didn’t really have a dream to write a book but when the opportunity presented itself I knew it was something I couldn’t turn down. If I hadn’t taken on the experience I am the type of person who would have always wondered what it would have been like. But I also wanted the book to be about so much more than just making projects out of pallet wood. I wanted there to be a message of “ability”. Like you have the ability to create things you love for not a lot of money. You don’t have to buy the latest trends or be close to a lot of shopping (thank goodness for that!) to surround yourself and fill your home with things that you love.

living room side wall May 2014

And you also don’t even have to lug a pallet home and take it apart to get the look of pallet wood. I know that kind of thing isn’t for everyone. So I also tried to show in the book that you have the ability to take pallet wood and create items that don’t look all worn and rustic. Or, you can take brand new wood and create something that looks like it was made out of pallet wood.

pallet bench and shutter

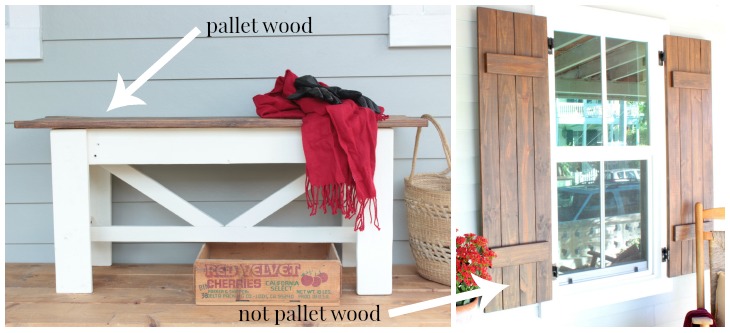
I like working with pallet wood because its free (!!), but I also like the rustic look of it and the versatility. But sometimes you just don’t have a pallet on hand or for whatever reason pallet wood won’t work for your project. That’s what I ran into with the shutters, I knew what look we wanted, but our windows are 54″ tall and I didn’t have the patience to wait around to gather enough extra long pallets.

So I just used pressure treated 1 x 4s and cut them the same length as the height of our windows, sanded them down a bit and gave them a dark stain. The two slats going horizontally across the front not only add a decorative detail but they hold the whole shutter together. I screwed each slat into the little brace piece from the back so you couldn’t see the screws.

It really is one of the more simple projects, but something that nearly every person who meanders by our house (it is Key West, people meander everywhere after all) comments on. One of our neighbors even sent her contractor over to take a look at them so he could make her a similar set. Also proving that a project doesn’t have to be complex or difficult to be awesome.

house exterior April 2014

And speaking of awesome. I wrote a little thank you to you guys …

marley-thank-yous

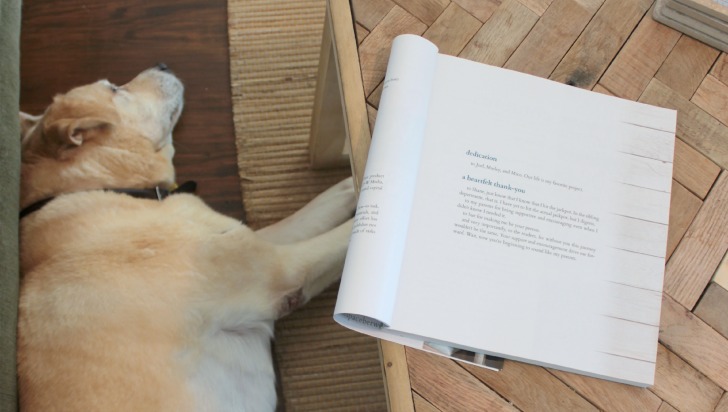
Yeah, this very quickly went from being about you to being about my adorable 13-year-old puppy. Ok, back to you …

thank-you-page

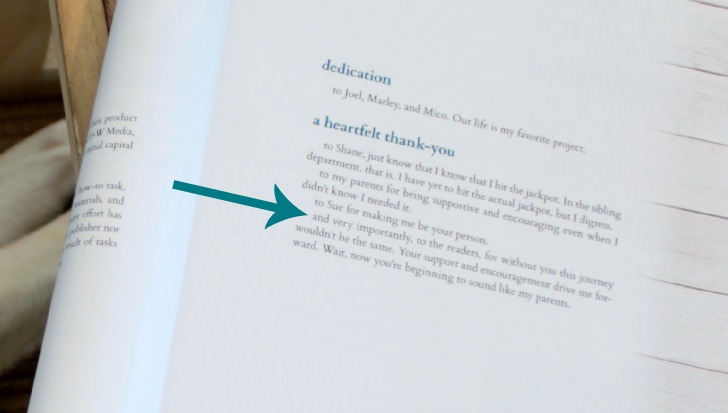
If it were not for this blog and you guys that book would never even have been. And I know that. And want you to know that I know that. Now, I’m not going to go getting all sappy now. Like someone I know. Apparently you can’t blame someone for forcing me to be their friend without them getting all gushy about it. And if you don’t know about the concept of having a person, you might find this amusing.

So thanks. You really are the best of all time.

And just so this isn’t all about you and Marley I have to include the spunky 12-year-old, too.
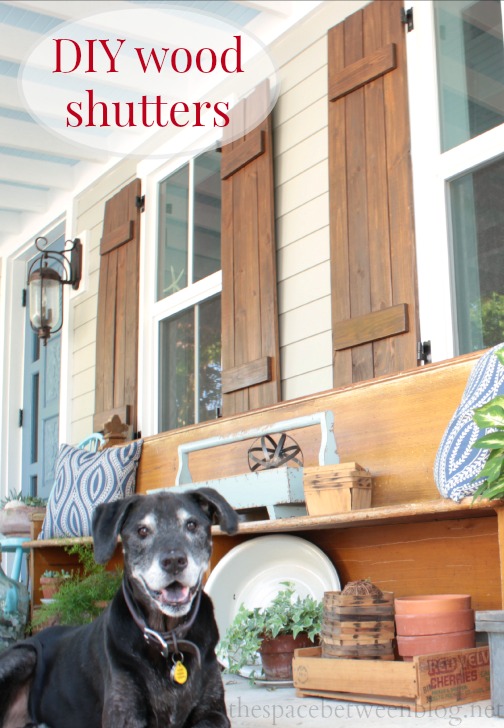
DIY wood shutters

xo

PS. My buddy Shirley is offering a giveaway of the book on her blogย and you can order a copy right here.

the turning point in the master bathroom renovation

September 16, 2014

You guys! This weekend was the most exciting weekend in the master bathroom renovation so far.

By far.

I can’t really explain it all, but the moment the finishing touches start happening is the same moment a renovation starts to feel like a real room. And ghost face and I installed the vanity lights!

master bathroom vanity lights

Actually, ghost face did it all, I just handed him electrical tape so I took a picture of that hard work in action. ๐Ÿ™‚ ย And if you weighed in on our vanity light dilemma you remember the big debate (OK, maybe it wasn’t all that big) about what kind of vanity lighting to choose. And then once we decided on a two light vanity light I showed you all kinds of options we were considering. And here they are. We picked #8 on the list.

And I love them. “This is so exciting!” That’s what I said on repeat every time I’ve looked at them since they’ve gone up. There may also be some shoulder shaking involved of that dear husband of mine to show him just how exciting it is! I’m still not sure he gets it.

But this happened, too.

DIY wood vanity

I made a vanity. And the most exciting part … it actually fits into the nook! It’s no secret that me and measuring don’t always see eye to eye so I made Joel help me bring it in there just to make sure it really fit. And there were a few sighs of relief.

Up until now most of what we’ve been working on are things that really aren’t seen by anyone. I mean no one is going to walk into this bathroom in the end and be like “My, what a nice shower pan you have.” These new details make demolition feel like the distant past, that stage when everything is just hard … did that really even happen?

Now we’re adding in the pretty, and it is so inspiring. And motivating. And makes the whole process feel so worthwhile.

DIY wood vanity

There are still so many little details I need to tackle like finishing the molding and baseboards and door trim and a door would be nice. And there is a tub in our side yardย because we continue to be awesome neighbors that needs to find a permanent home. And the vanity in the bathroom was short-lived because Sunday was slated for grouting.

how to grout marble tile

Which is another big and exciting step! Grout somehow just brings tile to life. And true to form Marley made herself right at home on it while I finished up grouting the shower.

master-bathroom-marble-tile-with-grout

Mico still has yet to summon the nerve to venture into the new room, but she gets at least a half-inch closer to the door everyday. ๐Ÿ™‚

And if I were to make one suggestion for anyone getting ready to tackle a 5 hour grouting extravaganza, having a husband who will stream your favorite team’s football game is kind of the best way to go. I have all kinds of tips to share on the grouting and the tiling, coming soon for sure. And it will involve the suggestion of having a “bucket b!tch”, I’m just saying. Game. Changer. Much more to come on that.

It may seem weird that I did the floor before the shower but I was worried the gray grout was going to be too dark for the shower so we started with the floor and gave it an hour to dry to make sure it was going to dry lighter … and it did. And it’s exciting to have the grouting behind us. Some trim has started to go up and I’m pretty excited at how the rustic wood slat walls work with the long octagon marble tile.

master-bathroom-tile

It’s starting to really come together!

Here’s a look at what still needs to happen for me to just take a bubble bath already:

  • seal newly grouted tile (need to wait 3 days)
  • baseboard, molding, door trim and shoe molding all around – hang, caulk and touch-up paint
  • finish and install vanity
  • install two sinks
  • install two sink faucets
  • install shower valve and rain shower head
  • make and hang vanity mirrors
  • remove old window
  • install new tub (it will be coming through the window opening) ย ๐Ÿ™‚
  • install new window (by professionals)
  • install tub faucet
  • make/find chandelier for above tub
  • install toilet
  • install glass shower walls (by professionals)
  • prep, prime and paint bathroom door
  • hang door on rolling door hardware
  • install towel hooks and other necessities
  • shelving of some kind maybe over the toilet?
  • accessorize and organize
  • I’m sure I’m forgetting something
  • TAKE A BATH!

Ok, I’ve rambled on enough. Time to get back at it, and I have some totally-not-bathroom-related posts coming to you later this week but just know while you are reading them I am in the bathroom ticking some things off the list while exclaiming “This is so exciting!” and shaking Joel’s shoulders as he tries to elude the inevitable.

Is there any stage of a renovation that really feels like a turning point to you? Is it freshly primed drywall maybe? Something different? Or beginning of the real pretties, too?

  • « Previous Page
  • 1
  • …
  • 18
  • 19
  • 20
  • 21
  • 22
  • …
  • 169
  • Next Page »

Copyright © 2025 · custom theme design by this bold girl · Built on the Genesis Framework 

  • pinterest
  • facebook
  • instagram
  • rss