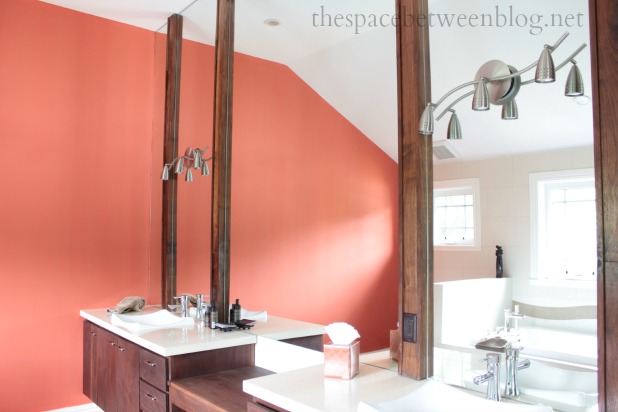
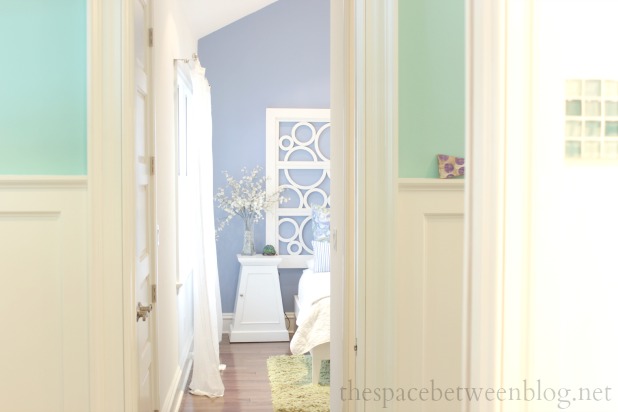
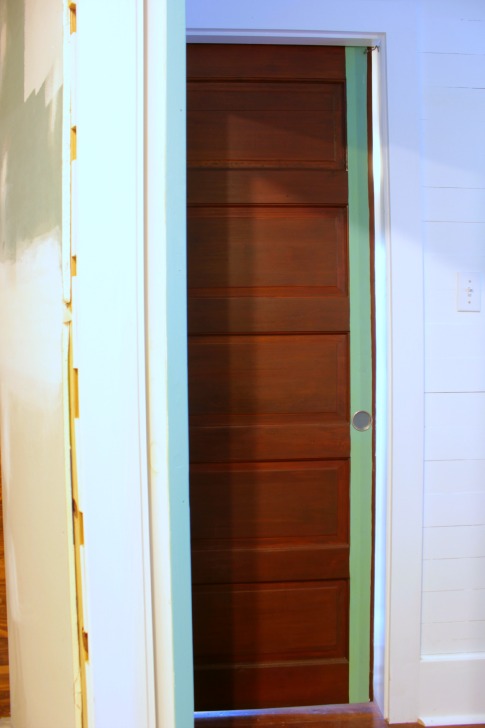
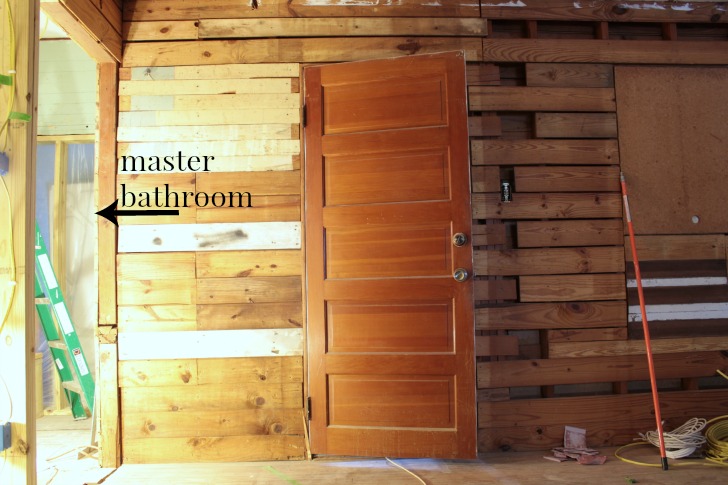
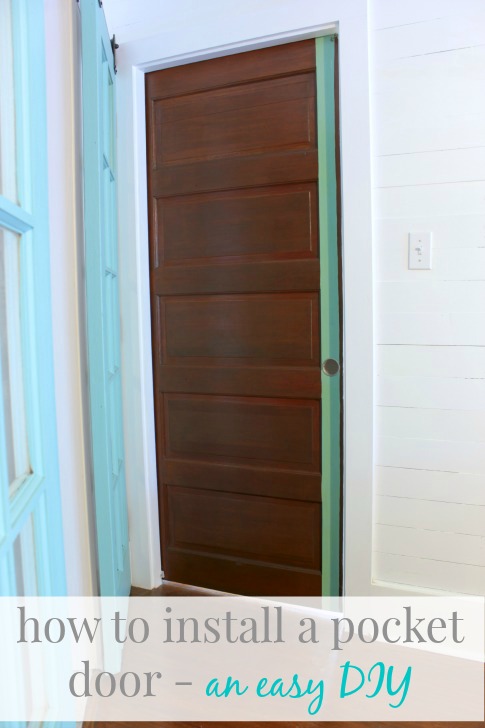
We are doing a step by step tutorial for a pocket door installation kit today. And, even though I was able to make the walking into and out of our master bedroom easier by installing a pocket door, it did not make this awkward corner any easier to photograph. I’m sorry about that. :/

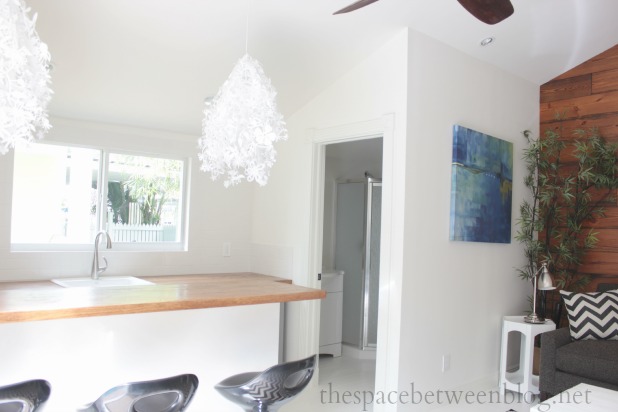
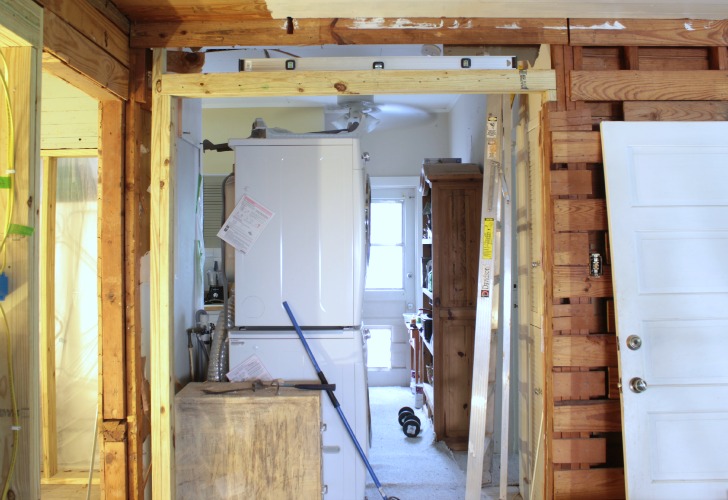
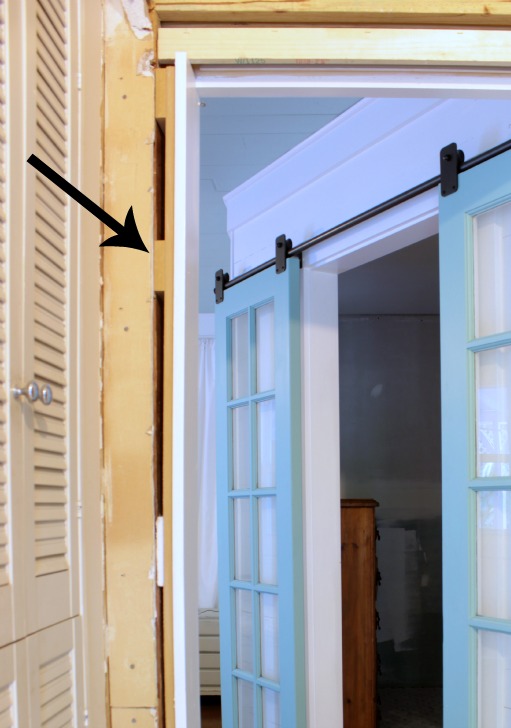
And I’m sorry about this view from the kitchen side, just goes to show exactly how much more work we still have to do on the house. But it does illustrate what the pocket door frame kit looks like inside the wall.
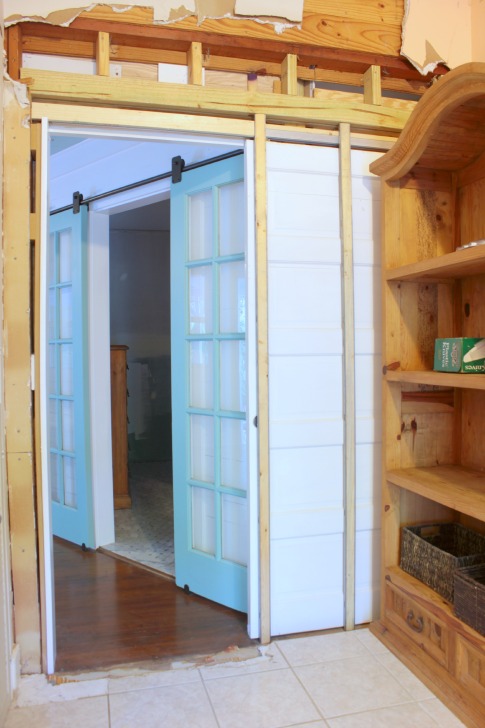
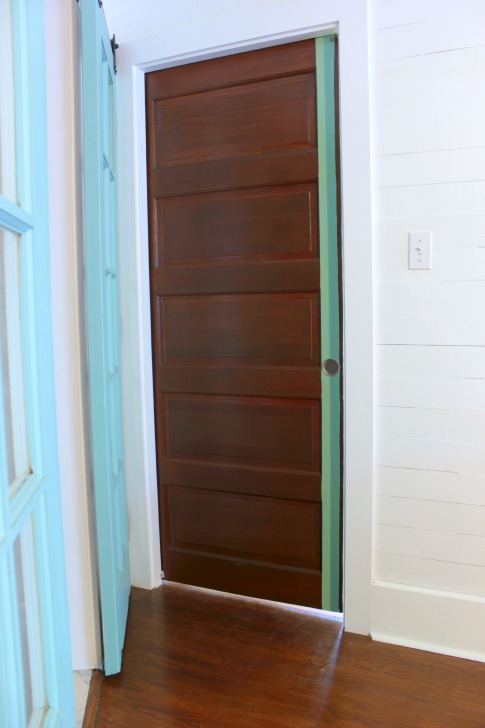
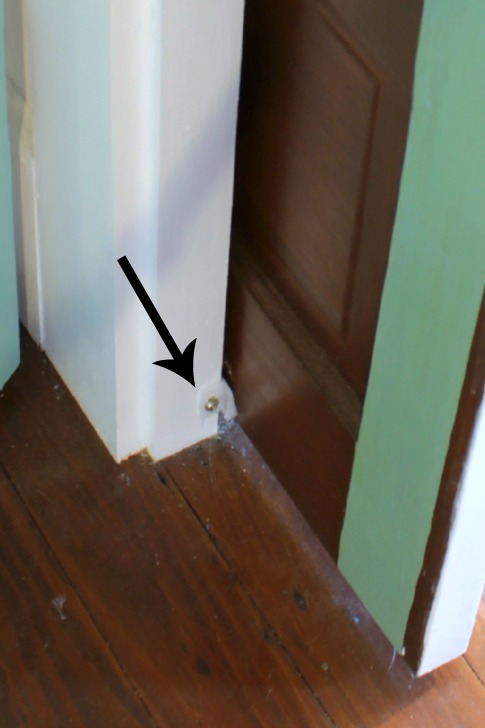
And a weird photo from just inside the master closet, just because why not capture the view from every angle in this weird little spot so perfect for a diy pocket door. The aqua stripe on the door is the same Cascade Green color I used on the master closet and master bathroom doors. And the painted stripe actually serves a purpose, but more on that in a bit.
Review of Johnson Hardware Pocket Door Frame
One of the things I really love about this bedroom pocket door is that it truly rolls along the hardware like buttah. It is so smooth and quiet. And, other than the final install of the door onto the hardware, when I enlisted the help of my husband, I did this entire project, from framing out the old door opening to installing the new pocket door all by my lonesome. And although I was really nervous about it at first because it just seemed like one of those projects that could go very wrong very quickly it actually went great.
So let’s start out by saying that if you don’t have your file cabinet beside your washer and dryer and in your kitchen are you even living? 😉
I mean I can file and fold from the same spot if I had four hands.
And who doesn’t love to lift some dumbbells while you’re whipping up dinner?
Me. I don’t. I actually haven’t used those dumbbells in years. They were just waiting to be put in the attic, which is a whole three feet away. But I needed a ladder to get up there. But look, the ladder is right there, too. I have no excuses.
The Perfect Spot for a Pocket Door
But the real discussion here today is the glorious addition of a pocket door into our master bedroom. So let’s look back to why this is the perfect location for a pocket door. I first discussed it when we talked about planning the space and when I shared the new floor plan.
Essentially in that picture above 3 different doorways are necessary (note: the wall to separate the master bedroom from the master closet wasn’t built yet). One door to enter the bedroom, one door to enter the closet and one door to enter the bathroom. That’s a lot of clanging doors if we went the traditional route so we settled on three different things and today is all about my very first and very favorite diy pocket door.
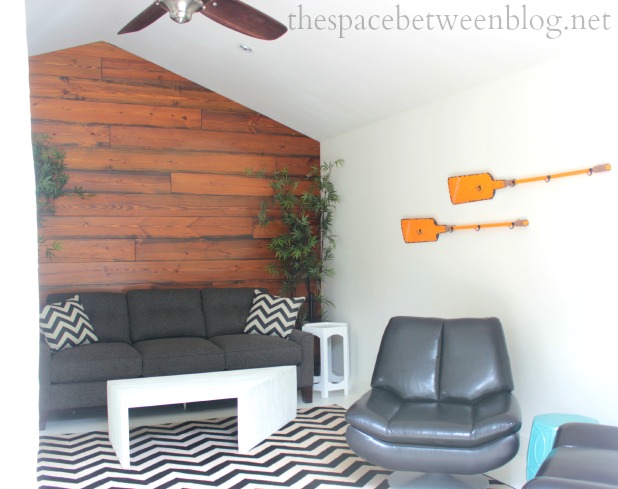
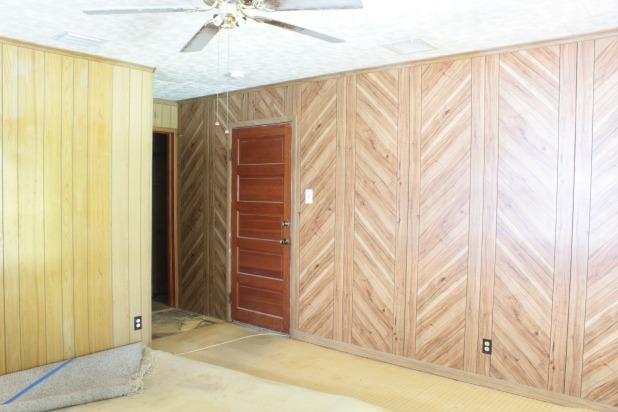
You might remember that wall originally looked like this.
And then we removed the paneling and the wall that separated the old bathroom from the master bedroom and we were left with this.
We also removed a lot of the lighting causing some funky lamp light photo effects. 🙂
Selecting Your Pocket Door Installation Kit
I did a bunch of research at our local home improvement stores and online trying to decide what kind of pocket door system I wanted. I first had to decide if I just wanted to buy some individual parts and try to piece meal it together or did I want an all-in-one frame and track system. Even though my ego tells me I could do the piece meal route (what can I say, I like a challenge), the ease and convenience of an all-in-one kit was quite appealing. And after checking out a bunch of options I settled on one from Johnson Hardware and reached out to them to see if they would provide me with the kit so I could tell you all about the process. And they kindly obliged, thank you Johnson Hardware!!
You can buy the exact same kit on Amazon, Johnson Hardware pocket door frame kit.
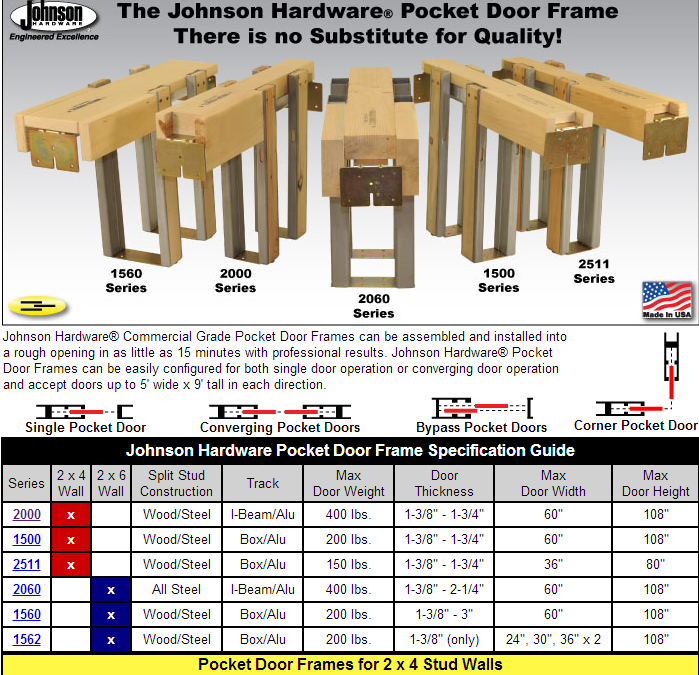
Don’t let me fool you into thinking I wasn’t still a bit intimidated, one look at their website and you’ll see why. They offer so many great options that would really fit anyone’s pocket door needs, it’s kind of hard to sort out exactly what I needed. But thanks to some helpful customer service and a discussion about what I was trying to accomplish I had a pocket door kit on the way to me.
To determine which kit you need you will need to know the size of your door (height, width and thickness) as well as the size of your wall studs, I ended up with the 1500 series. Imagine these are miniature versions of the entire kit going from floor to door header, I had no idea what I was looking at the first time I saw this picture, but this is exactly what you’re pocket door frame will end up looking like after you install the kit … just taller and wider, unless you’re doing this in a doll house.
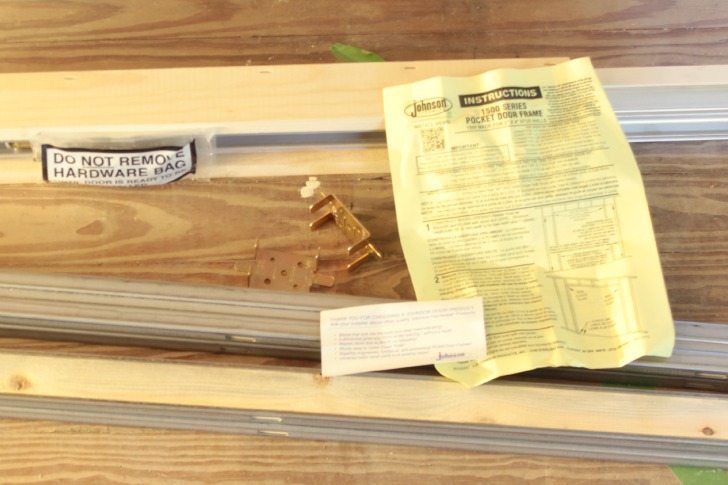
And thankfully, this is one of those deals where every last piece of anything you need to finish this job (except for the door) is included, with really detailed instructions that walked me right through the whole process. Even the handy “Do Not Remove Hardware Bag Until Door is Ready to Install” sticker. This seems simple but it actually took me months to get from one stage to the next while completing a master bathroom remodel and a few other things in between, so if I had removed the bag when I first started, as instinct indicated I should, I may have never located that little bag of hardware ever again.
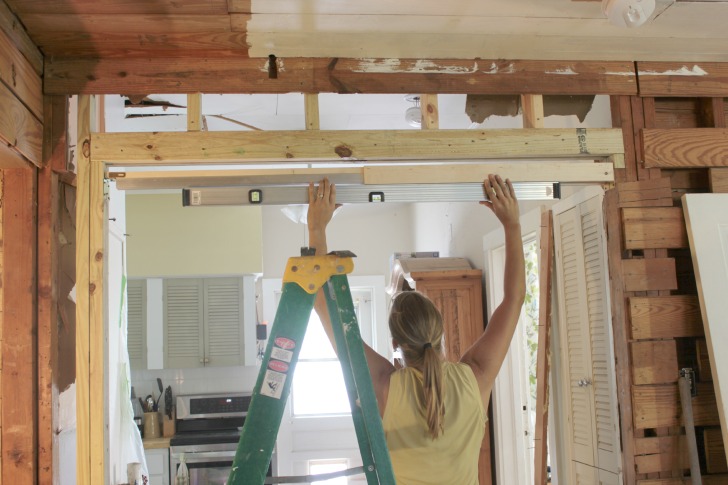
As with many projects, some steps would have been helpful to have a second set of hands around, but I made it work doing this project all on my own and Joel came home from work the day I took the next picture and said “Wow, I wasn’t expecting that”.
When he left the view was that single door and when he returned I had it all opened up and studded in with a new 2 x 4 header.
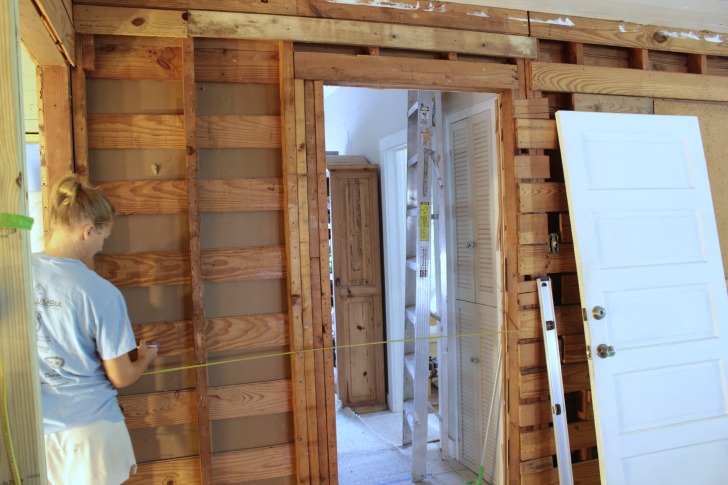
Prepping Wall for Pocket Door
The most time-consuming and physically demanding part was definitely the demo. And that’s mostly because we have all kinds of weird wood slats attached to our old studs and I had to pry and prod and whip out the sawzall to get it all out. First things first, when we decided a pocket door was what we wanted we invited our contractor friend over just to be sure doing this wouldn’t harm the structural integrity of the house and he gave us the all clear.
The demo will be a little bit different for everyone, especially if you, too, are working in an old house. But once you start the actual install of the pocket door kit, the most important part is that the opening is straight from end to end, your studs are plumb from floor to ceiling and your header is installed level. If you can accomplish this your door will glide along the hardware perfectly.
The kit instructions give great detail about how to determine how large (width and height) to make your new door opening.
Check out how out of level our ceiling is compared to the new, level, header and pocket door rail.
Installing a Pocket Door Frame Kit
The studs that are included with the kit are wrapped in metal so after you have your beautiful new pocket door all installed you won’t screw into the wall and stud to hang something and accidentally screw right into your beautiful door. That is totally something I would do. How many pocket doors have you seen with horizontal line scratches in them? That’s what happened. These studs will prevent that and I just used a jig saw with a metal blade to cut them to the length I needed.
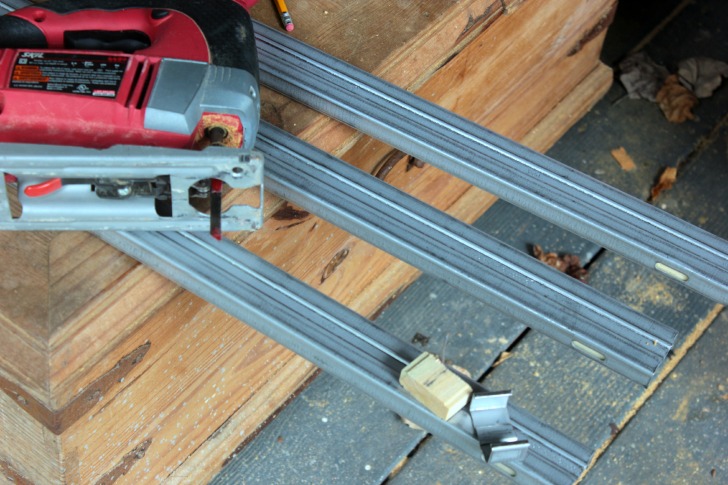
There are holes in the sides of the metal that allow for easy nailing or screwing into place for install. And the instructions guide you right through where to install them to leave the right size opening for your door. And the kit comes with metal clips that get screwed into your floor and the metal wrapped wall studs clip right onto them. It really is as easy as it sounds.

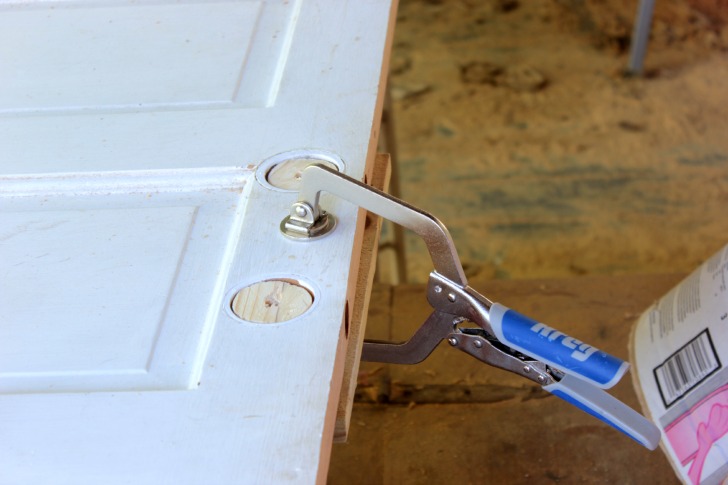
Prepare Door for Installation
Now, with your doorway all framed out it’s time to prep your door for install. Since I was reusing the door that was already there, and it used to have a deadbolt, I needed to patch the hole after removing it. I just used a hole saw and cut out a few round pieces of wood from a scrap to start to fill in the hole a bit. With the door laying on sawhorses I clamped another piece of scrap wood under the door so my little round pieces wouldn’t just fall out the bottom.
And then it took a few coats of spackle to fill the rest of the hole and sand it down smooth.
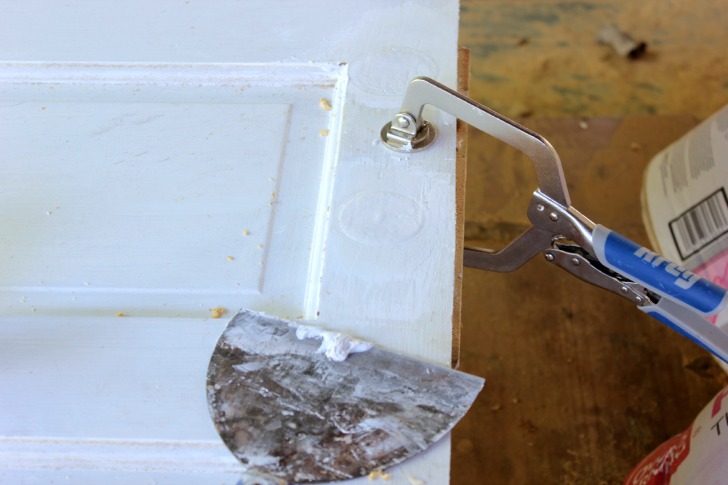
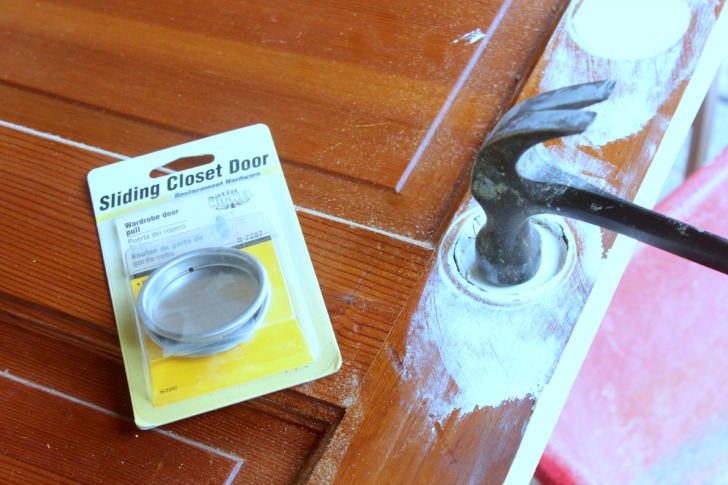
Yes, I started to patch both the door knob and the deadbolt holes before realizing I would need to put a pocket door handle in the hole where the door knob was. Whoops! Hammer to the rescue.
Then flip the door over and repeat. And a real carpenter would probably tell you to use wood filler. But when it’s getting painted anyway does it really matter? No. The answer is no. 🙂
And enter the reason why I painted the aqua stripe, because I wanted to keep the one side of the door stained but I had a patched hole on the door. So I just sanded the entire side of the door and stained it the same color as the floor (Modern Walnut) and painted a vertical stripe to cover the patched hole. I love the added detail and it was simple fix that let me keep the rest of the door stained.
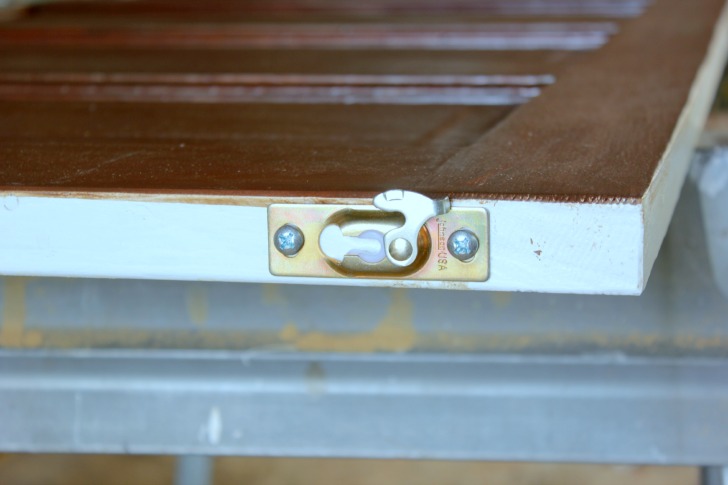
The actual hardware that the door hangs from is also a simple step, there are two rolling tracks that fit right into the pocket door rail you already attached below your header, and then two clips that get screwed directly into the top of the door. It was the effort of holding up the door and aligning these clips with the rolling tracks that I need my lovely assistant. But once that step was done I had a complete pocket door.
And a pretty awesome sense of accomplishment, let’s be honest.
Finishing Touches
It actually turned out that the wall stud to the right of the opening above wasn’t plumb either, so the door, once installed only closed tight at the bottom with about an inch gap opening at the top of the door. So, before I installed the door trim, I used a few pieces of 1/2″ and 3/4″ scrap wood and drywall to shim out the trim toward the top so the door would close evenly from floor to header.
And the kit even comes with little bumpers to install on your trim so the door won’t ever rub when it rolls back and forth.
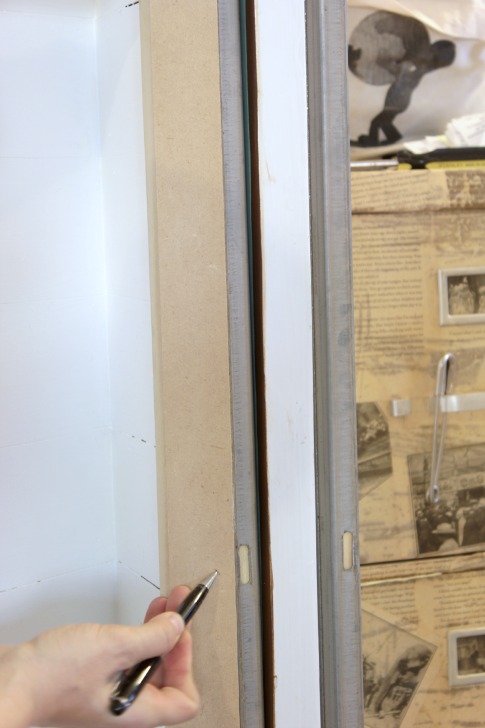
AND, speaking of trim. The trim install was super easy because of the holes left in the metal wrap around the studs. Just mark where those holes are in your trim board and then you can nail your trim right into those little metal wrapped studs like they’re regular studs.
I really can’t speak highly enough of the pocket door hardware kit from Johnson Hardware, and their customer service was quick to reply to my every last question to be sure I ordered just the right kit.
Now, don’t be afraid, go ahead and tackle the diy pocket door project you’ve been dreaming about. Because we do all dream about pocket doors. I know it. And we don’t want to be stuck with this forever. 🙂
You might also be interested to read about easy to install rolling door hardware and how to install French doors on rolling door hardware.
If you’re ready to start this project right now you can buy the exact same Johnson Hardware kit.