This post may contain affiliate links which won’t change your price but will share some commission.
Please tell me you all have World Cup soccer fever, too.

We’re kind of into it. Big game coming up tomorrow. Go team USA!!
Now, if we had a nickel for every time we did something wrong in the DIY arena we’d be rich. Very, very rich. And we’d live here. Because it’s for sale. And it has a moat.

You know those people who start out every project by doing a lot of research and checking and double checking their strategy and then proceeding with caution?
Yeah, I know those people, too. We are not them. We’re much more the “how hard can it be” DIY type. We’re the “we can figure it out as well go” people. Not in a cocky way, just in a “we’re capable adults, with an average set of skills and a decent amount of common sense” way. You’ll never know if you don’t try, right?!?
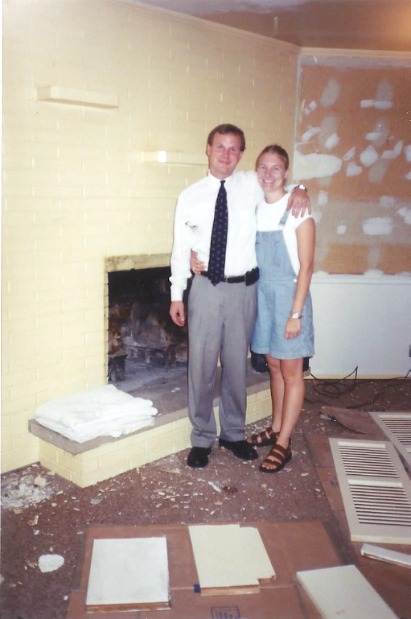
And … to fast forward many, many years … that strategy has served us well. We’ve tackled projects way beyond the scope of our skill set and have somehow made it all work. The projects Joel and I have tackled together through the years are all fun to look back on and reminisce about. Here we are circa 2001 in the family room of our first house in Indianapolis, IN. #lovedthoseoverallshorts
Even the ones that didn’t work out well. Like the time we learned about primer. Ay yay yay!
The other infamous “well that didn’t go as planned” project that makes us laugh now even though it may have made me cry back then is the first time we tried to cap some plumbing pipes. We had no idea how to cap a water pipe. But, in theory, we could easily walk through the steps.
1. Cut pipe.
2. Glue pipe.
3. Cap pipe.
Sim. Ple.
STOP RIGHT HERE! I am going to save you from learning this lesson the hard way like we did. NOT ALL PIPES ARE CREATED EQUAL.
So, demolition is happening around here.
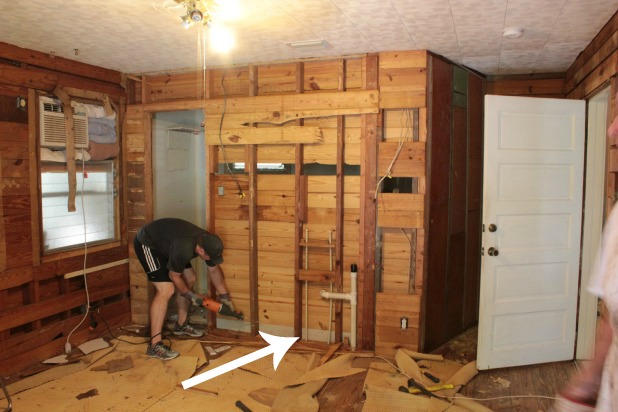
And since we’re relocating a bathroom we need to relocate the plumbing. I’m pretty sure we’re having a professional do all of the new plumbing work, but we’re having a heck of a time getting a reputable one to give us the time of day. But, in preparation for demolition day we needed to shut the main water off to the house in order to remove the old toilet, sink and shower … which meant that we needed to cap those pipes once the day was done to be able to turn our water back on and do normal people things like … bathe.
I know I just proclaimed to stop! But this is where I tell you that this really is such a simple DIY it is pretty embarrassing how poorly we’ve executed (or failed to execute) this little project in the past. Here is the scene of the crime in a rental house we renovated in 2005 in a small town in Maryland.

Yes, we took out the old pipes to install PVC because we thought it would be easier than dealing with a torch and flux and all that mess. #anothernickelforus
Here’s what you need to be sure of …
Do you have PVC pipes or CPVC pipes?
That one little letter can cause Borderline Insanity Disorder. We were never officially diagnosed with this fake ailment, but I can assure you that we were on the brink of crazy when we tried to fix a CPVC pipe with PVC glue about 9 years ago. Glue, cap, wait, turn water on, cap bursts off pipe, tears, repeat … over, and over and over. It was very sad.
But here is the other big tip that can save you the headache …
Bring a piece of your pipe with you to the hardware store because they don’t know what kind of pipe you have without it.
They will be very helpful, and hand you parts like they have seen your plumbing and you will leave with a false sense of confidence. It’s not their fault.
Here’s what you’ll need, some affiliate links:
- hack saw
- caps the same size as your pipe, either PVC or CPVC
- primer – the same kind works for PVC and CPVC
- “cement” – the glue that will dry like cement if you buy the right kind, make sure you get the kind that will work with the pipes that you have
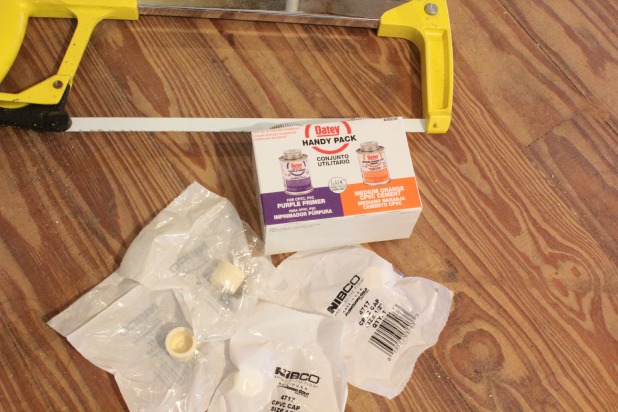
Another fun fact: CPVC measurements refer to the diameter of exterior of the pipe, PVC measurements refer to the diameter of the interior of the pipe. So 1/2″ PVC looks much larger than the measurement indicates. #notconfusingatall
So, from here on out, it really is a simple process. We wanted to remove the pipes from the floor entirely so they didn’t interfere with any additional demolition progress so step one was to go into the crawl space send Joel into the crawl space with the supplies.
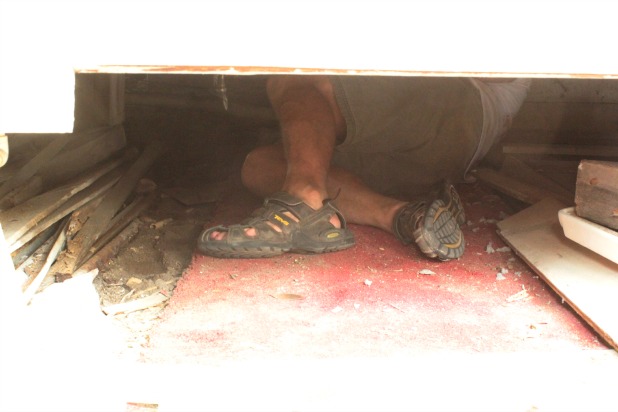
But he can’t complain, I rolled out the red carpet for him. 😉
He proceeded to cap off the water pipes for the old bathroom sink, shower and toilet and we just put rags in the drain pipes for now. And it turns out that one rogue pipe was PVC so I had to trek back to the store to buy the other cement which is in a gold container like this.

And then might I suggest one showers. Because, well …
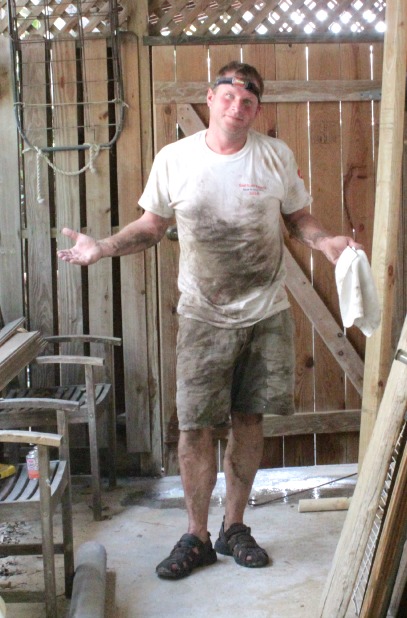
And we don’t have lights in our crawl space so that fancy headlamp makes it easy to maneuver and work without having something extra to hold on to. It’s not just a fashion statement. 🙂
This is part of our complete master renovation, you can get caught up on how we got started, what our floor plan thoughts are and how demolition day went down. And don’t forget to enter to win a complete Deck Care Kit from Thompson’s WaterSeal!
I’d love to hear what DIY lessons you’ve learned the hard way? Ever make a mistake over and over because you didn’t take the time to figure out what you were doing wrong?
And now if you wouldn’t mind indulging me for a second, while looking back through old pictures to try to find the shots of that old bathroom I found this.

Melt my heart, that’s Marley’s first night at home with us when she was just 8 weeks old in Indianapolis. Notice the painter’s tape all around. 🙂
And then there’s Mico’s first night at home with us about a year later.

Ugh. They are so cute. Mico immediately made herself right at home.

Ok. That’s it. No more. Ok. Just one more. 🙂

Don’t be jealous of the 1970s sofa or the lion blanket. That blanket alone saved us loads on our heat bill during those Indy winters. 🙂


Larry Lewis says
No crawl space lighting? Seriously? There’s another DIY project! Enjoying your progress reports (mainly because it isn’t me doing the reno). I was smart – waited until the heat of Hades hit and then decided to build a deck. During the day. Usually at high noon. But when the urge to DIY hits, it must be satisfied. Be safe and have fun.
Karah says
Hahaha, that is so true. When the urge strikes you’ve got to take advantage. Have fun with your deck, then you’ll have the perfect spot to sit and enjoy your project. 🙂
anne lacey says
I love your spirit! Plus, I also have 2 Labs, so affectionate, always sleep on top of each other or my foot!
I replaced my plumbing with pex 13 years ago (cost ALMOST covered by recycling old copper pipe!)
Now need to replace sanitary sewer/drain pipe (has original cast iron) and going to do this like you wth professionals, and yes, I am having trouble getting good people out to give me an estimate!
And about the crawl space, this is CA and it is post and beam and after 50 years of small earthquakes the posts look like they have had 1 too many margueritas!
Not sure how to correct those?
Sincerely, Anne
Karah says
Hi Anne! Drunk posts are probably not a good thing. haha I’m sure locals in your area would be familiar with how to correct that, although consulting with a structural engineer doesn’t sound cheap. But maybe there are supports that have been developed for exactly that reason. And for the professionals, I often have to take a double take at the pricing, and then remind myself that there’s a reason why they’re professionals. 🙂 Have a great day!
Phoenix Plumber LLC says
Because in the general nature and specificity with the field of plumbing a typical homeowner cannot know everything that iss necessary to maintain or repair the complete
plumbing system on tbeir own property. The major recommendations presented by tthe paper suggest
that financial incentives for house owners and tighter energy
efficiency standards were the important thing
too cutting carbon emissions in homes. Trry to avoid this by not dropping items of soap to
the drain – Most experts have claimed when you pour boiling water in the drain of your bathtub once every one month, it will help in stopping
any clogs from occurring.
kelly says
OMG. I seriously just got the biggest laugh out of this. Im currently doing a DIY remodel and your project (including the crawl space and all) sounds SOOOO familiar LOL
So after reading your post, I casually walked out to my room where I have to cut the water lines and the drain line and cap them off ….
and I find ……. CPVC pipes everywhere and ONE PVC pipe.
I just about died laughing. I envisioned my nightmarish scenario of caps catapulting across the crawlspace and water flowing everywhere.
Thanks for the blog. Glad to know Im not alone! LOL
Happy DIY-ing
Karah says
DIY is not for the faint of heart, am I right?!?! Hopefully everything went well with your project!