This post may contain affiliate links which won’t change your price but will share some commission.
A huge thank you to Simpson Strong-Tie for sponsoring this post and making such great products to help everyone accomplish some DIY Done Right!
Exactly 8 months ago to this day I shared 14 curb appeal ideas that were all inspired by the abysmal state of the front of our house.
We actually didn’t close on the house until March 29th, two days later, so I’m not sure what it says that I already had down on paper my ideas for whipping her into shape from the outside in. But, slowly we have been making progress on a few key items on that list and our latest project has both Joel and I feeling like we are seriously transforming this old house into something we think is awesome.
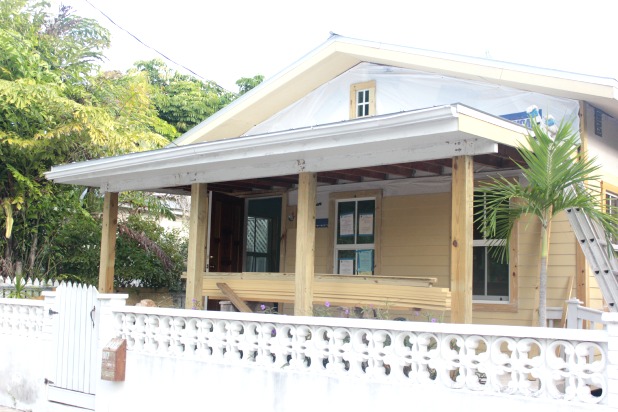
No more puney patio posts for us!
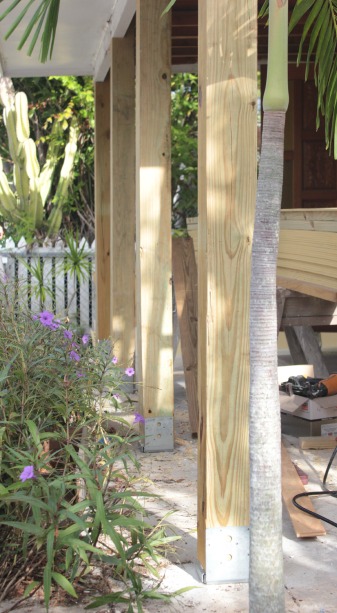
We’re definitely still at that awkward “the progress isn’t always pretty” stage on the exterior of the house. But updating those posts were el numero uno on our priority list for transforming the look of our house so we feel we’ve earned a big ol’ badge of productivity … even though there is a pile of siding still to be installed right there staring us in the face. 🙂
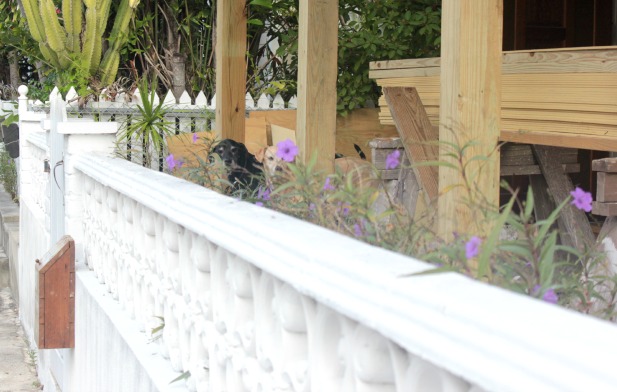
We installed 4 new 6 x 6 posts and really hadn’t ever taken on a project like this before. And were a wee bit skittish after that day we found out our porch roof wasn’t really attached to our house? But add this to the list of projects that really seem intimidating (Ummmm, that roof could totally fall on me.), but with the right supplies and knowledge ends up being really straight forward. Similar to this one.
We wanted to be super cautious so we called over a friend of ours who is a contractor to do the first one with us. He gave us a list of supplies to purchase ahead of time and once we got into a groove it really wasn’t a time-consuming project … for one that has such a huge impact of the look on the house.
The success of the whole upgrade really lies on this little ABU66Z post base from Simpson Strong-Tie … literally.
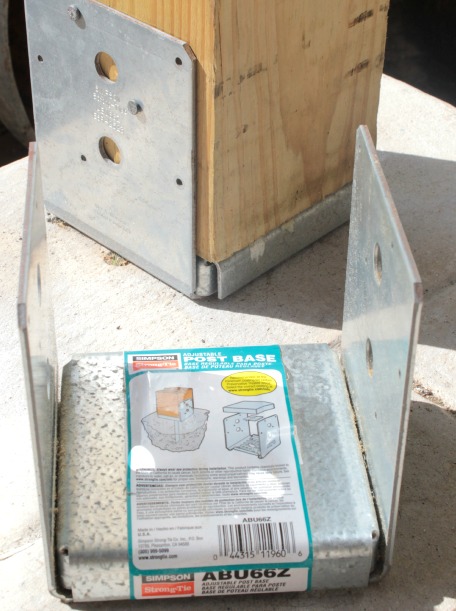
This was the answer to our initial question of “How exactly do we secure posts straight down into our concrete patio?”.
Let’s get right into it. Overall, updating 4 patio posts took us just a couple of hours over the course of a few days. Once we had an understanding of the process it really was just the leveling, measuring and cutting that we needed to be sure we stayed on top of. And we know the tape measure is not always my friend. 😉
First things first, cut a 2 x 4 to length and wedge it next to the post you are going to remove to secure the porch roof.
With a sawzall, cut the existing post apart.
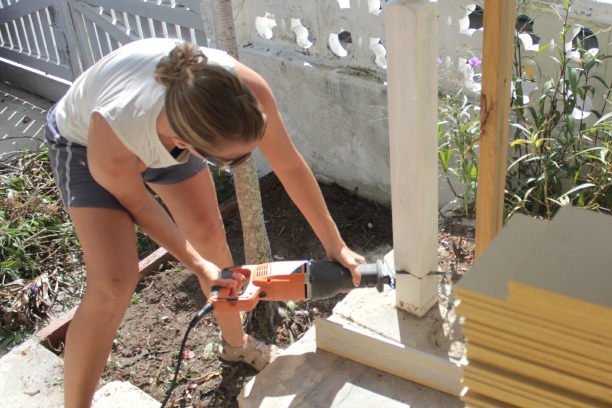
Our old posts were secured with one piece of rebar going straight down into the concrete patio and a few nails into the header. It was easy to pry them out from the top and once we removed that little block of the old post to expose the few inches of rebar we use a grinder to cut it off. More on the grinder in a bit.
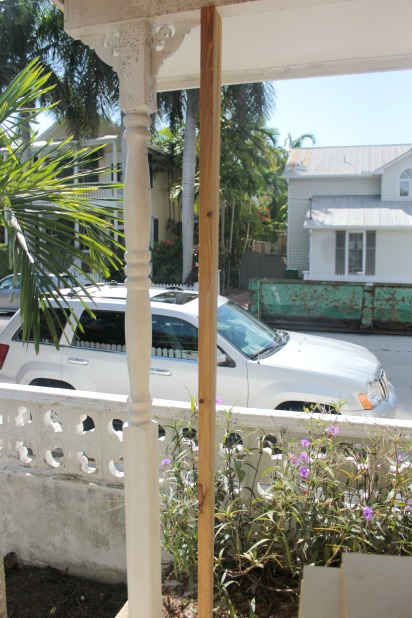
With the old post removed, use a straight edge (I used a scrap 2 x 6) and a 4 foot level to measure plum (level on the vertical) from the top of the post to the patio floor. Palm tree in your face is totally optional. 😉
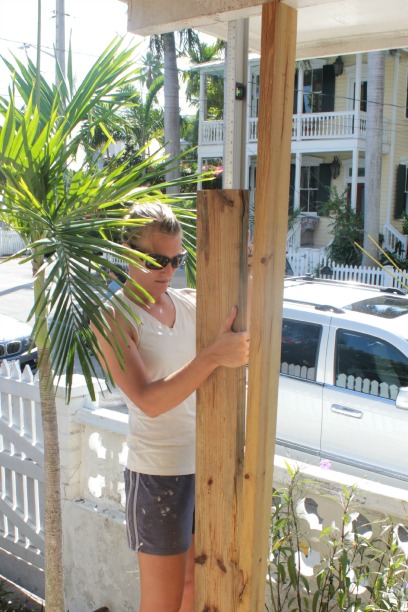
I lined my level up on the street side of the header piece because we wanted our posts to sit flush on the front side. Personal preference.
Once I found plum we marked the spot on the patio floor, set the Simpson Strong-Tie ABU66Z post base on the patio lined up with our mark and marked the spot to drill into the concrete patio.
My rotary hammer drill from Ryobi worked perfect to drill into the concrete … this is the same tool I used when I installed my DIY wooden mailbox. It drills and hammers at the same time to make quick work of drilling through concrete.
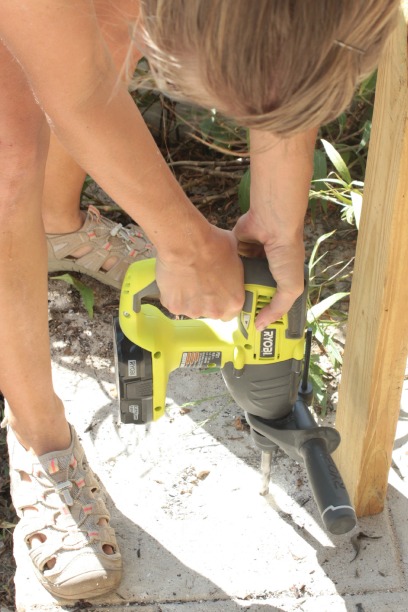
Set the Simpson Strong-Tie post base into place and use 3 inch long sleeve anchors to secure it tight. Ours were the 1/2″ size, like these. (affiliate link) Simpson Strong-Tie also offers this Wedge-All option.
When you screw them in the top of the bolt will come up as the anchor expands in your pre-drilled hole.
This is where the grinder comes in again. I left Joel to grinder duty, I don’t exactly have any fingers to spare. And he is Señor McCarefulpants so duty = his. 🙂
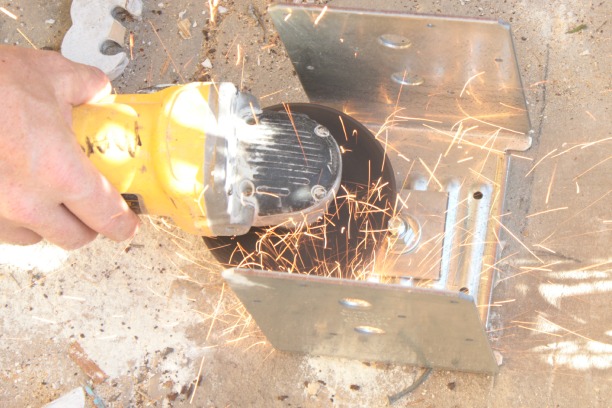
We had to borrow this tool, here’s an affiliate link to the one we used, and the little grinding plates were only a few bucks at the home improvement store. Affiliate link to what it looks like here.
Once the bolt was ground off …
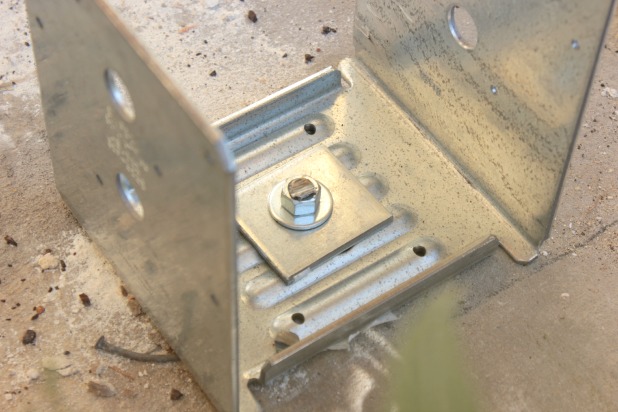 …we could put the top plate to the post base on …
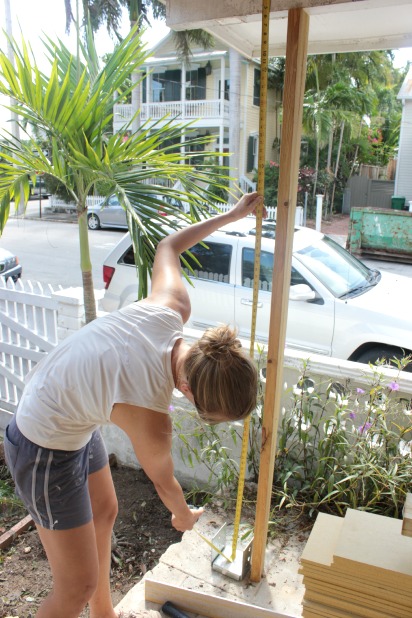
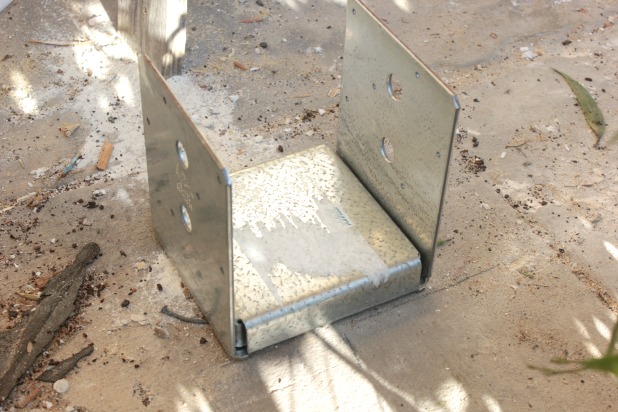 … and measure up from there to get the measurement for the length of our posts.
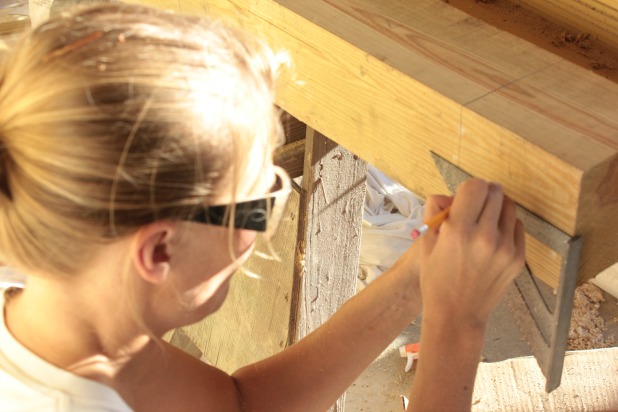
I used a little triangle square (is that an oxymoron?) to mark all four sides of our post.
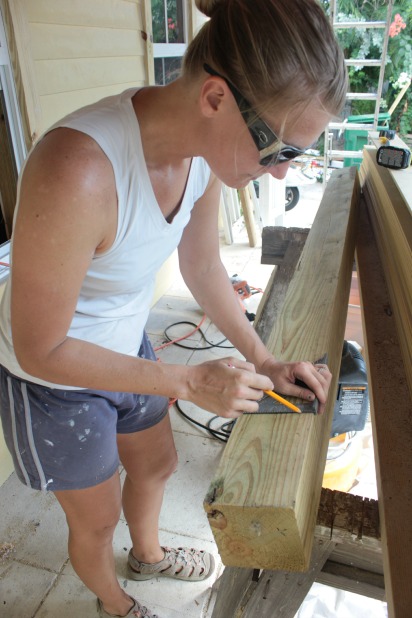
And then our circular saw to cut around all four sides as well.
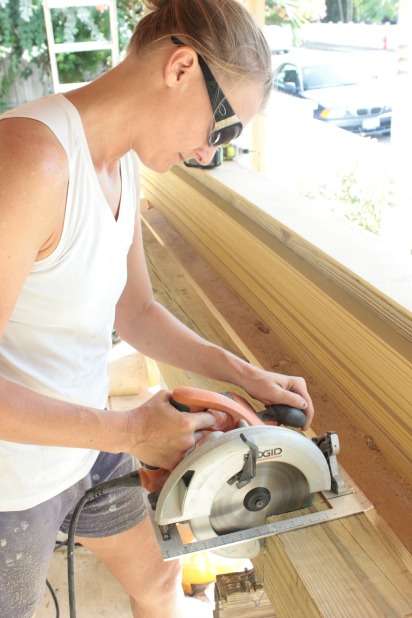
A little one inch square was left in the middle where our circular saw blade didn’t reach, but a few swipes with the hand saw and we had our post to length.
Now just to cut out the notch at the top where the post overlaps the headed. **gulp**
This is the kind of measuring that challenges my abilities because multiple cuts have to be measured accurately to make it all work.
And none of them are exactly perfect, but that’s OK, too.
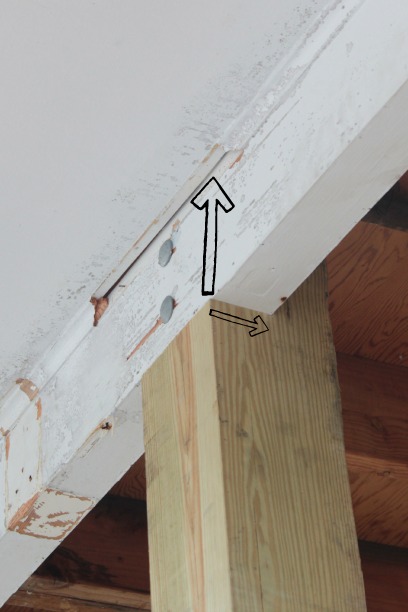
We had to measure the depth and height of the header piece and transfer those measurements to one end of our posts.
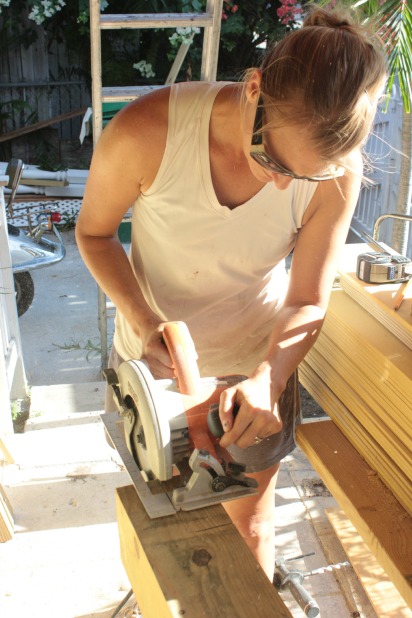
 With the circular saw I just followed each mark as far as I could and then we finished off the notch out cuts with the sawzall.
Now just to secure it all in place. You’re almost done … and you really haven’t even broken a sweat yet. 🙂
We used very random measurements to decide where to put our bolts to secure our posts to the header. We just made sure they were all the same.
We also decided to install the bolts from the street side and keep the head of the bolt visible, while we sunk the nut and washer in the back side so we can come back and fill it in so when it’s all primed and painted you won’t be able to see them.
To do that, I just measured our washer and, with my impact driver, drilled holes about 1 1/2 inches deep in the back of the notch on the posts.
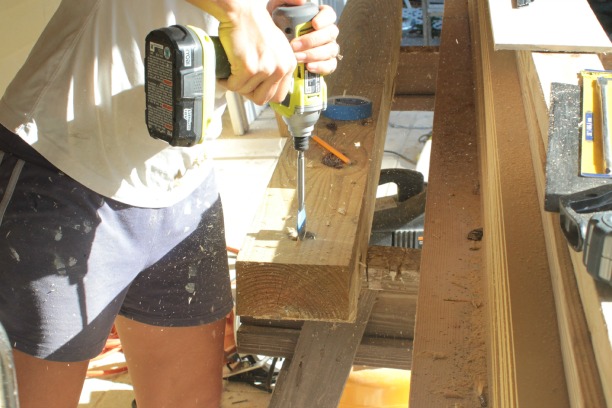
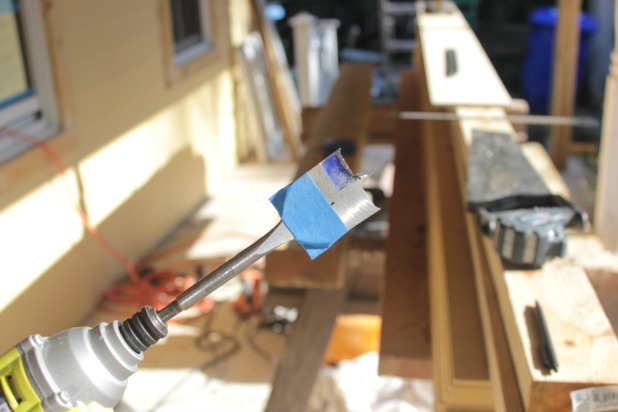
Tip!!! Put a piece of painter’s tape right on your drill bit so you can easily see when to stop instead of having to measure each time.
Then we lined our post up by setting it in the Simpson Strong-Tie post base and checking for plum on multiple sides of the post.
Then I used an extra long 1/2 inch drill bit (there happened to be a clearance table out at Home Depot) and drilled right through the center of the large holes all the way through to the front of the header.
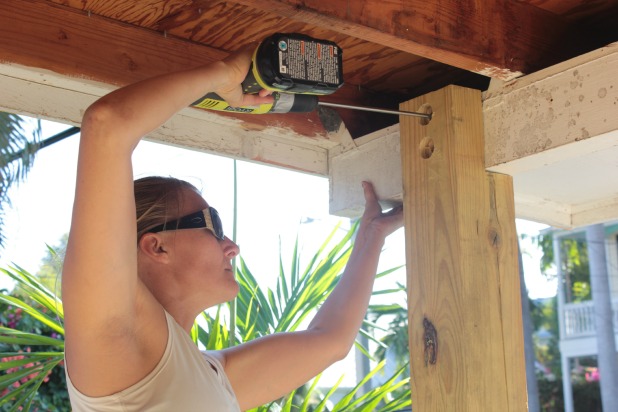
Tapped the bolts in from the front, tightened the nuts with a socket wrench and nailed the bottom of the posts into the Simpson Strong-Tie post base.
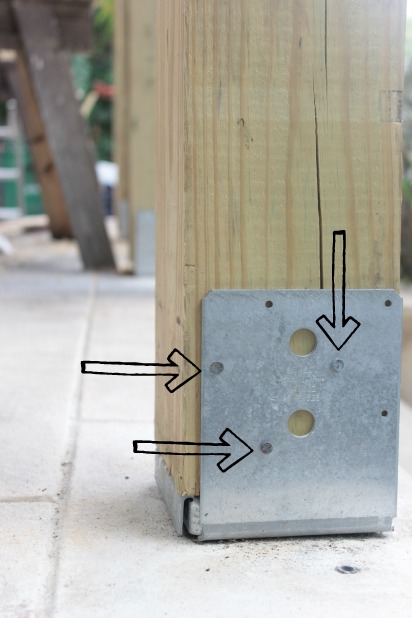
Now, those bases are going to end up hidden by trim. And we plan to router out the corners of each of the posts when we get to the finishing stages out here.
Right now we’re just happy to have this project ticked off the ol’ to-do list.
I’ll be filling in the holes on the back side where the nuts and washers are also. See how they sit set into the drilled holes?
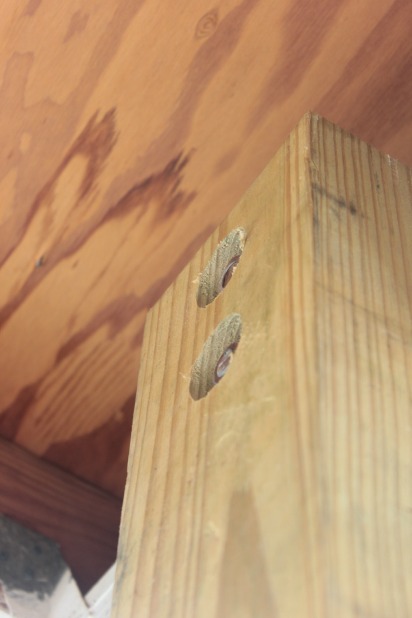
Our contractor friend just used the nut to mark the length we wanted the bolts … we had the choice between 5″ or 6″ bolts and got the longer option … but the 6 x 6 posts actually measure 5 1/2 inches so they needed a trim.
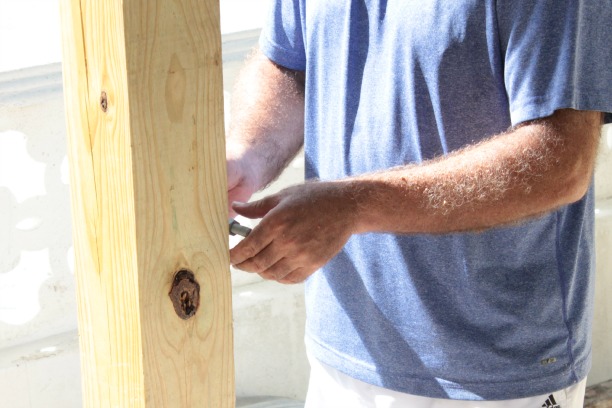
And then very carefully cut the bolt with his grinder.
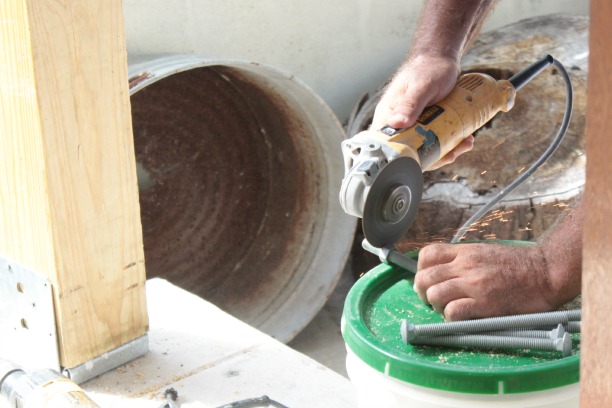
Tip!!! Grind the bolt with the nut on it. This will 1) give you a guide to the exact length you want and 2) prevent you from ruining the threads rendering the bolt useless. Love tips from an actual professional! Thanks Mike!!
It’s a bummer we aren’t at the “Look at our awesome curb appeal transformation” point yet, but this really is one of those one-day-at-a-time updates. Let’s just look at those old puney posts one more time.
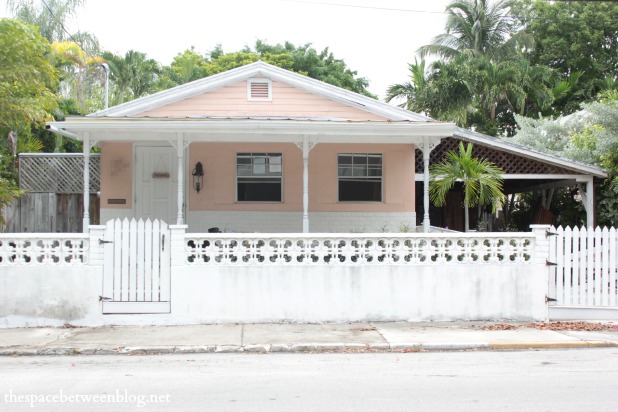
It’s hard to tell from pictures, but one other change we made was to make each new post equidistant from the next. There really wasn’t any rhyme or reason to the old measurements with each one a different distance from the next.
I think just the basic, chunky look of the new posts, even though they aren’t detailed or painted, bring this house so much closer to an overall look we love.
As for what we’re still planning to tackle out there:
raise the roof over the old porch, hereupdate window sizes, hereget rid of all faux brick, hereinstall new exterior trim, here- install new cement board siding, 75% complete
- install chunky, craftsman style patio posts, YAY!!
- install wood decking to cover concrete patio
- remove underside of patio roof to expose joists, 75% complete, here
- router, fill, trim-out, prime and paint new patio posts
- prime and paint underside of patio roof a light blue
- power wash house and scrape loose, chipping paint
- caulk all seams on exterior of house, 10% complete, here
- prime and paint house exterior
- clean, prime and paint property wall
- and don’t even get me started on the fence 🙂
One big thing I was reminded of during this project is that the success of all DIY really can be determined by the quality of the products you use along the way. Remember our hurricane straps that are required for our new roof here? Those are made by Simpson Strong-Tie, too.
They are one of those companies that you might not recognize their name, but their products are invaluable when it comes to “DIY Done Right” as they like to say. For all kinds of project inspiration and to see a full list of the products they make (the joist hangers we bought to support our porch roof … yep, Simpson Strong-Tie makes those, too) head on over to DIY Done Right.
And y’all, have a very Happy Thanksgiving!! I have so many things to be thankful for and every one of you taking the time to read about our adventures and misadventures is at the tippy top of the list.
You’re like the star atop my new upcycled driftwood and ornament Christmas tree craft … have you seen it yet?


Ashley@AttemptsAtDomestication says
Love the chunky posts so much better! Looking good!
Karah says
Thanks Ashley!!
Nancy Carr says
You are amazing! I bet the neighbors are entertained watching what you accomplish from day to day. Happy Thanksgiving!
Karah says
A tourist train goes by the house and I always wonder what they think. LOL Happy Thanksgiving!!
Audrey Zumwalt says
I think you are doing a great job. I love reading your posts.
Audrey Z. @ Timeless Treasures
Karah says
Thank you so much, Audrey! Happy Thanksgiving!
Courtenay @ The Creek Line House says
Awesome! That really does make a huuuge difference! We did a project like that in our old house with a sagging roof and it was actually so much easier than we thought it was going to be. It didn’t end up looking as pretty as yours though! Can’t wait to see you tackle the rest of your goals out here!
Karah says
Thanks so much Courtenay! Happy Thanksgiving!!
Catharine says
Holly Molly!! Nice Job!..Happy Thanksgiving
Sandra says
I have read through the past posts on your home. You have done so much!! It is really looking good.
Karah says
Thank you so much, Sandra! We try to focus on the things we have accomplished when everything we haven’t accomplished seems to stare us down. lol 🙂
Shannon @ Fox Hollow Cottage says
All that stuff adds up though, and next thing you know, it’ll be little details and finish work!! You guys have already taken on such BIG projects. Happy Holidays to you and your FAT porch posts :)))
karen@somewhatquirky says
Great tutorial Karah. I have one question though – why didn’t you just build out the posts that were already there? Because you wanted 6? Because they weren’t strong enough?
Karah says
Hi Karen! Happy New Year! We didn’t build them out for a couple of reasons. One was that we did need the extra support from properly installed posts, we could have reinforced the old ones but we also changed the placement of them since there was really no explanation for where they had been placed.
Maddie Davis says
Love the new posts, seeing you with the Ryobi tool in your han made me smile. It’s what I use.
Karah says
I love those tools, Maddie!! Glad you like the posts