This post may contain affiliate links which won’t change your price but will share some commission.
Happy, happy Friday everyone! I hope you had a great 4th!
I’ve been plugging away on the guest bedroom remodel … before surrendering for the afternoon yesterday to get this mess of a construction zone house in order to host some friends for a BBQ.
 But this week has been a real eye opener for me, even though Joel and I oscillate back and forth between feeling accomplished and not.
Little necessities, like making sure our electric lines are updated, functioning properly and assigned in the breaker box, that don’t look any different when we’re done feel like progress to me … and make Joel feel like he’s worked for hours with nothing to show for it.
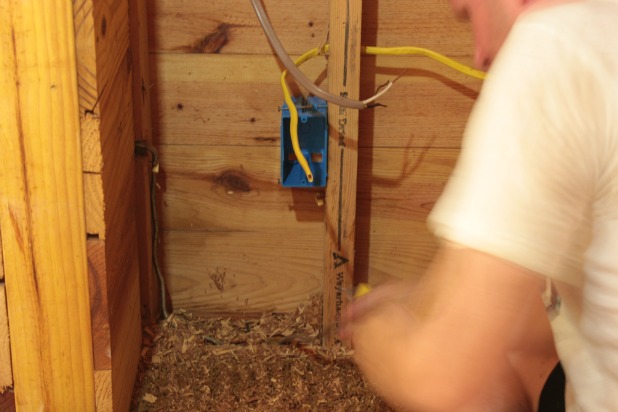
And big changes like insulation and hanging drywall help Joel see the progress but make me feel like there’s still so much to do.
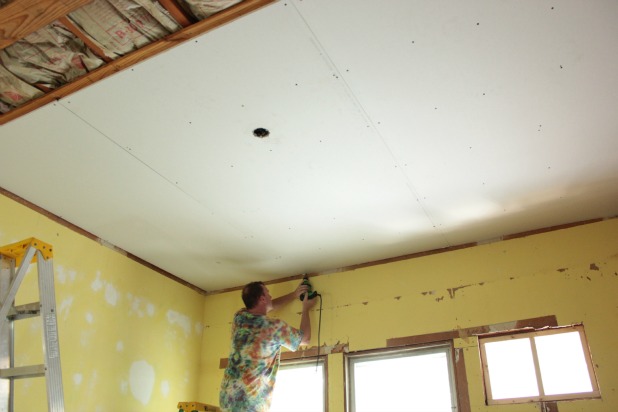
Seriously, we’re only at the drywall stage? That means I have days of mudding and sanding ahead of me … and we’ll still only be at the drywall stage.
***sigh***
But, the reality is we have made some serious progress and can check some big items off of our list, even though, as of today, the room still looks like this.
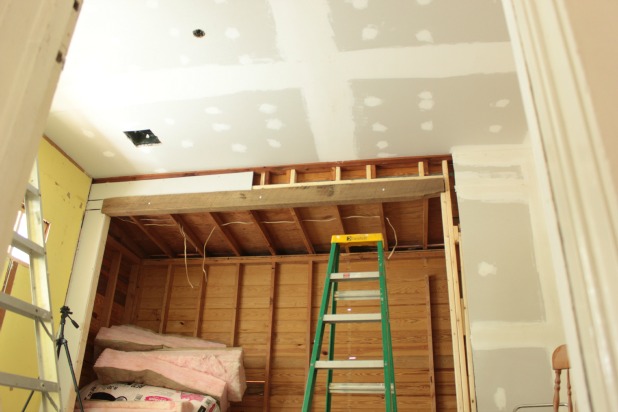
And if there’s one thing that I have had beaten into my pea little brain during this process it is that I suck at math need to think in layers. 🙂
And I don’t mean at the decorating stage, ’cause we all know about that, right? Use different fabrics and textures and shades of color and heights of furniture. We know those different kinds of layers.
I’m talking about the behind the scenes kind of layers. These layers are the ones you don’t necessarily see when a room is all said and done if you have remembered to account for them. And, it’s these same layers that can make you go insane in the brain if you forget to keep them in mind when you’re building a room.
I kid. (And tie dye is coming back in right?)
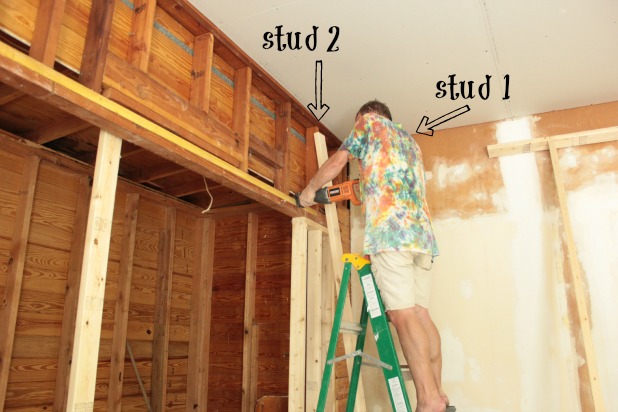
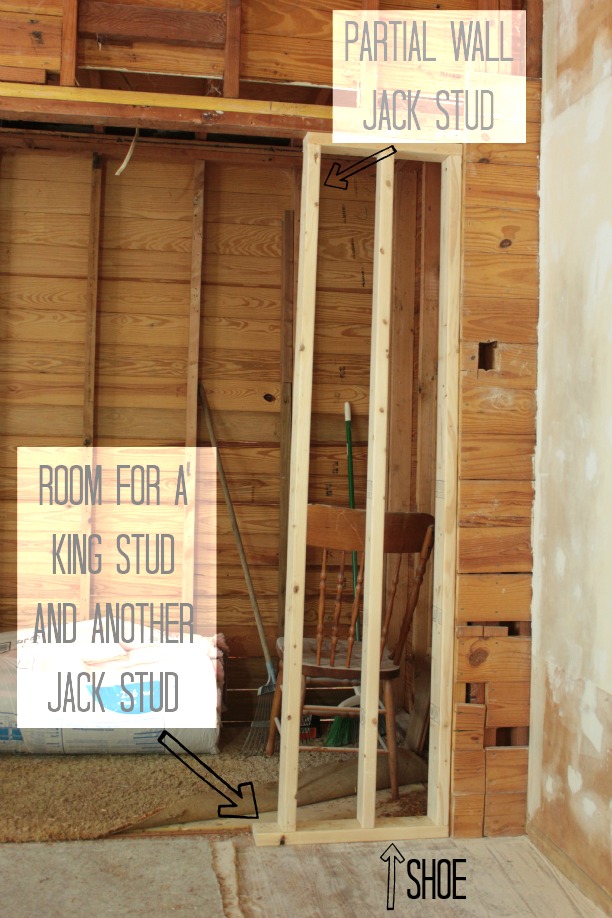
We went in-depth on the topic of how to frame a doorway here. And this basic philosophy of studs applies to any wall opening. So when you’re figuring out your measurements be sure you have both your jack stud and your king stud width accounted for. And in the case of an opening where you’re also building a partial wall that needs its own jack stud, leaving you with a jack stud, king stud, jack stud pile up … don’t forget to take that into account when you’re cutting your shoe (or foot).
And, if you can bear another look at the tie dyed shirt, you’ll see that Joel is using the sawzall to cut out the old header to make room to add the king stud from floor to ceiling.
The other math issue point with all of this stud layering is the backwards math.
I’ve heard it referred to as subtraction.
To me it feels much more like quantum physics.
And it might surprise you to know that I do not know quantum physics.
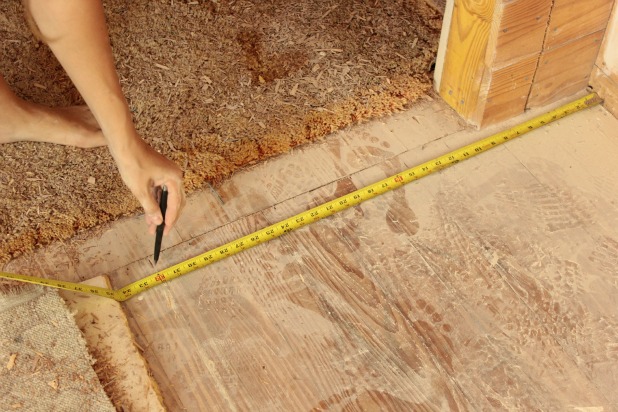 So if I want the wall to be a total of 32 inches to the back wall, and I need not only a jack stud for the opening, but also a jack stud for this new partial wall I’m building, which ends up making a king stud sandwich …
… at what time did Train A leave the station.
Am, I right?!?!
Anyway, all I’m saying is take it slow. Measure. Measure. Then measure again.
Then double check your math to make sure you’ve included every layer.
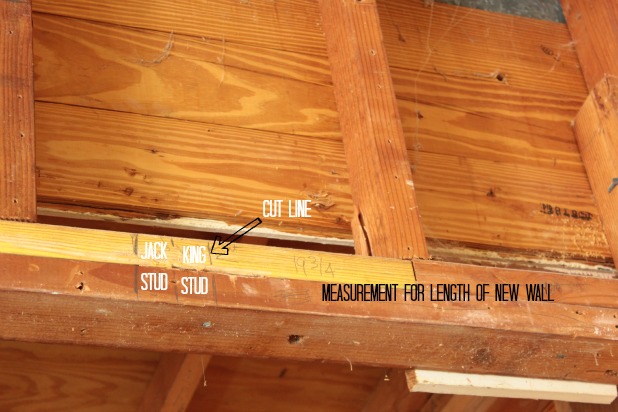
Exhibit B. – Drywall has depth. So does trim.
So we (Yes, we as in “with our own four hands”, followed by high fives and celebratory cocktails.) installed an old beam as an exposed header (Pretty exciting, right?!?!) in the guest bedroom.
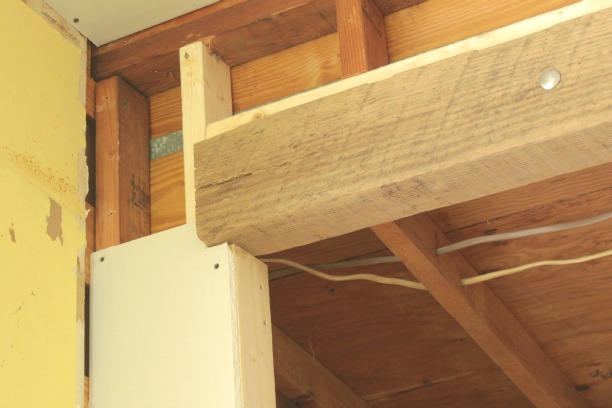
A beautiful after photo that is not, but it helps to demonstrate that we achieved a nice overhang of the beam by shimming it out 3/4 of an inch. Which we wouldn’t have done if we hadn’t remembered in the final minutes before heavy-beam-hoisting that our 4 inch wide beam would end up being flush with the wall if installed without a shim.
3 1/2 inch wide 2 x 4 + 1/2 inch drywall = not the result we were looking for.
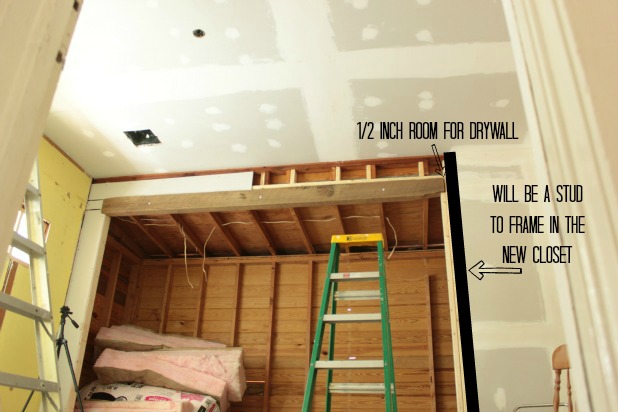
You can see in the back of that picture, too, that the ceiling in that part of the room is lower than the rest of the room (What is it with this house and weird ceiling heights?). So, while we wanted to raise that little opening as high as possible we needed to remind ourselves that drywall would be added to those ceiling joists and we definitely did not want that ceiling height to come in below our beam.
That would be awkward.
And we’re obviously not to the trim stage yet in this room, but the 3/4 inch wide trim and molding we’re using throughout the house has already come into play.
See that little partial wall is part of a bigger picture … one that will become a wall to wall closet! I’m super excited about it.
But talk about math that is testing my brain.
Ummmm, doors with openings that actually fit the doors. Yikes. 🙂
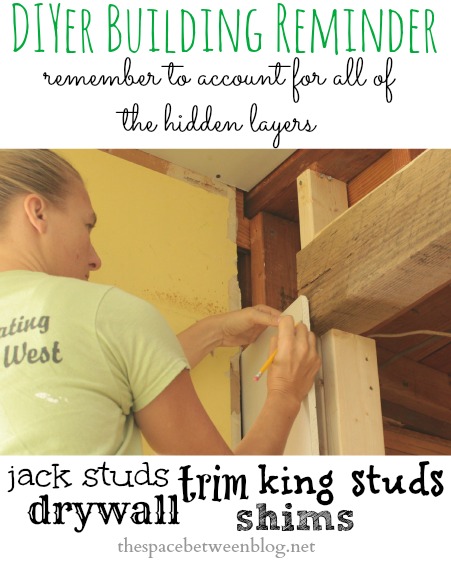
 So this little reminder will come in handy for me for sure as we keep this little guest bedroom project going.
![]() And if you’re still stuck on the decorating in layers side of things … what do you think of this baby?
And if you’re still stuck on the decorating in layers side of things … what do you think of this baby?
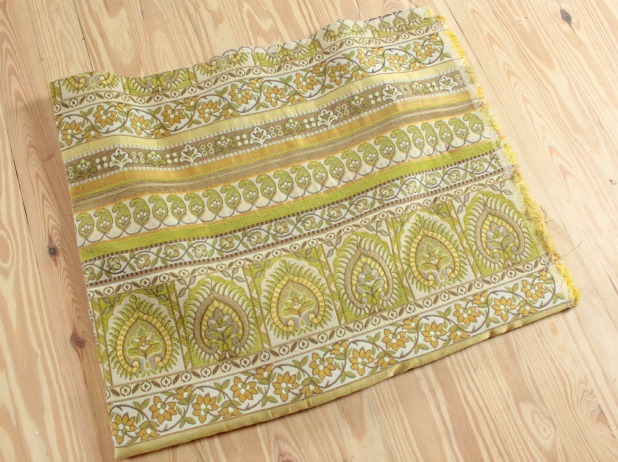 She reminds me of my grandmother, which is why I think I love her … but then I think I might hate her at the same time.
Thoughts?
 You can check in on all of our Key West conch home projects anytime right here.

cassie says
i am so impressed with the work you guys are doing! you are my hero! and i love the stud 1 & 2 pic!
Karah says
thanks Cassie!!
Ashley@AttemptsAtDomestication says
Hahaha! That meme at the beginning is hilarious! And perfect for you two! Keep up the awesome work! 😉
Heidi @ Decor & More says
Amazing… you’ve immersed yourself in this remodel and I’m so impressed with all you’re doing and sharing! I bow down to your DIY prowess!
xo Heidi
Karah says
Thank you so much for the vote of confidence Heidi!! We’re just trying to take it one step at a time. I’m looking forward to seeing you at Haven!!
Kelly @ Corner of Main says
You guys are getting a TON done! That fabric actually reminds me of the love seats my parents had when we were growing up. Groovy!
Karah says
I like ‘groovy’! 🙂
Kelly @ Eclectically Vintage says
All this talk of king studs and jack studs is making me … never mind!
Grandma fabric is a yeah!
Kelly
Traci says
Jack what and King who? Apparently it is a good thing that I do not see adding a room in my future. But I do know about fabric and I like the grandma fabric, The green is so fresh and the brown will pop when used near any wood in the room, like the beam. Keep up the good work.
Traci
Karah says
Thanks so much Traci! I’m really hoping I can make that fabric work!
Karah says
Hi Becca!! Thanks for visitng … and welcome back!! We are loving every minute of it … and looking forward to actually completing a room. hahaha 🙂
Kelly @ View Along the Way says
Whew! Well the more progress you make on the hidden layers, the sooner you can get to the fun decorating layers! 🙂
karen@somewhatquirky says
I’m going to make you a super powers cape. What is your favorite color?
Diana W. says
OMG! Love it! You are muy fantastic…. can you tell I can neither speak, nor spell Spanish? Anyhoo…. Love the tutorial and so glad that I stumbled across you on Pinterest. I will now be following yall and looking forward to more updates and tutorials. Strong work and thanks for sharing!
Karah says
Thank you so much, Diane!!