Strip it.
Ok, maybe that strategy isn’t the best approach. 😉
You’ve all seen the whole mood board concept, right?!?! Where people put pretty images all in one spot and use it as inspiration to design and decorate a room. And then the room ends up looking eerily similar to the original mood board.
I honestly have no idea how people do it.
I think I have more “mood moments”. And they can be fleeting. 🙂
Let’s take you back to when we moved into this house in the beginning of April and there was paneling Ev. Ry. Where.
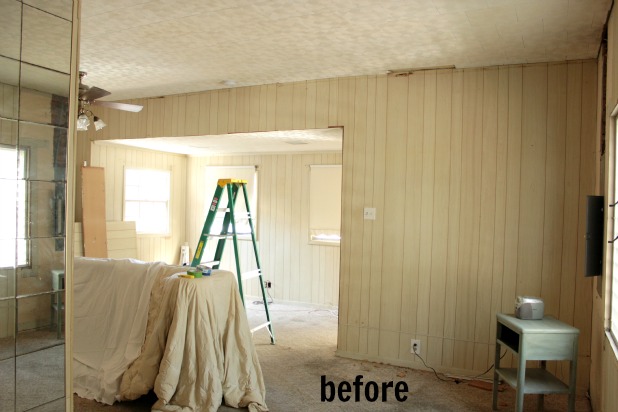
We got busy tearing down all of the paneling only to find drywall (painted pink in spots!) so we took a leap of faith and started tearing down the drywall, knowing there was a chance we would need to just re-install new drywall. I definitely prayed to the DIY Gods about our work not being a waste of time and money and energy and potentially my sanity.
But it was the best decision ever! Like ever ever, even.
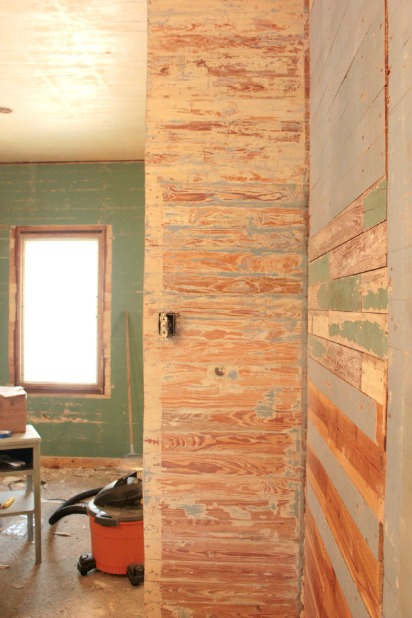
We uncovered beautiful wood slat wall after wood slat wall. And their paint colors even made me a little giddy.
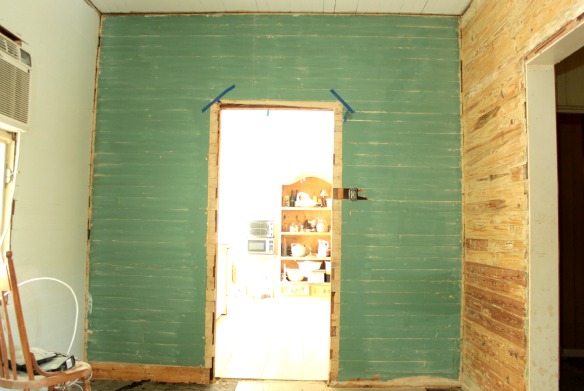
I can’t even tell you how many different design places my mind has wandered with these planked walls.
How fun would it be to salvage the original colors?
But how cool would it be to strip a couple to expose the beautiful wood?
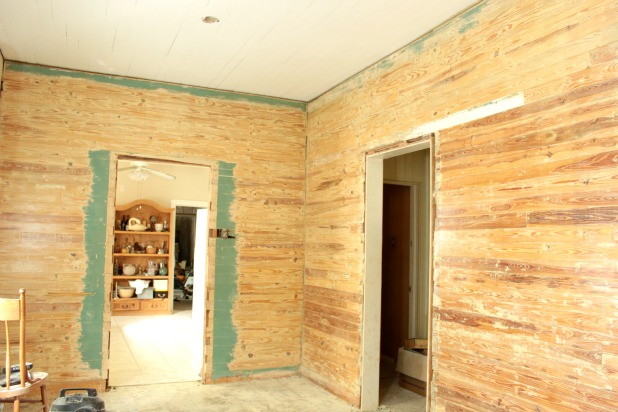
What about a dark stain for contrast against light painted walls?
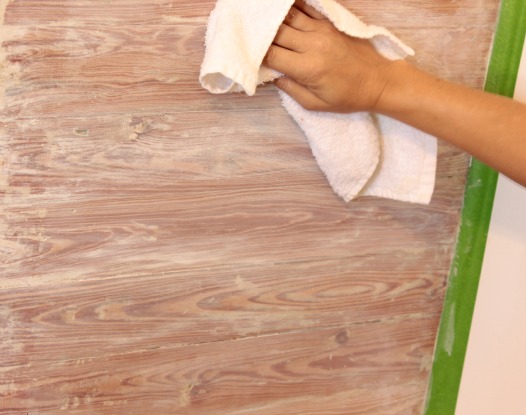
Or what about a whitewash for a more nautical/beachy look?
And when my mind is shifting through these ideas faster than Kim K is getting press over another questionable pregnancy outfit … I’m just sitting in the middle of the madness.
Do you do that? Just immerse yourself in your space to try to see it. I mean see it how it ends up? Not how it is right now.
Unfortunately, it seems that Joel has a tendency to come home from work as I’m just sitting, staring, imagining what will be. We have this exchange about 3 days a week.
Joel: (as he walks in the door from work) Is the house done yet?
Me: (as I’m sitting) Yep.
Joel: I don’t know how you expect to finish by just sitting in it.
Me: Do you want a glass of wine?
Whatever … it works for us. 🙂
Anyway, there are so many reclaimed wood wall looks that I love, I just needed some time to decide what we were going to want to live with. I showed you a few looks I was loving here. And once we finished the board and batten wall, with all the white trim, it helped pull the vision together.
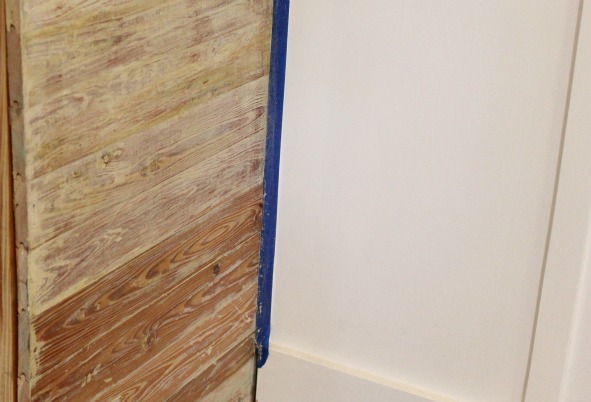
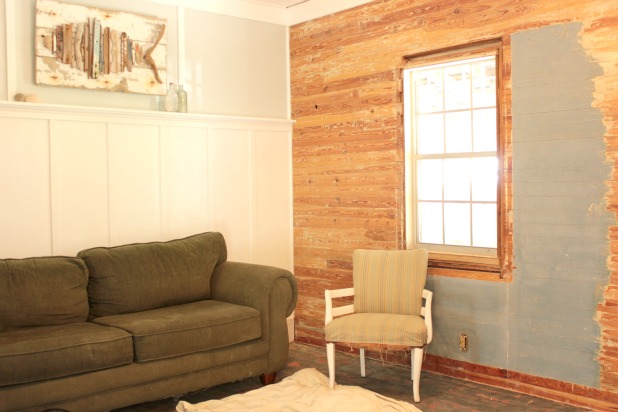
I did give whitewash a stab on the small wall, but in the end we decided that we really like the contrast of the stripped walls against the nicely finished, painted surfaces. Check out the whitewash wall on the left compared to the stripped wall to the right of the board and batten wall.
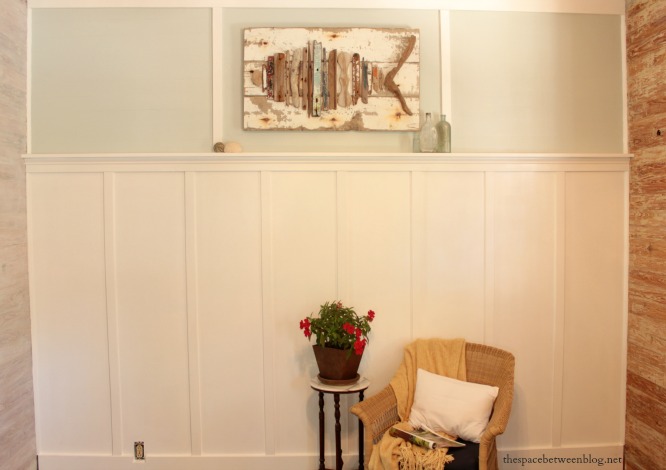
It adds so much character and depth to the space, we find it perfectly rustic without going overboard. And it’s very Key West quirky, adding to the charm and appeal of the property here in the Key West real estate market. Which never hurts when you’re working on home improvement.
For anyone gearing up to tackle your own stripping project, here are a few of my favorite tips.

![]()
* use a good quality stripper, don’t buy the bottom tier option, we use this kind, it took just over a gallon to strip the 3 walls of two coats of paint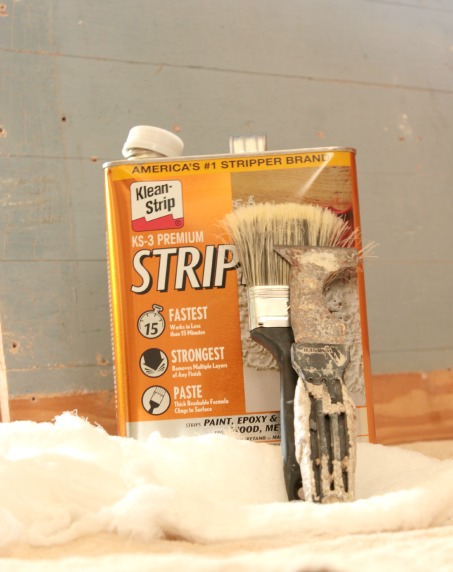
* pour the stripper into a paint tray (if it is used like mine it will strip the dried paint in the tray, but that won’t be detrimental to the project)
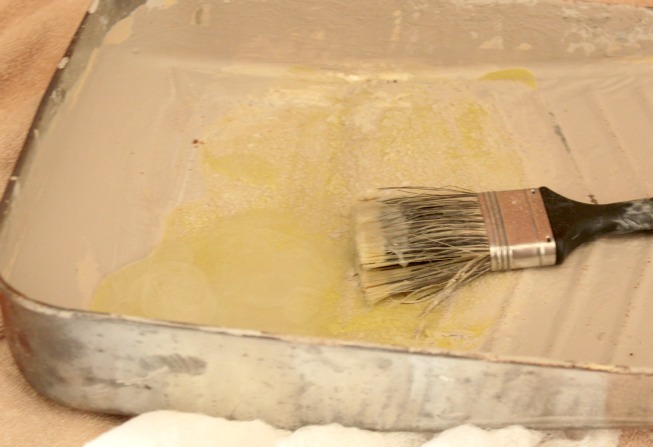 * use a paint brush from the dollar store to apply the gel, it will get ruined, no need to use a good quality one
* read the safety instructions on the stripping product, I can attest to the fact that you will not die if you get some on your skin, but it will burn and itch, a quick wipe down with a wet rag does the trick
* keep another wet rag close by to wipe off your scraping tool, I use my favorite 6-in-One, you need to scrape before the stripping gel dries so the gunk (technical term) will accumulate on your scraper
* apply two coats of the stripper gel before you even start stripping if you are trying to remove 2 coats of paint
* let the stripper do the work, the container will have instructions for how long to let the gel set, but if you try to start stripping and it doesn’t come easy, give it more time
* I found the idea of a drop cloth futile, something about all of the droppings landing exactly where the drop cloth ends at the bottom of the wall didn’t work out. But we have floors that we weren’t worried about ruining, it worked great to wait until all of the stripped paint globs (yep, another technical term) dried and then scrape them loose from the floor and vacuum them up with a shop vac. Or maybe use a plastic drop cloth and tape it up about a foot on the wall so it would catch-all of the scrapes … if you try that idea, let me know if it works. 🙂
We are nowhere near done with this living / dining combo room, (What, did the random unstripped paint spots make that obvious?!?!) but having these beautiful hardwood walls exposed has dramatically changed the feel of the whole space.
Here’s a little rundown of where we’re headed:
* remove drop ceiling, paneling and old drywall, here
* prep old cracking paint to resurface, here
* prime and paint the ceiling, here
* create a board and batten accent wall to cover up old hallway opening, here
* expose some of the wood slat walls to add accent
* paint the other walls
* remove the carpet, carpet pad and linoleum tiles underneath (we have been working on this on and off for a week or so now … picture me scooching around the floor on a pillow because our carpet pad happens to be glued to the hardwoods)
* re-finish the hardwood floors
* add a set of French doors to one wall for easy access to the outdoor living space
* widen the opening between the dining room and the kitchen
* install crown molding around entire room
* install baseboard around the entire room
* finish it off with 1/4 round trim
* replace all outlets, switches and plate covers
* add architectural details to cover termite damaged wood slats
* add built-ins to create functional workstation
* built-ins or open shelving on the wall between the dining room and the kitchen
* replace windows
* replace window trim
Update: Check in on the complete renovation progress here.
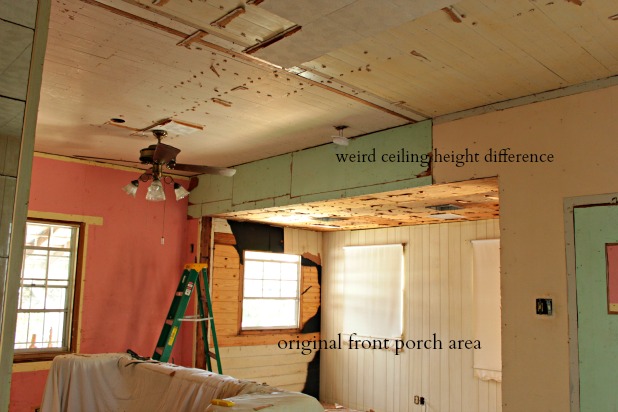
Ummmm, that’s all I can think of for now. And that doesn’t even include decorating, updating a few of our current furniture pieces so they fit in with the look we’re going for in the room and the biggest project of all … working with a contractor and an architect to raise the roof on that front part with the awkward lower ceiling.
How about you? Been doing any stripping lately? 😉 Do you like the contrast or prefer the whitewashed look? Or is fresh drywall more your speed?
*post contains affiliate links
