Refinishing old hardwood floors?
Here are some great hardwood floor sanding and staining tips and tricks from a professional.
Tip #1 Blurred Lines by Robin Thicke is an excellent song to stain to.
I guess that’s a matter of personal preference, but I don’t think I’ll ever be able to walk in the guest bedroom again without singing “Everybody get up”. And I stained that floor long before all of this Miley twerking business and I refuse to let her ruin it for me. 🙂
The Billboard Top 100 list was my closest companion during this hardwood floor restoration process so I’m going to give you the billboard chart of hardwood floor sanding and staining tips and tricks!
The general process will be the same for everyone:
- clear out room
- sand floors (coarse grit to fine grit)
- stain floors
- polyurethane floors at least three times
- let cure at least 48 hours
- move back in 🙂
But now that I’ve completed that process in three different rooms I want to jump right in to the tips and tricks we found most helpful and thought benefited us most throughout the process. 🙂
And, ummm, yeah, by “us” I mean “me”. Joel avoided any staining or polying like the plague. He’s a smart, smart man. 🙂
Everybody get up.
Sanding Tips
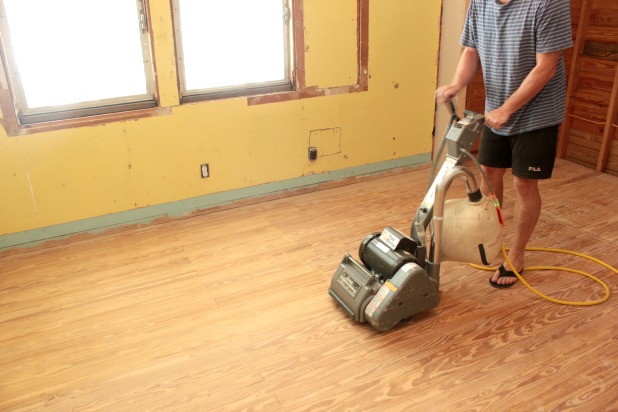
#1 – Only use the square buff if your floors are completely unfinished or you’re just trying to buff them up to paint. Much more on that here. The drum sander was not nearly as intimidating to use as we thought it would be. And Home Depot gave us some tips for saving money on a rental here.
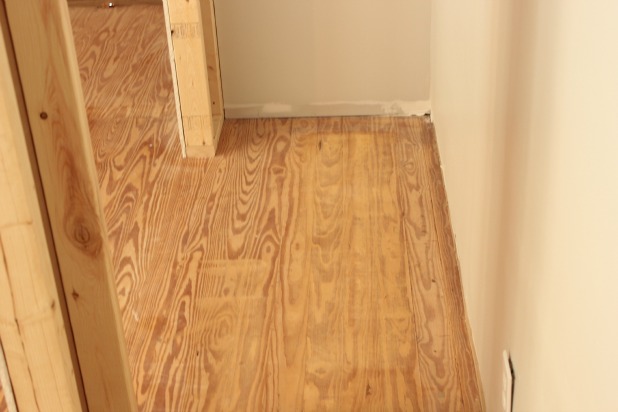
#2 – Start in the least visible spot in the room. We had just framed in our new closet in the guest bedroom so we hopped in the closet to test out the drum sander.
#3 – Start with a finer grit sand paper to get a feel for the drum sander while you’re still in the closet. Once you’ve gotten the hang of maneuvering the beast use the course 36 grit sand paper to get all of the existing finish off the floors. This tip is direct from the professional and is brilliant!
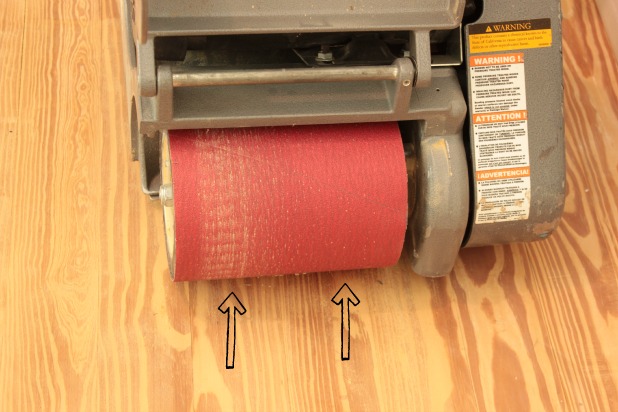
#4 – The drum sander we rented had a few quirks to it. We actually had to flip each piece of sandpaper around to make sure it sanded evenly. During your process keep an eye on your sand paper to make sure each part of your floor is getting sanded evenly.
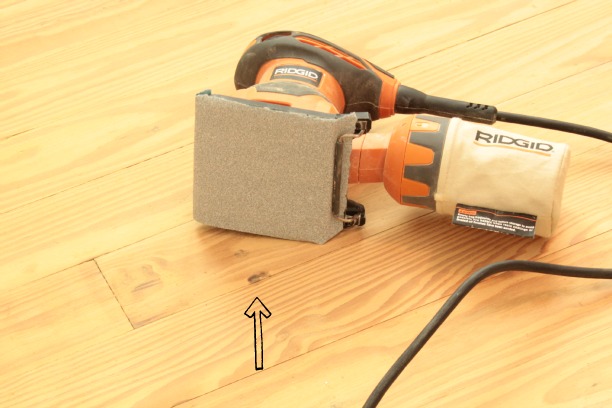
#5 – After you’ve gone over the whole floor once with the course grit sand paper use a hand sander over spots that need extra attention. Don’t create a gouge in the floor but use long stokes, going in the same direction as the grain of the wood to remove things like these random black spots we had all over the floor.
Staining Tips
#1 – If you’re sampling different colors to determine what you want don’t put your test sample sections too close to the edge of a room, which I think is instinct. It’s easier to sand up the samples with the drum sander than it is with the hand sander you need to use around the edges. (Another brilliant tip straight from the pro!)
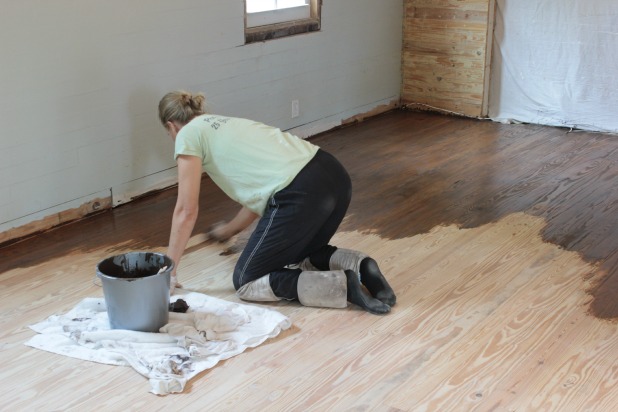
#2 – I just cut up an old white t-shirt to use for application. There are all kinds of fancy tools out there, but when I showed them to the floor professional he said we’d want to use cotton rags (old white t-shirt) to wipe up excess stain anyway. So if I’m going to end up just using the cotton rags I figured I’d just go with the rag for the whole process.
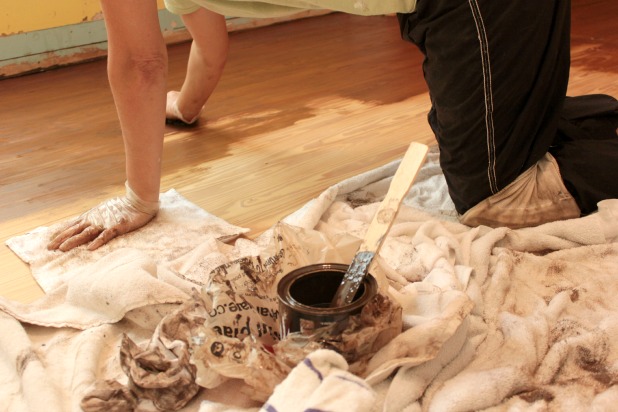
#3 – Keeping my bucket of stain (I knew I would need more than one quart so I pre-mixed quarts together for an even color throughout. Call that #2.5.) and extra rags on a towel made it easy to drag around the room. And I didn’t have to worry about stray drips on the floor.
#4 – KNEE PADS. Two pairs. One for your knees and another for your ankles/tops of feet. I don’t know about you but apparently the tops of my feet are delicate. Take precaution. 🙂
#5 – The oils from your skin will alter how the wood accepts the stain. Long pants, socks and latex gloves became my uniform so I didn’t touch the floor with any of my skin.
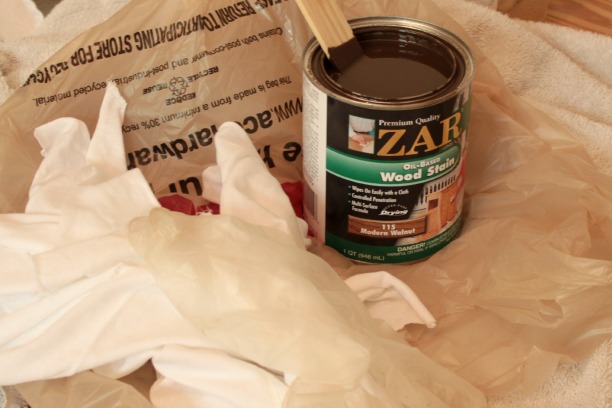
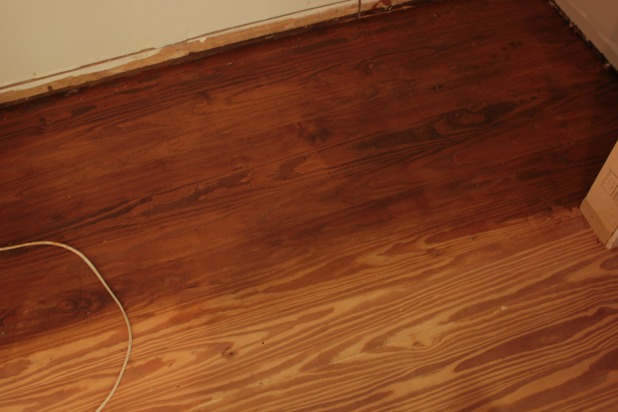
#6 – ZAR Brand. Get it. I know this other company that is really popular and they seem to dominate the market. But I’m telling you. This ZAR brand is so forgiving and easy to work with. I think it’s the only way my mom and I could stain together. She would work a 2 x 3 foot area and then I would follow her and darken it a bit and blend each section. Even after I had stained a whole row I could come back and blend in areas like this.
Unfortunately, this brand isn’t available at the big box home improvement stores. We got ours from Ace. And this is in no way a sponsored post, just a direct recommendation from the pro that worked out really great for us.
Polyurethane Tips
#1 – Let stain dry for 8 hours before applying the first coat of poly, but you don’t want to wait so long that extra dust can accumulate. The random dog hair, well that’s just inevitable. I’m considering that a hidden gift or 3 to all future home owners. 🙂
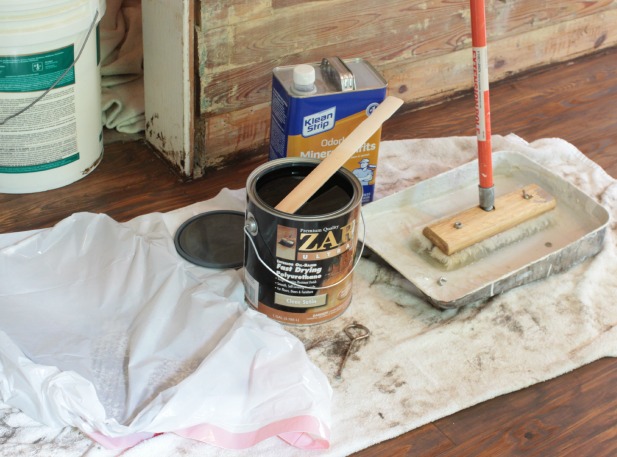
#2 – ZAR Brand. Fast drying, oil based poly. Get it. Use it. Love it. A mask or respirator is recommended, this stuff is pretty potent. 🙂
#3 – Mineral Spirits are your friend. I had never used them before, and really don’t understand what they are, but they make the poly apply like buttah. The floor professional said to soak our poly applicator in mineral spirits before we even started. And then I would saturate it a few times throughout the process.
You can also just leave the applicator in the mineral spirits between applications and you don’t have to clean it off at all. Score!
#4 – The long-handled applicator is the way to go. Once I got the hang of it the polyurethane really was the easiest part of the whole process in my opinion. #NoKneePadsRequired
#5 – Sand between your first and second coat of poly with 220 grit sand paper. That is the professional suggestions. What I actually did was do a super-quick pass with my palm sander and 150 grit paper. Basically the same thing, right?!?! Read – too lazy to go buy 220 grit paper.
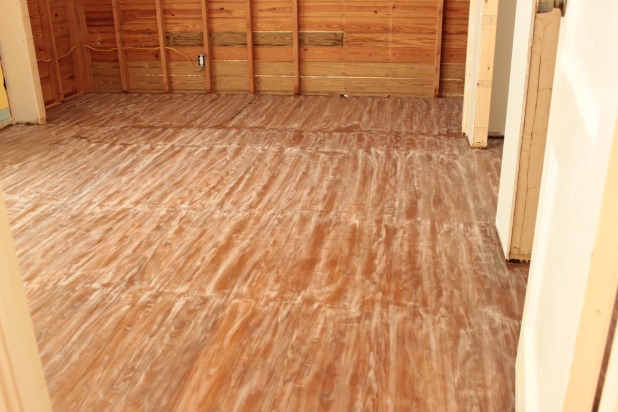
I will tell you. This step freaked me out because we went from nice-looking-floor-well-on-her-way-to-finished to this.
Even after you clean up the dust, I wiped it all down with a mineral spirit soaked rag, it will dry and look like that picture above again. Don’t sweat it. 🙂 After the second coat of poly you are back to beautiful.
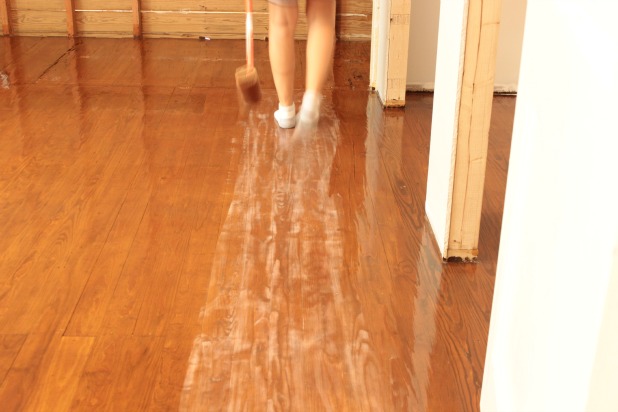
#6 – As I’m doing in the picture above, hold the polyurethane soaked applicator over the area you are about to poly so you end up applying a fresh coat directly over any potential drips. I may have learned that tip the hard way. Maybe. 🙂
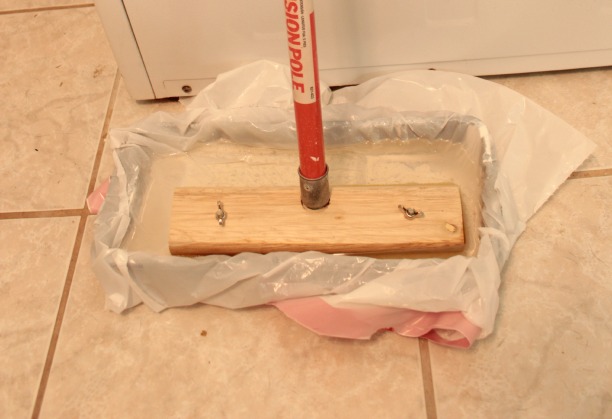
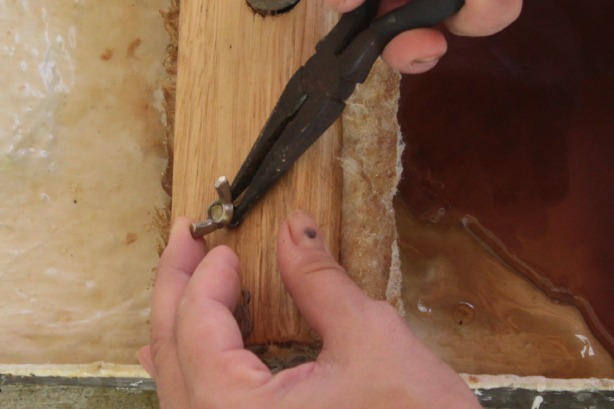
#7 – That wooden applicator holder thingy is reusable. But is a tad bit tricky to figure out. I started out in the living and dining room by just hand tightening the wing nuts that hold the polyurethane applicator pad onto it. And it flipped off midway through the room causing splatters and cursing and a brief moment of mild panic. But quickly enough, and with the help of my mom fetching tools and supplies through my frantic requests, I used a pair of needle nosed pliers to hold the screws still while I tightened the wing nuts thoroughly in time to soak the applicator in mineral spirits and smooth out my little mishap.
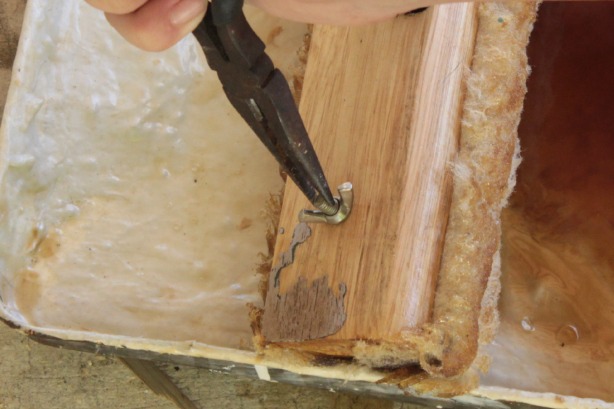
First hold the screw below the wingnut with the needle nosed pliers to get the wing nut started.
Then hold the screw from the top with the pliers and tighten the wing nuts completely.
Bonus tip:
If you’re using fast drying Polyurethane like I did – Be sure to do all three coats within 24 hours. The floor professional said the poly would start to cure after that and not adhere to the previous coats properly. For each of our rooms I put the first coat of poly on in the afternoon (Good lighting is really key, kind of a no-brainer but worth a mention, this isn’t really a great evening project unless you have really good built-in lighting in your room.), the second coat the following morning and the third coat that same afternoon.
Wait 48-72 hours for the floors to cure …. longer in damp climates and you’re ready for furniture!!!
Update: Amy added a great tip in the comments that she got from her floor professional. Let’s just say, we got lucky that we weren’t ready to bring in all of our things after the few day cure time. Sometimes it’s better to be lucky than good.
Unless, of course, you’re us. I’ll be finishing up the spackling of our drywall today and sanding tomorrow. Then our furniture better watch out, I’ll be gunning for them. 😉
