Happy Day after Labor Day!!
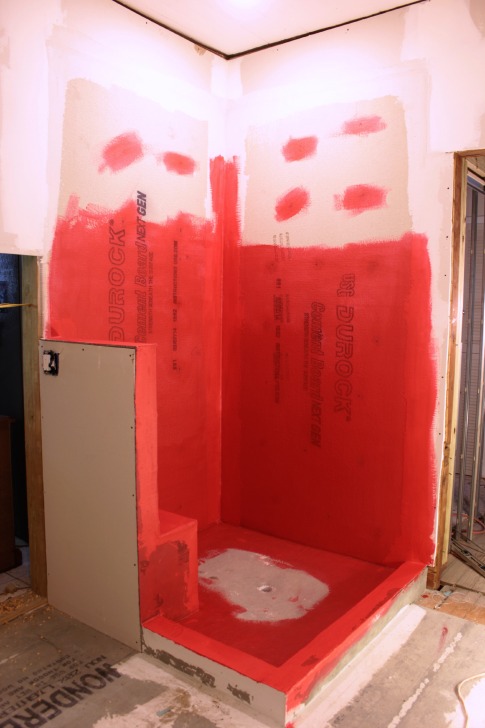
This post comes to you with all kinds of awkwardly unattractive, in-between process shots (with product affiliate links to boot) of the master bathroom renovation in an effort to spread the good word about shampoo storage in a tiled shower. That’s right, it’s a bit of a sea of cement board around here accented by the impossible-to-miss red tint of the last layer of waterproofing membrane in the shower.
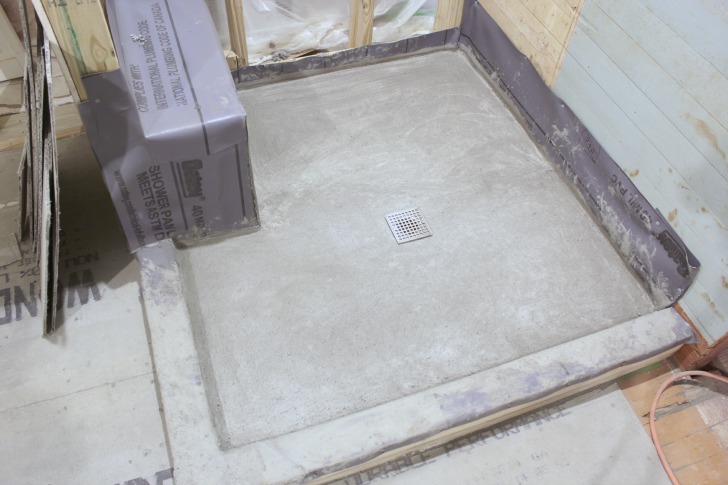
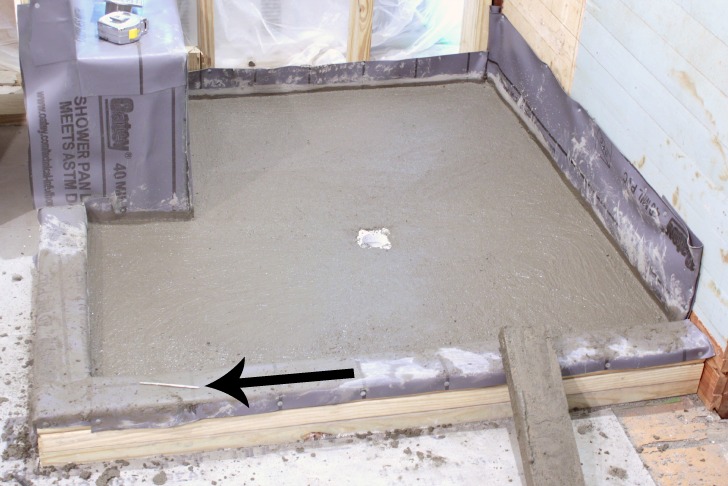
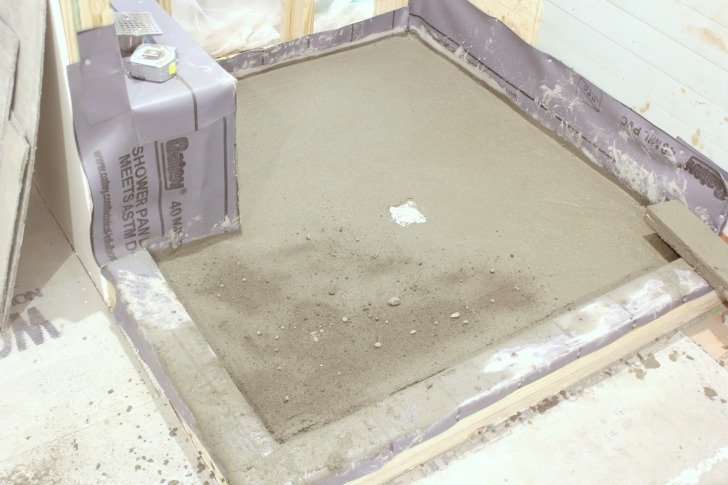
After we wrapped up the diy shower pan it was time to get all of the other surfaces of the shower ready for some tile. I feel like I say this at every point, but there are so many different ways to do these things and you can spend weeks reading up on different techniques and tips and warnings. I’m giving our own process a try, which is a mix of all different things I’ve read (an amalgamation, if you will) and sharing what we’ve learned along the way.
Like adding cement board around a shower bench.
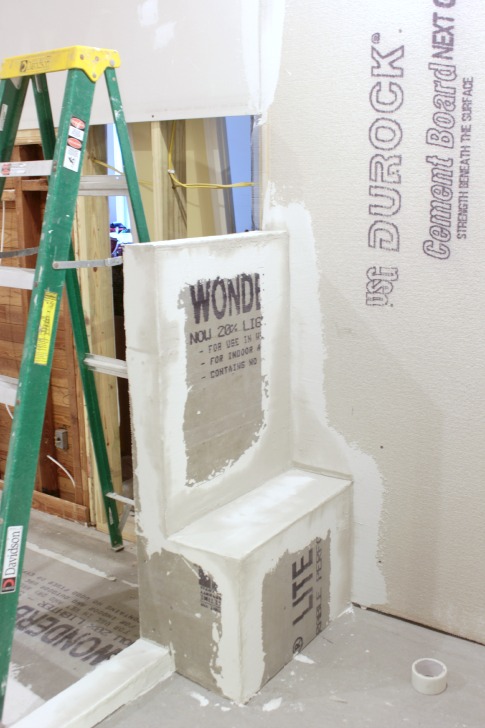
Everyone says to do it and yet these same people are telling you not, under any circumstances, to screw into your pvc shower liner. Yes, the same liner that is covering our shower bench that is now getting covered by cement board. How exactly is my cement board supposed to stay attached? Magic?
I didn’t go overboard but I also didn’t stress too much about screwing into the cement board and pvc liner on our bench to make sure it was all attached securely, making sure to use the proper cement board screws of course. Another waterproofing step coming up eased any worries I had. More on that in a minute.
There’s also a technique to use a cage kit of sorts to create your tiled shower curb. I really couldn’t be bothered, I went cement board with more screws for this, too.

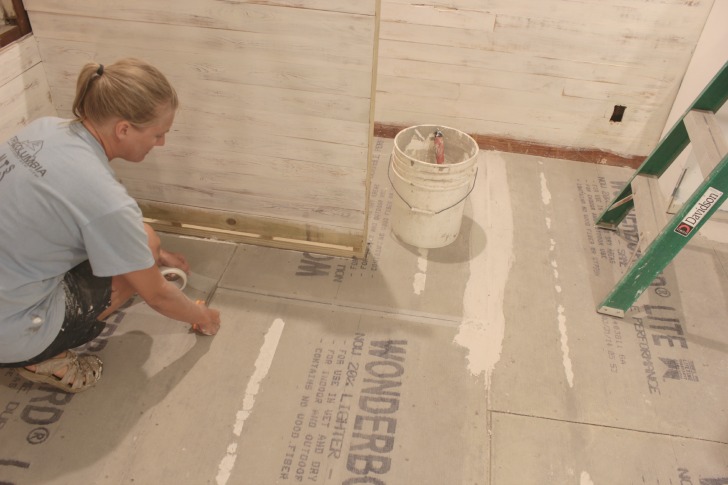
Which ties in nicely to the mesh tape and thinset requirement for every cement board seam. Including the 1/4″ backer board underlayment I set over the entire floor.
This process gives you plenty of time to contemplate the meaning of life. This is just one of those jobs that takes longer than you think. Plan accordingly, you don’t want to be smack dab in them middle of the wet bucket of thinset and dirty tools only to realize you have somewhere to be rightthissecond. The clean-up process alone takes time. And:
- wear gloves, remove your rings and try not to thinset your wedding rings together 😉
- use an old pair of scissors instead of ruining a good pair to cut the mesh tape, you will get thinset on the handles
- mix the thinset in small batches (I have wasted so much thinset just because of mixing too much at a time, it’s hard to gauge since you have to add the water first, start in small batches.)
- have good music playing in the background
- and if the stars align your husband will get home from work and see you still working so he will feel so inclined to do the dishes, make dinner and have a glass of wine ready for you by the time you finish washing your hands
- REALLY IMPORTANT: wash your tools thoroughly after each use, the thinset will stick to them for life if you don’t, and you don’t want that … even if you see the glass of wine ready on the counter as you head out to the sink with thinset covered fingers
Now, our renovation is a little different in the fact that the back side of many of our walls are open, freeing us up to do things a little backwards around here.
For instance, if you don’t have access to the inside of your wall from the other side you will want to install your shower valve and head before installing the cement board on your shower walls.
Or maybe we’re going for a dry shower. You know, like those decorative dry rivers made of rock that people put in their back yards. Just the idea of it makes me feel so … what’s the word … oh yeah, dirty.
Yeah. No. 🙂
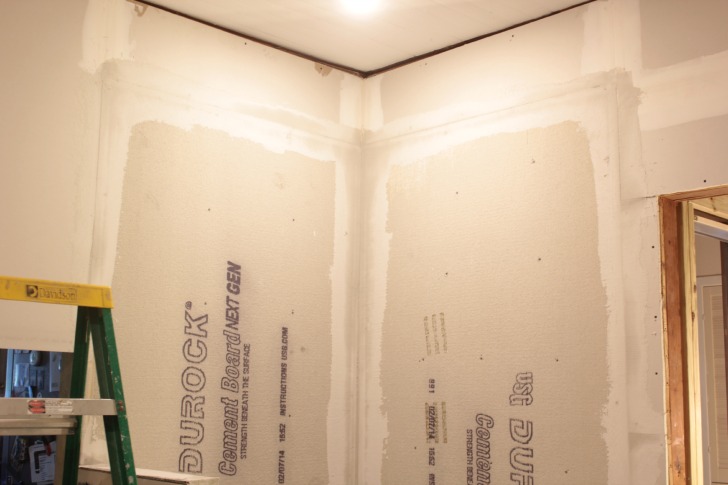
Because our shower is pretty much 4 feet square we just bought two full 4′ x 8′ sheets of 1/2″ cement board and hung them up vertically with a few cut outs around the bench.
Which, in a moment of rare serendipity when it comes to DIY home improvements, turned out to be the exact size piece I needed for another little shower feature you do not want to forget about.
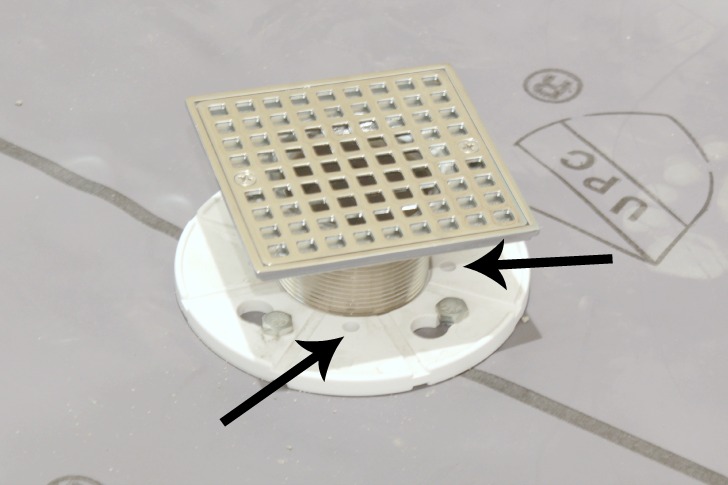
I was feeling particularly giddy about things after the day we installed the shower head and valve, which meant we had the plumbing lines hooked up, including the drains, and the shower had her final coat of waterproofing (again, more on this in a sec).
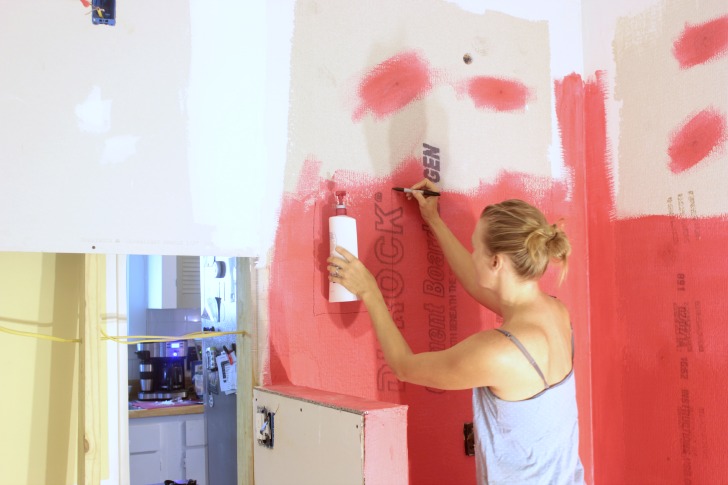
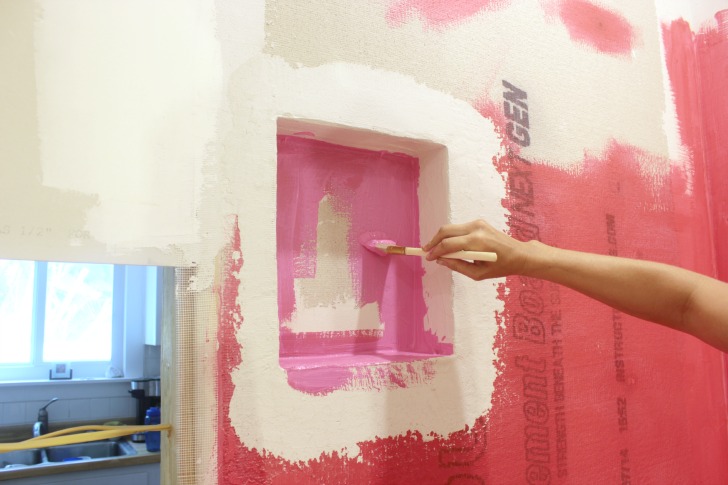
And then I was literally awoken by the thought that same night … where are we going to put the stinking shampoo? I had forgotten to include an area in the wall to serve as a shelf for our plethora of beauty products (read: shampoo and conditioner).
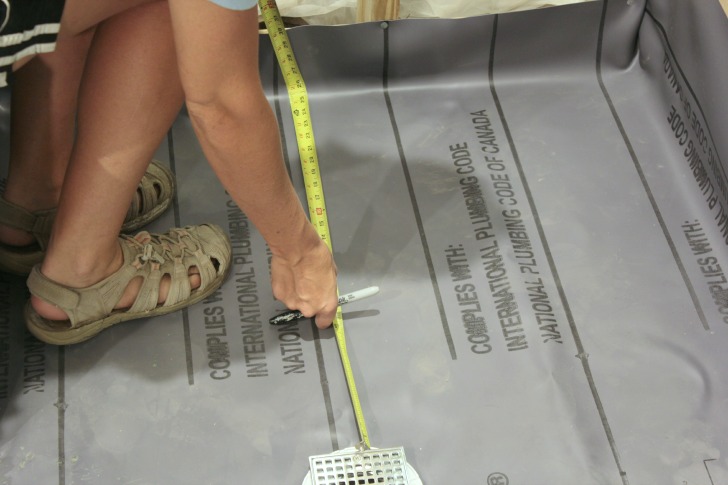
But, since we have the back of that wall open, creating that little niche was just a matter of measuring (by using our shampoo bottle) and marking a general idea of where it should go. The main considerations here for location of the niche were those electrical lines and finding one wall stud to use in the framing.
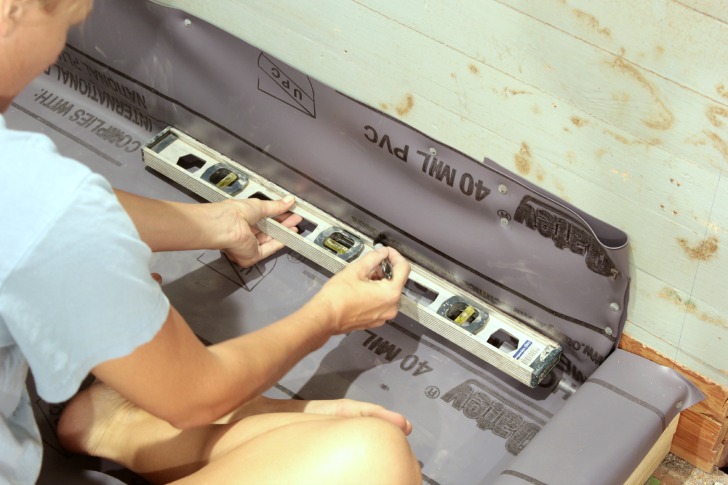
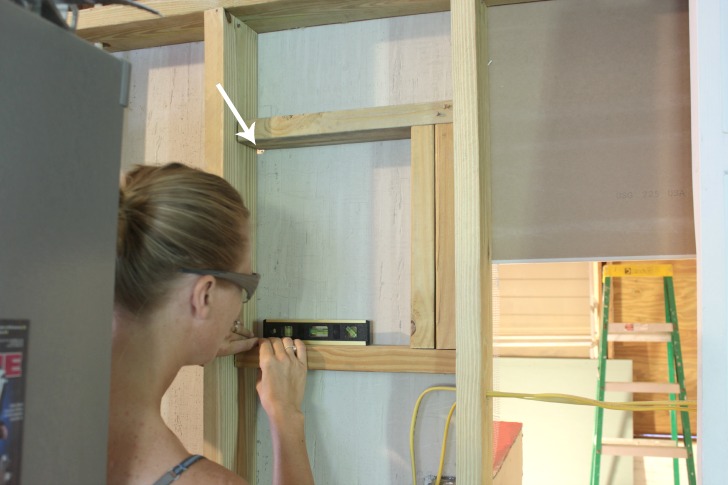
The framing in and leveling it all from the back side was easy since the wall was open.
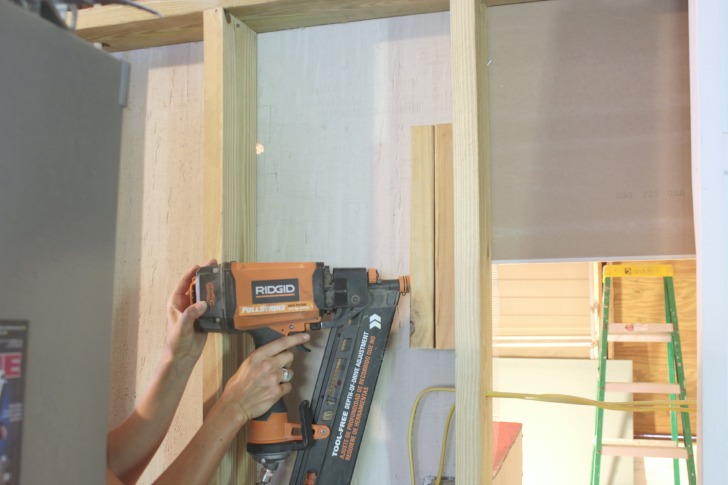
I drilled a little hole right beside the wall stud to line the approximate desired location of the niche up with the existing stud for easier framing.
With the frame in place I just cut out the cement board with a sawsall and a utility knife, cement board cuts in the same manner that drywall does if you score the mesh along a straight line and then tap it the piece will break along the line and you can then cut it along the break line from the back.
And that piece of cement board I had cut out so it would fit around the bench … it was the perfect fit for the back of the new shampoo niche. Which I found inexplicably exciting. I think it’s just the deliriousness of the madness of the current state of our living environment. Why yes, I am working on the master bathroom from the lovely confines of behind our fridge in our kitchen … which means so much dust in the kitchen I just pretend not to notice. Even the dogs know not to lick food that drops on the floor in the kitchen up, they will most likely get a clump of cement board instead. Any little victory just feels like it needs to be celebrated.
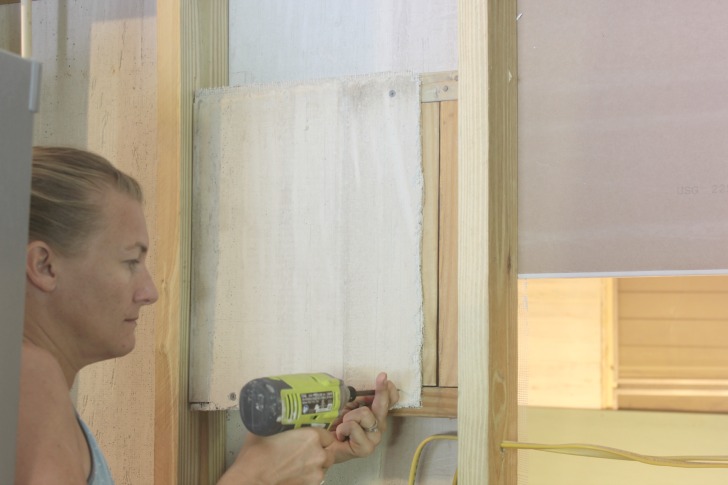
More scraps of 1/4″ cement board to cover the inside of the shampoo niche, and more mesh tape and thinset on all the edges, and we’re finally talking about the last waterproofing step.
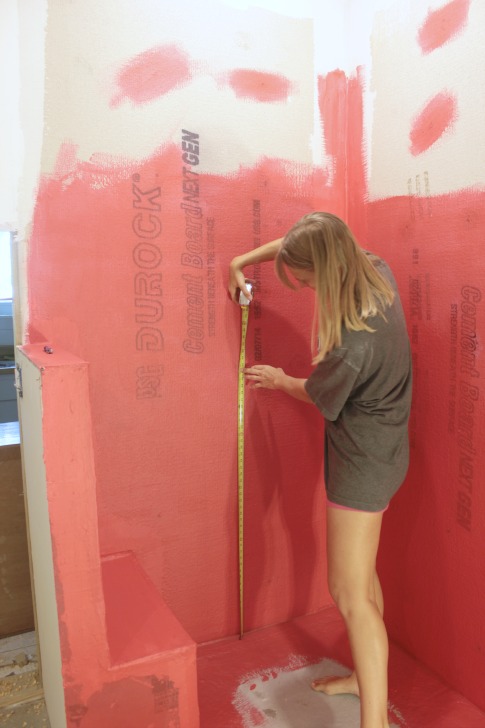
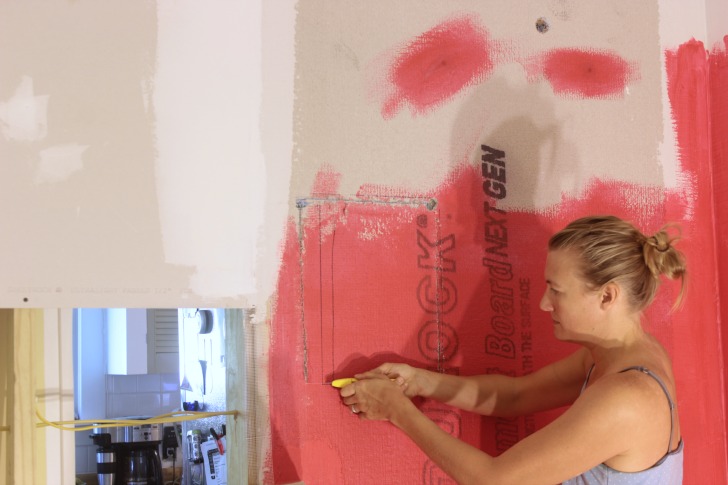
Redgard, it’s not exactly cheap (and I needed 2 gallons), but I liked the piece of mind it gave me to just slather on a few coats of it and essentially create a rubbery barrier between what we’ve taken this long to create and the tile that will be installed.
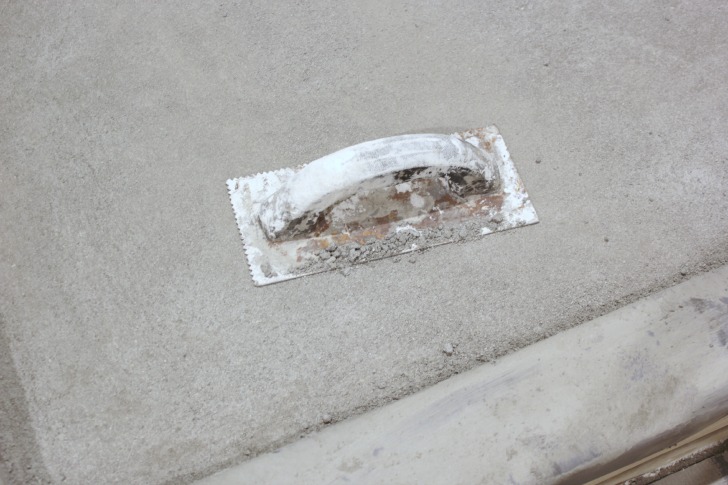
It goes on super easy with a flat trowel or 3/4″ nap roller.
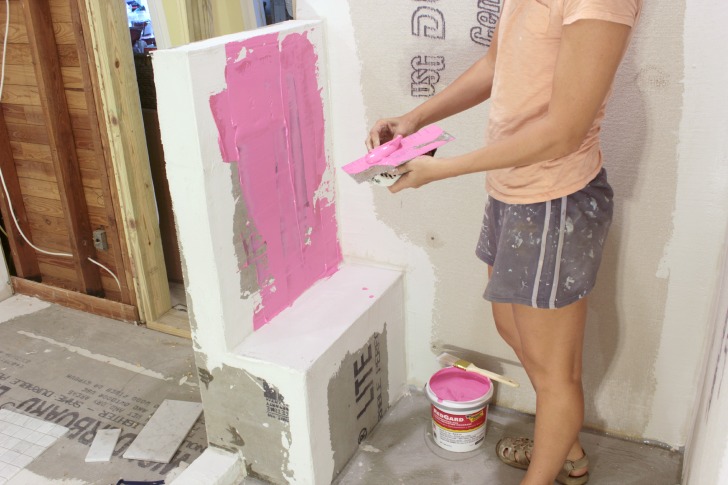
And you know its dry when it turns red. I applied 2-3 generous coats and used a brush from the dollar store to make sure to cover all of the corners.
A few Redgard tips:
- use in a well ventilated area, this is no joke, this stuff will make you high
- Redgard is for use on porous surfaces, I had first put a coat of clear silicone adhesive over all of my screws and I could tell those areas took much longer to dry, probably because the silicone had turned the porous surface into a non-porous surface
- apply liberally, but don’t leave any goops, it will dry exactly how you leave it, lumps and bumps and all
- apply two coats in different directions, apparently this makes the “membrane” it creates stronger, the first coat I applied vertically and the second coat I applied horizontally
mostly - if you’ve created your shower pan like we did you don’t need to cover it entirely with Redgard, just be sure to coat the edge where the floor meets the wall well and spread it evenly, the shower pan is designed for proper drainage if any water finds a way under your tile
And with that we are ever so close to tiling. Or I may have gotten started already!!
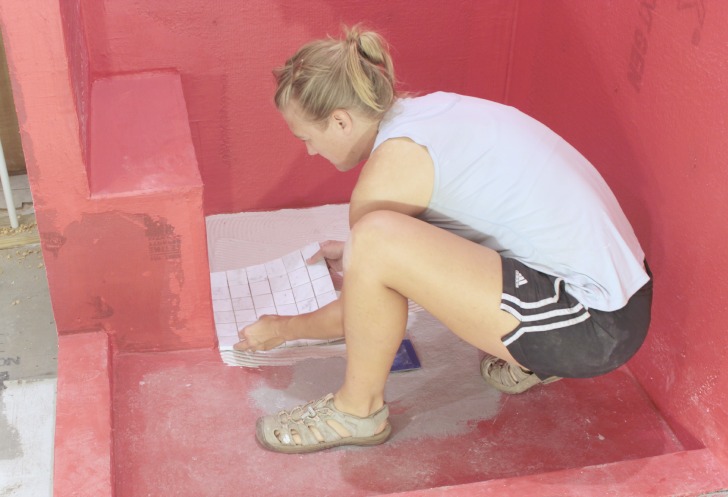
We’ve been waiting for our sinks to arrive (and they just did!) so we can do some math on the height of our vanity to determine exactly where to have the drains and water lines come out of the wall, then we’ll finish those up and get the last piece of drywall (we’ll be using greenboard) up that butts up to the shower right by the shampoo niche. But I couldn’t resist laying some tile on the floor just to get started.
Now you know what we’re up to this week. Are you working on any tiling projects? Did you labor over Labor Day or take it easy? We were about 80% labor and 20% time with friends … but 100% fun. I almost can’t stand how excited I am to start to put this room back together. I wonder if it’s going to turn out at all how I picture it in my head. 🙂