This post may contain affiliate links which won’t change your price but will share some commission.
Hey, hey! Happy Thursday!!
I showed you a little sneak peek of what we’re currently working on in the room here. (Ummmm, please tell me that picture makes you as excited as it does me!!) But I didn’t just want to skip over the ever important “smooth walls would be nice” part!
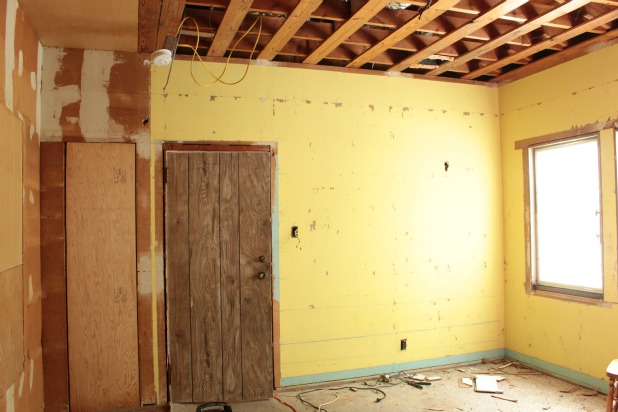
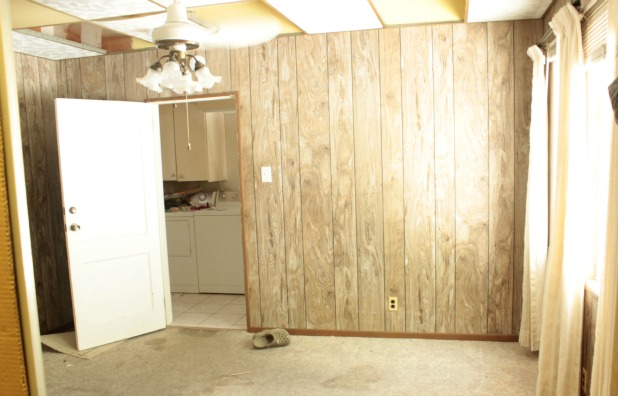
Once we had manhandled all of the drop ceilings and paneling out of the guest bedroom we were left with quite an interesting mix of surfaces to contend with.
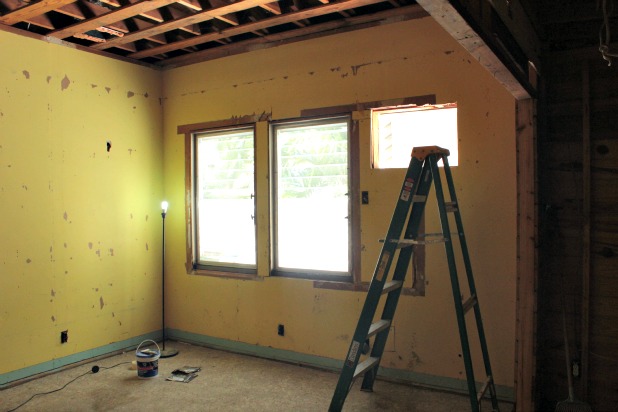
We’ll call that “complete randomness” on the left, followed up by some “blotchy drywall” on the wall with the door, of course even that is paneled, and just a “total hot mess” on the wall of windows. Here’s a better look at that wall even though the bright afternoon light coming in the windows really messed with my camera skilz. (Oh, and that paneled door was the perfect spot for me to try out a little technique many of you mentioned but I was skeptical about. More on that another time.)
You might remember there was an AC unit that had been installed right into the wall, creating that nice little awkward rectangle opening. And based on the previous paint job it appears that someone relocated the window on the right to be snug right up to the other one. Which means that there are all kinds of fun patches of drywall on that one little wall.
So the plan for her is to get new sheets of drywall right on top. But that’s in a waiting pattern until we get the new windows installed so we can be sure the drywall is the perfect fit. And the windows are all part of the big permit which should be finalized by the end of the month.
So “total hot mess” is sticking around for a bit while “complete randomness” and “blotchy drywall” get a makeover.
I felt pretty confident I could work the wonders of spackle to my advantage and manage some wall repair here without having to buy all new drywall for these two walls.
Spending $14 for a 5 gallon jug of spackle/joint compound vs about $150 for new drywall made it definitely worth a try at least.
And “complete randomness” had another thing going for her … she was going to end up being a closet. That gave me a little more wiggle room. Some imperfections that would stare me in the face everyday on another wall might end up being more bearable behind closed closet doors and piles of stuff.
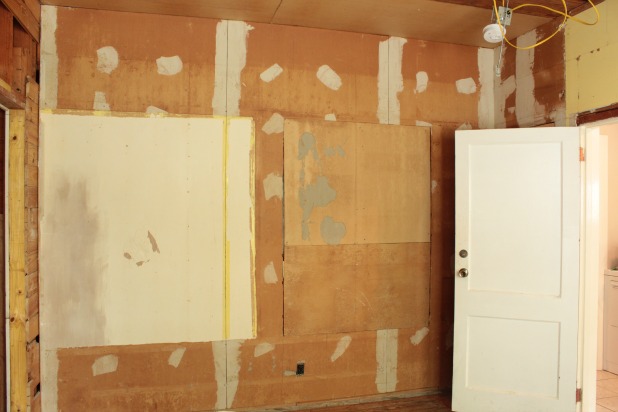
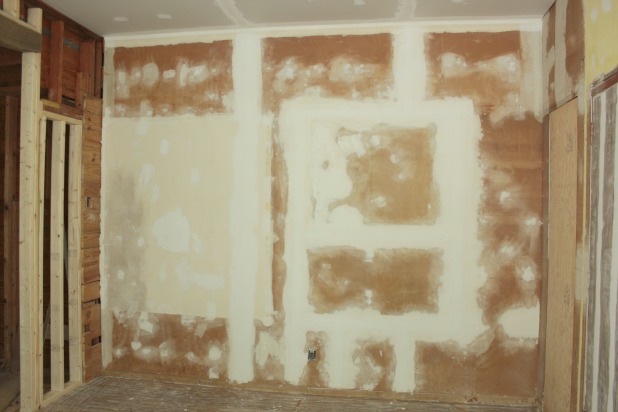
Here’s what she looked like before.
It’s actually particle board that had been cut and patched and left for dead under the paneling. But I just treated her like drywall and used drywall tape on all of the open seams and spackled all of the little holes from the paneling nails and filled in any indentations.
It was the other wall that made me more nervous because that is where the head of the bed is going to go and the light from the windows hits this wall directly and we all know light magnifies every little nook and cranny. Just all-in-all a much higher visibility wall in the finished room.
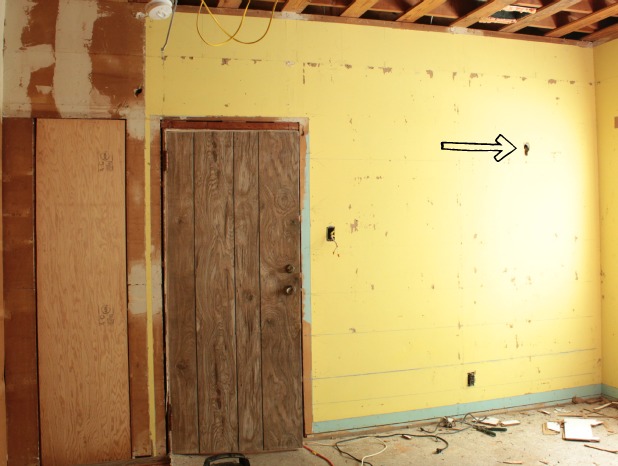
And she had a hole, that I had actually made while removing the paneling. Aargh! And there were just so many little spots that I thought I might end up basically skim coating the entire wall.
Oh, and since that weird plywood section to the left of the door is going to end up in the closet we were able to just drywall new right over that and not have to do the entire wall. Score!
Okay, so how’d we fare?
Here’s what the wall in the back of the closet ended up looking like ready for some primer.
I even ended up taping the corner where the wall connects the ceiling since we aren’t going to be installing trim in the closet.
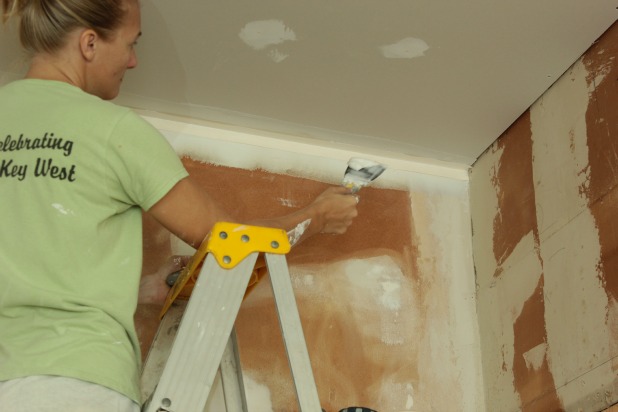
My tips for spackling corners are:
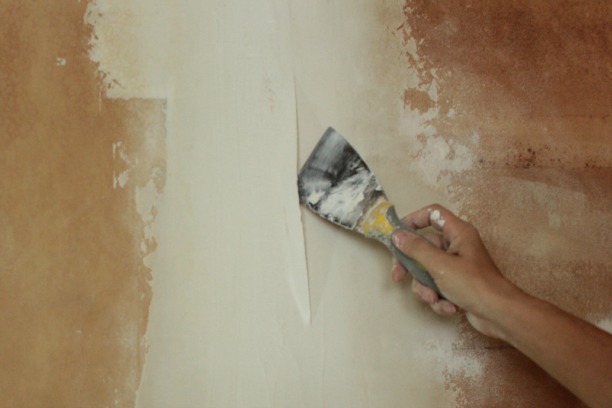
- keep the spackle on one half of your spackle knife for application, when you spread it thin you will have enough, if you fill up your whole knife you’ll end up with too much spackle for the area
- after the first coat of spackle only work on one side at a time, so if you add another layer of spackle to the ceiling side, let that dry thoroughly before adding another layer to the wall side, I just find it impossible to work on one side without ruining the smooth edge I had just created on the other side … avoid the frustration
- but definitely let the spackle dry the whole way before working on the other side, it will end up a gloppy, clumpy mess if you scrape up partially dried spackle into new, wet spackle
And when you’re laying the drywall tape (on a corner or a flat seam) just run a super thin layer of spackle over the seam you’re covering up and it serves as the perfect glue before you run the tape. But be sure that every part of the tape is “glued” down, if it’s not stuck to something when it is wet it is going to be a bubble once the spackle is dry.
Ask me how I know.
You can easily sneak your spackle knife in under the tape to add more spackle if you notice any bubbles when it’s still wet.
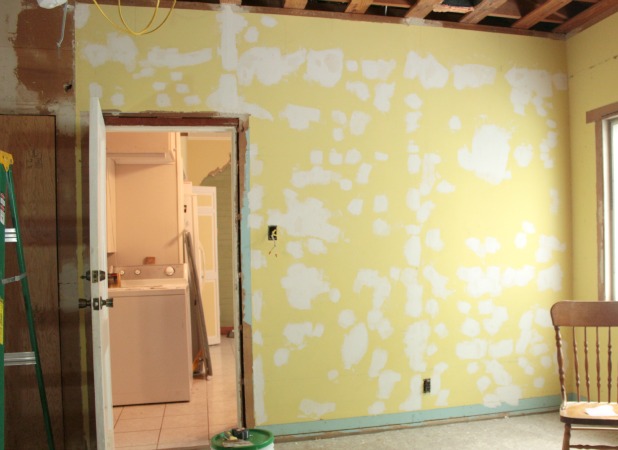
And as for the yellow wall of shame right before her craziness becomes a thing of the past …
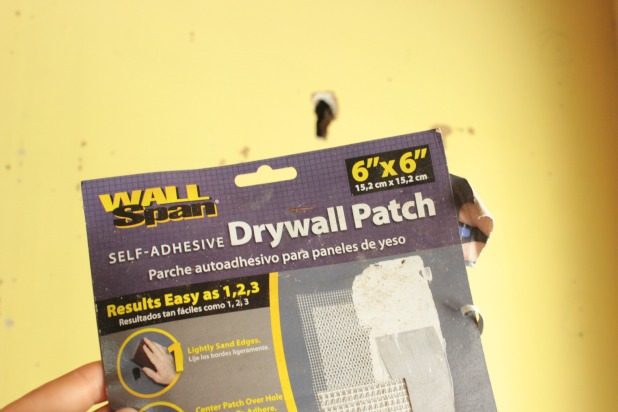
She ended up being much less scary than I had originally thought. We even had a hole patch left over in our shed to cover up the little hole.
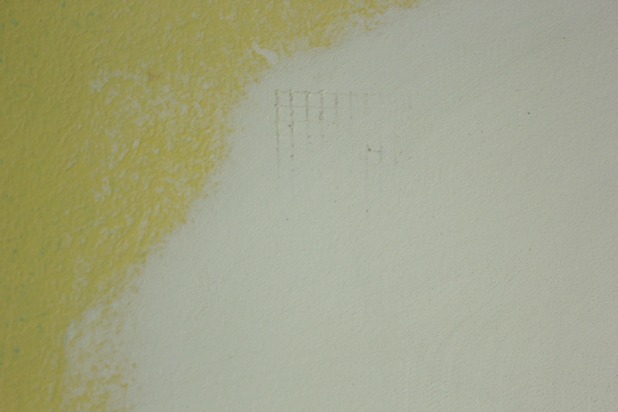
A few coats of spackle later and my little 1 x 2 inch hole had turned into about a 10 x 10 inch area. But this is one instance where size really doesn’t matter. The important part here is to sand it smooth to blend in with the wall. I used both 150 and 220 grit sandpaper and my palm sander in spots and just a sanding block in others. But don’t get too overzealous and sand back down to your patch like I did.
Nothing a little more spackle didn’t easily fix, but I was pretty ready to be done with the ‘waiting for spackle to dry’ stage. 🙂
But, what is that saying … be carefull what you wish for …
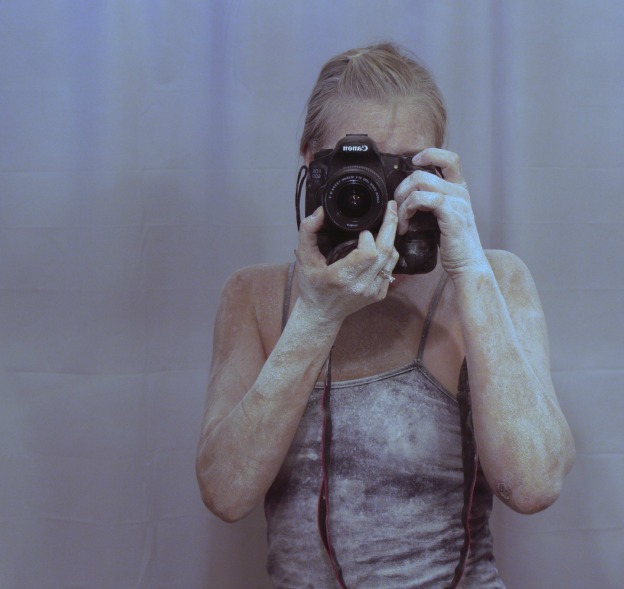
… this is what I looked like after a day of sanding our newly drywalled and spackled ceiling.
This picture makes me feel like I need to sneeze.
And that tank top is supposed to be navy blue. 🙂
I was stoked to be able to bring these two walls back to life for only the cost of some spackle. Saving over $150 during any part of this whole process is music to my dusty little ears.
And not having these walls anymore …
… priceless.
Update: If you do need to replace the drywall we did our ceiling here and removed the old drywall (that was nailed in and not screwed) with this handy tool.
Update #2: I go into more detail about drywalling over a wonky wall, spackling outside corners and cutting around window openings here.
I’d love to have you weigh in on which light we should choose for this room here.


Jaye says
First of all, WHO panels a stupid door???
Second….I’ve always felt that caulk and spackle are a girl’s best friend!
Looking awesome! The room Karah – not you! Go take a shower!
Ashley@AttemptsAtDomestication says
Caulking and spackling are my least favorite tasks ever! Well actually it’s more so the sanding that I hate. Hate hate hate it.
You did an awesome job!
Karen T. says
You are doing an AWESOME job! I lived in Key West for 4 years, and you have to realize that some questionable decisions were probably decided with more than a little help with some cold alcoholic drinks! lol It takes a lot of time to reno, but I hope yall are taking some time to enjoy the Summer activities and festivals in and around Key West. I will be following with quite a bit of interest this labor to beautify a lovely conch house.
Karah says
Thank you so much for such a great comment!! We have definitely joked about “after how many drinks was this decision made” hahaha, and we’re trying not to make too many of those ourselves. 🙂 And we’ve found it pretty impossible to not have a good time in and around Key West … Ernest Hemingway look alike contest was last night at Sloppy Joe’s … only in Key West. 🙂
Heidi @ Decor & More says
Amazing… all that spackeling requires some serious patience!! Looking good, Karah!
xo Heidi
Tracie Vaughn says
It is such fun following this renovation, Karah! You are amazing!!