This post may contain affiliate links which won’t change your price but will share some commission.
Joel made an unfortunate realization around here the other day. Actually, unwittingly, I kind of surrendered my hand, and gave up a bit of my DIY strategy. We were hanging out with friends and talking about the house and they asked “how do you decide who does what when it comes to house projects?”.
Totally joking I said “I just ask Joel to do everything I don’t want to do”.
(Clearly someone has been dismantling pallets around here.)
This, my friends, turned out to be a classic case of foot in mouth disease.
See, Joel decided to put some serious thought into this strategy and proclaimed “HEY, that’s exactly what happens”.
Doh!
Dangnabit!
Goshdarnit!
I’ve been figured out.
Luckily my partner in DIY crime kind of likes me and indulges my frequent requests to do all kinds of random tasks from manning the insulation blower from the attic to doing the dishes.
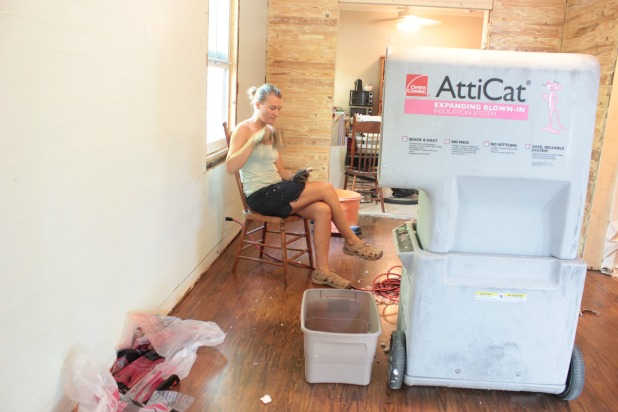
(I did much more than this picture implies on insulation day.)
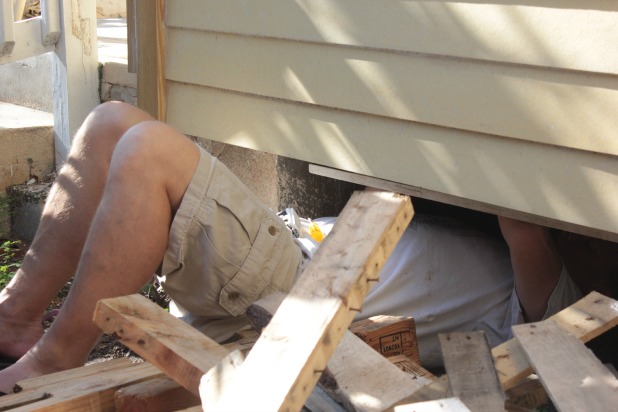
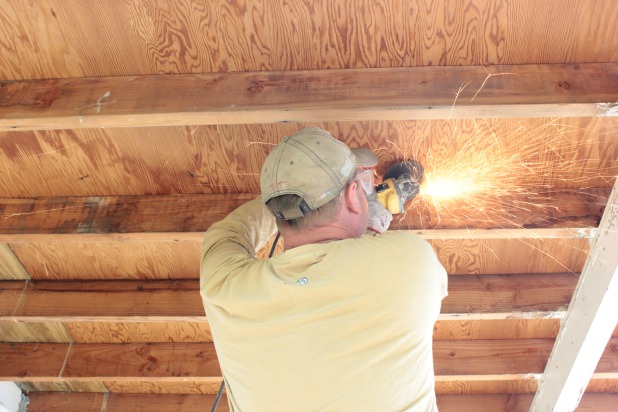
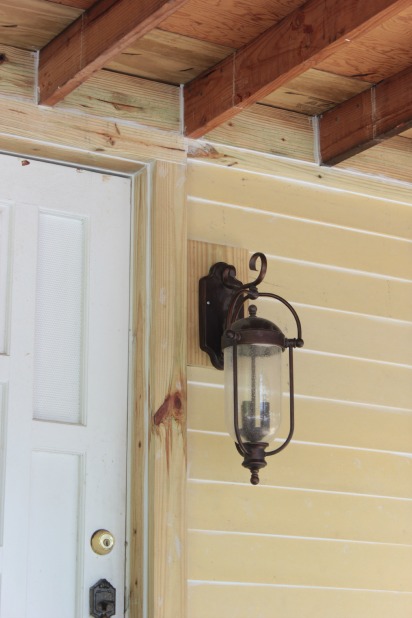
So it came as no surprise to him when I declared grinding off the nails on the underside of our patio porch was his job.
We exposed the ceiling joists on our porch roof back in September, when we removed the luaun that was on the ceiling to uncover that the porch wasn’t even attached to the house.
With that porch roof now securely attached and the hardiboard siding installation finally complete we keep plugging away on the front of the house, making some exterior progress, a few small projects at a time. We are working towards a pretty traditional southern porch ceiling look with exposed joists and the ceiling painted blue. The end result will look something like this.
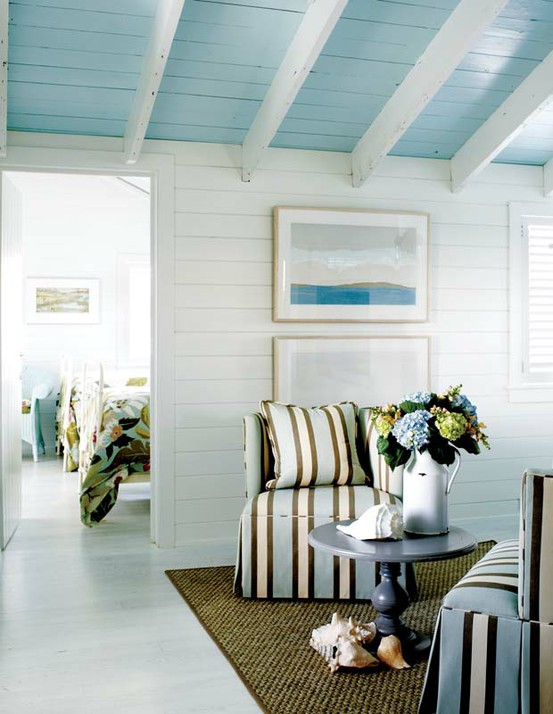
(I can’t find the original source for this photo anywhere so if you know please let me know so I can add the link here. Thanks!)
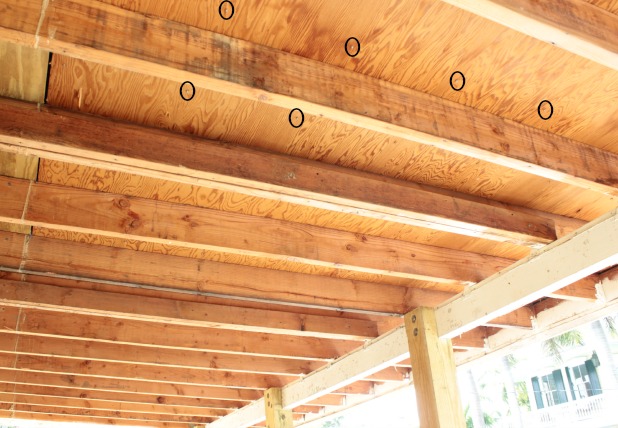
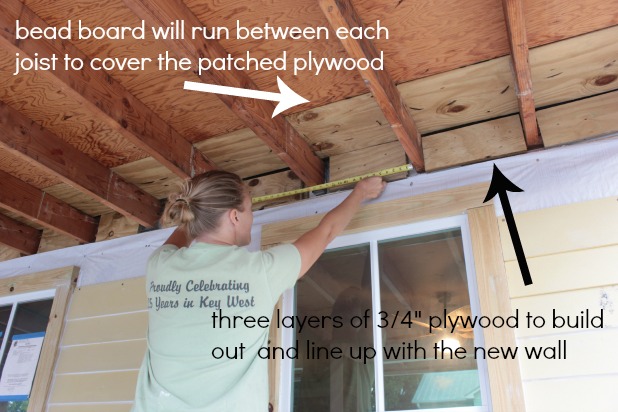
But, unfortunately what we uncovered under the luaun was just the plywood our metal roof tiles are nailed into. And unfortunately those nails all poked a little bit through so we needed to get rid of them before we can forge ahead with installation of bead board between the ceiling joists to cover the plywood.
Enter Joel and his experience with the scariest tool he’s ever used.
Here’s a shot with a few of the nails poking through circled for a little visual help.
We borrowed the grinder from our contractor friend, he had used it to grind down the length of our bolts when we replaced our patio posts and left it with us to use for this project.
You might remember the tool scared me then, so I had him grind down all of the bolts, even though he only helped me install the first patio post.
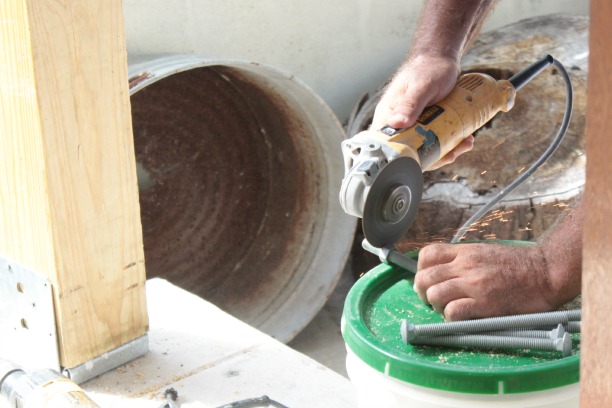
And Joel was left in charge of grinding down the bolts we used to install our post bases.
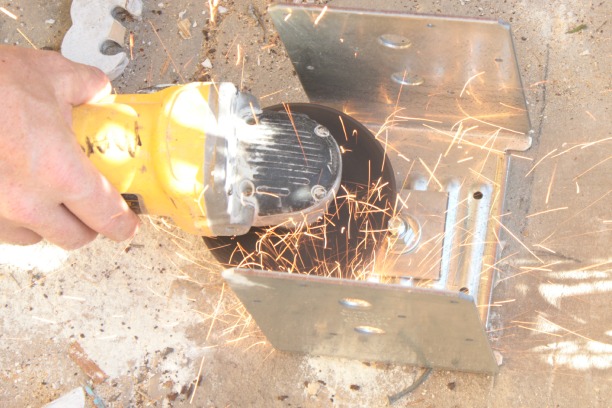
I did some research online and these tools are sold with a guard, which was the most nerve-wracking part of the one we borrowed, there wasn’t a guard, or anything separating the spinning blade from our precious fingers.
And that baby throws sparks, Joel put on a long sleeve shirt because he could feel the sparks when they hit his arms. So, needless to say, safety glasses and leather gloves are also a must with this tool.
But, as intimidating as it was, it was definitely better than the time and energy it would have taken to use a hack saw and cut each nail by hand.
Here are a few affiliate links to check out the tool more closely. This is the Dewalt grinder we used, but with a guard, and here is the blade we used. For as heavy-duty as the work they do is, the blade is very thin and breaks easily, I cracked one just knocking it on something when I was putting the tool away, luckily the blades are only a few bucks a piece.
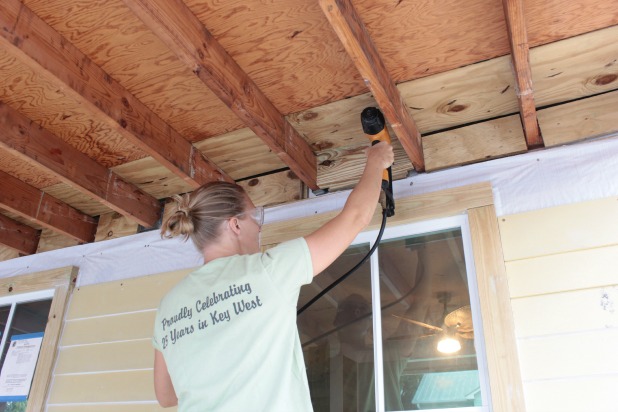
But I didn’t leave him totally alone, while he was tackling that I was working to prep the area in between each ceiling joist for new trim.
Way back in September we decided to just build out the old wall to cover up the faux brick facade instead of going though the effort to remove what we heard from many sources was a messy, hard to work with, chicken wire covered with stucco situation.
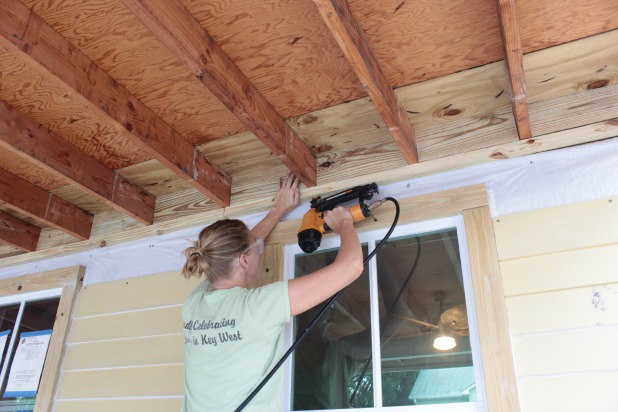
 But the contractors only built out the wall to the bottom of the porch roof because we hadn’t exposed the ceiling joists yet. With a bit of remedial math and scouring our scrap wood selection to try to use what we had on hand we determined that the width of one 2 x 4 plus one sheet of 3/4″ plywood (which is what they used to build out the wall over the faux brick) is the same as the width of 3 layers of 3/4″ plywood. 2 1/4″ for anyone who doesn’t want to whip out their fraction math skills. And we had a bunch of scrap of 3/4″ plywood leftover from the previous exterior work so I just cut it up into pieces that would fit in between the ceiling joists and installed it in stacks of 3 with our framing nail gun.
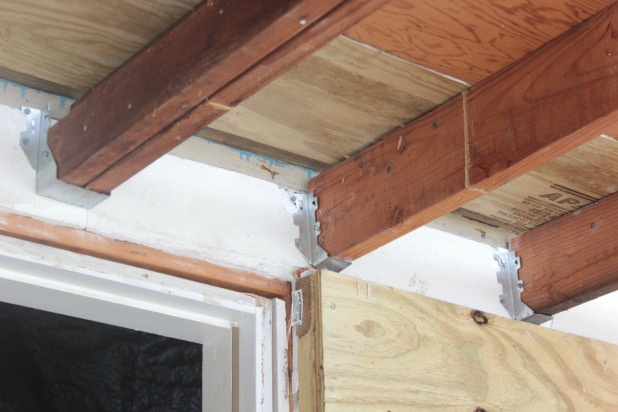
Then we measured a little more precisely and installed blocks of 2 x 6s with our finish nail gun. And to create one long, clean line of trim for the hardiboard siding to butt up against we ripped a 2 x 4 into a 1 1/2″ square on our table saw and installed it right below all of our newly installed blocks.
Clearly I did that little project before we finished the hardiboard siding installation. But we were just talking with our friends about this scary tool so it reminded to give you a little update on that bad boy, which has somehow morphed into this little last bit of exterior trim work.
And here’s what it all looks like after hours years spent caulking.
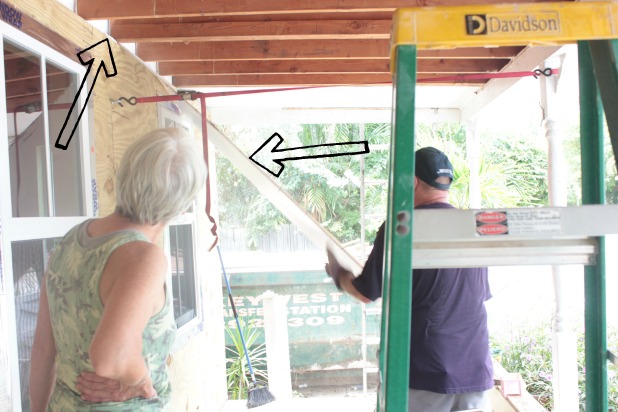
And here’s an arrow happy slap happy indication of what we’re working toward, with arrows indicating colors, but by no means scientifically color-matched. Think of it more of an “in this general shade” guide.
![]()
And the door, the navy is just my latest idea, there is a house in our neighborhood that caught my eye that is gray with a navy door. What do you think? Would navy go with oil rubbed bronze hardware? I kind of love our light and would hate to paint it since it is hit by heat of the day sun for a bunch of hours every day and I just think spray paint wouldn’t hold up in the long run. And I want the door hardware to match the light finish. What about red for a door color? I put some red flowers on the porch the other day and kind of really liked how the red looked. How did you decide what color to paint your front door?
And the stars are going to be bevelled glass, we just ordered 6 pieces to replace the painted plastic, I know, classy, that is in there now. I was going to put a red arrow on the door too as a color option but with the stars it began to look a bit too, oh I don’t know, American flaggy for me.
If you happen to follow along on Instagram (@thespacebetweenblog) you saw that we tried out a new paint sprayer and the exterior color. It’s just a trial run and a little to get the front of our house a little more presentable for the ‘hood … but it sure does have me dreaming about getting the rest of the exterior prepped for a full on spray party. Which means power washing, scraping old chipping paint, caulking where necessary, priming as needed and then paint. Why does the fun stuff always come last?

Ally says
I’m just gonna say that grinders are really really scary and I suspect designed by a sadistic soul. I won’t even use one. I like the gray and navy combo.
Karah says
You are probably right about the sadistic soul. Glad you like the navy/gray, I’m reall drawn to it!
Larry says
Get one of these – the best you can afford. I use Fein, but others are also good. Get an assortment of blades and you will be hard pressed to figure out how you’ve lived without it.
Karah says
Would love to hear ideas for other ways to use it, we would definitely consider buying one!
shirley@housepitalitydesigns says
You two are the best…I think I would have had my phone in my hand if my hubby was using that “scary tool” to be able to call 911 in a second!…Again, I am so enjoying your journey….it is remarkable!…I love,love the color combo…My son’s room was always in the navy and grey combination…I am really wanting to paint my porch ceiling..you may just give me the inspiration to paint it blue…and when the “outside” of the house reno is over and done…I want to see the very last picture to be you in your cheerleading outfit doing that split jump for joy!!!…Happy Valentine’s Day to you!!..xo’s to the girls too!!
Karah says
LOL!! I will probably throw out my back happy dancing. Happy Valentine’s day to you and your family!!
Larry says
RE: Oscillating tool. Here’s a youtube link: http://www.diynetwork.com/videos/oscillating-multi-tool-video/85068.html . I’ve used it to cut outlet holes in paneling, trim off nails, cut window fasteners, flooring, trim Hardie board, remove grout.
Karah says
Love it! Thank you so much for the additional information!
Wendy says
I would be cautious in considering red. We had a red door and shutters that we had painted ourselves and loved. The only problem we had was that they took a lot of sun each day and the red eventually aged to magenta. It was awful and we had to repaint before we could sell the house. I thought it was just our paint or some chemical reaction with the paint underneath the red – except I passed a house the other day with the same problem in our new neighborhood.
Karah says
You know, that is a great point, our porch does get full sun all afternoon, the bottom of the door would probably fade first and then we’d end up with an ombre effect. LOL Thank you for the tip!
Kelly at View Along the Way says
Hilarious. That’s exactly how we decide who does what too! (I’ll probably not mention it to Andy though.) 🙂
Karah says
Yeah, there may have been truth serum involved, aka wine. 😉
Jan says
I like the gray and navy combo, but google “red front door feng shui” and see what pops up. It is supposed to be good luck or means the house is full of life and energy and prosperity or some such. Also lots of google images for red doors. Love your blog!
Karah says
Thank you so much, Jan!! Joel wants a red door, for some reason since we’ve had a red door before I think it would be fun to do something different … but I do like some good feng shui.