This post may contain affiliate links which won’t change your price but will share some commission.
If I had a nickel for every time I’ve said “thank goodness for this little pry bar” I’d at least have ten cents be loaded. 🙂
But seriously, these little guys have proven invaluable so far in our full house renovation process.
It’s no secret, I’m a big fan of all things power tool, but if you’re looking to make a little investment in a tool and you have some demolition or building projects in your future I highly recommend both the flat edged pry bar and the nail puller, we call the cat’s paw, with more claw-like ends.
And, as you’ll see in these pics, they are most effective when used with a hammer.
These are affiliate links to these great products we use All. The. Time.
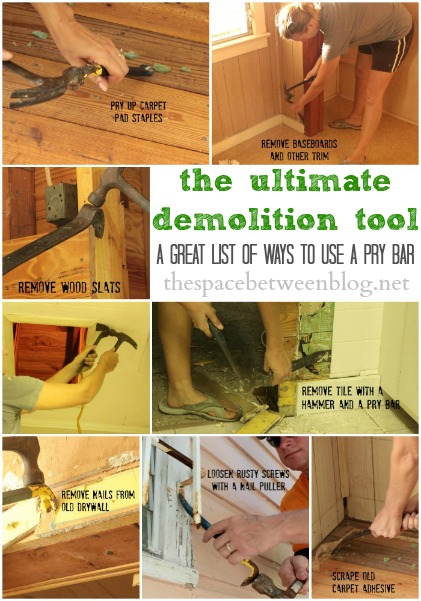
Here are just a few of the ways we’ve put these babies to use so far.
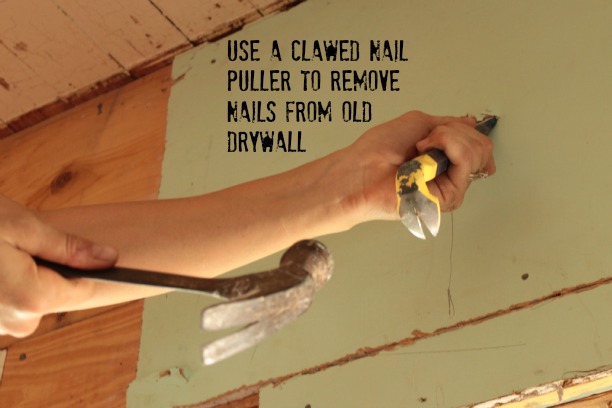
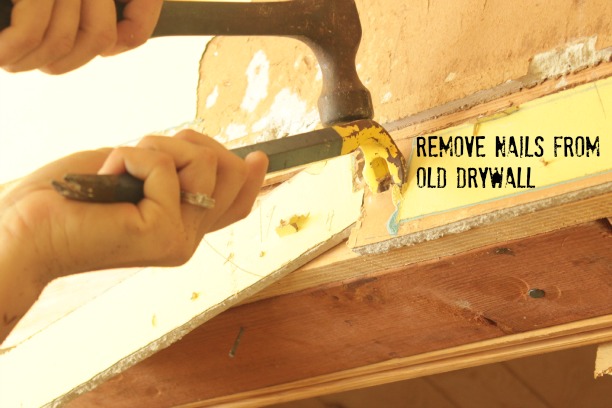
1 – Remove nails from old drywall.
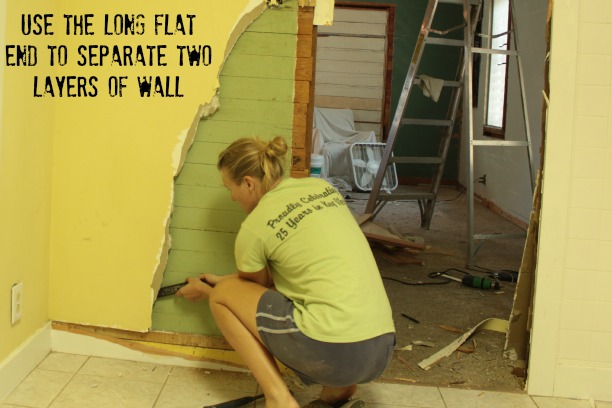
2 – Separate layers of wall and remove old drywall.
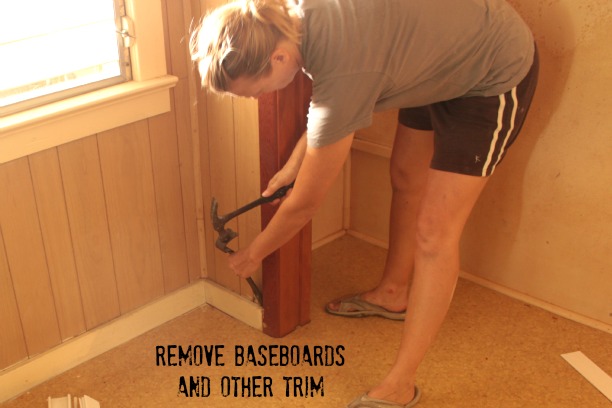
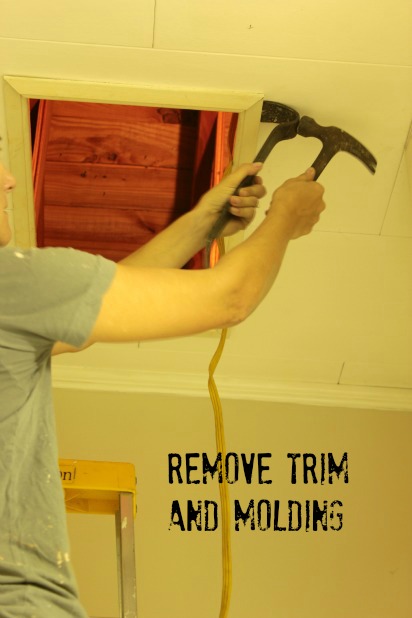
3 – Remove any kind of trim and molding.
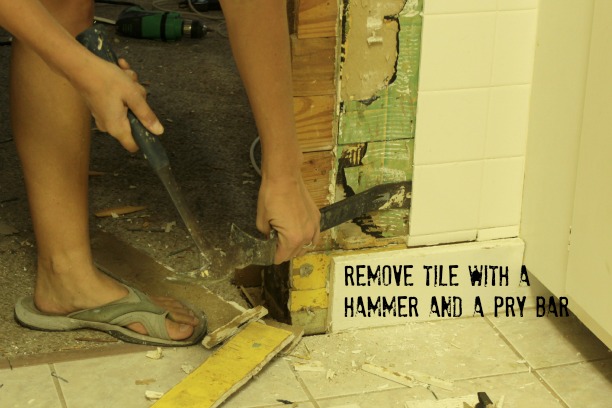
4 – Remove tile.
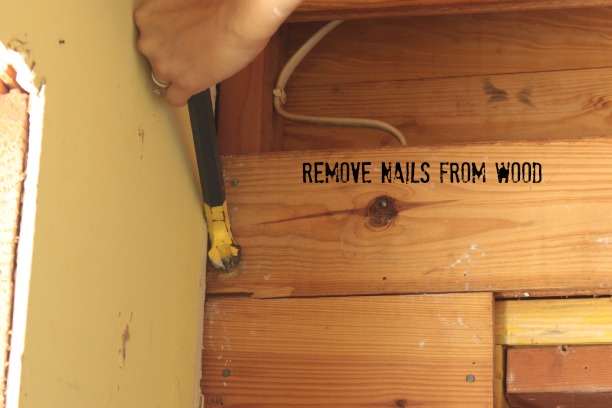
5 – Remove nails from wood.
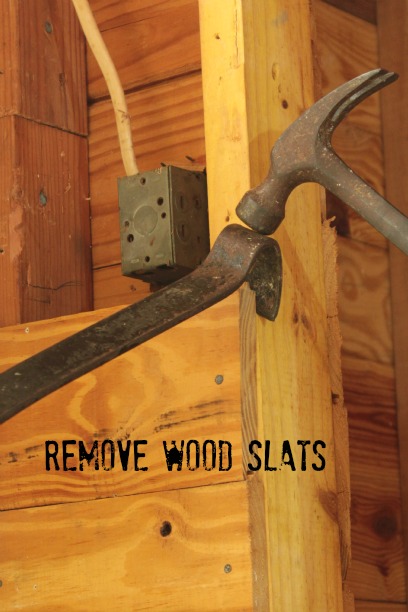
6 – Remove short wood slats. (For the longer wood slats #5 definitely works better … unless you’re the incredible hulk.)
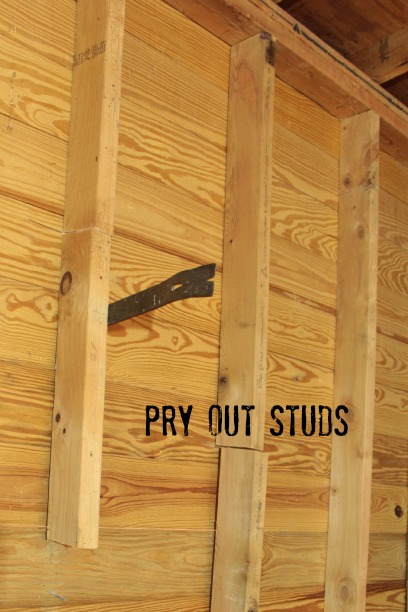
7 – Pry out studs and other framing boards.
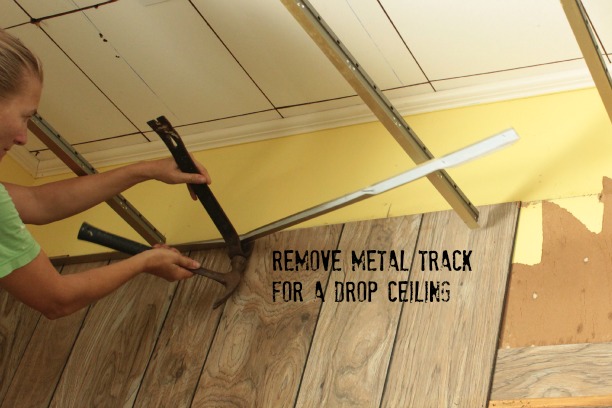
8 – Remove the metal track for drop ceilings.
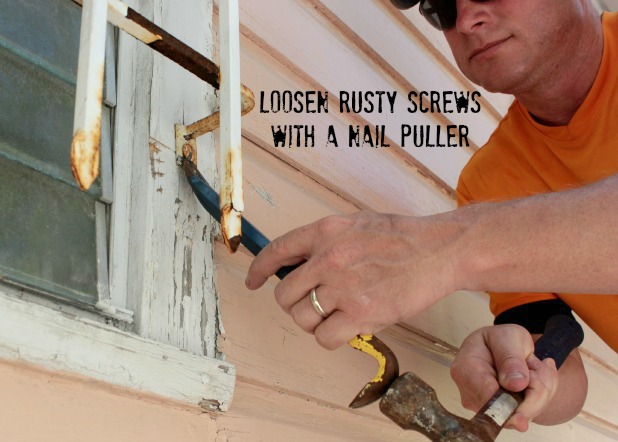
9 – Loosen rusty screws.
10 – Pry up the corner of a carpet for removal.
11 – Remove carpet tack strips.
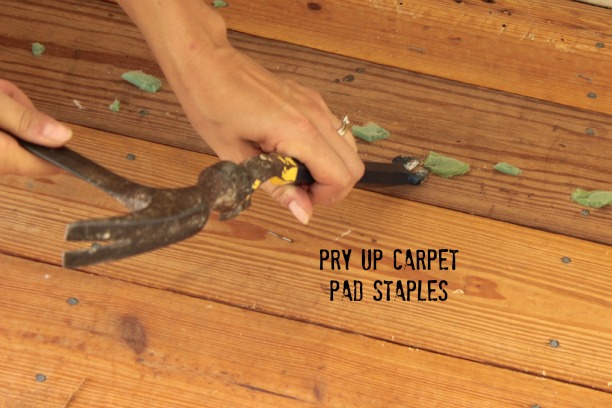
12 – Remove carpet pad staples.
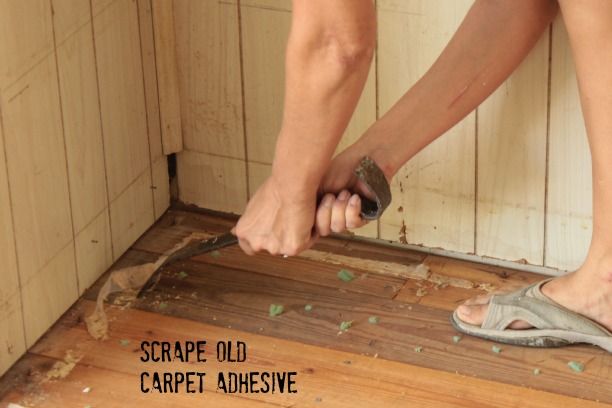
13 – Use as a scraper in a pinch.
14 – Remove paneling. This short video shows how we’ve used it to remove all of our paneling so far … even those sections that are held together with those annoying, and seemingly indestructible, little seam connectors. Nothing will stop me from de-panelizing this house.
We’ve also used the pry bar to scooch tight-fitting studs and trim as we try to get them in just the right spot. And we tend to push and pull it every which way to manipulate it to do what we want.
She’s definitely the tool we keep closest at hand these days.
What’s your go to tool right now?

Jessica @ Decor Adventures says
I’m sure your pry bar has lots of marks on it. My husband hated taking his out when it was new – it doesn’t look used! he’d say. Yours definitely is!
Traci says
The good old pry bar, We have three different sizes. My go to tool for demo is “the chisel”. I have very small hands and the chisel seems to be a better size for me than a pry bar. I have used them for everything from chipping off brick mortar to removing tile.
Keep up the good work.
Traci
Heidi @ Decor & More says
Wow, who’d have thought?? Good stuff!
xo Heidi
charisse says
Hi Karah, What a challenge you have and I have enjoyed watching all you are doing. I have to say you are one lucky gal wearing sandals while using the claw. I used to do the same thing until a difficult nail caused the claw to drop, and onto my toe! Major ouch…..broken toes ouch. Please be careful, even though those sandals look mighty comfortable!
Karah says
Ouch!! I have seen my share of injuries and closed toed shoes would probably be a smart idea … but it just so hot. 🙂
thistlewoodfarm says
Love the pry bar! We used ours to pull up the carpet tack strips, too!
Happy day to you!
karianne
sheryl from Beantown says
Lately, my go to tool….contractor trash bags. Work on the house generates a lot of trash!!
Karah says
Oh yes!! I hear you!
Sam says
When I first moved into my house I used the pry bar so much I felt like it was an extension of my arm. Greatest tool ever. Wish I could remember where it was…
Karah says
hahaha, it really is the greatest tool ever!!
Kelly @ Corner of Main says
Wow. That little guy has gotten quite the work out!
Jason says
Thanks for the article, really useful and insightful
Karah says
Thank you so much for visiting!!
karen@somewhatquirky says
Great post Karah! One of my favorite tools is our miniature pry bar. I love the big honkin one too, but it is usually overkill for most of my projects!
John says
I can see you get a lot of use out of a pry bar. Pulling up nails was just the start. I need to do some more intensive demo for my home remodel, so I’m considering getting a wrecking bar for more leverage.