This post may contain affiliate links which won’t change your price but will share some commission.
Now, I’m not usually a “right fighter”.
You know the type. Where justification for pretty much everything comes down to “because it’s the right thing to do”.
But I’ve had a few moments in this guest bedroom renovation where I just wanted “because I don’t want to” to be justification enough to actually not do something.
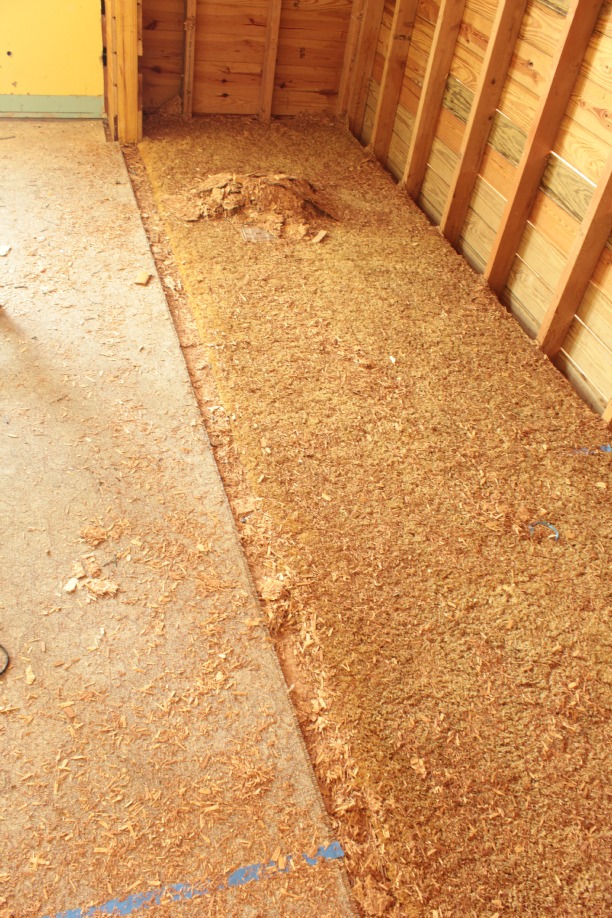
Ummm, hello pressed sawdust covered walls.
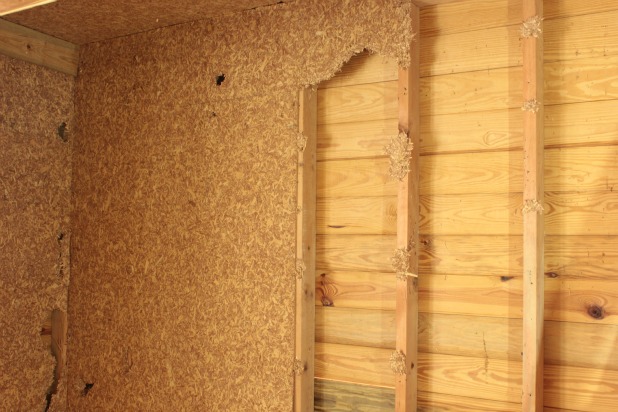 Whaaaaaa?
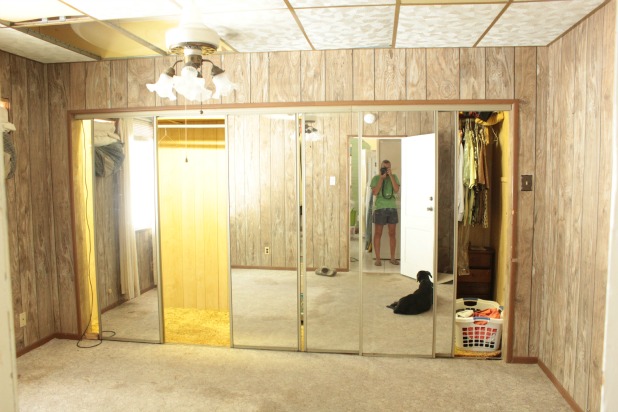
I have no idea why this particular product was used in only this little alcove addition. But thank goodness for that. This little bump out is what used to be the closet with the wall o’ sliding mirrors.
And it seems like it was another weird little add-on by someone with complete disregard for cohesive ceiling levels.
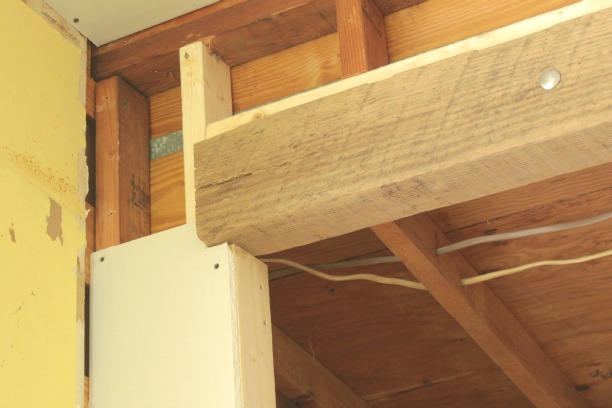
Enter rustic old beam divider to distract from awkward ceiling height.
Gearing up for the removal of that old sawdusty particle board in the Key West summer heat made me feel like I would have more fun poking my own eyes out.
And apparently finding a finish nail in sawdust particle board is akin to finding a needle in a haystack, because I could never locate those little suckers so the process consisted of pulling off as much in one section at a time and putting it directly in a garbage bag. Joel was home during the last parts of this project and having the extra hands to hold the garbage bag open proved much more efficient than my single person technique.
And then there were more particles of sawdust to release when I went back to remove all of the little nails.
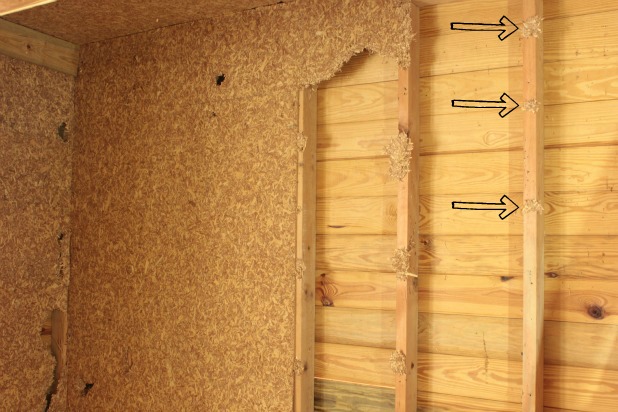
Oh and that mid summer sweat factor, that pretty much worked as the perfect adhesive to end up looking like I had rolled around in shavings …
… and creating the most perfectly annoying itchy layer of splinter inducing shavings Ev. Ry. Where.
And this was after we had cleaned up.
And speaking of itchy, the whole reason why I decided to buck up and go ahead with removing that layer is because that is an exterior wall and we could really use the insulation.
And we also needed to tackle insulating the attic.
And it turns out it is still the heat of summer.
This is when the whispers of “but I don’t want to” started creeping back in and the honest to goodness only justification we had to tackle these here projects is “because it’s the right thing to do”.
So we made a plan and while the ceiling in the guest bedroom was open we and got up before the sun a couple of weekends ago to get our insulation on, before the weather had a chance to fully activate. I may have been quoted as saying “Take that summer heat.”
Like it cared. :/
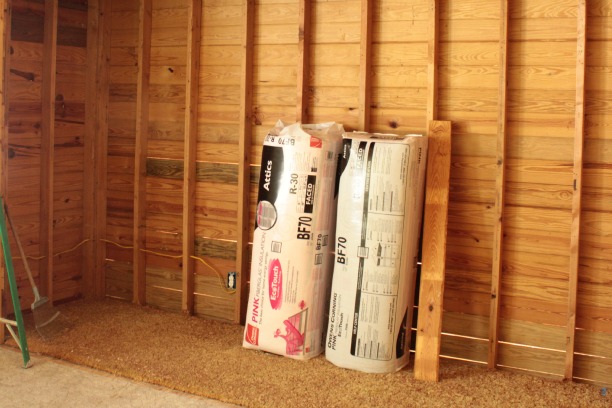
We used R-30 insulation for attics. Insulation is actually pretty easy to pick out, since it says right on the package what it should be used for and with what sized studs and joists.
It comes in convenient 4 foot sections so we were pleasantly surprised that we had made it this far after only 15-20 minutes.
 Nope, that’s not daylight peeking up in the bottom left corner, just the floor lamp we were using.
We did all the easy work first. Basically any area that we could fit full 4 foot sections and didn’t have anything blocking our reach in any way.
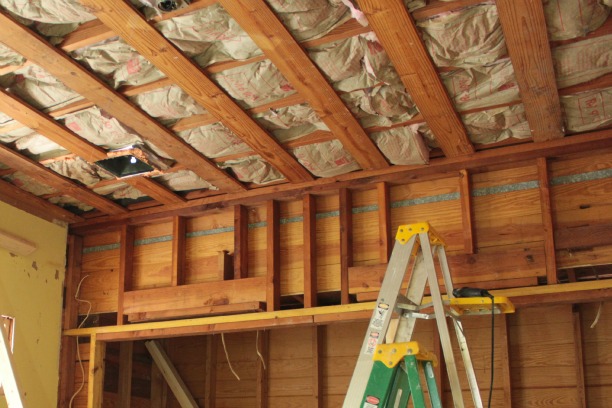
Is was a great two person and two ladder job. And the extra layer of wood, that was laid when the previous owner’s installed the first drop ceiling, actually came in handy when at first we thought it would be in the way. They do sell insulation picks that hold up insulation, but these wood slats served that purpose for us.
The process basically consisted of folding one end of a 4 foot section together with the insulation side facing each other (so the paper side faced out) and one of us getting it started and nudging it along while the other reached up in above the extra wood slats and pulled it. We started at about the center point for where each 4 foot section would go and pulled one end out two feet and then, using the same process, pulled the other end out two feet. It went surprisingly quick.
When we got to where we needed to cut pieces, like around our HVAC vents and the electric boxes for our light fixture and hardwired smoke detectors, I just manned the ladder and measured one section at a time and Joel cut the paper side with a utility knife and just tore the insulation apart.
Easy peasy really. We were happy we only had one room to do though. 🙂
And because he is some kind of freak of nature, insulation doesn’t really bother that husband of mine, but I definitely don’t like to have it touch my bare skin. Gloves were a must and long sleeves wouldn’t have hurt, and for anyone with breathing issues, a respirator or face mask is always helpful.
We don’t have any additional vapor barrier in our attic, and there are all kinds of confusing articles online about moisture control in areas with vapor barriers. But our rule of thumb has always been to put the paper side of the insulation toward the temperature controlled side. So for walls the paper would face in, in crawl spaces it would face up …
It felt really good to know that we were doing something really smart for the house. I wouldn’t call this a fun project, but if we’re going to invest in a new central air and heat system and windows with energy-efficient glass … you know where this is going … it’s just the right thing to do. 🙂
Any insulating going on in your neck of the woods these days? You know what this step means … we be drywallin’!! You might have noticed a few small sneak peeks in some of those shots above … and if you’re following along on Instagram you’ve seen even more progress!! Do you know how good it’s going to feel to actually have walls in this room?

Update: We’ve since gone ahead gotten this bad boy drywalled, only two of us, without renting a lift, or killing each other … all the how to drywall a ceiling {and stay married to your spouse} deets right here.
Get caught up on the full house renovation so far, complete with an eye-sore of a before video, right here.


Ally says
I’m in Tampa and wouldn’t even think of doing this until, say, January. You’re both very brave. Bet you’re glad to have it finished.
Karah says
Thank you so much Ally. We’ll be super happy when our electric bills come in. 🙂
Vonda says
I’ve always remembered it from a contractor or someone telling me “paper to the people”. Never forgotten that.
It’s looking good and you’re trucking right along!!
Kelly @ View Along the Way says
Woohoo! It IS the right thing to do. You’ll enjoy having consistent temps through the house and not paying to cool that attic!
Jennifer @ Celebrating Everyday Life says
Wow! That is a seriously impressive job!! You continue to amaze me with your mad DIY skills!!! Can’t wait to see the finished project!! Good luck drywallin’!!! 🙂
Karah says
Thank you so much Jennifer! We are so excited to get to some of the more ‘picture worthy’ stages. 🙂
Bright Energy says
I definitely great that you did an impressive job!