This post may contain affiliate links which won’t change your price but will share some commission.
I feel like celebrating this hardiboard siding installation accomplishment, but before I go giving myself a pat on the back I feel like a little background information is in order to explain how we got to our new look. Maybe it’s because this project actually started over Labor Day 2013, that would be almost 5 months ago for any other score keepers out there.
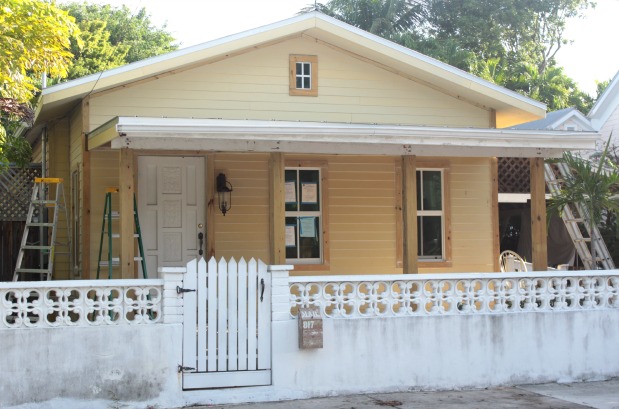
Granted, she is a far cry from finished, but remember the peach paint, faux brick facade, stubby windows and unfortunate brown color shutters that made us say “we need to own this house” back in April 2013?
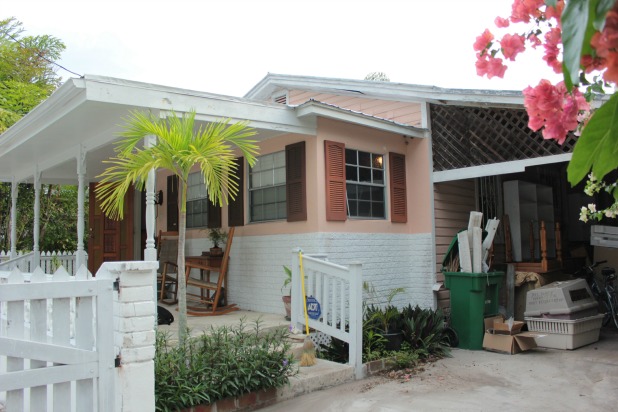
That photo hurts my head.
We knew if we were going to make any significant impact on the overall curb appeal of our diamond in the rough the whole front look of her needed a facelift.
So we hired a small crew who worked over Labor Day weekend and got rid of that awkward 3-roof-line look and raised the roof on the front part of the house to line up with the gable we had over the rest of the house.
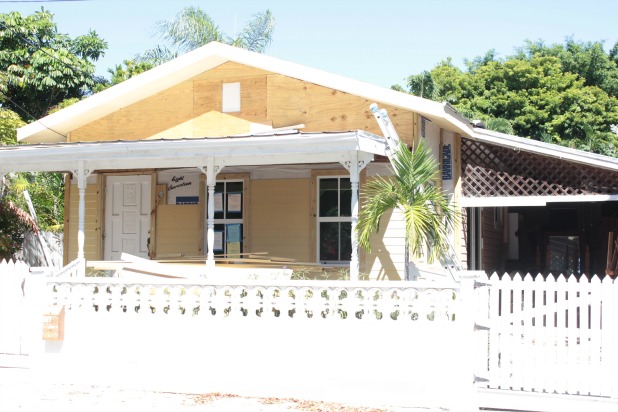
Here’s another shot of the roof raising in process. Here they are leveling the new ridge board, the length of that shows the length of the roof we raised, it’s just over 6 feet of new vaulted ceiling. That we still adore.
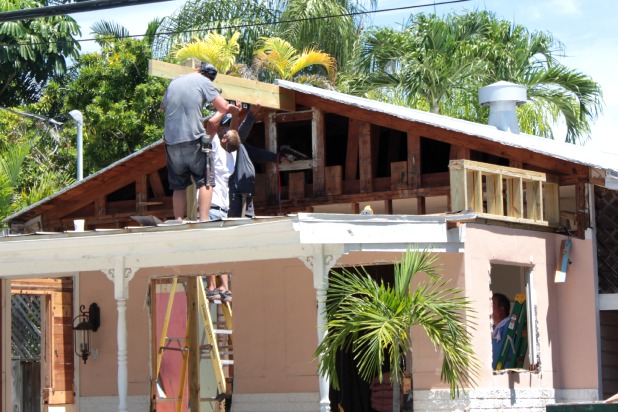
You can also see on the section on the right where they heightened the wall, they framed it in with 2 x 6s so it would stick out farther than the previous exterior wall so we could hang the siding over the old faux brick.
Oh faux brick, how we don’t miss you one iota.
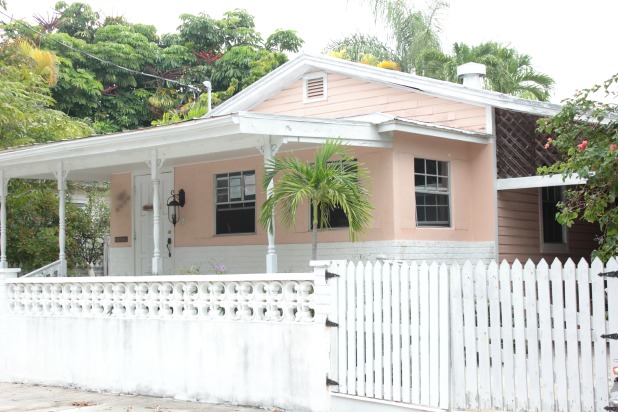
Once we had the new exterior framed out to a flat surface, all the deets on that here, and all of the trim around the door and windows, all the deets on that and why we did that first here, we were finally ready to get our siding on.
Sometimes just getting started sometimes can be tricky. Our porch floor, like most, is not level, it slopes away from the front door and away from the house, which is typical to encourage any water away from the house. But what to do with that first row of siding? I didn’t want a gap between the siding and the porch, but I didn’t want it to look wonky either.
I did some serious research took a walk around town to see what the first row of our neighbor’s siding looked like. Armed with the knowledge of what the masses were doing, we hung the first row of siding flush with the porch floor. So, it wasn’t level but it created a smooth transition from the porch floor to the siding.
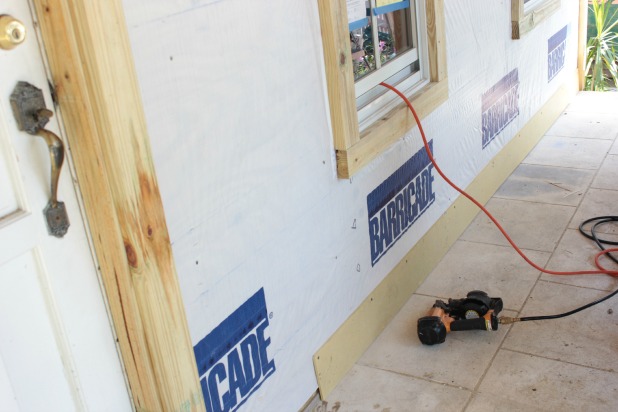
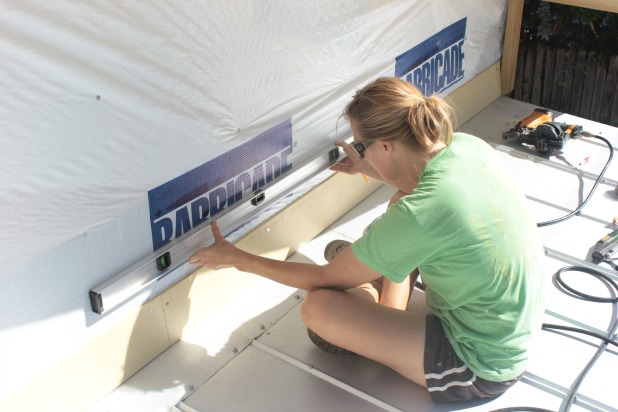
And actually behind the bottom of that first row we attached a small strip, about 1 1/2″ of the hardiboard siding to the wall so the bottom edge of that first row would tilt out like ever row to follow.
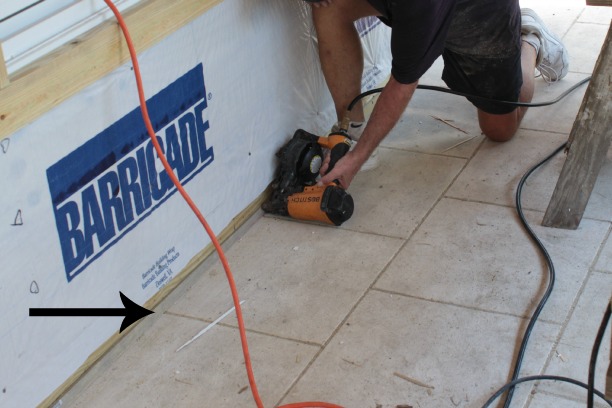
As for tools, we borrowed the nail gun from a friend, it’s a roofing gun with coil nails, we used 1 1/2 roofing nails. Check with your local building department to find out what code is for your area regarding installation specifications.
Here’s an affiliate link to the nail gun and the nails that we used.
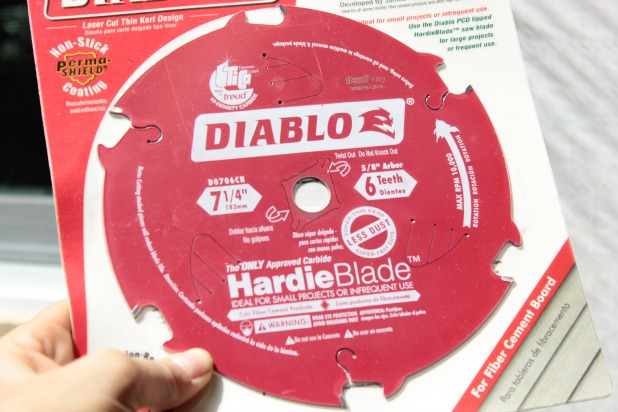
As for cutting cement board siding, it is dusty. Like crazy dusty. We bought this special blade and it cut just like wood, except for all of the additional dust.
Now we’ve got our first row in place and all of our tools accounted for, now to figure out how much of a reveal we wanted per board. That’s how much of each board shows per row. Our building code said we could pick any measurement between 4″ – 6″. And the winner is …
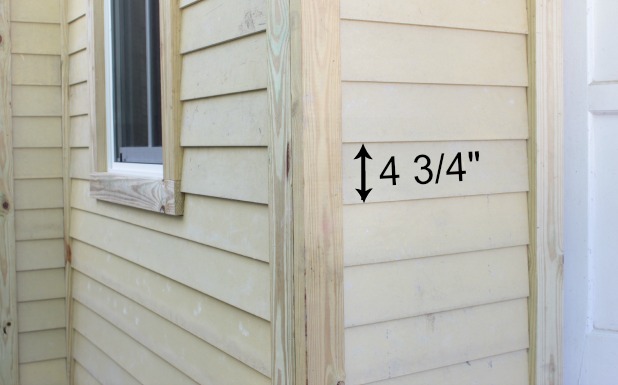 Yeah, don’t ask. There was a lot of measuring and marking, we even whipped out a chalk line. I think we were trying to figure out how to line it all up so we wouldn’t have to notch around the bottom of the windows … or something. My advice, just pick a measurement and go from there, it’s impossible to anticipate every little notch you’re going to encounter, and it’s not worth the energy, and confusion. We eventually had to circle with a marker the marks we were actually going to use.
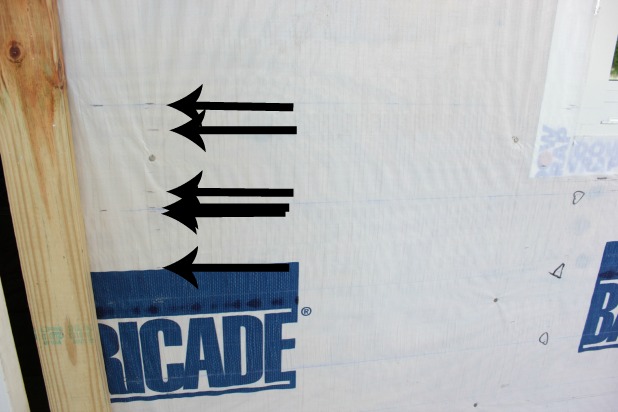
And I didn’t even have room to add more arrows pointing to the chalk lines. Ay de mi!
The boards measure 6 1/4″ wide and with our reveal of 4 3/4″ that left us a 1 1/2″ overlap, plenty of room to nail in each board with a “blind nail” that would end up hidden, and also left a nice chunky siding look.
Once you decide on your reveal, keep in mind that the reveal on your first board is not going to be even. The second row is where you start to make everything level so measure up your desired reveal from the top of the board you have already attached and then mark a level line using a 4 foot level.
That reveal on the first row will vary slightly from end to end but the level second row will provide the perfect starting point for your hardiboard siding installation from here on out.
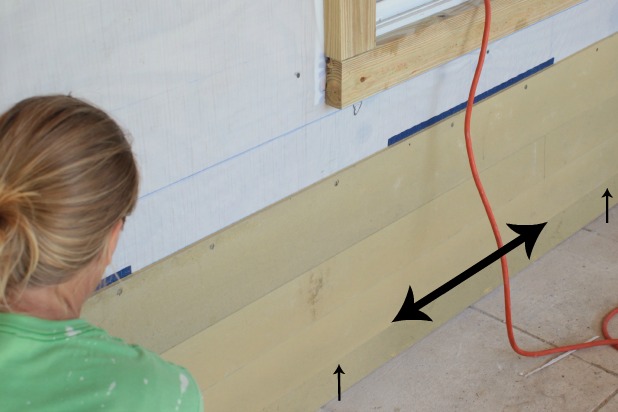
Now you’re good to go. Measure the amount of your reveal up from the top of each installed board.
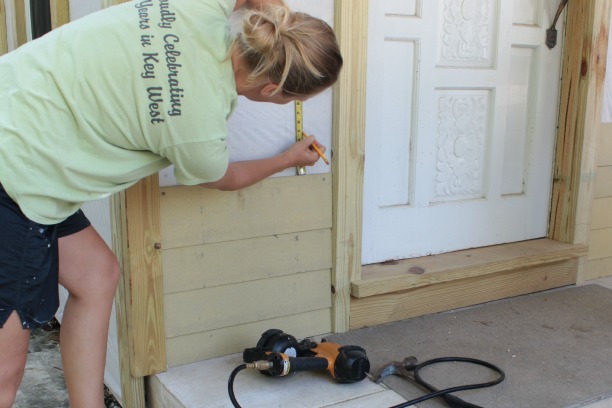
Install the next row, make cuts where necessary, or have my your dad do it.
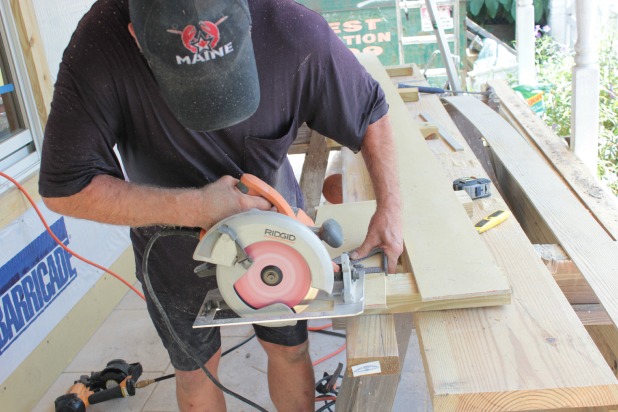
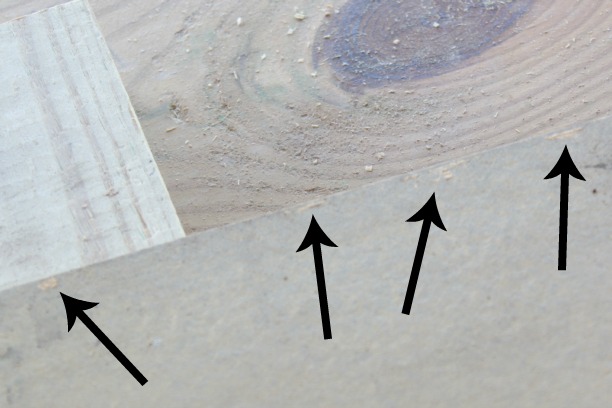
Take a look at your siding before you install it and try to hide any manufacture imperfections by installing that side on the top, it will end up hidden by the overlap of the next row.
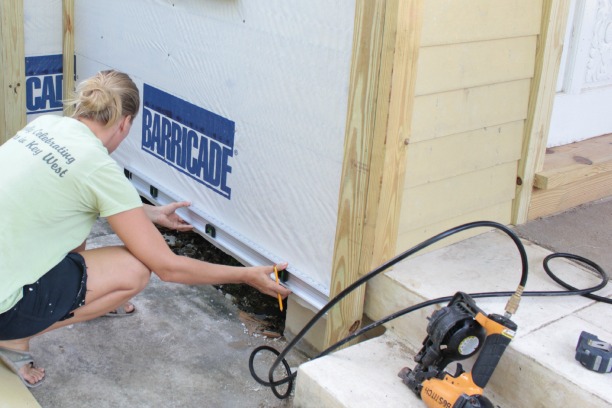
For the side of the house, I just picked a starting spot where the siding board would overhang the old wall and drew a level line, and proceeded up the wall with each row level.
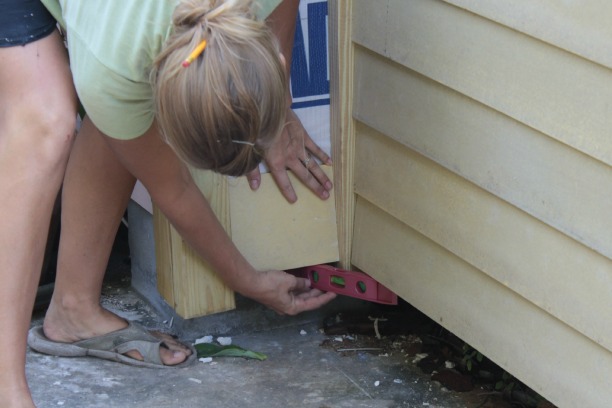
When siding around corners I just used a small level to make sure I started at an even spot so the rows would line up as I went up the wall.
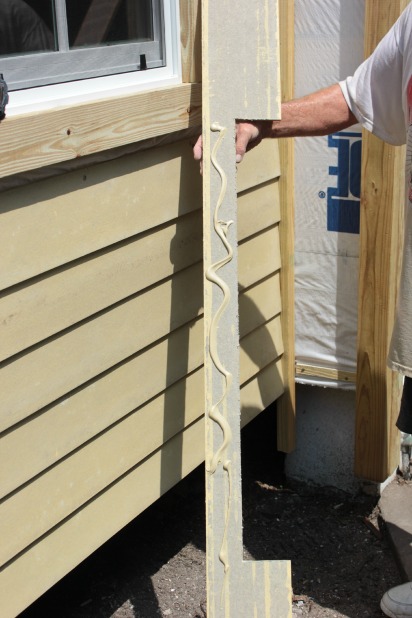
Once we reached the windows, my dad marked and notched out the openings with the circular saw and we used liquid nails for any part under the window so we wouldn’t have to face nail it, meaning the nails would be left visable since there was no row overlapping to hide it. We didn’t want to do that.
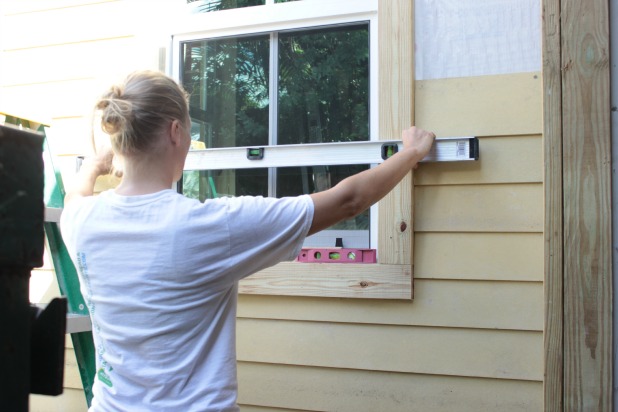
When I was installing the siding on either side of a window, I would use the 4 foot level every few rows just to make sure I was staying even on both sides.
It was at this point that my dad left and we got a little sidetracked with staining our floors and blowing in insulation and those pesky holidays. I definitely took a second to wonder what the neighbors would think of me crafting a little upcycled Christmas tree when the front of our house was missing half of its siding. Then I grabbed the hot glue and kept at it.
And it then the day came that we were sick enough of having saw horses on our front porch for months that we finally finished up this project.
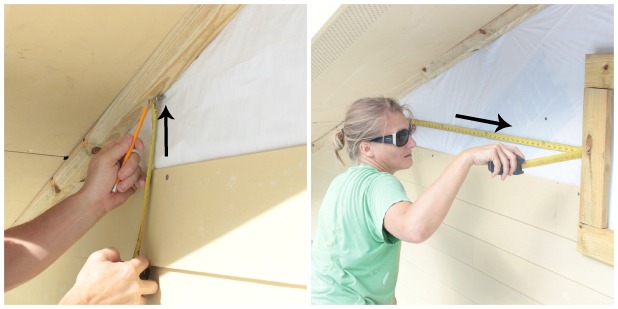
We used the same techniques above the porch roof like laying the first row right along the roof with a thin shim piece behind the bottom to wedge it out a bit and then measuring up and leveling each row after that.
Instead of actually figuring out the angle of the pitch of the roof, because that seemed way too mathy, we cut a piece of scrap wood and using a level just kept shaving off the angle until it sit level and flush with the pitch of the roof.
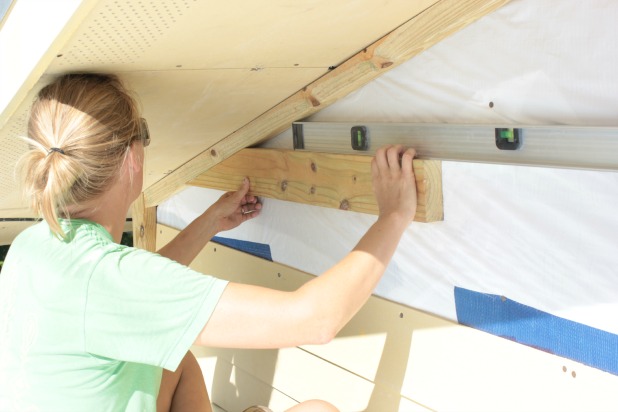
And then we would just measure up the distance of our reveal and mark where it hit the angle on the roof and measureed from there across.
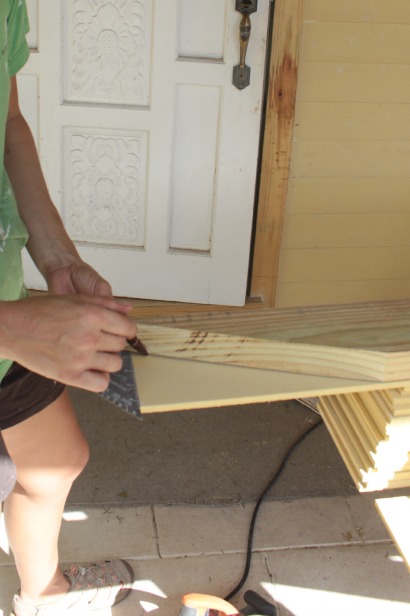
To make the cuts, I’d line up the scrap wood template with the edge of the hardiboard siding and cut the angled end and then cut it to the right length to fit the space.
Did I cut them all perfectly?
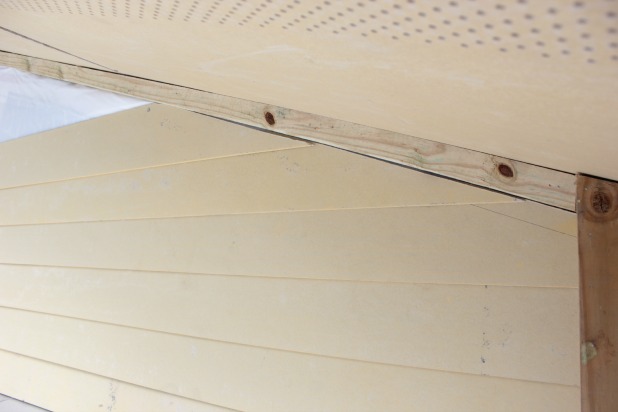
“Nothing a little caulk can’t fix” became the tagline for the day. 🙂
The roof actually overhangs that area by two feet and once all of the seams are sealed up good she’ll look perfect.
So, yeah, whenever I need a break from book projects or the actual writing itself I can be found with this in hand.
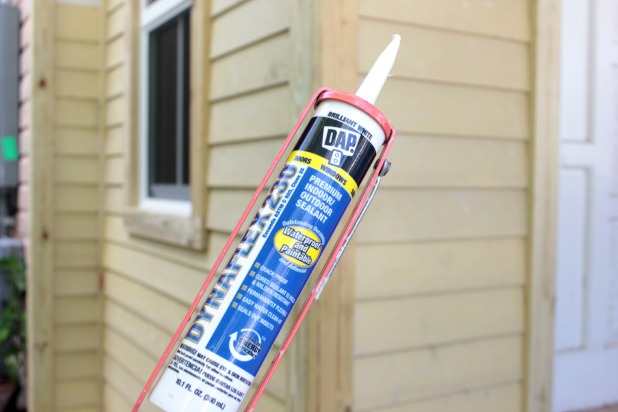
Talk about a thankless task, I feel like I can caulk the little seams for hours and have nothing to show for my work. But we want to keep this house baby protected from the elements so we’ll be happy for all of this work in the long run. At least that’s what I keep telling myself.
So tell me what you’ve been up to. Any siding projects? Caulking projects? Glue gun projects?
And you can check in over at Remodelaholic.com to see how I went subtle with Valentine’s Day ideas this year and chose to bring in a few extra pops of red to spread the feeling of love.


shirley@housepitalitydesigns says
Oh my Karah, the house is looking fantastic!…As I said before and I will say it again, you are just amazing!…It must be so nice to work with your dad!…Have a wonderful weekend!
Karah says
Thank you so much, Shirley! We do really ahve a great time, I always pick up new tid bits of knowledge. Have a wonderful weekend as well!
Beth J says
Freaking unbelievable!!!! I hope you do another video to go with the “before” video.
What amazes me most is your ability to visualize the possibilities.
Well done lady!
Karah says
Thank you so much!! I really want to do a video soon, just have to get all of these book projects photographed and out of here. LOL. Soon though, promise!
Carmen says
Karah, I enjoy your remodeling and all the helpful hints, but one thing I noticed with the latest pics, is that you should be wearing a pair of safer shoes, sorry to tell you.
Karah says
Oh, I know!! I should wear safety glasses more often, too. I appreciate the reminder, but make no promises. 🙂
becki says
20 years ago, after purchasing our 150 year old and abandoned home, we covered it with what we could afford at the time…vinyl siding. We recently upgraded to hardie board and the difference in our home is astounding! I wish I could post a picture here, but take my word for it, the hardie board is the best decision we ever made. You will be so glad you put it on your home! Nice post! ps…no, I don’t sell hardie :0)
Karah says
I am so happy we used it, so glad to hear you love it, too.
Sandra says
Oh my gosh!! Your front exterior looks awesome. The siding has really made a difference in the presence of the house. Great Job!
Karah says
Thank you so much, it really is such a huge difference!
Sherry says
So the nail gun works well on the hardiboard?? We, too, started putting up what appears to be the same hardiboard last year (got you beat by about 6 months, but we did finally move the saw horses around back! We still have a house half-sided!!) We are ready to finish/get started as soon as the weather gives us a break. Another winter storm warning for the next couple of days. I will definitely look into buying/borrowing a nail gun. We have been using screws and actually pre-drilling some of the holes. Needless to say, it was pretty slow go most of the time. Why didn’t we think about using a nail gun?!!? Duh! Thank you so much for sharing!!
Karah says
Oh my gosh, yes! Bless you for screwing and predrilling so far. I can imagine the extra time. A few times if I was too close to the edge the haridboard would crack, but only to the edge, nothing that we ever had to replace a board or anything. You can rent a nail gun and compressor at Lowe’s or Home Depot. It will go by so much quicker for you!!!
Karah says
Hahaha, I don’t blame you. Chalk this one up to a “had to do it ourselves at least once” project for sure.
Ally says
Hello, now that it’s been a couple of years how are you feeling about the siding? Any lessons learned you’d like to share? Did the caulking hold up?
Karah says
Hey!! Yes, we were just back a couple of weeks ago and very pleased with how it still looks and has held up. No issues at all with the caulk.