Hey hey! Hope everyone had a nice Valentine’s Day whether you spent it with your love or yourself or your cat, whom you refer to as your love. 🙂
I’ve actually skipped away for a few days with my BFF to warm and sunny … Chicago.
Yeah, not sure how that happened, Chicago in February that is, but we’re hoping to spend some time walking around with our cameras since she just got a new one so you may end up seeing more of our trip than you hope to. 🙂
But, I have a HUGE tip for you today. One that I feel like I should have known. Or at least I should have deduced. (Just because I wanted to use that word in a sentence.) Because it actually makes total sense, I just didn’t realize it. And it’s about how to caulk exterior siding and why not to caulk newly installed pressure treated wood.
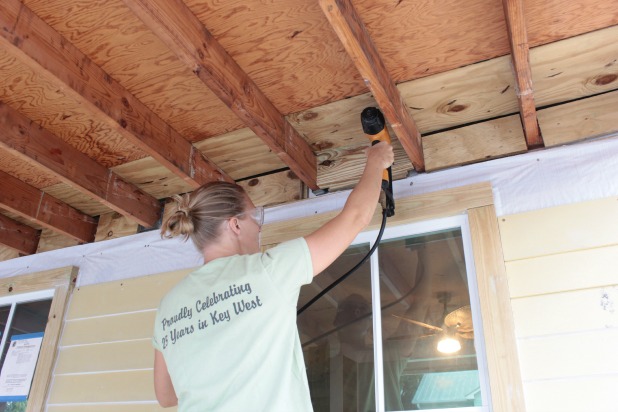
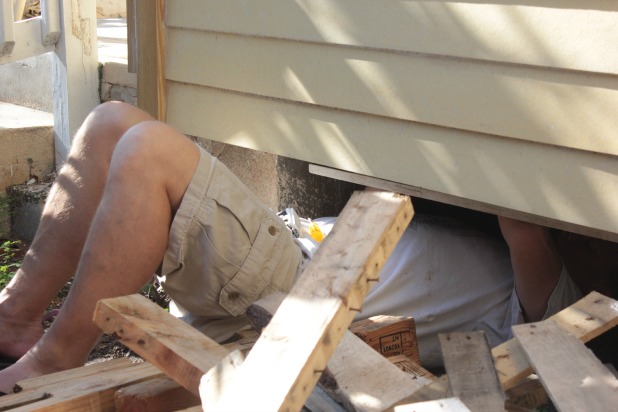
So, pressure treated wood is lumber than has been chemically treated to resist against rot, fungus, insects and other random grossness that happens when things live outside. When we built-out our exterior wall over the old faux brick that was all done in pressure treated plywood. And then when my dad and I tackled the exterior trim we used all pressure treated lumber as well.
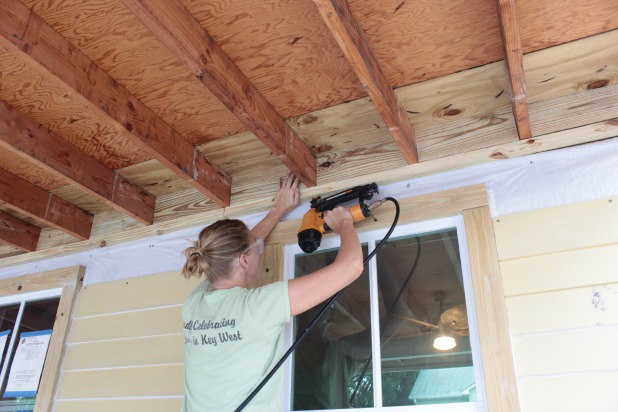
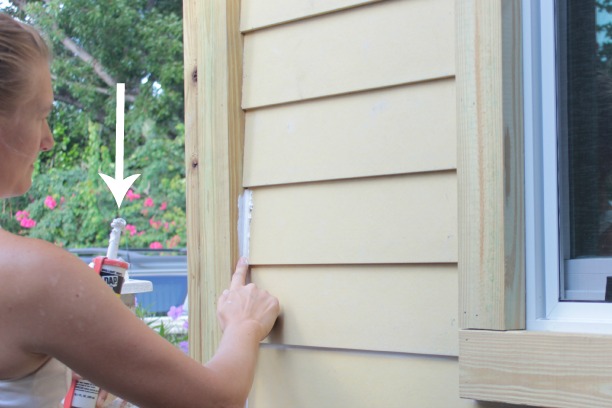
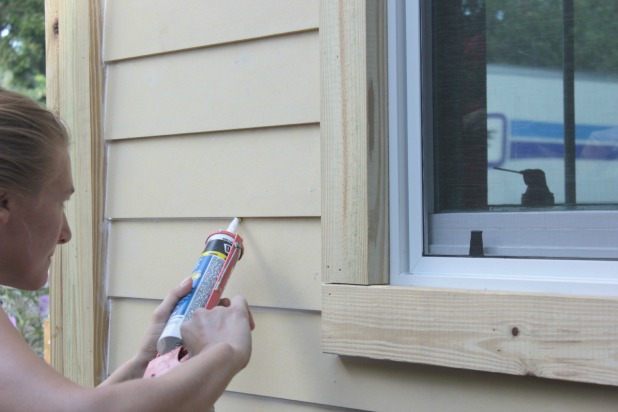
After we had all of the trim installed and had a solid start of the hardiboard siding installation I got busy with some caulk. (Please resist the urge to giggle.)
Any guesses how many tubes I’ve used so far? 12 tubes so far. And I’ve declared 3 tubes at a time to be my limit. And I haven’t even started on the soffit or any of the areas above the porch roof. But I will. Soon.
But I need to thank my 3 tube limit for giving me the time I needed to learn this tip.
Here’s what happened, I jumped right into the caulking after the trim install and, for the sake of using arbitrary percentages, completed maybe 20% of it. But for some reason, to avoid getting into the monotony of caulking under every single row of siding, I did all of the windows and the door first.
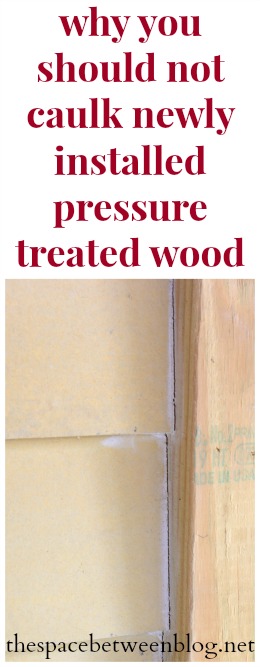
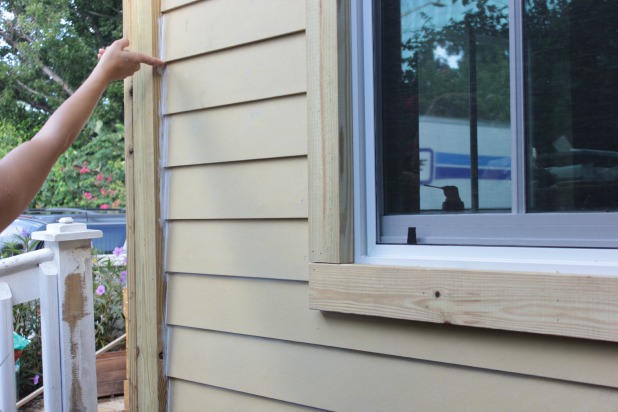
And then, declaring this job the worst ever, and taking a few weeks away from the madness I discovered this.
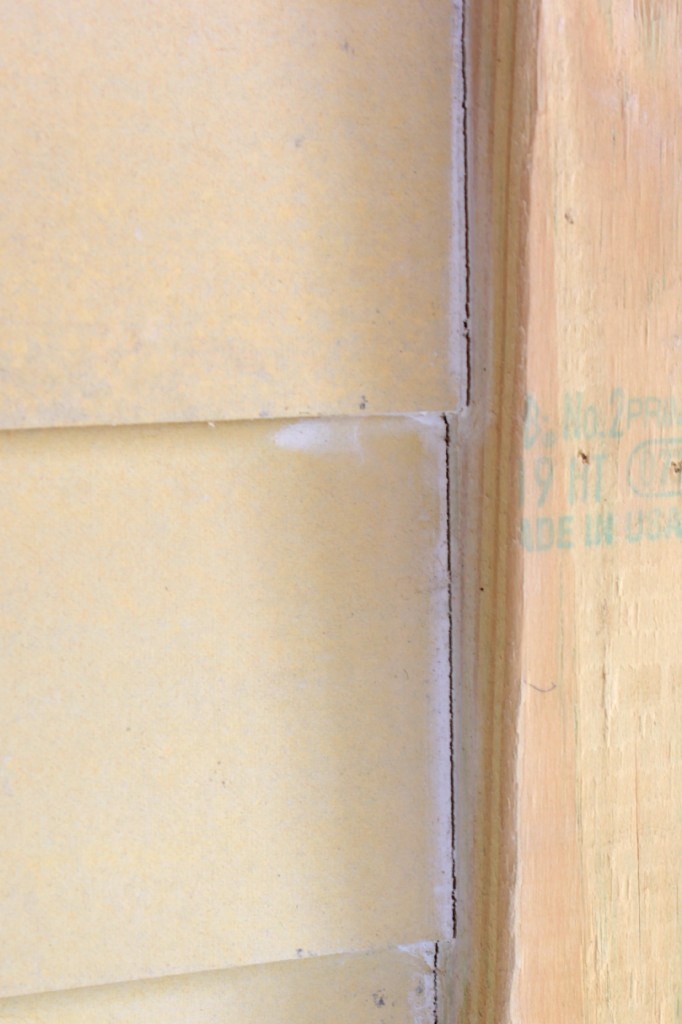
Cracks! In my caulk! My caulk had cracked! I was far too perturbed to even consider giggling at the idea of it.
But then I noticed something else.

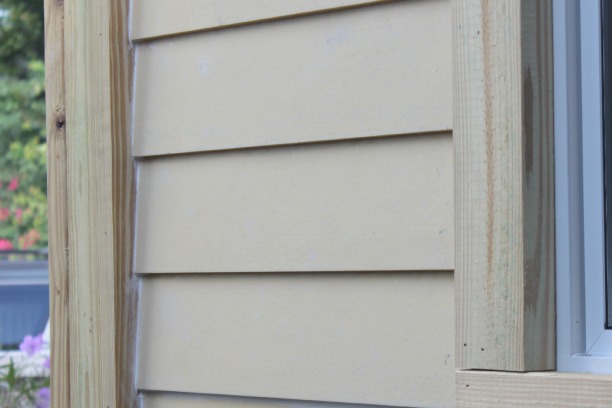
The caulk was still perfect in the few areas I had caulked along the siding.
The thing is, over time the chemical treatment in the pressure treated wood dries out and the wood contracts and literally gets a tiny bit smaller since it’s not now swollen with moisture.
That left my gaps bigger and the need for a larger more caulk.
Just to try to induce some extra sympathy let’s look at all of the pressure treated wood we’re working with.
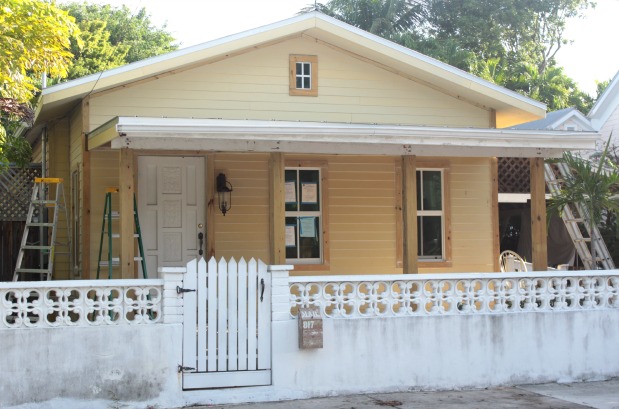
That’s every window (there are 5), the door, every corner transition (there are 6, and 2 pressure treated boards on each outer corner, of which there are 4), the top of every wall where there is a trim board right below the roof (there are 2 roofs or is it rooves, like hooves?).
But, I was thankful to have learned something new, and to have a built-in excuse for procrastinating getting started on the caulk above the porch roof. Since it was just a crack in the caulk and not a new crack in a hard surface material I didn’t have to do anything crazy like cut out all of the caulk. Thankfully I could just run a new bead of caulk and chalk it up to a lesson learned.
And a few more caulking tips while we’re on the topic:
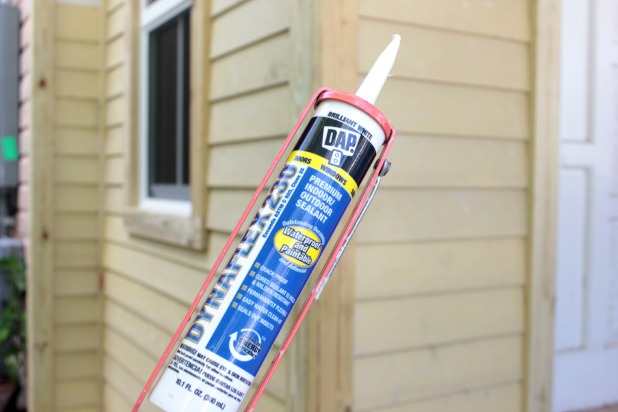
- don’t cut too much of the tip of the tube of caulk off, it is easier to control with a smaller opening, but not too small, large enough to have enough caulk come out to work with, I would say a 3 mm opening, google it, that’s what I did (random fact, a standard pencil eraser is 5 mm, you’re welcome)
- don’t be afraid to make a mess, caulk is pretty easy clean up and as long as you work in small sections and stay ahead of its drying time you can always clean up after yourself
- keep a wet rag or sponge with you, you know, to clean up after yourself
- I’ve seen a bunch of different tools but my finger is still my preferred “smooth out” method, especially around uneven surfaces like siding
- this will happen
 You’ll be going along, creating a nice seal with your caulk …
And then you’ll need to pause for a second to wipe or smooth or clean up an area and because of the pressure built up in the tube it will just keep on coming out, even though you don’t want it to.
I just slop it up there and smooth it out as best I can with my finger.
And then smooth it out with the rag.
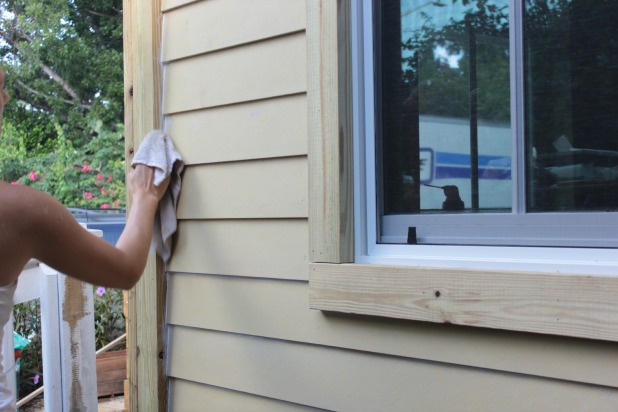
And you’ve got yourself a nice cleanly caulked seal. After you’ve let the pressure treated wood dry out for at least a week of course.
Update: Some readers have sent other great tips, if you have any you want me to add please feel free to leave them in the comments. Like:
- when you are finished laying a bead of caulk, relieve the pressure on the gun by releasing the plunger
- when you’re finished, close the tube with any unused caulk using large electrical wire nuts <- we wrap the end in painter’s tape, but I really love this idea, too
The reality is these tubes of caulk, even the good ones are only a few dollars so you could just wipe off the tip of the tube and sacrifice those globs of caulk, but I can’t get myself to through out even pennies worth of it when I know it can be used. What’s that they say, a penny saved …
As of today, to toss out another arbitrary percentage, I would say I’m about 70% complete with the caulking project (just on the front of the house where the new siding and trim is), and I have to admit, I won’t be sad to see it end. But after I itemized all of the next steps with the exterior work here to get ready for a whole new paint job, I’m not exactly jumping up and down in excitement over my work ahead. Thank goodness for good music and happy hours.
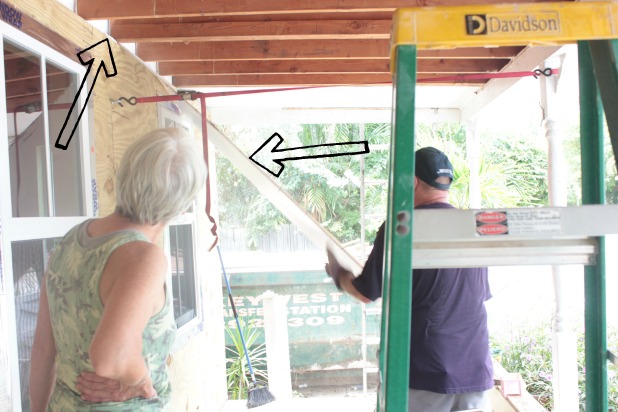
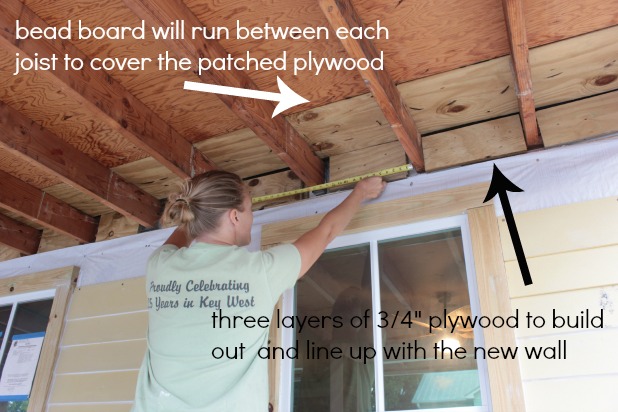
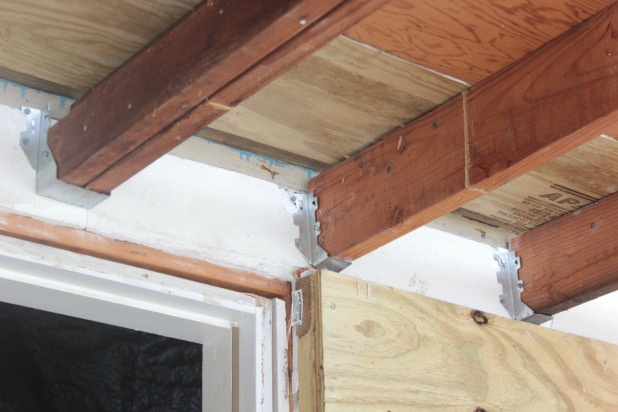 But the contractors only built out the wall to the bottom of the porch roof because we hadn’t exposed the ceiling joists yet. With a bit of remedial math and scouring our scrap wood selection to try to use what we had on hand we determined that the width of one 2 x 4 plus one sheet of 3/4″ plywood (which is what they used to build out the wall over the faux brick) is the same as the width of 3 layers of 3/4″ plywood. 2 1/4″ for anyone who doesn’t want to whip out their fraction math skills. And we had a bunch of scrap of 3/4″ plywood leftover from