This is a Sponsored post written by me on behalf of Elmer’s ProBond Advanced for SocialSpark. All opinions are 100% mine.
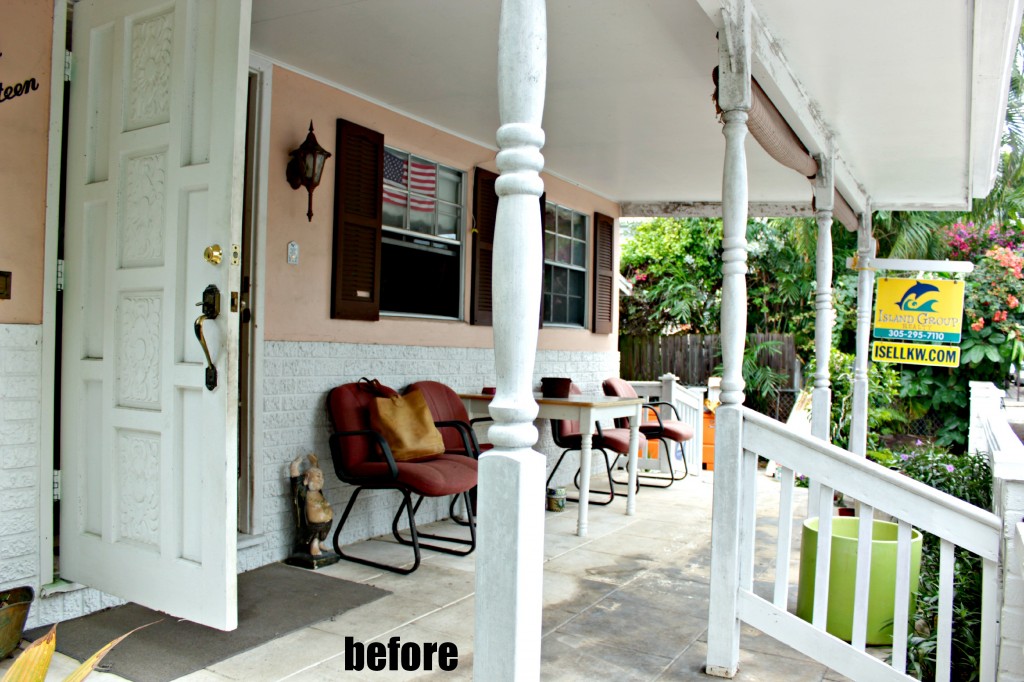
We’re ticking away at Operation Curb Appeal and bam.
Last you saw that door had a lot of dust and chipping paint on the door and hinges … and there were silver color screws in our porch light because I lost the ones that go with the fixture. And don’t forget the hot mess of a shiny brass deadbolt and aged brass front door handle.
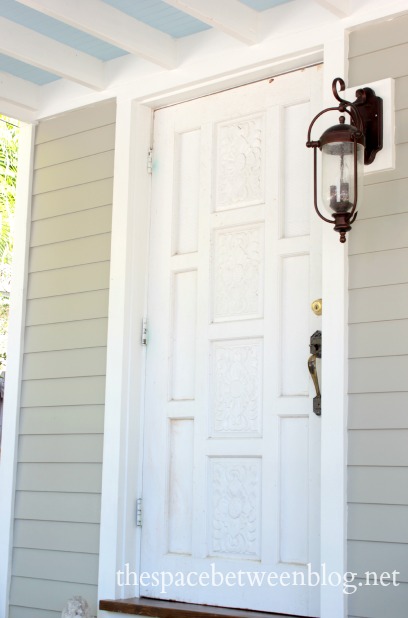
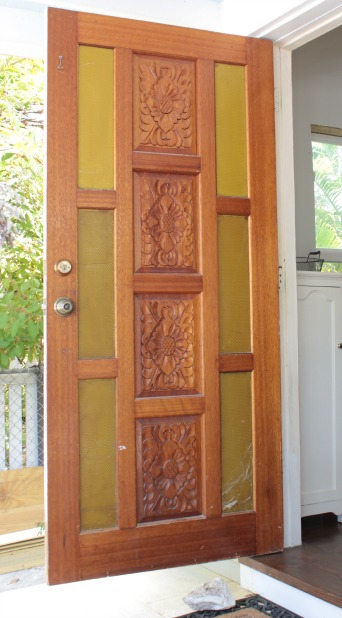
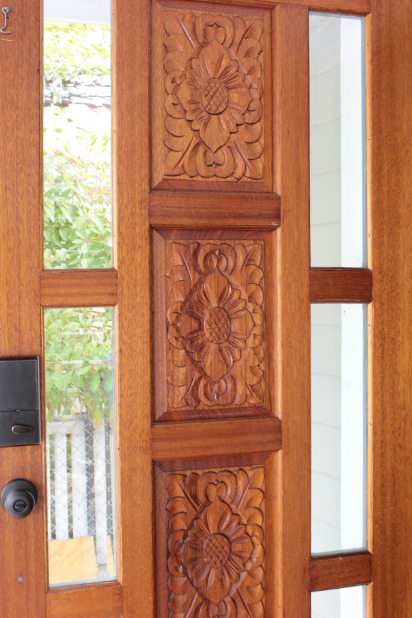
At least you couldn’t tell from the picture that on our front door lived 6 plastic panel inserts that were painted white on the outside. They were actually a lovely green (and taped) on the inside.
And I know I’m supposed to be finishing up the beadboard on the ceiling, but my I’ve-been-installing-caulking-and-painting-things-above-my-head-far-too-often-these-days shoulders needed a little change of pace.
So I took a break to hang out with Stephen King. Whaaaat!?!?!

For a girl from Maine, where he is also from, it was pretty darn cool. Even though I would never read any of his books for fear I could never ever close my eyes again. But I’m a sucker for a cool guy and I think he’s about as cool as they come. And clearly I like to get right up in your personal space when a photo-op arises, so please consider yourself forwarned. 🙂
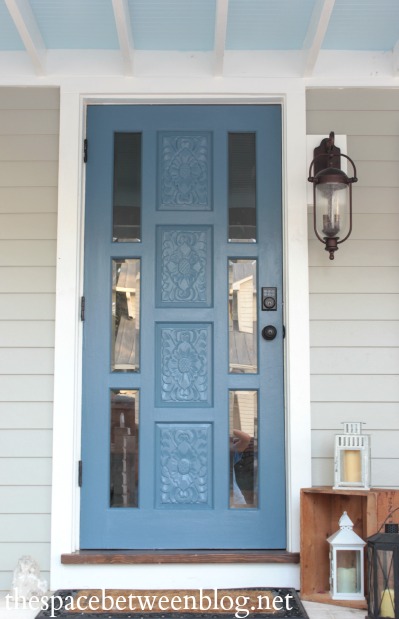
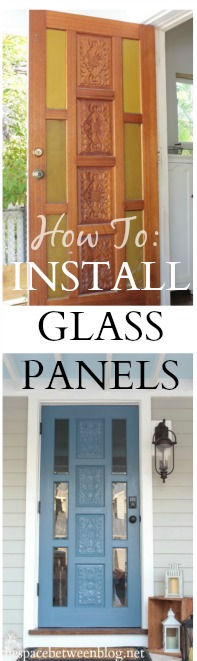
A few days of fun in the sun did this body good and when we returned the tempered glass we ordered a few weeks ago to replace that silly plastic in our front door was on our door step and I thought installing glass door panels would be the perfect little project to tackle while I continue to procrastinate finishing up the touch-up paint still needed on that porch ceiling. 🙂
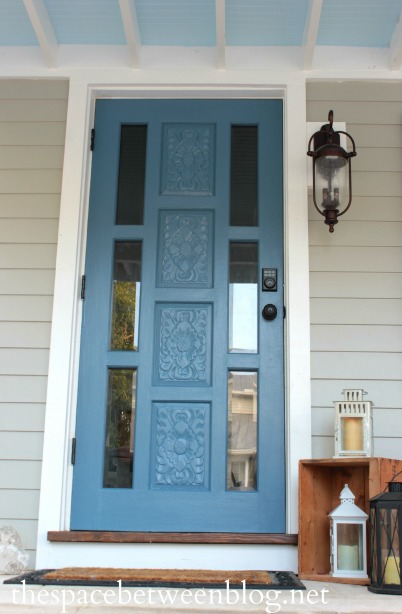
And here we are. My shoulders are happy, our porch looks happy (just don’t look too close at the ceiling in need of more touch-up paint) and our puppy is happy. More on that in a bit.
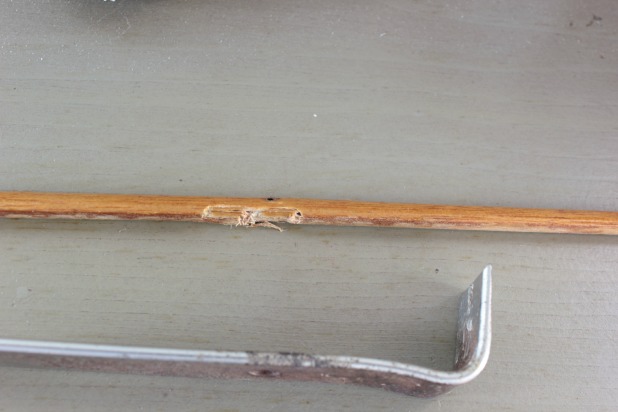
I started by taking off the little quarter round pieces that were holding in the glorious plastic panels from the inside of the door. I used the smallest pry bar we had and it proved that it wouldn’t be the perfect tool because it left some pretty visible gouges in the small little quarter round.
A quick trip to Home Depot and we learned a couple of things:
1 – pry bars come in itty-bity sizes
2 – quarter round this small is not a standard item, we’re thinking it was either part of the original door or custom-made/ordered
So I bought a pry bar that, other than for this project, would probably be perfect for remodeling a doll house. And it still left little marks in each piece but I figured a light sanding to soften the edge would make everything alright.
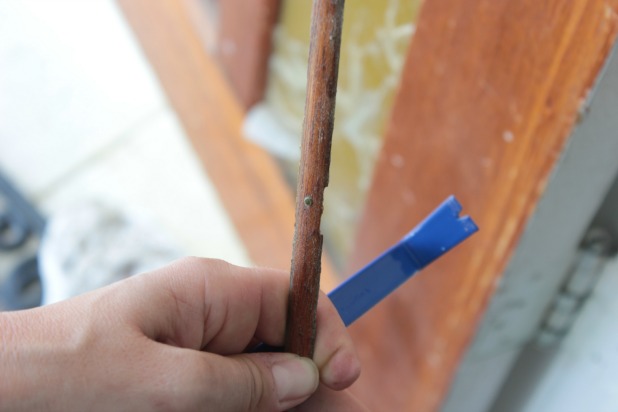
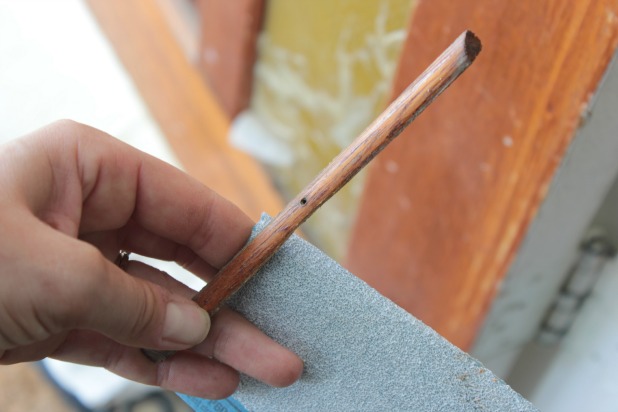
So I painstakingly removed and sanded each little piece of trim, and only broke a few before I realized that using a utility knife to score the seams where apparently the previously applied polyurethane or stain had created a bit of a seal actually helped move the process along.
For each panel I found it worked best to remove the smaller pieces of quarter round first (the top and bottom pieces) and then remove the longer side pieces.
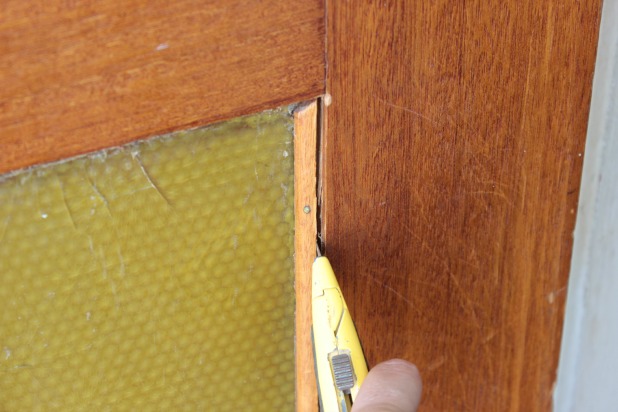
For some of the pieces a little nudge with the utility knife was all I needed to wedge it free and for others I could hammer the pry bar up into the gap created by the utility knife so I ended up with no marks to sand. It was a challenge for me to work slow enough to wiggle each delicate piece free.

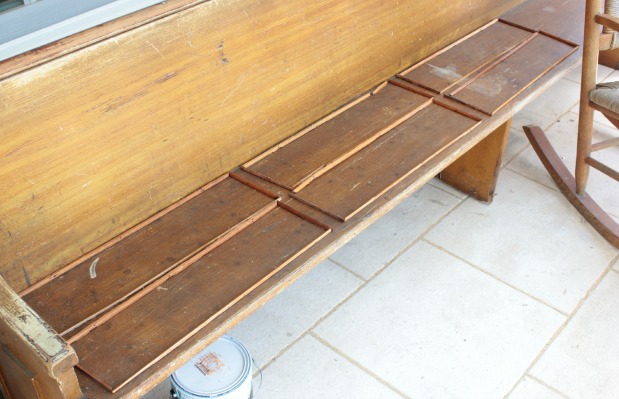
As the quarter round was removed I laid it all out to be sure I was able to replace it piece for piece. Each panel is supposed to be the same size, but you know how those things go and I didn’t want to take any chances. And let’s not worry about the rocking chair/church pew combo. It is irrelevant to this story.
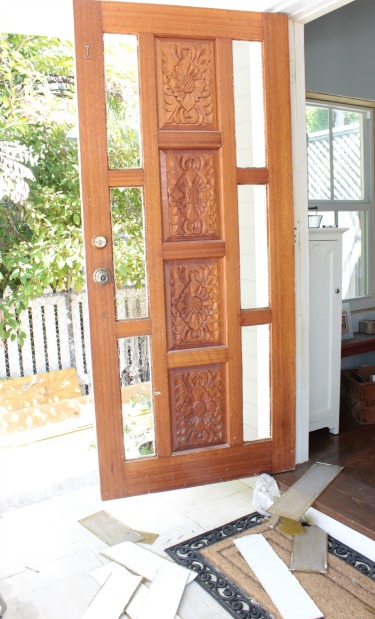
A few whacks of the hammer easily removed the plastic panels, and uncovered that some were even painted plywood and plastic. Bonus goodness.
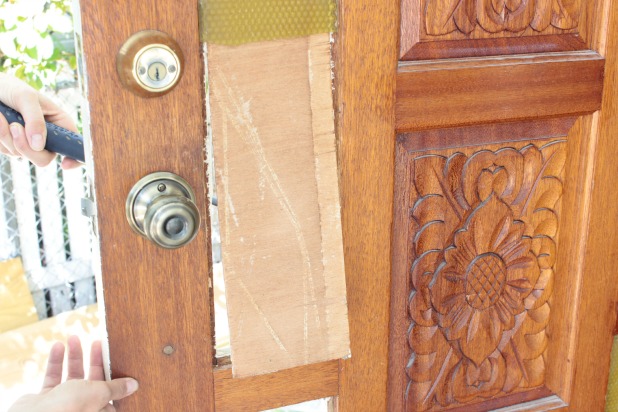
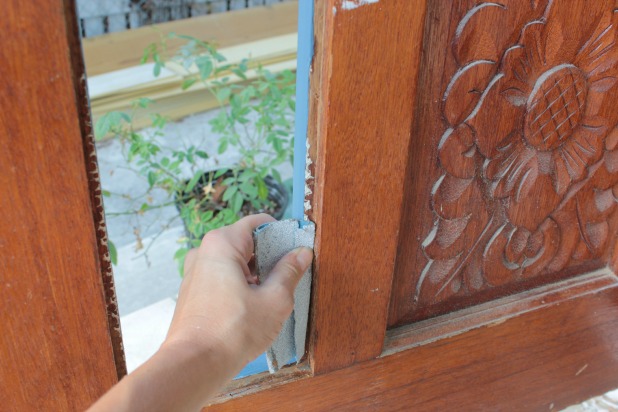
A quick pass with a medium to course grit sandpaper to remove the stray white paint left over that would now be visible from the inside through the new glass and we were ready for install.
Actually, if you are repainting your door, now is the time to do it, before installing the glass panels, but we’re going to talk paint another day.
This was also the point of no return, since I couldn’t exactly abandon ship and decide to be done for the night with 6 gaping holes in our door.
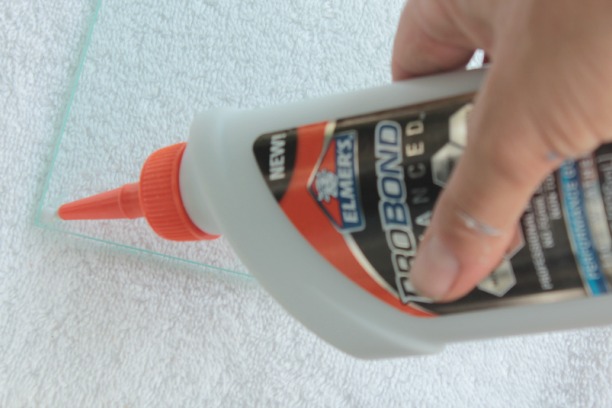
Since I was installing glass panels instead of plastic I really wanted a little extra security, considering the miniature nature of the trim that we had to hold it all together, so I used Elmer’s ProBond Advanced. ProBond is Elmer’s strongest and safest multi-surface glue, it is specifically designed to bond materials such as wood to metal, glass to concrete, or ceramic to drywall without the messy residue often left behind from a polyurethane glue.
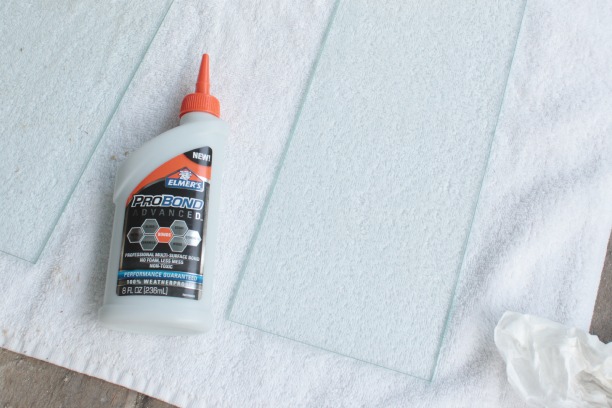
Basically the glue is designed to adhere porous (wood door) to non-porous (glass panels) materials so it was the perfect application to give us the added security to insure our new glass panels weren’t going to come crashing out. It was my first time working with it and I really appreciated how it didn’t bubble up or expand to create a goupy mess.
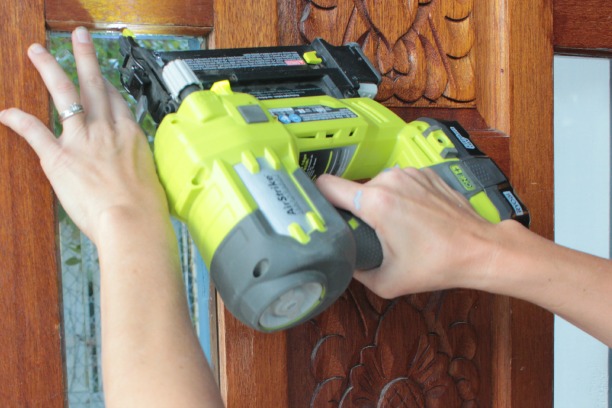
The glass we used is 3/16″ tempered glass with a 1″ bevel. I used the glue on the beveled side and installed the glass with the bevel facing out, then reinstalled each piece of quarter round with 5/8″ nails.
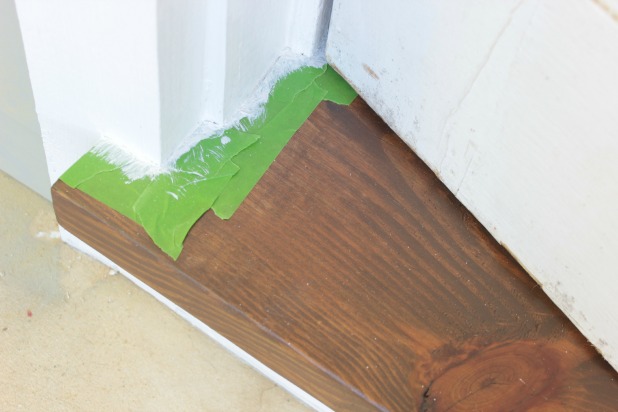
We still have some work to do on the inside of the door. Sand and stain to match the floors? Paint it white? I’m not really sure and I didn’t want to rush to a decision so when that time comes I’ll just probably tape around each glass panel and go from there. But for now, even the pieces that I broke when I was removing them aren’t that noticeable as is.
And honestly, I would have opted for frosted glass, but another human who lives here persuaded me that the desires of another blonde in this house rank supreme.
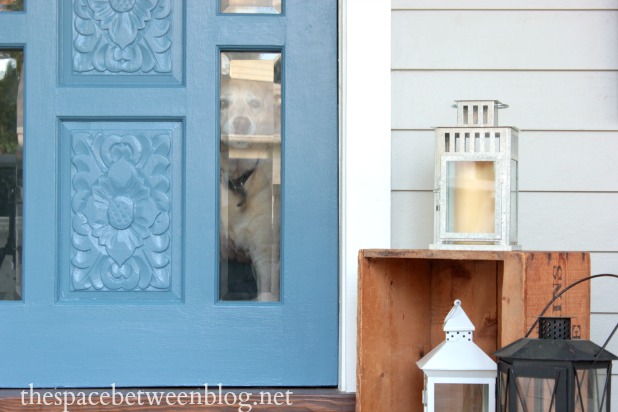
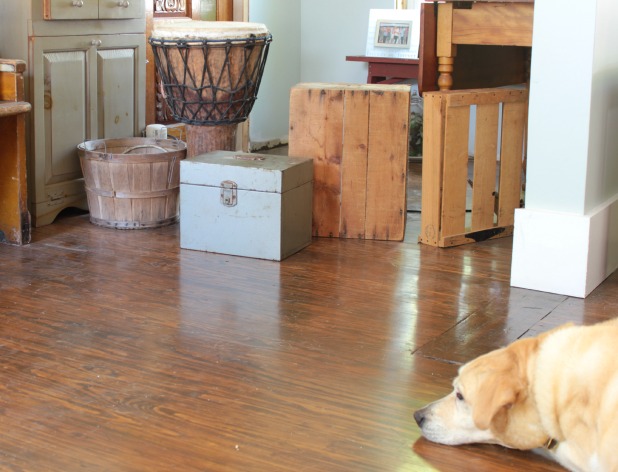
That dog has just always enjoyed watching the world go by, and was a huge determining factor in how we picked our rental house in Curacao, so we’re just steadying the course on that front I guess.

Much more to come on this little upgrade including “why aren’t all oil rubbed bronze finishes created equal”, “every front door should automatically lock from this day forward” and “when something looks good in a photo doesn’t mean it really looks good in real life”.
Update: All the details on the new front door color are here.
But until then I think you should take a closer look at ProBond Advanced and check out Mixed Materials for other DIY projects you can do using this glue.
And because a look back is always a good reminder of how far we’ve come, remember when I first posted about my curb appeal ideas? Woah.
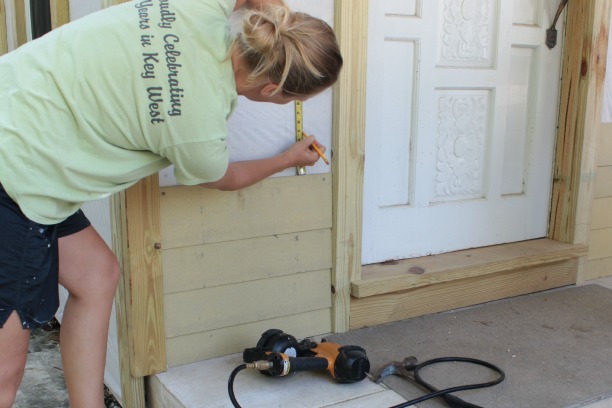
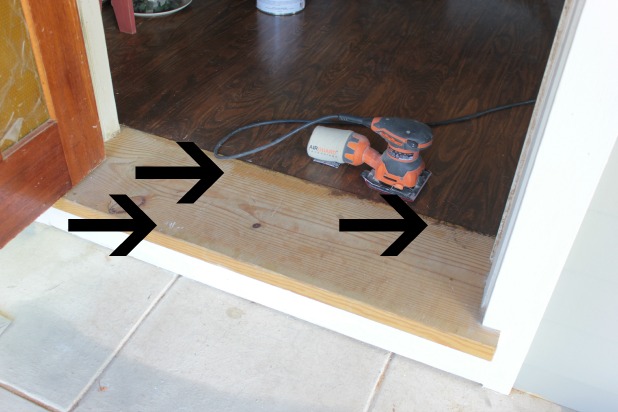
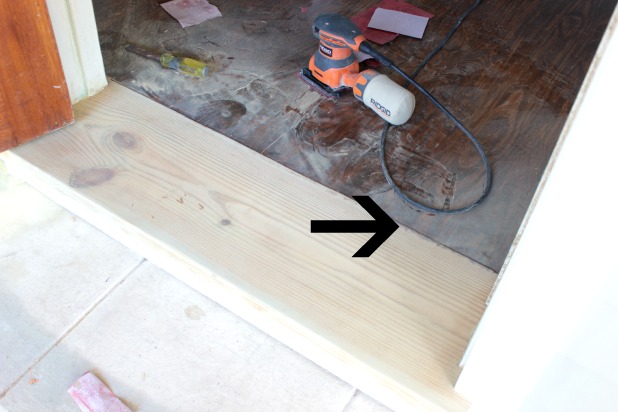
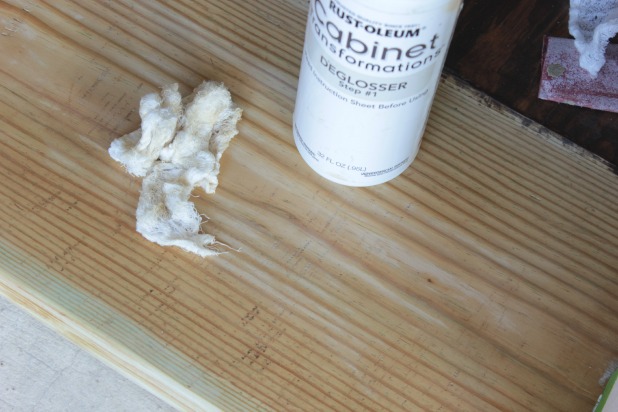
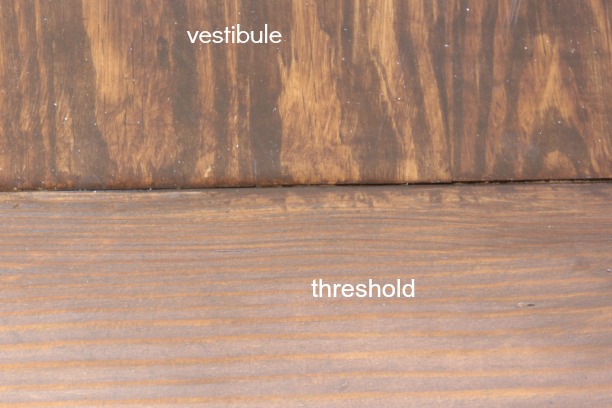
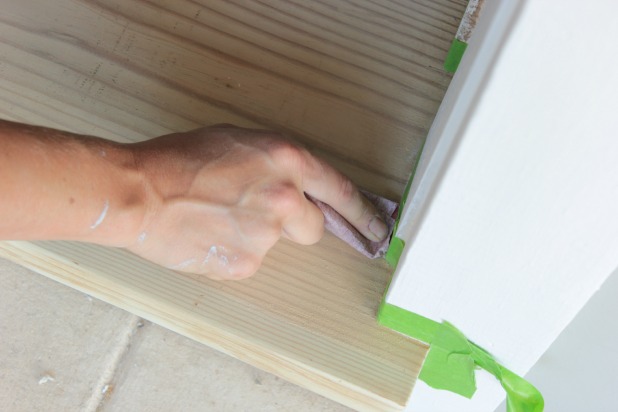 One of my main concerns was whether pressure treated wood would accept the stain the same way as the pine flooring did in the interior. Just to give it a little extra boost I grabbed some deglosser I had on hand leftover from a kitchen cabinet upgrade we tackled at