the space between

upcycle, repurpose and reinvent your space

  • about
  • aruba
  • key west
  • curacao
  • projects
  • house tours
  • privacy policy

2 moments of underwhelming intelligence

November 5, 2011

First, a big fat THANK YOU to everyone who took the time to check out my very first post, peruse the different pages on my blog, leave a comment, share my link on Facebook and follow me. I hope I made it all worth your time. Thank you, thank you!

Now, onto the underwhelming. I learned 2 things this week that I feel like I probably should have already known. But, I didn’t, and I’m happy to know them now and feel obligated to bring them to you. Lucky you! 😉

#1 – I LOVE to decorate/accessorize (whatever you want to call it) with natural elements. We now have a plethora of driftwood decor, and we have 8 foot long bamboo poles, a tall glass container of sea glass, a few bowls of sea urchins and some coral mixed in at random. I have had two pieces of a sponge like coral on one of our side tables for a long time now. But pretty much from the moment I set them down after dusting around them they start dropping sand. And after a week (and some excessive shaking for photo purposes) the side table would look like this:

Fast forward to my Driftwood Christmas Tree project from the last post, and my continuation of driftwood projects that I will be selling at the December meeting of the Brit Club of Curacao. And just the constant handling of said natural items, all which have a little bit of nature on them that I don’t really want. For some reason, out of the blue, I had this thought for my sandy coral: what if I could put some sort of clear, protective coat on it that would seal it all up? I know, underwhelming! I’ve had the stupid coral dropping sand on my side table for over a year and this is the first time I’ve thought of it. Ugh! Anyway, I went to one of our island home improvement stores, Building Depot, and bought some Krylon Crystal Clear satin finish varnish. I came home and knocked as much of the loose sand out of the coral and then varnished the bajeezus (makes me want some pasta, Liz!) out of the two pieces.

What do you know, a week later and my side table still looks like this:

And yes, I realize these pieces of coral are really underwhelming (figure out the theme of the post yet?) in photos, but I really do like them in real life. And, the varnish solution isn’t perfect. But I would give it an improvement percent of 99.3. The coral is very porous so it’s not like I could clog every crevice with the varnish without affecting the look of the coral. End result = happiness + less dusting which = double happiness. (Those of you who didn’t take real world math may not be able to follow along with my sophisticated equation.)  😉

And for underwhelming intelligent moment #2 let’s go back to those cute little driftwood Christmas trees and that extra little level of nature that I don’t really want and enter random thought – compressed air. In the vein of full disclosure, I was in the process of making my 12th tree. Seriously, to say thoughts don’t happen quick around here is an understatement. Anyhow, I just happen to have a can of 3M Dust Remover on hand that I bought at an island superstore called Goisco, for when dog hair and crumbs other randomness get into my keyboard. So, I took this tree back outside…

See all those dark spots in that little crevice, that’s loose sand that wasn’t really budging when I wiped it with a cloth. But after a quick spray of the compressed air, and a little help from Marley, it now looks like this:

Seriously, it’s so simple it’s kind of embarrassing that I’m announcing it like it’s revolutionary. But, the truth is, if I wasn’t planning to sell these trees I really wouldn’t care about the sand. I mean, I’ve lived with a sandy side table for over a year. But, again, it makes me happy to now know this, even though it seems so simple.

I would say the moral of this story is that I am not that bright finding a productive use for something outside of it’s obvious purpose is awesome. Of course, I may be the only one to whom this was NOT obvious. 🙁  If only the Krylon Crystal Clear can said For Metal – Wood – Wicker – Coral and the 3M Dust Remover said for Home, Office and Driftwood. I think I would have seen the light just a tiny bit quicker. 😉

What about you? Had any of those moments where you were really happy to have learned something but wanted to kind of hide that you didn’t already know it? Or any other super simple tips that seem to elude the general public? I’d love to just know them all now. 🙂

God Speed Andy Rooney, you will be missed.

And just for fun, I drove by this little house the other afternoon and had to turn around to take a picture. It’s kind of wonky because I was holding up traffic, but a good representation of some local housing. I love the color, the rusty roof and the haggard light fixture over the door drooping over the house number. Enjoy your space today!

how to make a driftwood christmas tree

November 1, 2011

christmas tree

Hello, hello! Last Wednesday I read this post from these two uber-talented (and funny) gals, Katie B and Sherry P and REALLY wanted to participate. This time around they are co-hosting the challenge with Ana White and Erin from House of Earnest.

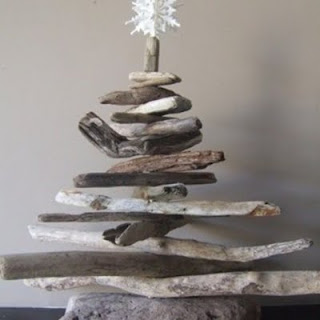
I stalked followed the summer challenge and just loved the idea and the projects that were submitted. But at that point I hadn’t taken the plunge into Pinterest OR blogging. But, I had just gone beach combing to gather driftwood to make something like this pic I had pinned. (Pic source here.) 

christmas tree

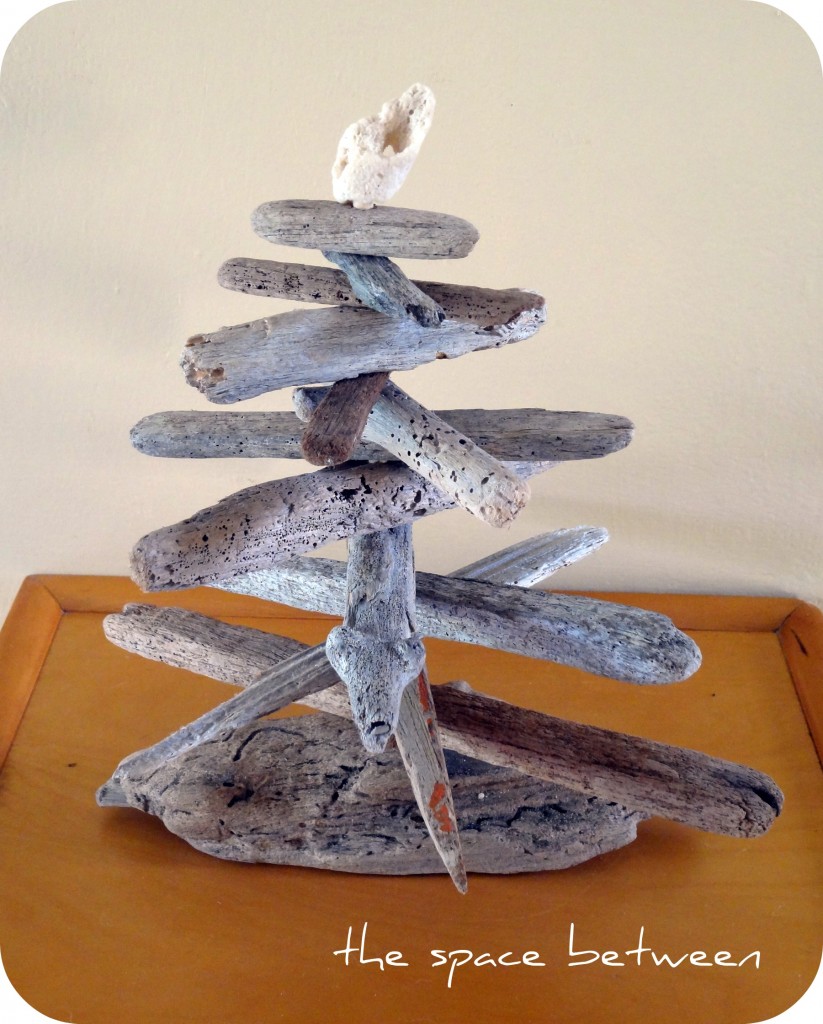
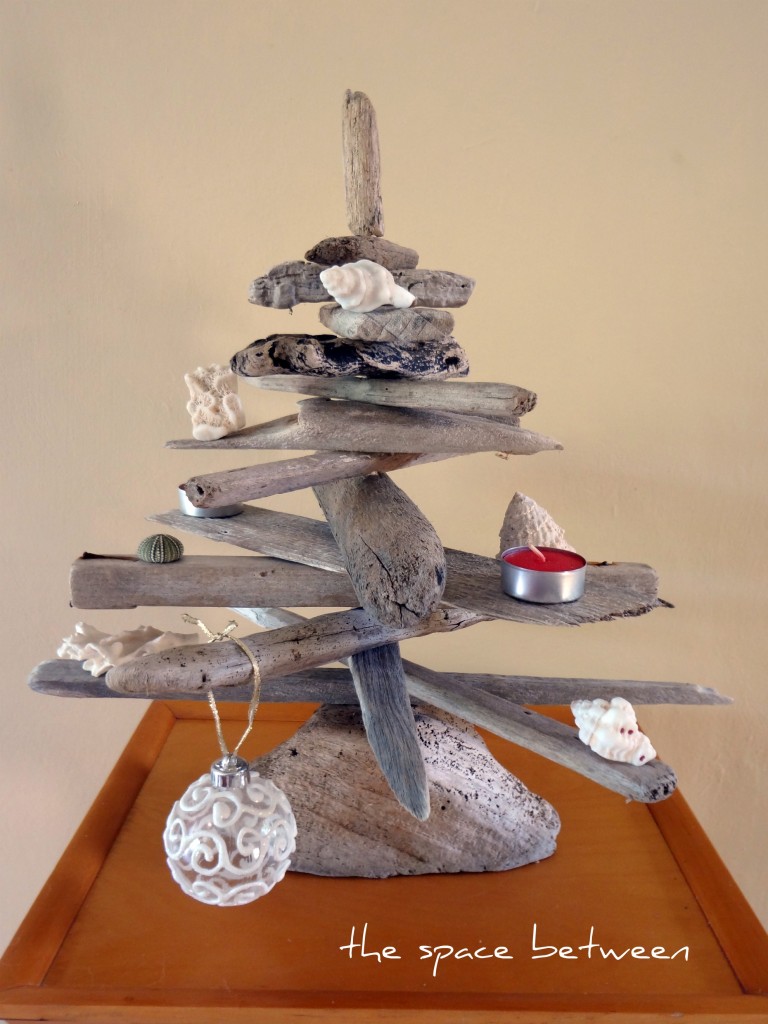
And, since I live on the island of Curaçao and am literally surrounded by driftwood AND fancy myself a DIYer I figured I’d give it a go. First, I made this one:
christmas tree

then I made a couple more…

christmas tree

 christmas tree

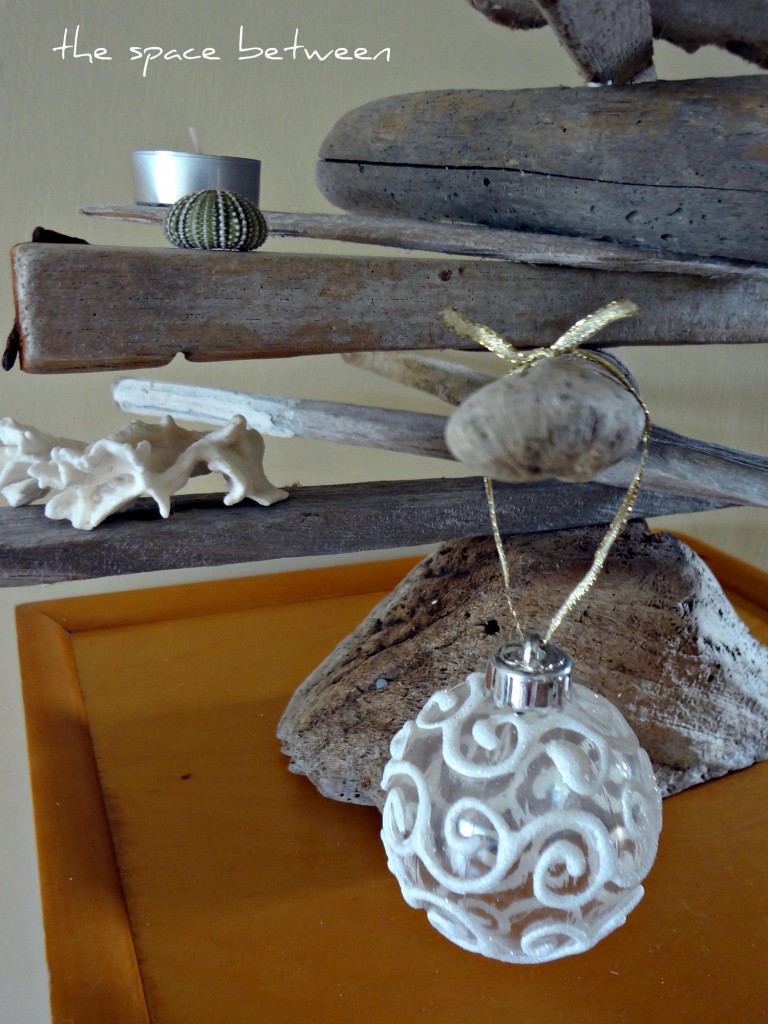
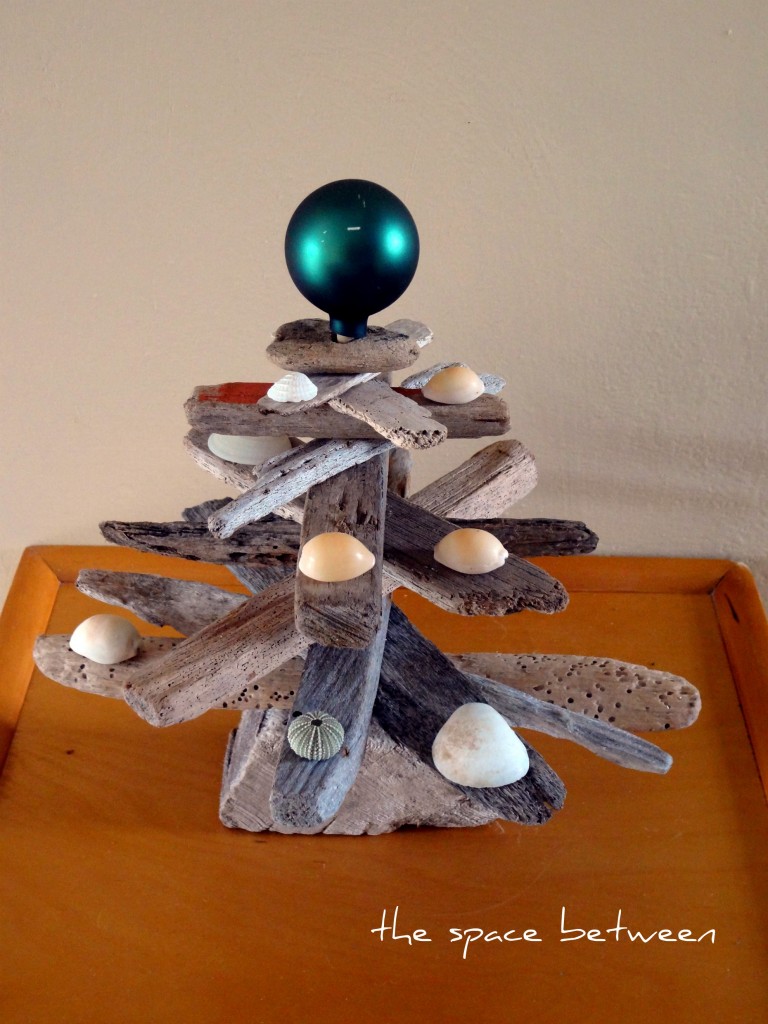
As you can see, I played around with decorating them with a combination of coral, sea glass and more traditional Christmas tree décor. And from there I was unstoppable. Well, except when Ellen came on. Seriously, Justin Timberlake and Cold Play for the whole hour?!?! Yes please!

For a complete rundown, here was my process over the course of a few days:
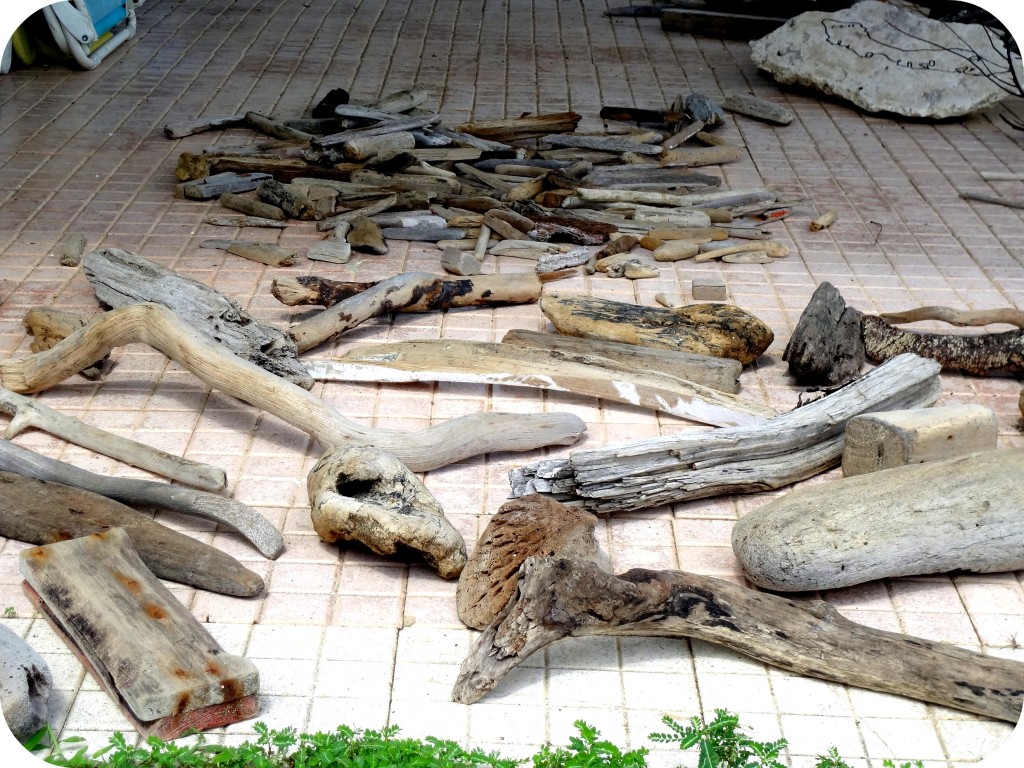
christmas treeGather driftwood – Free and Fun! Especially since I was with the hubs. 🙂

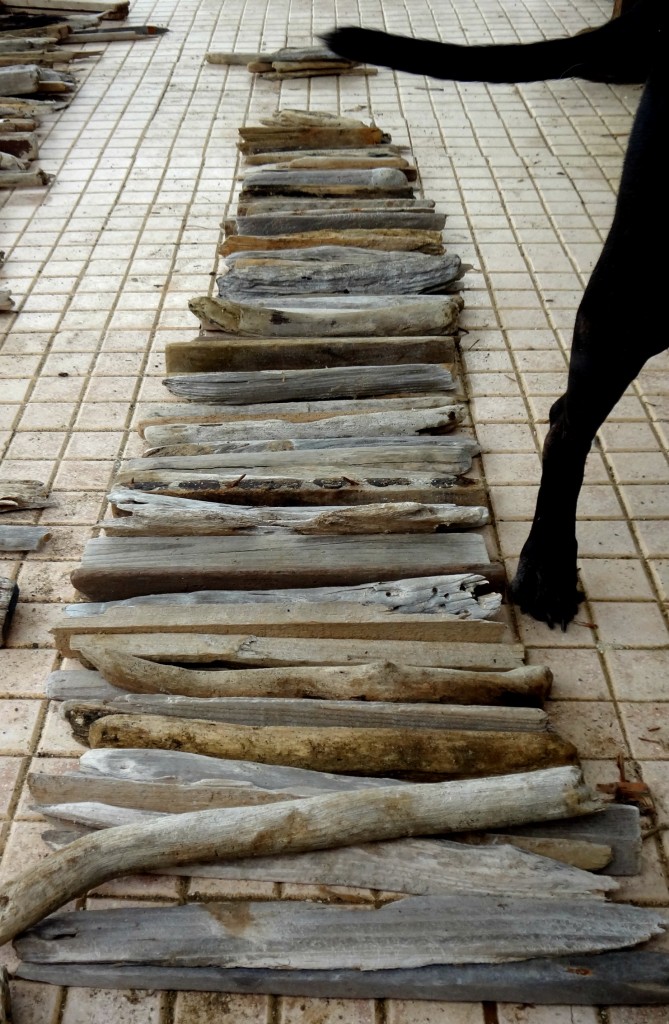
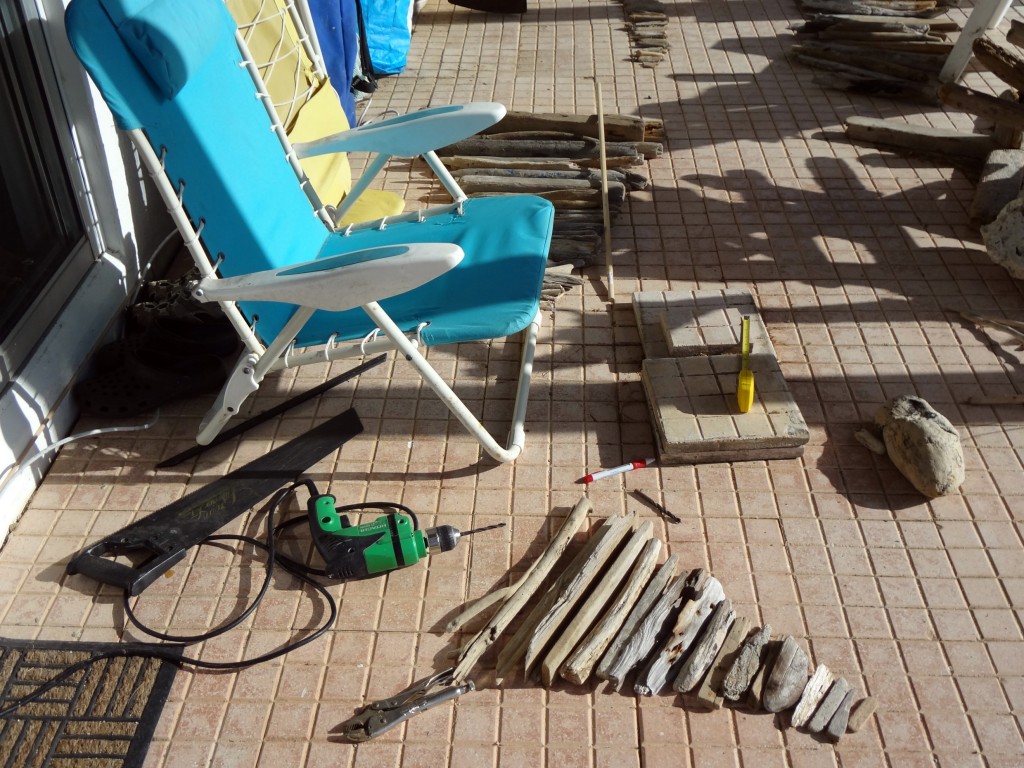
When we got the wood home it ended up in a pile on our patio and I started organizing it by size and separating the odd-shaped pieces that might make good “tree trunks”. (Yes, we clearly over-gathered, but there are other projects in sight.)  I basically ended up with two long lines of wood in the shape of a VERY tall tree.

This made it easier to select pieces for the individual trees I was going to make since the end shape I wanted was, well, a tree. Brilliant!  With the pieces all laid out I sprayed them with an anti-bacterial cleaner and let them dry thoroughly over the course of a few days. Then just brush off any loose sand, etc as you select pieces to use. (Please excuse the black dog leg and tail in the photo, you can formally meet her here.)
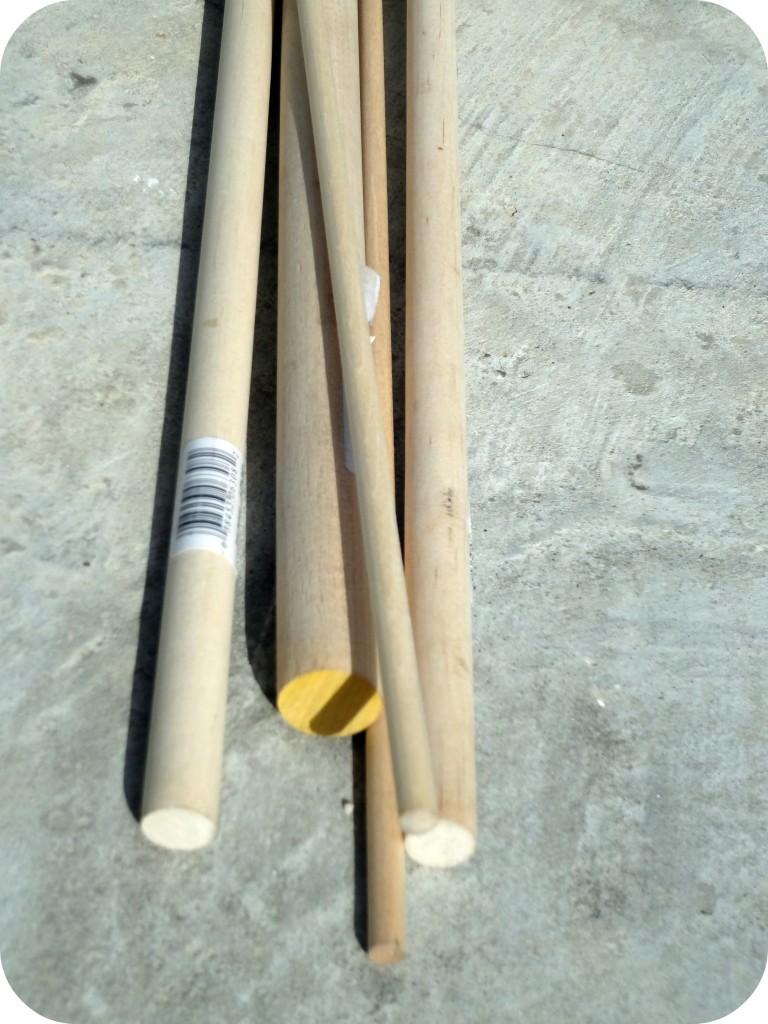
christmas treechristmas treeBuy dowels – I got ¼ inch diameter in 48 inch long segments and ½ and ¾ inch diameter in 36 inch lengths. I can give pricing, but being that I live on a Caribbean island everything is inflated. Let’s just say they’re cheap. 🙂
christmas tree

Make sure you have the right size drill bits – One that is the exact size of the dowel and then one slightly bigger (the wood goes on the dowel MUCH easier if the hole is slightly larger, but the snug fits are good for stability). I used a 5/16 inch drill bit as my “slightly bigger” of the ¼ inch and a 9/16 inch drill bit for the ½ inch dowel.

TIP!!! Drill the thinner pieces and the smaller pieces of driftwood at the top of the tree the exact size as the dowel, the thinner/smaller the piece of wood = the easier to finagle the tight fit.
christmas tree

Gather your tools – I used a hand saw, electric drill, tape measure, pen and vice grips. From my experience the vice grips will only be necessary if you insist on man handling a piece of wood onto the dowel and then the dowel breaks while stuck in the wood.

TIP!!!  I learned, after a few vice grip usages (I am nothing if not a slow learner) that if the dowel starts to stick in the driftwood make the hole slightly larger by maneuvering the drill in a circular motion with the drill in the existing hole and DON’T try to show it who is boss, you will lose.

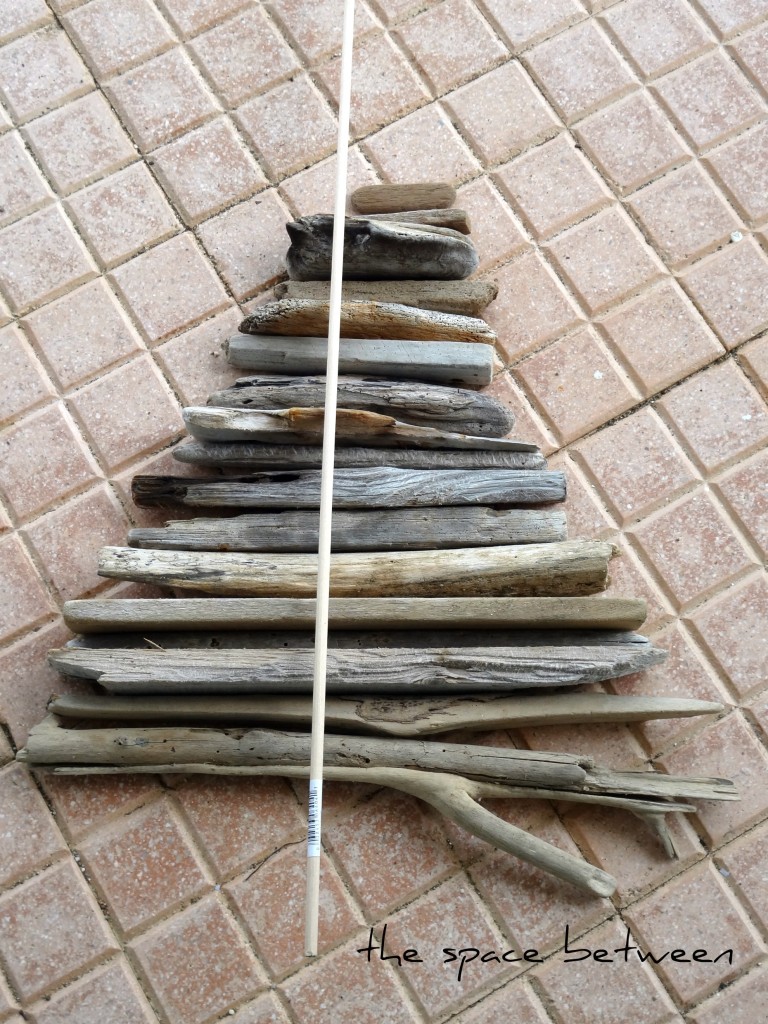
DIY it! I started by selecting the longest piece of driftwood I wanted for each specific tree and then selected increasingly smaller pieces until I had the height I wanted. The possibilities really are limitless. Do you prefer a short, stout tree? Or maybe a tall, slender tree that would fit nicely into a corner? Or maybe a petite little one for a side or coffee table?

I like the “diversity” of the wood. So I would try to pick a round piece after a flat piece or maybe one that had some paint or texture after a flat, smooth piece. But again, make it to your own style. Maybe a more streamlined look of all the same color and shape is more your style?

Once I had the wood for the tree selected I picked a “trunk”. The biggest determining factor in your options is going to be what you were able to find at the beach. (I can picture you saying “Why thank you Captain Obvious!” right now.)  Anyway, it is what it is so pick from what you’ve got, or distress a small block of 2×4 or something that could work.

Then I laid my selections out to 1) make sure it seemed like it was going to look good and 2) measure the length of dowel I would need. I didn’t actually use the tape measure for this part, I just eye balled it and cut the dowel with my handsaw. I kept mine plenty long figuring it would be easier to cut more at the end than to end up needing a longer piece. (And, there are some really cute tall tree toppers that could be used if the dowel is left 6 or so inches taller than the actual tree.)

 christmas tree

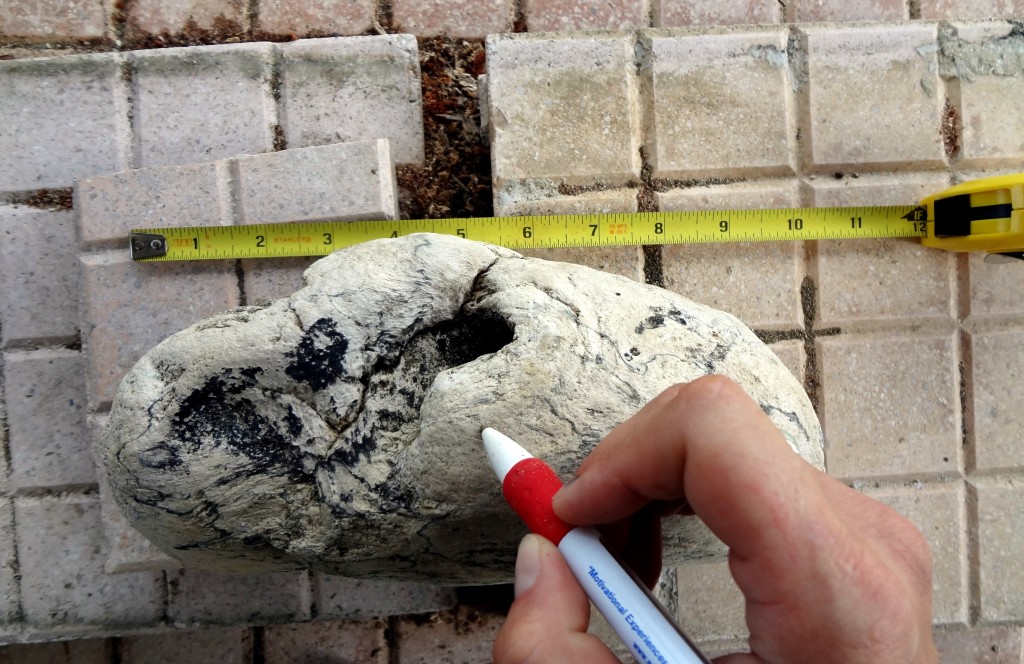
Now, just drill it – I used the drill bit the exact same size as the dowel in the “trunk” so it fits nice and snug.

As you can clearly see from the pics a real work space is not needed. 😉 I stacked a couple unused patio bricks to create a work surface (with a small separation in the middle for drilling and sawing) and sat in a beach chair because it was just the right height. Measure half the length of the piece of wood and then I just eye balled half the width.
christmas tree

I actually kept the tape measure in the locked position and right there on my work surface because you will repeat this step for each piece of wood. (Remembering to switch between your two drill bits as you see fit.)  I chose to drill one piece at a time and then add it to the tree as I went, then I could see how each piece looked and determine which drill bit I should use next.

After a few accessories, these are a couple of the trees I ended up with.
christmas treechristmas treechristmas tree

What do you think? I would love to hear your feedback!
driftwood christmas tree collage

Update:  Find many more upcycling ideas here, like an easy driftwood fish craft, seaglass and driftwood Christmas craft, coconut candy corn and silhouette art.

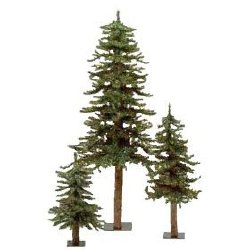
I’ve been thinking that I might try a driftwood version of something like the tall tree in this picture…
christmas tree

I found this tree pic here.

Just for fun here is the view I had from Pilates Monday morning. I hope you are all enjoying your space today!christmas tree

  • « Previous Page
  • 1
  • …
  • 167
  • 168
  • 169

Copyright © 2025 · custom theme design by this bold girl · Built on the Genesis Framework 

  • pinterest
  • facebook
  • instagram
  • rss