This post may contain affiliate links which won’t change your price but will share some commission.
Hey hey!! Day 17 baby!! I’m equal parts impressed and surprised that we’re keeping the streak alive. Who knew we had it in us?
My cousin is visiting and it doesn’t hurt that she makes me breakfast and cleans my kitchen and does my dishes while I write up a tip each day. I think it’s a fair deal, right?!?!
So today I’m going to toss out a little tip that is all about the white glue. They are actually all things that I’ve already shown on the blog in different projects here or there. But since they’re techniques I use a lot and love I thought a little synopsis was in order.
#1 – Faux co page. That’s my term for home-made decopage medium. Many people buy and love the well-known brand, and that’s cool. But I never have and since white glue is about $1 and thinned out with water is the same consistency as store-bought decopage I don’t feel the need to buy the more expensive option.
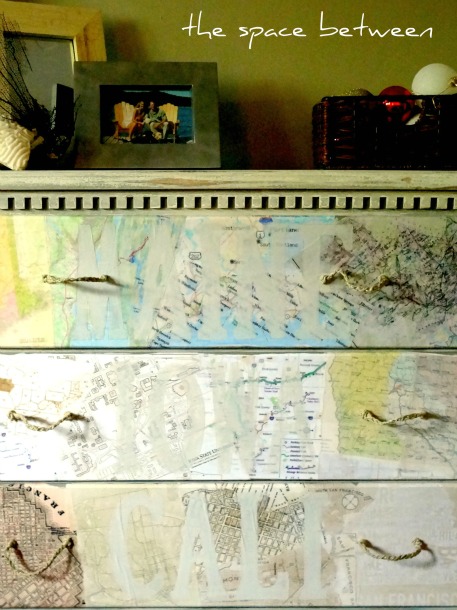
A few years ago I made a map dresser with the mixture and she’s holding up perfectly.
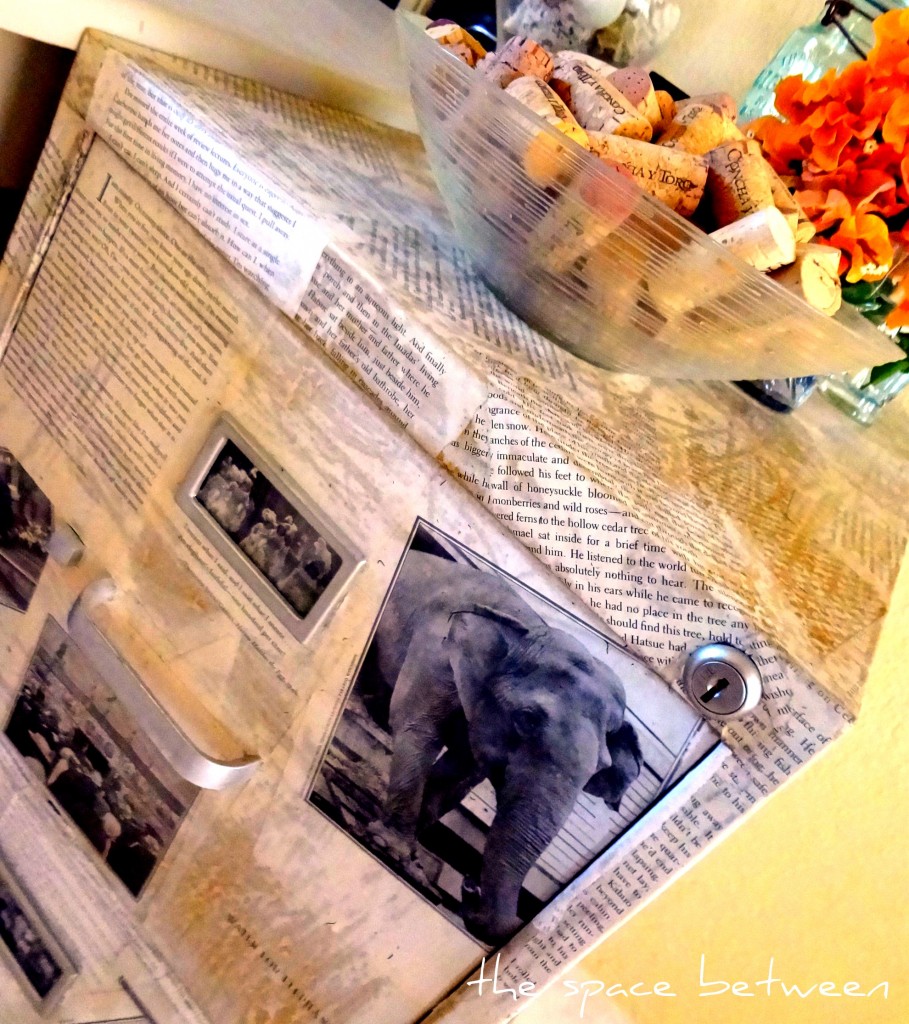
I’ve covered a file cabinet and a bunch of picture frames in book pages using my faux co page mixture.
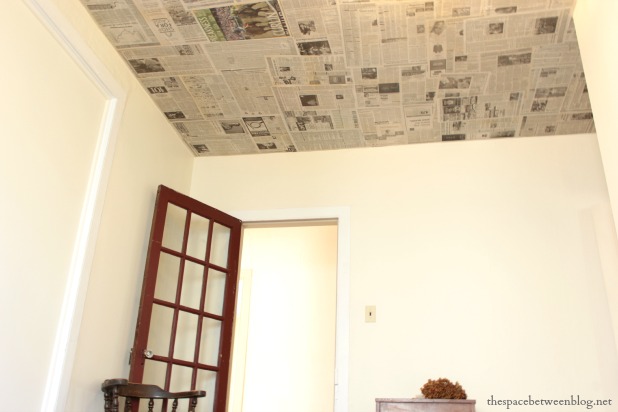
Heck, I’ve even wallpapered a ceiling with newspaper using it.
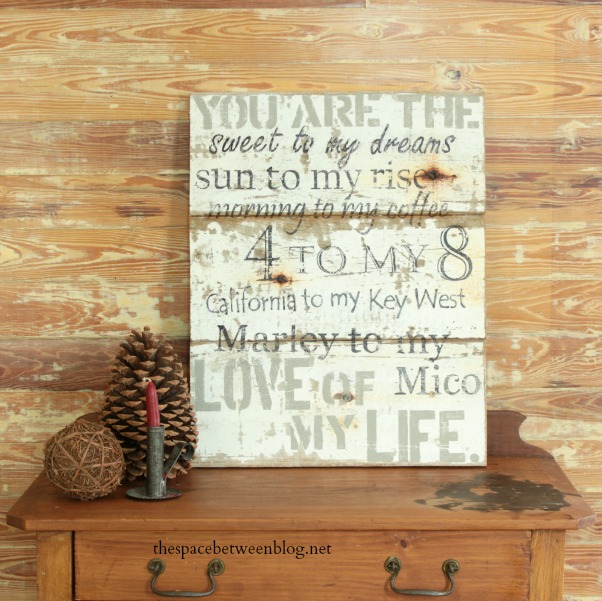
#2 – Image transfer. Those vinyl cutting machines are all the rage now and I’m not going kick one out of bed it if makes its way into mine, but I don’t have one as of yet and really wanted to make some fun word art. So I figured out a way to do an image transfer using watered down white glue and my home printer.
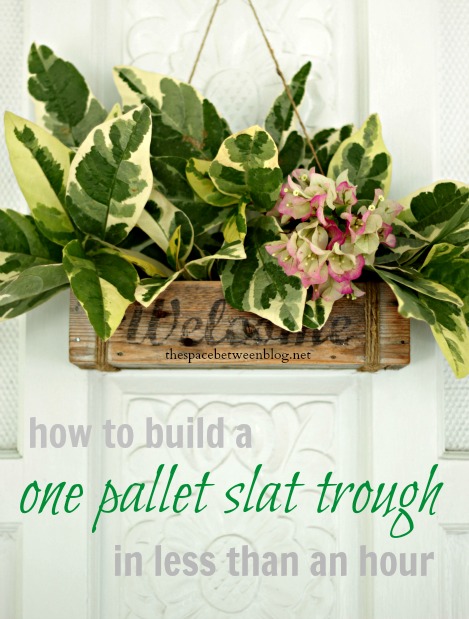
I made a little welcome trough for our front door.
And a birthday present for Joel this year.
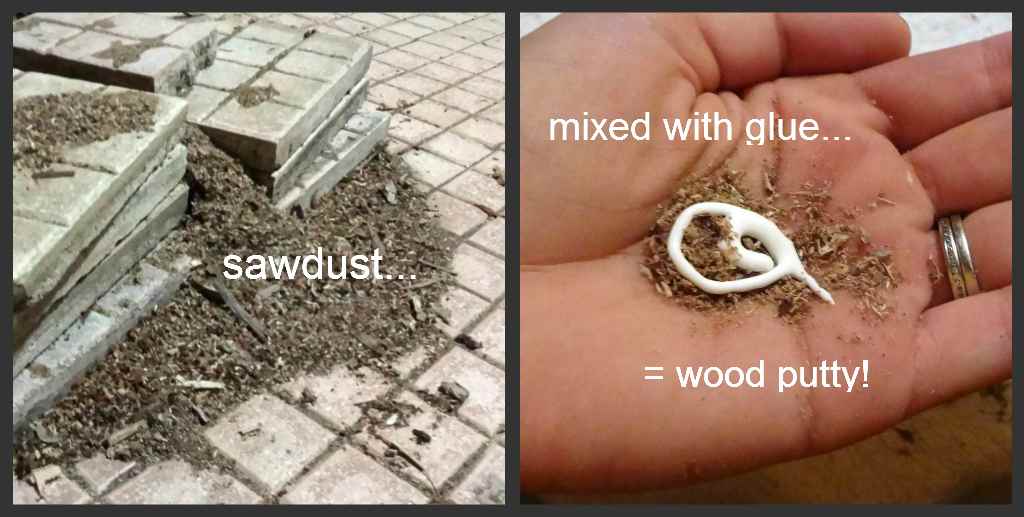
#3 – DIY wood putty. You could use wood glue, too. But I always have white glue on hand and mixed with some sawdust makes the perfect wood putty. I just keep a small tupperware of sawdust around, we’re always sweeping it up after we use the table saw or miter saw.
Store bought wood putty is expensive, yo. (Any Breaking Bad fans out there? We may be watching all 5 seasons in marathon sessions. And I seem to be channeling my inner Jesse a little too much this week.)
Either way, diy wood putty is easy and practically free.
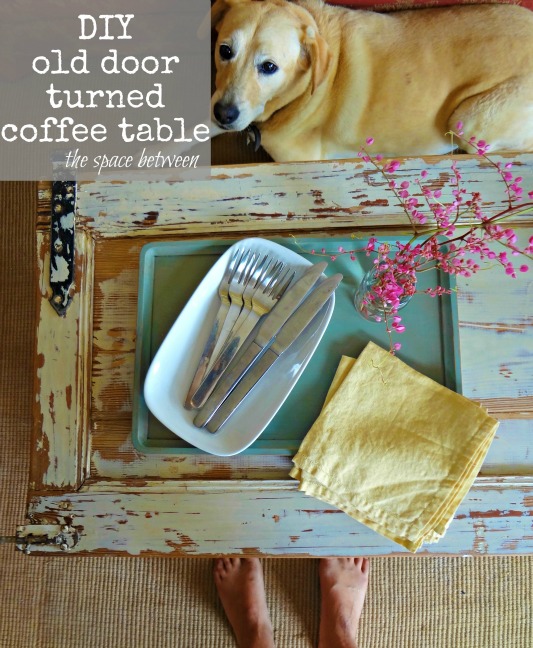
I used it on the door turned coffee table.
Oh, and I’ve got that coffee table at the end of the bed in the guest room and I think I love it. Can we take a moment to lament how long it can sometimes take to get from beginning to end of a project, even if it’s just one room. But we’re getting there. 🙂
Thanks for the moment.
Bonus idea – I’ve heard you can use white glue to create a crackle paint finish. Ever try it? I haven’t so I can’t vouch for it, but just something else to add to the list.
Update: Check out the comments. There’s a great idea about using it to give windows or doors with windows a vintage glass look.
Get caught up on the full series here.



becki says
I love white glue! When remodeling our 100 year old Kansas farmhouse I really wanted the french doors to my bathroom to be the expensive “smoke” glass which would allow light to pass through but give a modicum of privacy. The price of said doors was pretty scary so I simply laid the plain, unfinished, doors on 2×4’s and washed one side of each pane of glass with a mix of glue and water. I was careful not to get any on the wood that I later stained. I kept the glue fairly thick and made a swirly pattern. It turned out amazing and gets many comments on my wonderful “vintage” doors. (insert smug smile here) Love your blog~
Karah says
OMG, I love this idea!!!
Mel says
Just found your blog, love it! And yes, I’ve done the elmer’s glue for crackle thing. Base coat your piece whatever color you want to show through the cracks. Then, in areas where you want crackle effect, lay on a nice thick gooey layer of plain old white glue. You can vary the thickness of the glue layer. The reason you’re going to get crackle is that the glue and the top coat of paint are drying at different rates. Let the glue tack up, skim over a little bit. This takes – some time? But not a lot. Hmmm. Just keep an eye on it. I’m used to working on big scenery projects for theater, and usually found that by the time I worked my way laying down glue across all the set pieces (wall, doors, window frames or whatever needed crackling,) the first pieces I’d slopped glue on were usually ready for their top coat of paint. So go ahead and put on the top coat of color. When you’re going over the glue, you want to make sure your paintbrush is well loaded with plenty of paint, and that you don’t stop & start with brushstrokes in the middle of the area. Just go over it once. Don’t fuss at it or overwork it. Just move along and when you look back, you should see crackle happening. The thing about the elmers that I liked was that it was A) cheap! and B) gave bigger, wider cracks than fancy artistic crackle medium. It’s the difference between wanting a crackle finish on a mirror frame for a small bathroom, where you’re up close & personal, and wanting crackle that the audience can see from a distance. it’s pretty quick & dirty, and hard to screw up. If you’ve got old paint in two colors, and some scrap boards, I recommend experimenting. It worked well in the hot & humid summertime in Washington, DC. Less satisfying and quick in the cold winters in poorly heated warehouse spaces theaters tend to have for shows getting built.
Cheers!
Mel
Karah says
Hi Mel! So glad you found the blog, and seriously thank you for all of the detail on the white glue crackle finish!! That is awesome! And funny about the humidy, I did some painting today and it is so humid the paint felt gooey!
Mel says
You should try it! I forgot to say, let the base coat under-color dry really well before moving on to the glue. But it’s still hard to screw up. 🙂
Katie Espinosa says
I just wanted to let you know that I’m a Key West gal, born and raised, currently living in Ocala. Good luck on your home.
Karah says
I love your home town!!