This post may contain affiliate links which won’t change your price but will share some commission.
Have you ever been known to do something? Something that seemed weird to others? Or may not even really seem like a good idea to some? Something that you yourself even question at times?
No, I’m not talking about frequenting strip clubs. Get your mind out of the gutter.
I’m talking about spackling over cracked paint. I will admit that this is a technique I’ve used since we bought our first house and has always seemed just a bit … I don’t know … like more of a shortcut than a real solution. Even though it always works.
Don’t feel like stripping that cracked paint? Just spackle it.
Don’t feel like working out to get rid of that extra inch around the waist line? Just put a sweater on.
Those two solutions seem like a similar approach. You know?!?!
So when I recently went into our local home improvement store to inquire about the best way to paint over cracked paint (not chipping or peeling) on our newly uncovered Dade County Pine ceilings I was flabbergasted to hear the suggestion.
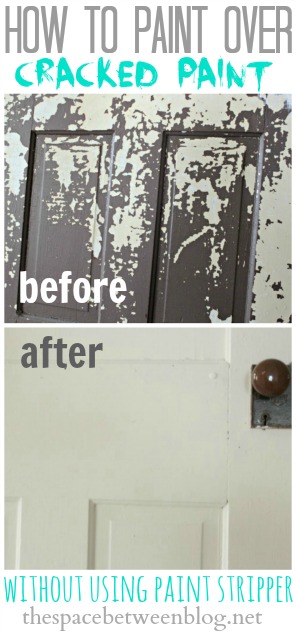
How to paint over cracked paint.
Seriously?!?! What I’ve been doing all this time is actually a good idea. That’s not always the case.
Oh, yeah, and that picture isn’t of a wood slat ceiling … I know.
It was really hard to get a good shot of the cracks in the ceiling since it was white paint cracked over off-white paint. This is the best I got, those little vein like lines are the cracks.
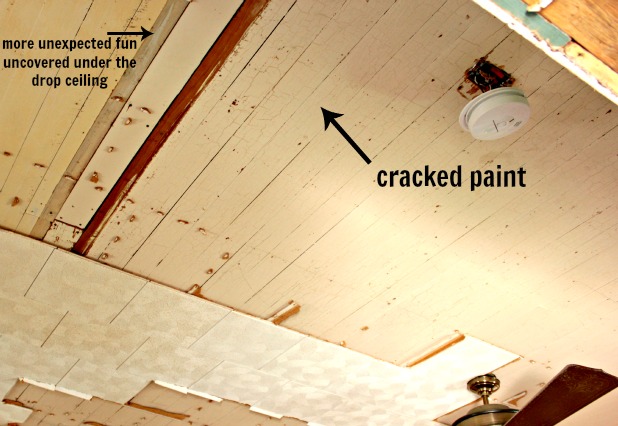 Oh, and that other mess is what used to be a wall. We’re actually finding it fun to try to piece together the original floor plan of the house. And figure out how to make those uncovered imperfections work. 🙂
We were really lucky to discover that it was only the paint in the living room that had cracked, the longer section of ceiling in the dining room just got a little sanding with a palm sander to prep it for the primer.
Update: I’ve mentioned it a number of times but it warrants mentioning again here, always test for lead paint when working with paint in older homes and discuss with a professional how to proceed if you’re unsure.
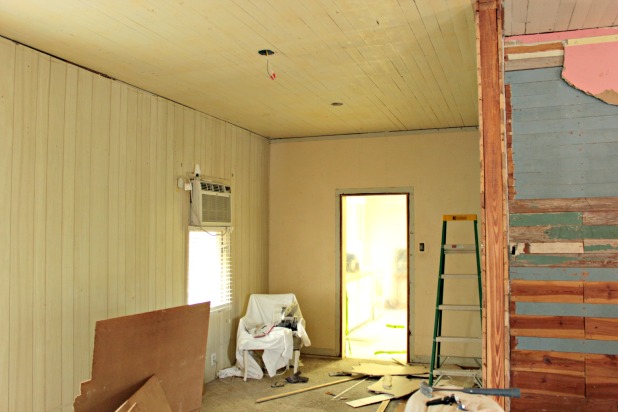
Not to digress, but isn’t primer the best invention ever?!?! For us it marks the official first step in starting to put the room back together after all of the demolition and tedious prep work. When the primer goes on it feels like such a dramatic turning point to me.
Getting to that primer stage was really what got me through all of this ceiling work. I’m ready for a massage. 🙂
Now, for anyone in need of a solution to the old how to paint over cracked paint dilemma, here’s the how-to.
Supplies:
*affiliate links to products I use and love
*spackle knife (or two)
*spackle
*palm sander or sanding block
Action Steps:
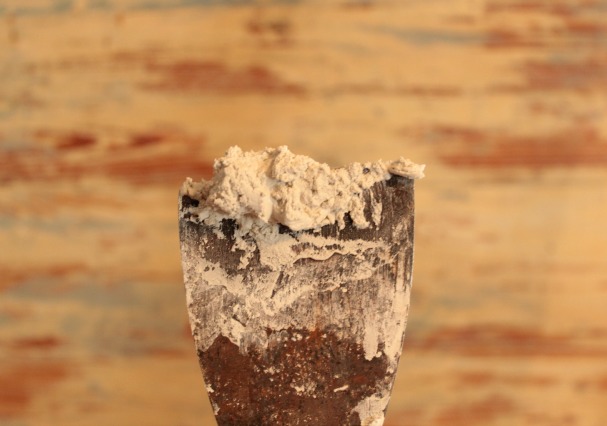
Step 1 – Using a spackle knife, apply a thin coat of spackle to fill in any cracks. You may need to do a few coats depending on how deep your cracks are. And, when working on the ceiling from the ladder, I like to work with two spackle knives. I would load a larger knife with spackle and hold it in my left hand and then just take small amounts of that spackle with the smaller knife in my right hand to apply to the ceiling.
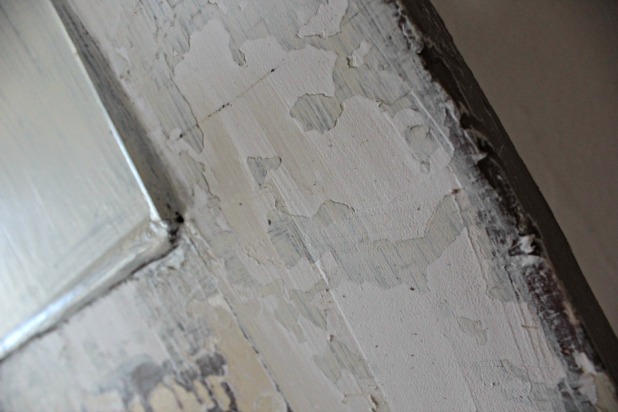
 Note: For the door pictured above, and any other flat surfaces, applying the spackle all over in a haphazard fashion will work.
Update: Here is a picture of the spackling process for the door. It actually took a couple of coats to fully fill in the cracks and be able to sand it smooth.
For the ceiling, I didn’t want to lose the wood slat look so my strategy was to apply a section of spackle along one slat of wood at a time.
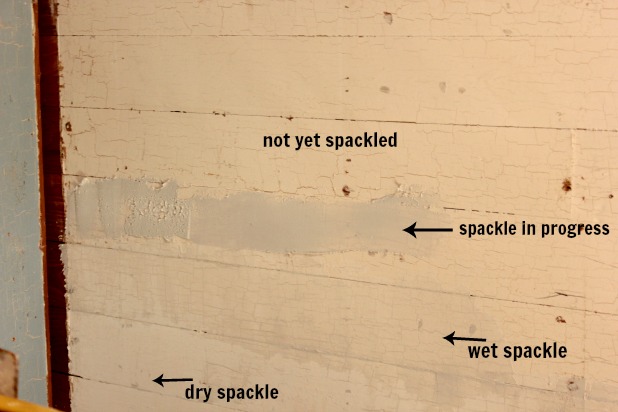 Then I would use the spackle knife to smooth the spackle out in the opposite direction I had applied it.
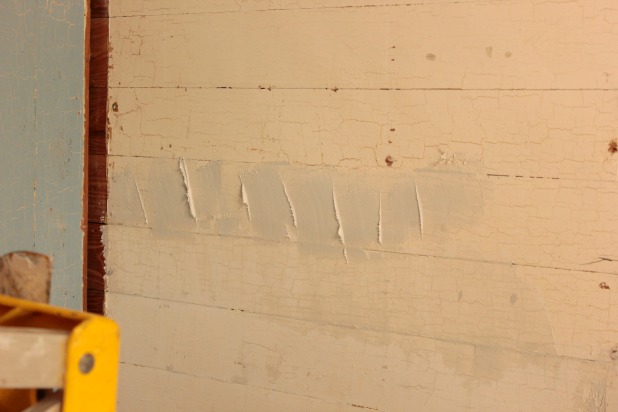 And then continue to smooth it out without covering up the lines between the wood slats.
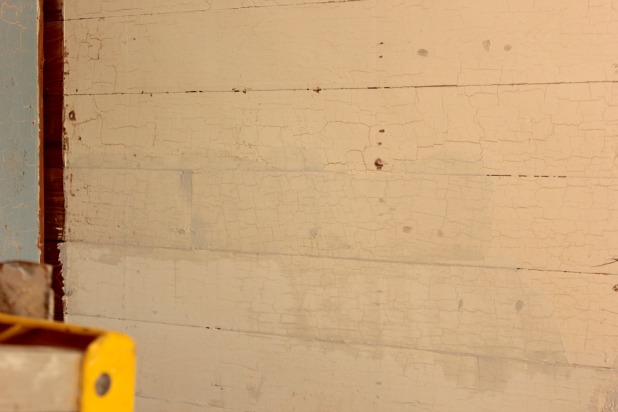 Step 2 – Sand. My biggest tip for this step is that it is much more important how it feels than how it looks at this stage. This is all in preparation for painting, so any color differences will be covered up in the end, but any texture differences in spackle will only be emphasized by paint, paint will not help camouflage spackle imperfections. Darn it!
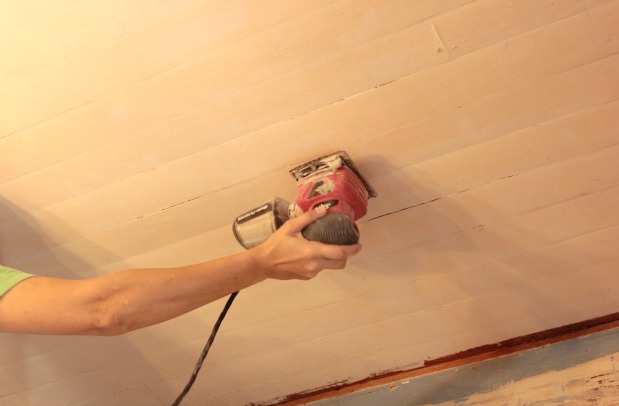 That’s it!
Pretty easy, really. Except the whole arms above your head the whole time part. And that’s after the whole arms above my head to remove the drop ceiling.
Guess who’s been officially nominated to prime and paint the ceiling …
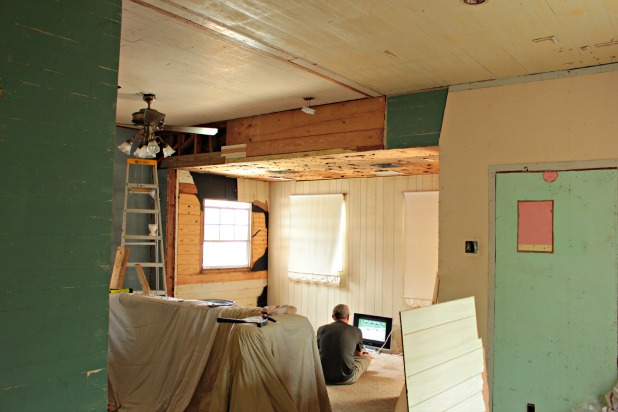 That guy! 🙂
But we are now so ready to get some priming and painting going on around here! Now just to pick a color!
Update: Check out the DIY lesson we learned the hard way and our first finished wall (board and batten baby!).
So tell me, do you have any so easy tips they seem like they’re not really the right thing to do? Been spackling any cracks of your own lately? Agree that priming is the beginning of the put-it-back-together phase of remodeling?
And, in case you missed it, check out the other progress we’ve made around here on the home improvement page.

Julie W says
I spackle wayyy too many things for it to all be ok. I just told my husband to spackle the pine letters he was using for a gift project – he was frustrated with the texture and is too impatient to sit there and detail-sand with the dremmel. I plopped my tub of spackle in front of him and told him to just use his fingers. They turned out perfectly smooth and he was happy.
Now for spackling out the texture on the kitchen walls this weekend – we’re going tinted chalkboard baby!
Karah says
It really does work like a charm!!
Ashley@AttemptsAtDomestication says
This is so good to know! Talk about a time saver in the future!
Susan @ Uniquely Yours or Mine says
Oh you just gave me the BEST idea! I have a crackled armoire that I have been dreading stripping now I won’t have to! Thanks so much for the information!
Thistle says
Great idea karah! I don’t think there’s anything that spackle can’t fix!
Can’t wait to see the finished room!
Happy day!
kariann
cassie says
i’ve done this before, too! it’s the best!! you get pretty dusty, but it’s worth it!
karen@somewhatquirky says
Karah you’re a beast! Hang in there. Walls are next and they aren’t nearly as hard!
Karah says
I am sooooo happy to have a break from the ceiling work these days!!
anne says
Great tip Karah! I am going to remember this! Gotta love an electric sander!
xx
Anne
Karah says
The electric sander is probably our most used tool. I’ve burned through a handful of them. 🙂
Debbie says
See? You do know what you’re doing! Good to know, about the spackle. I dan’t even begin to imagine how sore you must be after all that above the head work!
Debbie 🙂
Karah says
Hahahaha, all this reassurance is going to me head. 😉 And yes, sore, sore, sore. Glad to be working at or below eye level these days. 🙂
Kelly @ Eclectically Vintage says
Cracked paint, mirrored walls, dropped ceilings! What’s next – rats, bats and cockroaches! It will all be worth it in the end!
Kelly
Jamie @ Better with Age says
Wow, what great tips! I’d love it if you could link this up to our party, Give Me The Goods Monday! {1 party, 5 blogs}
http://www.somuchbetterwithage.com/2013/05/give-me-goods-party-7.html
Have a great week!
Jamie @ somuchbetterwithage.com
Hickory Trail says
Thanks for the insight 🙂 I’m hosting a new linky party at http://hickorytrailblog.blogspot.com/2013/05/efforts-and-assets-linky-party-1.html
I would love to have you!
Angela
Karah says
Hahaha, that’s just what I need, the pressure of feeling like I’m on design star. LOL But I love the crackle finish idea … if only I could uncover one whole wall with the same finish underneath. 🙂
Kelly @ View Along the Way says
Great post! There’s something so satisfying about seeing something so imperfect look smooth and new again!
andrea cammarata says
What a FABULOUS idea Miss Karah!!!! How are you and how is my M&M team! Sending hugs!
Karah says
Hi my friend!!! We are good! Incredibly busy with the house renovation but loving every minute so far!!
Kris says
Can use joint compound and instead of sanding use a damp rag to “sand” and no dust!
Karah says
I do love joint compound! But have never gotten the perfectly smooth finish with the damp rag that I do with the sander. Personal preference I guess. 🙂
valerie goodloe says
I JUST GOT FINISHED DOING A CRACKLE OPROCESS WITH A PASTE THAT IS NOT SOMOOTH THE CRACKLE IS GREAT WOULD LIKE TO KNOW IF I CAN USE A SAND TO SMOOTH IT OUT
Karah says
Hi Valerie! I’m not sure if I understand the question, but I would say that a crackle finish isn’t going to be smooth. If you like the way it looks you might just have to deal with it not being smooth. Or, if you don’t like the crackle and want to get rid of it you can try to smooth it away with a sander. Good luck!!
valerie goodloe says
Hey Karah! I looked at the spelling and thanks for figuring it out. another question I have sand and leveled it off looks great but the color is light orange I would like to deepen the color can i put on a stain then wax or a glaze then wax?
I would like to turn it into a brownish orange
Karah says
Yes, either of those options could work. Maybe you could try it on a text piece so you know how much of the glaze or wax to add to get the right brownish orange you’re looking for. I really like the look of a dark wax over colors, it gives it a real aged feel. Would love to see pics of your fun projects!!
valerie goodloe says
Hey Karen I mixed light and dark stain and but some of the orange paint in it it looks like copper i like it give me your e-mail and i can forward you . you might can give me suggestions on how to finish it off it has a lot of texture and cracks also can i sand to even things out a bit?
Brent Dudley says
Cracks are common with old paint that lost its bond or when trying to paint water base paint over oil base paint and it separates causing separation. In order to change oil base paint to water base paint ,you need to use an ” oil base primer” two coats. If you made the mistake of putting water base paint over oil base and it cracks, you have to put two coats of oil base primer, then float walls to fill in the cracks with 45 minute mud. Now you can use water base primer and then paint water base paint. I always do a knife test to to cracking surface to see if it has bond to the under layer. If it is separating, then over time it could buckle once the paint dries since it take 6 months to fully cure. IF the top layer is flakey, you might be able to soak it with a spray bottle and scrape it off! Good luck! I will be submitting pictures soon Facebook:suncoastcustomcontracting this week.
Karah says
Thanks for the tips, Brent!
lonnie says
Please! TEST FOR LEAD PAINT FIRST!!!!!!!! GET A LEAD TESTING KIT AT THE HARDWARE STORE! YOU MIGHT BE POISONING EVERYONE IN YOUR HOUSEHOLD
Karah says
Hi Lonnie, It’s always best to assume you’re dealing with lead paint when working in older homes. I’ve added an update in the post, thanks for the reminder to point that out!
Andy Zylkin says
This is great… so, what if it IS lead? Same method?
Karah says
I would contact a professional to get their opinion on that, but yes, I have primed and painted over lead paint before.