This post may contain affiliate links which won’t change your price but will share some commission.
Do you ever wear a temporary tattoo? No, I’m not talking to your kids. I mean you.

And it turns out that habit came in handy when trying to figure out how to do an image transfer on the cheap.
I still don’t have a vinyl cutting machine, or even any idea of what those things are and how they would work. But I have a home printer, and Picmonkey. And, I need Picmonkey for this because I don’t know how to reverse text in Word. Do you? Do tell.
Update: I shared how to reverse text in Word here.
Update #2: I made another, more extensive project using this technique here.

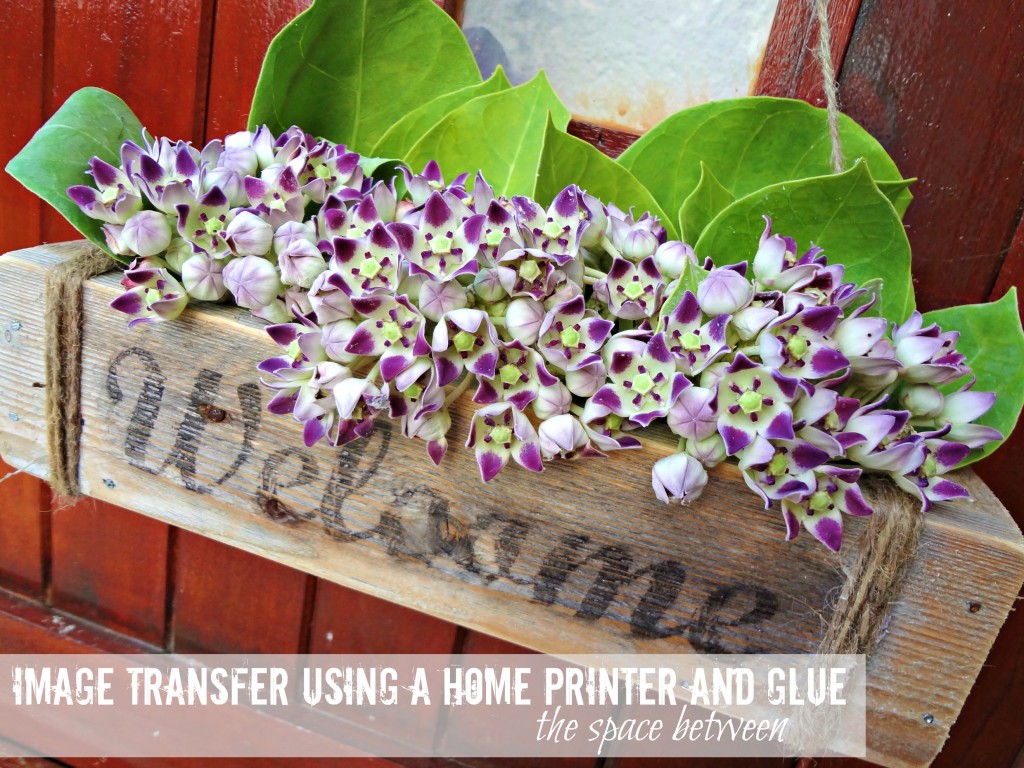
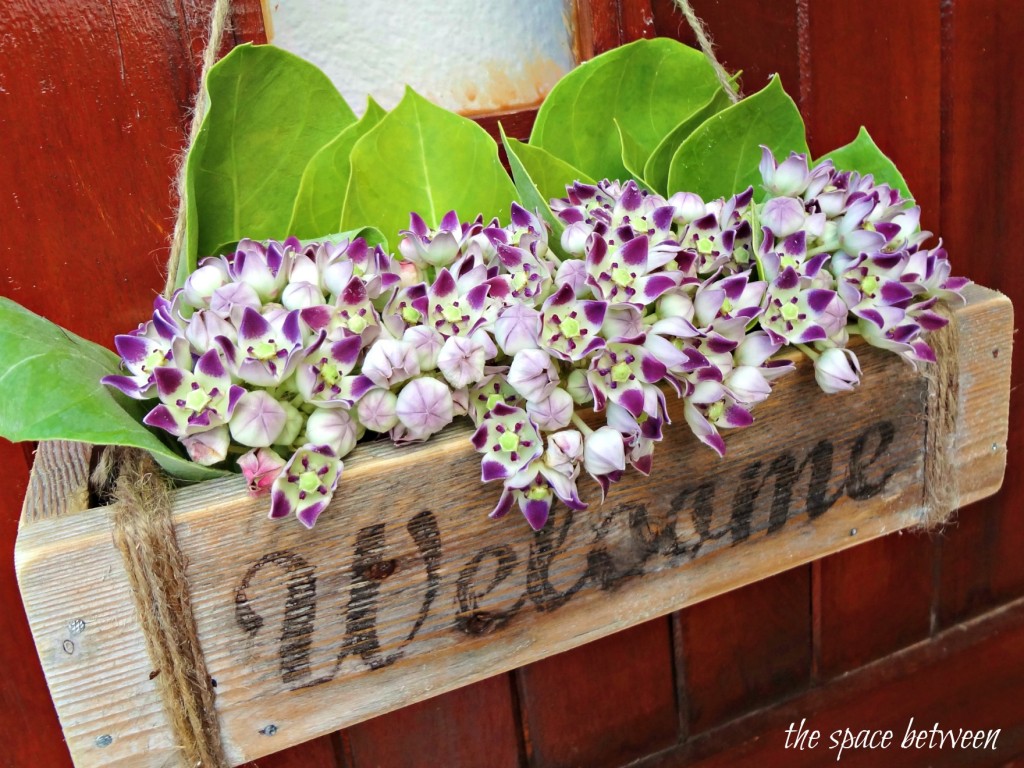
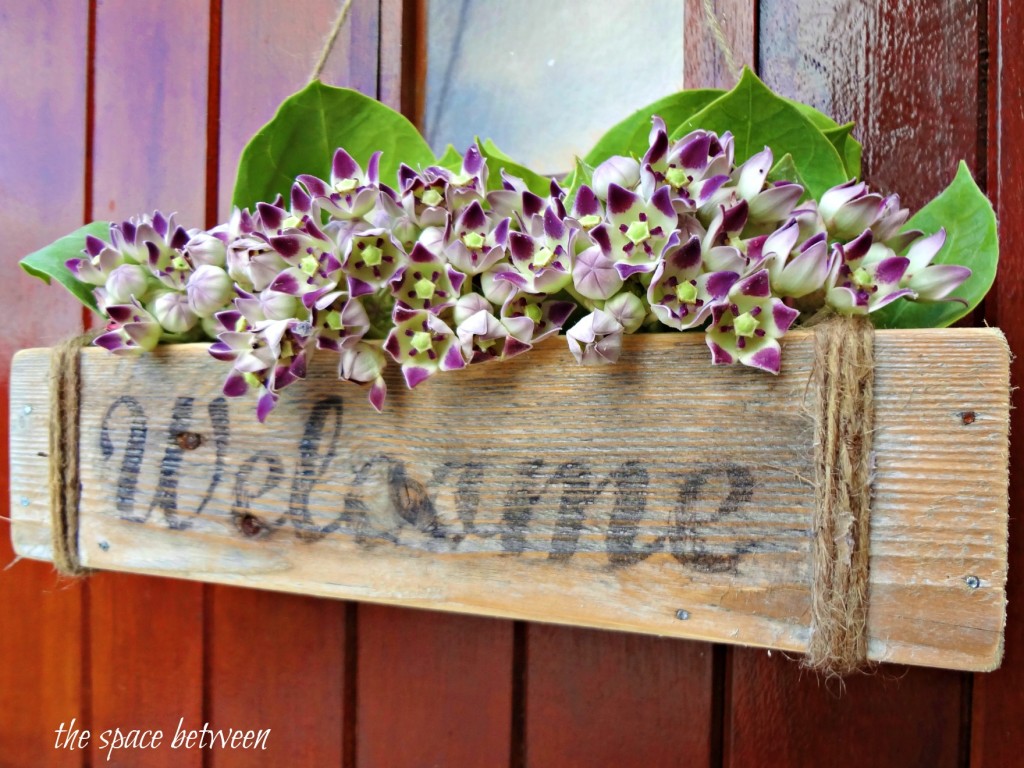
So, basically, like, the second I had my new one slat pallet trough hung and decked out with some awesome flowers I decided I wanted it to say Welcome. It was hung on the front door, it looked very welcoming, it kinda said welcome, without coming right out and sayin’ it … but I wanted it to come right out and say it.
Yes, I realize it looks like it says Weloome, but it doesn’t. There is just a really inconveniently placed knot in the wood.
I considered using the same kind of technique I used for my little black number art canvas, but thought I’d give a little image transfer a go. There are a number of different tutorials out there, but you pretty much just need to understand the temporary tattoo image transfer technique.
Sooooo, now let’s transfer an image from paper to a piece of wood.
1. Have you ever noticed how the side of the card stock your kids’ temporary tattoos are on is slick? Stepo numero uno (I have mentioned before I’m taking Spanish classes, no?!?) 
if I had to guess.
 Let’s just ignore the ‘welcome’ already printed. It is irrelevant to the end result other than the total amount of time this project took due to a few little missteps. Oops.
2. While you’re slickness is drying, select your wording, font or whatever image you are going to transfer. This is where I needed Picmonkey because you NEED TO MAKE YOUR IMAGE REVERSE OF WHAT YOU WANT IT TO LOOK LIKE AFTER THE TRANSFER. Got it? Again, just ignore the Welcome already printed on the sheet above. 
3. Print your reversed image on the slick side of your paper.
 OK, now DEFINITELY just ignore all of the printing madness at the top of my paper. I am happy to report I did finally get my reversed image on my slicked paper. Thank. Good. Ness!
4. Moisten your wood (or whatever surface you are transferring your image to), and then squirt a bit of glue on there and spread evenly for good measure. Ok, I’ve read the temp tat instructions and I know it says dry skin, but those professionally made oddities clearly have some sort of adhering agent in them, and my home printer printed image does not so we need to give it a little help.

5. Place your image, slick side down, onto your moistened/glued area and rub it in smooth and secure.
I don’t really know how long you really need to wait – kinda like I don’t really know how much glue you need to use – but I let it dry overnight.
6. Now, in true temp tat style, douse your paper with water and let it soak and saturate and loosen up all of the glue to hopefully let everything release and transfer and look nice and pretty. And feel free to hold your breathe.

Wait a bit here, no sense rushing it at this point (just like the temp tat instructions say), when you’re sooooo close to making it work. And this will be truly shocking, but I don’t know how long you have to wait. Let’s say 15 minutes … definitely NOT only the 30 seconds that the temp tat instructions say.
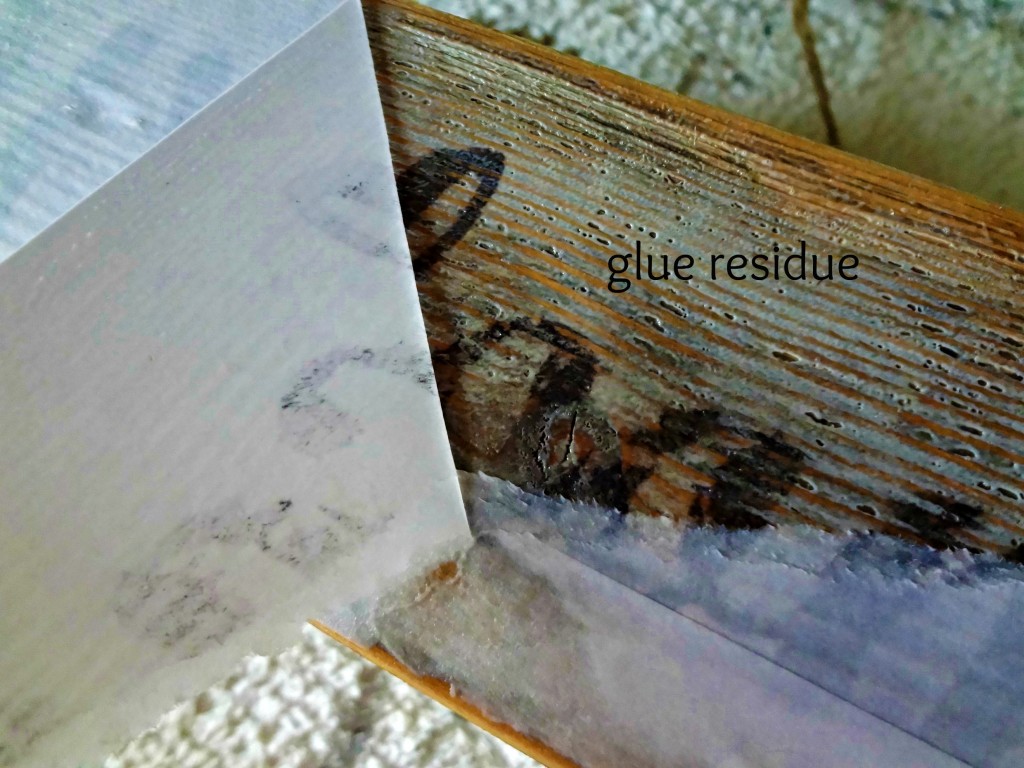
7. Then just peel off the paper and with any luck your image stayed on the wood and looks just how you wanted.

A few noteworthy points here …
1. See all of the glue residue in the pic above … that leads me to believe that I used too much glue. So take the amount the I told you to use and reduce it by a little bit.

 2. I worked feverishly to remove that glue residue around the letters … but wasn’t able to get in the little spots in between the letters … and low and behold it dried clear in between the letters. So …
3. … maybe it doesn’t really matter how much glue you use after all.
 I like the way this came out so much I already have my next temporary tattoo image transfer sign in the works. And, since it’s essentially FREE, I can see myself adding temporary tattoos to everything.

And, if you haven’t seen it yet, the tutorial for the one pallet slat trough is here.
The how-tos for my number art on my little black canvas are here.
Oh, and you will find proof that I really should have known the glue was going to dry clear here.
So, do you have any other free transfer techniques I should try? Have you ever tried something similar to this? Do you wear temporary tattoos on the weekends for special occasions?
And … you might even see a little somethin’ somethin’ as part of my The Great Outdoors project … that’s coming up on Friday with the link party celebrating The Great Outdoors next Tuesday, May 29th. Link up here and you’ll automatically be linked up to 5 phenomenal blogs.


Anne says
Love your sign! Great tutorial (nice tattoo also…)
Kelly @ Eclectically Vintage says
Next, you’ll be tattooing innocent iguanas, bougainvillea, mai tais … nothing will be safe from your tattooing frenzy!
Can you make me a “welcome” tramp stamp?
Kelly
sherry says
I love your sense of humor on all of your “goofs”. Your planter turned out lovely. Thanks for sharing I got to give this a shot.
Modern Country Lady says
Wow! I’ve learned something new here- and I love it! You basket with welcome looks adorable.Definitely going to try this myself!!
Karen says
Another great tutorial! Could one seal the wood with polyurethane after the tattoo to waterproof it on something to be used outside, or would that cause the letters to run in the process of applying it?
DJ says
The best way to do that would be to spray it with clear acrylic spray first (you can get at walmart or any craft hardware store) to seal it. Do about 4 coats and let dry several hours (or overnight). THEN paint with the polyurethane.
Jessica@HomewithBaxter says
That’s genius!
Pattyb says
GREAT idea! thanks for sharing…and to print your text backward {called a mirror image} by word~when you are in MW go the the icon on the far left and click on it. That should bring up history, ets and also the icon for your printer. Click on the printer and go to Properties, click then click on Layout…about halfway down on my page it says Mirror Image and a place to click and a check mark will be visible after you click. then close that page and type in your text and it will print backwards. Just make sure you unclick it before printing again. Basically you are looking for Properties then page layout then mirrror image in case your version is different than mine! Hope this helps!
Kim Wills says
This works! What a fabulous project idea, absolutely love it!!
Holly says
LOVE that flower box! So cute!! Happy Monday!~hugs Holly
Dana @ Cooking at Cafe D says
Karah, I’ve been meaning to try this!
Here’s a non-glue version – similar, light differences – that I’ve pinned to do.
http://pinterest.com/pin/218495019391981497/
Ashley@AttemptsAtDomestication says
That’s awesome! I’ll definitely have to give that a try one of these days!
Linda @ it all started with paint says
Karah,
This is truly awesome! Oh, and I had a post awhile ago about making mirror image text in Word. Let me know if you want the link …
Linda
Kelly @ View Along the Way says
This is so cool! Had no idea it was even possible.
Amber @ Recipes We Love says
This is a fantastic tutorial and love the end results! Now I want to try it!
Emily says
This just blew my mind. Honestly. There’s no chance I won’t be doing this. Soon.
RHome410 @ Friday is Pizza, Monday is Soup says
This is GREAT. Looks quite doable and so affordable, too. I’ve looked into vinyl stencils and they’re too expensive, but this lets me use fancy lettering without spending so much. Score!
Kelly @ Corner of Main says
Cool! I never would have thought you could do this with a regular printer and glue. Turned out awesome!
thistle says
karah,
I know 50 people have already said this, but you can just reverse the image when you print in Word! I love this idea and I’m pinning it!
blessings,
karianne
Karah says
That’s so funny! I actually can’t, there isn’t a reverse option in basic word but many printers have a reverse option, mine doesn’t unfortunatley. But, there is a word art reverse option that I’m happy to have learned about. Thanks so much for the pin!
kristin says
lOVE THIS idea! Thanks so much for linking up!
Take care
Kristin
amy says
WOW. Brilliant. This project deserves and A but perhaps it needs a C more
Linda @ Itsy Bits And Pieces says
Thanks for sharing this fun technique! It inspires all kinds of projects!
Jessica @ Stay at Home-ista says
Free except for the massive $$ for glue;)
Who knew Elmer’s could be used for so much more?
Jessica
stayathomeista.com
kelly@refresheddesigns. says
Brilliant! And what a great outdoor project. Gotta go do an arm workout now so my temp tat will rock.
Whitney @ Drab to Fab Design says
This is great!! I love that you made it into a cheap DIY version, which is super smart! Your new trough looks great with those flowers as well!
K @ Claiming Our Space says
I love this idea. I wonder how it would work on something that isn’t that dark, like a photograph? I guess I must try it out to see. I would love it if you would share on my linky party Tout It Tuesday. http://www.claimingourspace.com/2012/05/tout-it-tuesday-7.html
K @ Claiming Our Space says
Thanks for sharing on Tout It Tuesday!
Crack You Whip says
I love this idea and can’t wait to try it!
malia says
Really beautiful and inspiring! Thanks for the idea my friend.
Janet says
The first time I tried this, the server wouldn’t let me. Let’s see how this goes….You know, it’s really unfair that you live in paradise, have a great hubs (well, I do, too), talented, funny, bootiful………Thanks for the tut!
Small Holdings Farm says
This came out fabulous…love the idea and am going to give it a try. Thanks for sharing the idea. Sherron
Amy@BuffaloRoam says
You are brilliant. And I super duper love you extra for rocking temporary tattoos!!
jen says
Great idea thanks for sharing
Kristin C. says
So neat! Would have never thought of something like that =) Thanks for sharing
Visiting from Sew Chatty
karen@somewhatquirky says
Pretty smart. That’s what you are. It’s a good thing too, living on that awful island and all…. Think I will have to try this. I really like the cheapness of it all!
Lori says
I’m impressed! What a great idea and you really persevered to the end. I’m pinning this so I can try it. Thanks for sharing, Lori
chris says
I am wondering if I could use this technique to put a title on a picture matt. In the past I have printed them by hand, stenciled them, and used dry rub. None of which get me the professional look I need. May have to try it on a scrap piece.
I haven’t figured out how to mirror image in word either:~(
Amanda says
Great idea! And I love your paper re-use. (I totally do things like that all the time.)
London says
I love this idea! I have an old weathered board that I’ve been wanting to make into either a Welcome sign or one with our last name. Very excited to try this out!
Jenny says
Great tutorial! I can’t wait to try it!
Sara says
This is so cute!! Hope you can link it up at my brand new Trendy Tuesday party!! http://www.sweetlittlegals.com/2012/05/trendy-tuesday-2.html
shirley@housepitalitydesigns says
You are so incredible…You come up with the most fantastic ideas…Love, love the sign!!…Now, how do I explain to my hubby when I bring tattoo transfers into the house…
Lorrie says
Cool technique, and I love how you used it! This is beautiful, love the flowers.
Your printer properties should have a “reverse print” let me know if you need help finding it. Have a great weekend!
Rosemary says
Great transfer. I love the overall rustic look of your container.
Theresa says
Thanks for the tutuorial! What font did you use?
Thanks,
Theresa J.
Sarah says
This is such a good idea! I just cut a pallet and was planning on stenciling on it, but this is a really cool technique too! I would love for you to share this at my link party http://thewinthropchronicles.blogspot.com/2012/06/share-it-link-party-14.html
Karah says
Thank you, Sarah!
Jenny says
This was a great tutorial. I’m all about guessing when it comes to what I’m doing too. I’m hosting my weekly link party right now and I’d love for you to join in at http://www.thenymelrosefamily.blogspot.com/2012/06/whimsy-wednesdays-14.html
Karah says
thank you, Jenny!
Pamela @ Pink Hammers & Sippy Cups says
Wow that turned out beautifully! Amazing job! I really need to get myself a new printer!
Marilyn says
Sweet!
Maureen says
Hmmmm…..must try this. I’m guessing the glue acts as a sealer?
Pinned!
janel says
AMAZING!! Thanks for the step-by-step info.
Katie says
Does this work with inkjet and laser home printers?
Karah says
I have an inkjet printer that works great, I’ve never tried with with a laser printer.
Katie says
I’d love to try this. I just bought a laser printer, now I may be regretting it if this doesn’t work.. I have seen transfers done with solvent using photocopies, but then you have solvent all over your project, which would be fine for wood but I like your non-toxic approach!
Thanks for the post and the reply, this has opened up my world to a whole bunch of new possibilities for decorating!
Karah says
Have fun with it! I’d love to hear how the laser printer try turns out!!
Kylen Lindsley says
Did you use standard printing paper or card stock?
Karah says
Just regular paper, Kylen!
Lynne says
I like this a lot. Do you have the option with your ink jet printer to print on transfer paper. You use this paper to make iron on piccys or words for tee-shirts. This should automatically reverse your image for printing. Great site.
Karah says
Unfortunately I don’t, but that option would make it so easy!!