This post may contain affiliate links which won’t change your price but will share some commission.
Well. I did it.
I went ahead and made a little something that Joel would wholeheartedly consider a “zero priority” project.
But considering he also views a bed frame in the guest bedroom a zero priority project, can we all just agree that he is wrong? 🙂
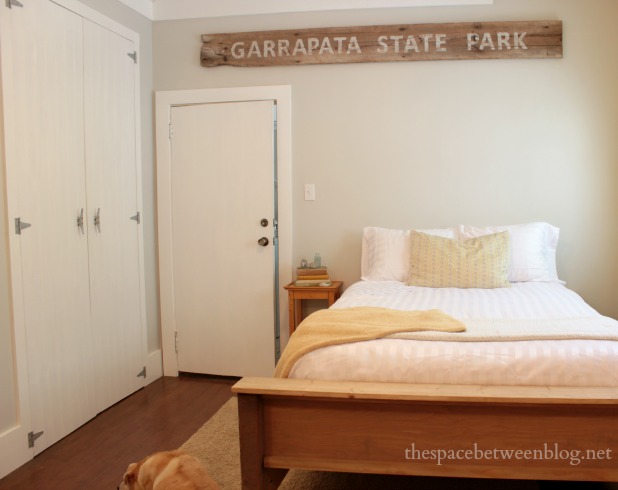
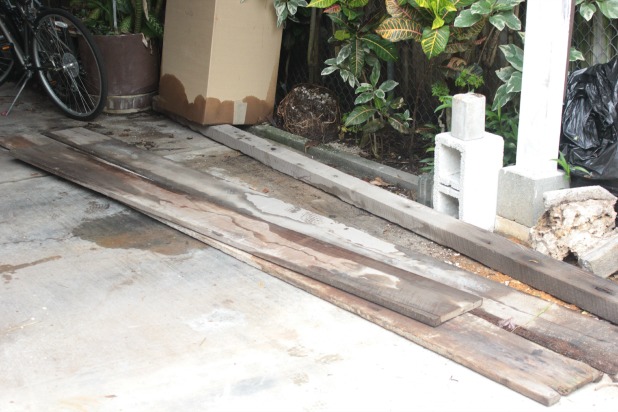
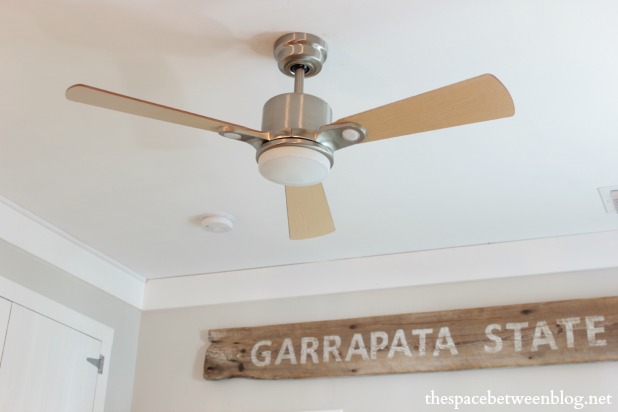
Yep, it’s a simple ol’ reclaimed wood wall sign that I made out of a board we drug home from our neighbor’s garbage pile and some paint.
This girl (points thumbs at self) just needed a break from the big home improvement projects.
And this brain (points index finger at temple with slanted smirk on face) needed a break from everything we’ve been trying to accomplish that we’ve never done before.
I officially declare too much thinking has been going on around here. 🙂
So, when I got an email from Joel one day that he had a dinner function he needed to attend and I was on my own for the evening I immediately gussied myself up and went out on the town.
That is not true.
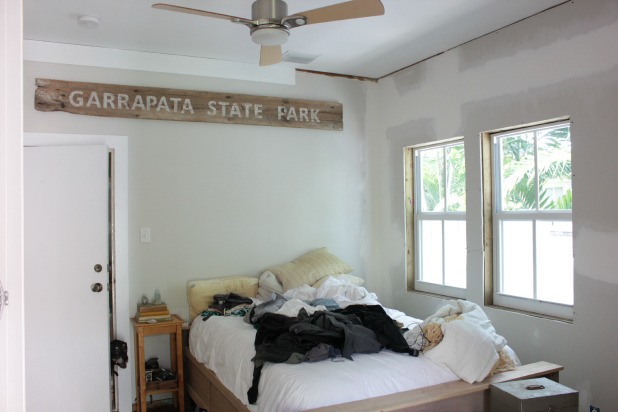
I immediately went out to the yard, grabbed one of 3 awesome boards we stole out of our neighbor’s garbage a few months back and made an easy peasy sign.
I’ve had the idea for this sign in my brain (see, totally overloaded brain!) for a while now and it only took about 2 hours start to finish.
Supplies:
- old board or a new board distressed to look old
- basic printer printout of the words you want
- scissors to cut your letters out to make tracable stencils
- pencil, paint and brush
- sandpaper or palm sander to distress
- saw if you need to cut your board to size
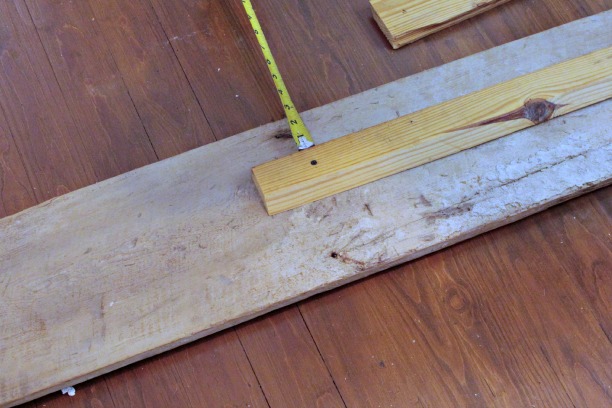
I had even been storing in my little brain where this sign would go, so I measured the width of the wall and cut the board so it was a few feet shorter, about 16 inches at each end.
Tip!!! If you are going to want a distressed look don’t bother sanding your board to prep it. Just sand it all smooth and distress it all at the same time after you’ve painted on your words.
GARRAPATA STATE PARK is a favorite spot of ours from our time living in Carmel, CA. If you like hiking, fishing, camping, chillaxing and the beach, chances are you’d love it there, too. 🙂
I knew I wanted a basic block letter so I just used the default font in Word on the bold setting, increased the font size to my liking and to save paper only printed out one of every letter since I would be just tracing and throwing them out.
I counted on my fingers used big math to figure out how many characters (spaces included) the entire sign was, found the middle point was between the space after Garrapata and the S in state so I measured center and started tracing the letter S just to the right of center.
Once all of the letters were traced I just used some leftover wall color (Sherwin Williams Gray Owl lightened 50%) and a small craft paint brush to paint in the lines.
Easy.
Peasy.
Then I sanded the whole thing down with a course 60 grit sandpaper on my palm sander until I liked the way she looked and there were no loose, splintery pieces.
Oh, I did actually take a scraper to the back side of the sign before I got started because these boards had been used as concrete forms for making the footers of our neighbor’s house. But I didn’t worry much about it, just didn’t want any loose debris falling on our precious guests as they slept. And right when we brought the boards home I sprayed them all with termite spray, bleach and some antibac cleaner. 🙂
I really wanted to have this room done when I posted about this sign, but some things just don’t work out.
And I needed to post about the sign this week because I was actually in Garrapata State Park during my test drive and now I am easily distracted by all things central California Coast.
And because I was determined to not spend any money on this project I just created a wood cleat with an old scrap of tongue and groove board we had torn out of one room or another.
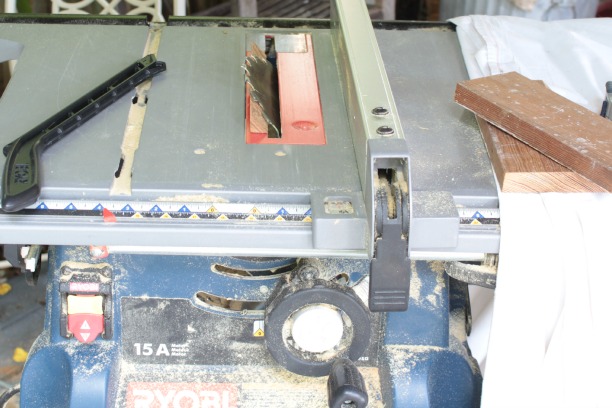
If you don’t have a table saw or a friend with a table saw or a neighbor with a table saw simple picture hangers or even eye hooks and wire could easily be used to hang this.
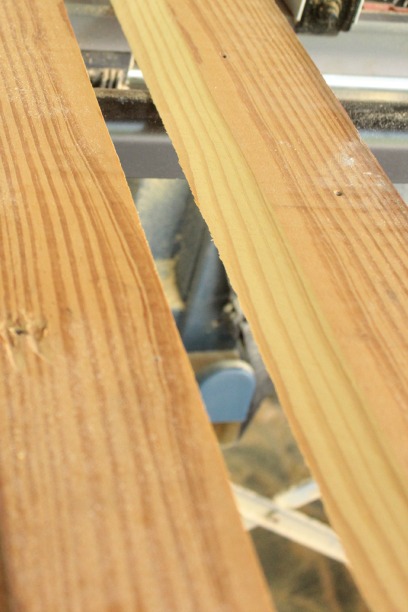
For the cleat I just ran the scrap wood through the table saw with the blade at a 45 degree bevel.
Just like I did for the diy wooden mailbox.
See how, if attached right, one edge of the cleat will just “hook” over the other side?
This, my friends, is not attached right. 🙂
Oh, and because doing things wrong is inevitable fun, when I unscrewed it and actually got it right, with the “hook” on the outside, I screwed it in upside down on the sign. #ohmylawdicanbestupidsometimes
So, after three tries, I got it right. Just make sure the cleat is equidistant from the top of the board at each end. 🙂
Math is not my friend, so I didn’t worry about perfection. Good looking was what I was going for. So …
- Measure the height and length of your board and mark on your wall where you want it (my desired location was 1o inches down from the ceiling and 16 inches in from each wall … about).
- Measure how far down from the top of your board you attached the cleat.
- Take that measurement to determine where on the wall you need to attach the other part of the cleat (the inner groove on the cleat was 5 3/8″ down from the top of my board so I attached the other side of the cleat to the wall 15 3/8″ (10″ plus 5 3/8″) down from the ceiling.
- I had measured the back of my board to make sure I attached the cleat in the center from left to right, but since it took me three tries to get it attached right I had long forgotten about those marks and it ended up not mattering.
- Make sure you attached the cleat to wall studs or use anchors strong enough for the weight of your board.
- I also didn’t use a level once, if you make your decisions based on measurements it will end up hung square to the ceiling line, which will look level. 🙂
- Hook the cleat on the back of the board over the cleat on the wall and schooch and smidge around until it’s where you like it.
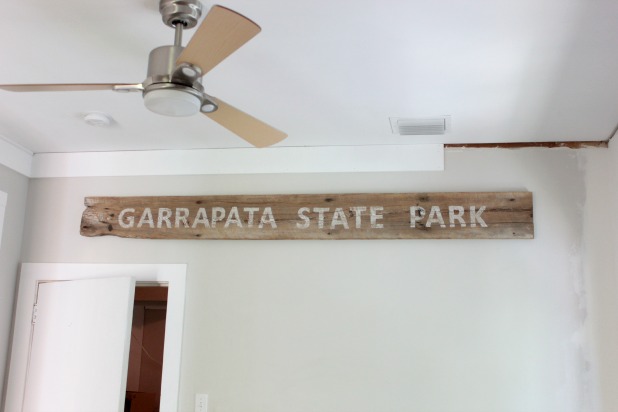 The only part of the project I needed a second set of hands was to actually pick it up to put it in the cleat, and I probably could have done that myself but Joel was getting way too much enjoyment watching me confuse myself about which way to attach the cleat so I decided to put him to work.
He should know by now, my pain can easily turn into his pain. 🙂
And, I can always get him back with another zero priority project. 🙂
Oh, and just because I couldn’t resist taking a picture of the madness, this is what the guest bedroom looks like after Joel and I take back-to-back trips (separately) …
… and we actually have company arriving today.
Even Mico doesn’t want to come all the way in.
Buuuuuut, the door has been installed on the wall behind me. Hallelujah! So here’s what’s left to do until we can consider this room finished for now!
- finish installing drywall on the walls surrounding the new door
- 3 coats of spackle on new drywall
- sand spackle smooth
- prime walls
- paint walls
- trim around new door and windows
- finish baseboards
- finish molding
- add furniture, decorate and accessorize



RHome410 @ Friday is Pizza, Monday is Soup says
I am kicking myself for losing track of your blog for awhile. I’m loving your series, remembering how I love your writing style, and really love this sign! So simple, so meaningful, and so cool looking. My perfectionist tendencies have trouble visualizing or knowing how to make scarred up things on beaten up wood without over-trying. Seeing/reading about your process is very helpful.
Karah says
You have made my day!!! I feel like I have fallen off the face of the blog world, I am a terrible blog visitor. So happy to hear you found the post helpful. What I love about scarred up things is that I feel like I can’t mess them up, there’s a certain freedom in that. 🙂
cassie says
i love it- the scale is perfect!
Karah says
thank you cassie!
Bonnie Barnett says
I love it and I especially love the term “zero priority project.” Although I do believe any project that has been sticking in your mind can be very therapeutic when completed!
Karah says
I agree about it being therapeutic, which can immediately move something up the priority list in my book. 🙂