This post may contain affiliate links which won’t change your price but will share some commission.
A quick note: The blog overhaul is complete, after some weird things happening with the mobile site I think it’s all good to go. If anything looks wonky on your end you might need to clear your cache. But check it out, take a look around and let me know if anything seems a little off. Thanks!
We have a palm tree that Joel named Palmy. They are very tight, my husband and his palm tree. Ever since we moved in he’s wanted to give her a little up lighting to show her off at night. We actually really love these lights that our neighbor has.
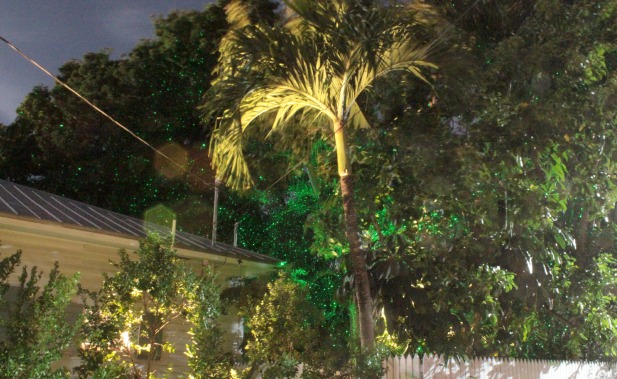
That is a crazy long exposure photo taken on a breezy night at about 11pm. But all of those green dots are lights. It’s some kind of reflection light and it projects these little green dots all through the trees. We love it.
But we’re settling for a uplight on the palm tree, at least for now. There may be reflective green dots in our back yard in our future. 🙂
For this project Joel did all the research, made all of the purchases and even installed a CGFI outlet under the house in preparation for his big arrivals. Oh what we do in the name of fun around here.
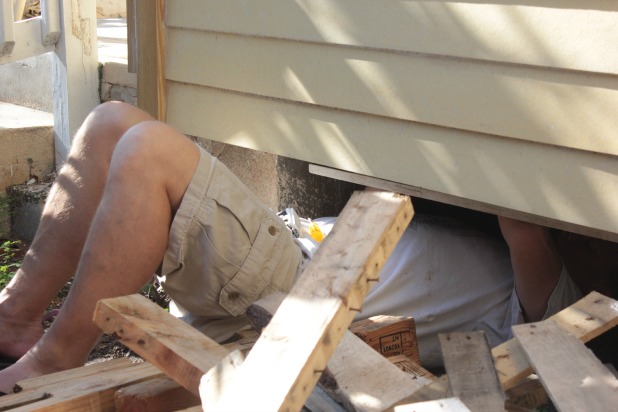
I didn’t really pay it any mind because any project that my husband is interested in just making happen while I work on book projects sit around and eat bon bons is cool with me.
But then I was doing something super productive I’m sure and he asked “If this light is set to go on at dusk how many hours do we want it to stay on?”.
And I was intrigued.
Turns out Joel did a bunch of research and bought a super-cool LED light kit that will enable us to add more lights to other things outside if we ever get around to planting anything light worthy. It all revolves around this power pack. (aff links)
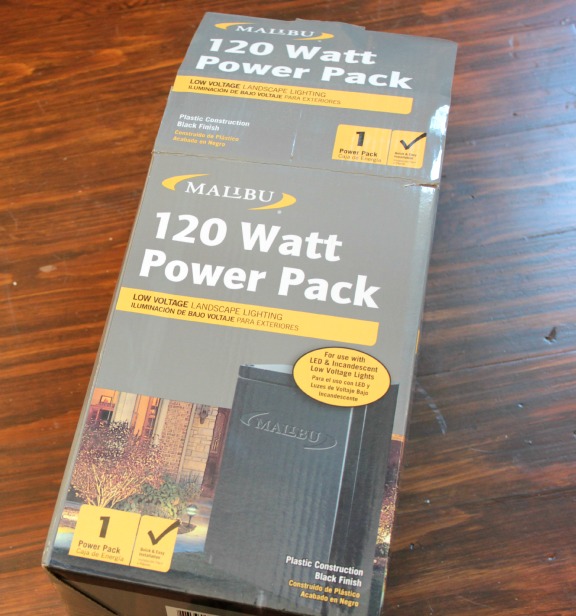
The 120 watt system is way more wattage than we’ll ever need since we’re going the LED route, but it was only $16 more than the 45 watt power pack option.
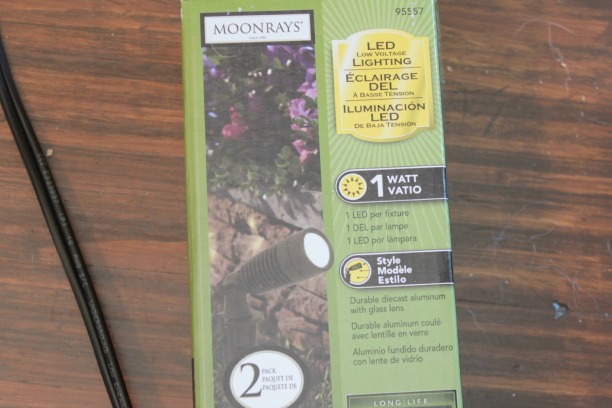
The LED lights we are using are only 1 watt.
Which made Joel feel the need to reiterate to me that “We could buy 119 more lights for outside.”
Which instantly made me feel like our house would be the National Lampoon’s House of Key West.
But, for now, our outdoor up lighting consists of just one light.
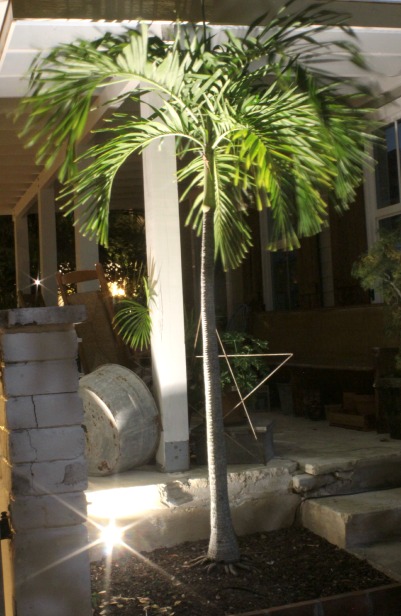
We’re thinking of adding one to each of the patio posts over time to highlight the blue beadboard ceiling. We plan to cover the current cement (which isn’t in very good condition) with wood, then we can hide the cords under the new wood, right now you can kind of see it run along the top step … but that will get covered with wood … down the road sometime.
But, we’ve been so happy with how it works and how easy it was to set up I wanted to give you all of the details. In addition to the power pack Joel picked out individual lights and also bought extra outdoor lighting wire so we could eventually even reach the backyard and add more lights if we choose … again, down the road. 🙂
Initially it was all of the setting options that intrigued me. We started by setting the light to stay on for 4 hours after dusk, but since it was during the shorter days of the year where dusk is earlier we found that it went off before we went to bed most nights so we changed the setting to 6 hours. We might change it back for summer, but we might not. 🙂
And the set-up was pretty impressive. Or at least Joel made it seem pretty straight forward, it definitely helps that we’re updating our electrical wiring as we go so he could easily determine a good spot to install the power pack under the house where it could connect to our existing wiring and we could place the sensor in a spot that isn’t really noticeable.
The night we set it up we “hid” the sensor behind a post … and this picture also shows you what I mean about the concrete not in great in condition. But feel free to look past our weed killing newspapers. 🙂
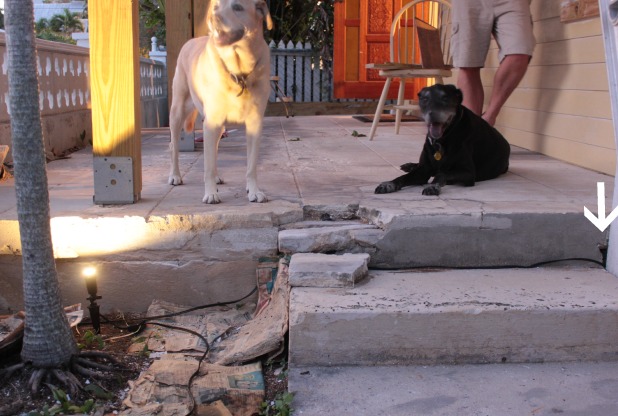
But now it is hidden nicely on our accessorized patio.
Once the power pack and sensor are set up it is just a matter of connecting each individual light to the main wire that will eventually connect each light we set up.
Each light has a wire that connects into a little connector box. In that same connector box is a place to run the main wire and when you push the wire into place there are little wires that puncture the outer plastic coating and make it all work.
I know, it really sounds too simple to be true, but it makes set up a breeze.
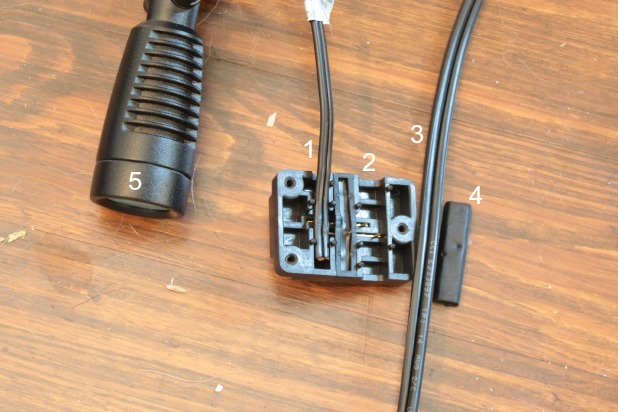
1 – the wire from the light to that little connector box
2 – the spot to run in the main wire and press it tight into place
3 – the main wire that will run from light to light when it is all set up
4 – shows the two puncture spots that will happen on the main wire when it is pressed firmly into place
5 – the up light itself
Beyond the research and connecting the power pack (which isn’t necessarily a DIY project for everyone and might require professional help to get it set up) the process of getting our outdoor up lighting set up really only took a few minutes.
Now if only I could master my nighttime photography skills and get a shot like this.
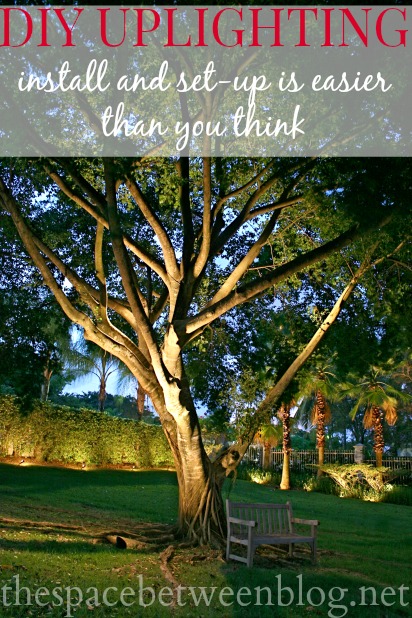
I waited a few months to share it just because I wanted to be sure it worked, and worked well. It’s one of those little features of a house that we’ve found ourselves noticing around town as we walk through different neighborhoods. A pretty small change with a nice, big impact.
Had any luck with your own up lighting project? Ever think a project is going to be really complex to have it turn out pretty simple?


Linda@Limeinthecoconut says
We have had a few different low voltage lights in our *jungle*…for us they don’t last too long. Maybe a few years. Need to do something again. Maybe will try your way! Thanks!
karen@somewhatquirky says
Wow. This is all so much more fun than ripping out ceilings!
Karah says
100 times more fun. 🙂
Sue says
Well done, Joel! I’m sure you’re motivating Sean even more—he loves outdoor lighting. 🙂
Karah says
You guys should get what we got, it was seriously so easy to set up. And I don’t think it would cost much if you wanted to pay someone to hook up the power pack … which is the only part that requires some “real” electrical work.
Ann says
The uplight on the palm looks very good Karah!
Karah says
Thank you so much, Ann!
Brian says
I am very interested in uplighting for my house, could you tell me the name of your power pack and lights please.