This post may contain affiliate links which won’t change your price but will share some commission.
Well hello there!! It has been awhile. How are you? I wish I had some incredible story to share with you about how I’ve spent my time recently, but the most accurate description would be … life. 🙂 We are still loving Aruba, hard to believe we have been here almost 6 months already, and we’ve finally made some official headway on the kitchen renovation project. The contract is finalized, the cabinets are being made and installation is set for Sept 21st. It will feel like a long time coming when it is all said and done, for a refresher on what we’ve planned and why it’s taking so long have look back here and here.
But let’s talk today about some pretty simple DIY wood shelves that I made with just one board. Because when a group of builders who write blogs get together and chat about buildy things we toss around crazy ideas and a bunch of us decided it would be fun to see what we all came up with to make from just one 1 x 8 x 8 board.

Pretty simple requirement, just one board, a standard 1 x 8 that is 8 feet long, any species (meaning a type of wood like pine, poplar, oak, etc). This little challenge proved to be just another of example how even the simplest things can get confusing if you’re living on a Caribbean island.
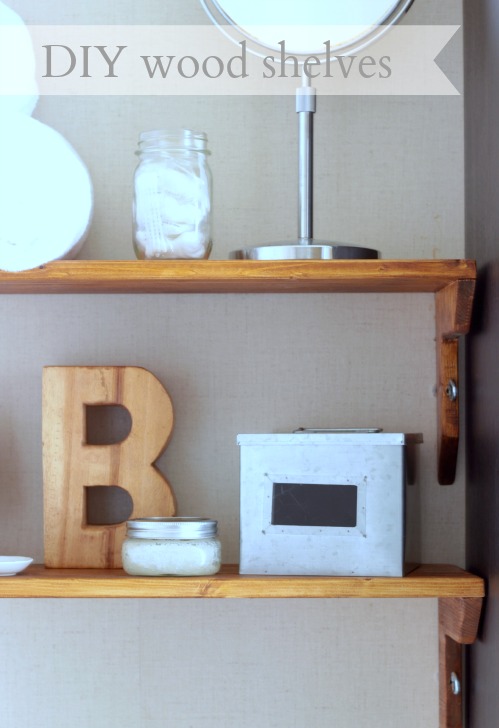
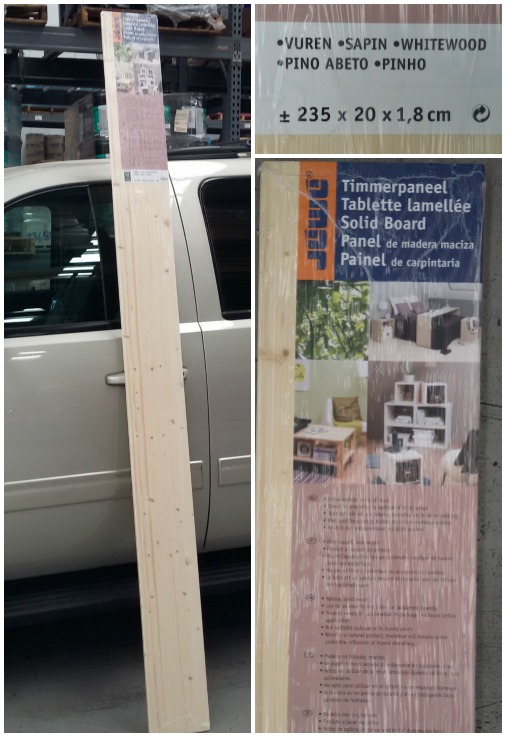 What I ended up with was an individually wrapped wood-ish board that measured just about right. Who says “close enough” only counts in horse shoes and hand grenades? It definitely also counts in pretty much anything you try to accomplish on a Caribbean island. Take that label that says “solid wood”. If by solid they mean pieces-of-wood-manufactured-together-to-make-one-large board then they are correct. But it serves its purpose and now I have two shelves for toiletries and such in our master bathroom. So I call this one a win!
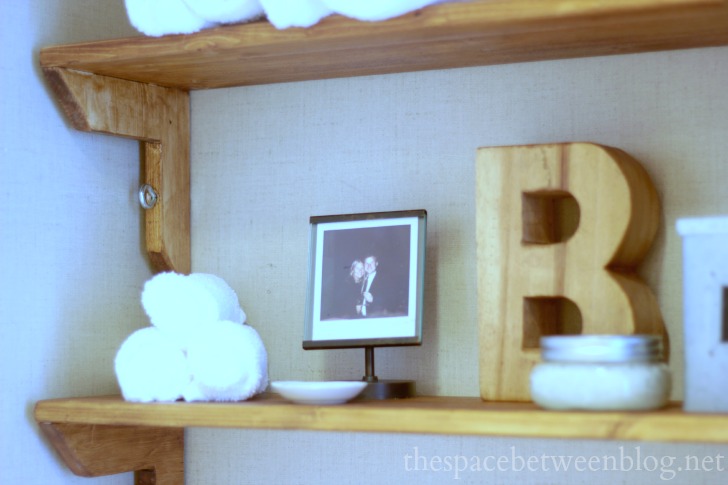
At the end of this post I have the links to the 16 other projects that my creative friends have come up with using their one board. They are sure to be more intricate and elaborate than my humble shelves, but sometimes function and practicality win out. And it’s pretty darn nice to have a few more things at arms reach and off the floor in el bano.
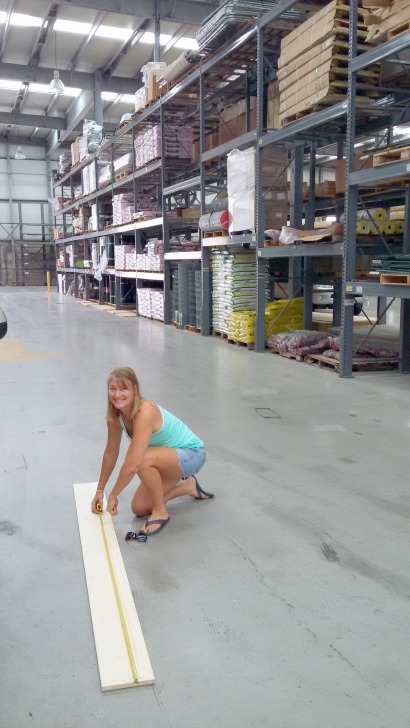
Since I don’t have a work shop and only brought a few tools this little project found me measuring and cutting at the hardware store. I knew I wanted two shelves about 30″ long so I cut the board into three pieces, 2 @ 30″ plus the remaining piece.
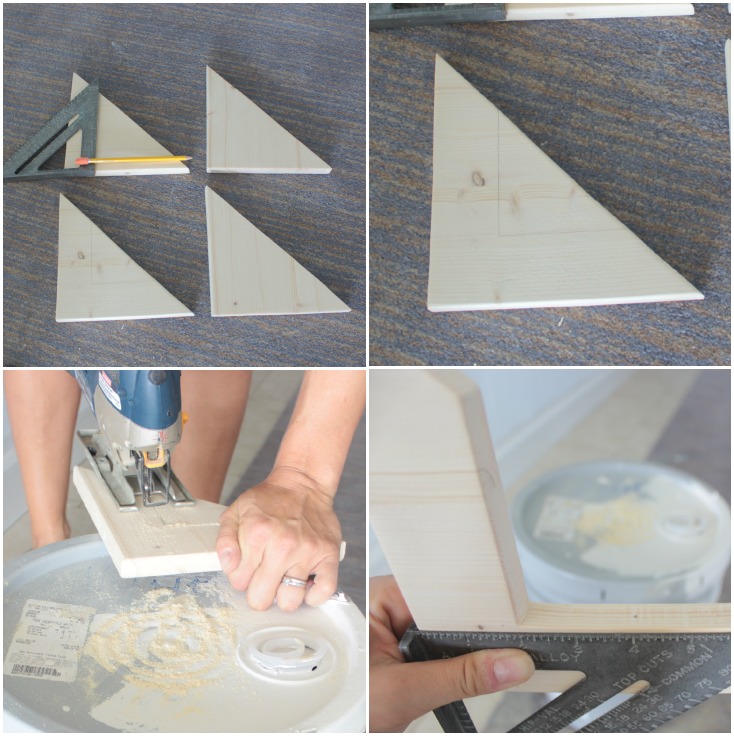
Once home I used a speed square and jig saw to measure and cut 4 triangles out of the extra piece of the board. Use the full width of the “solid board”. (I’m including the Amazon links to the tools I used for easy shopping.)
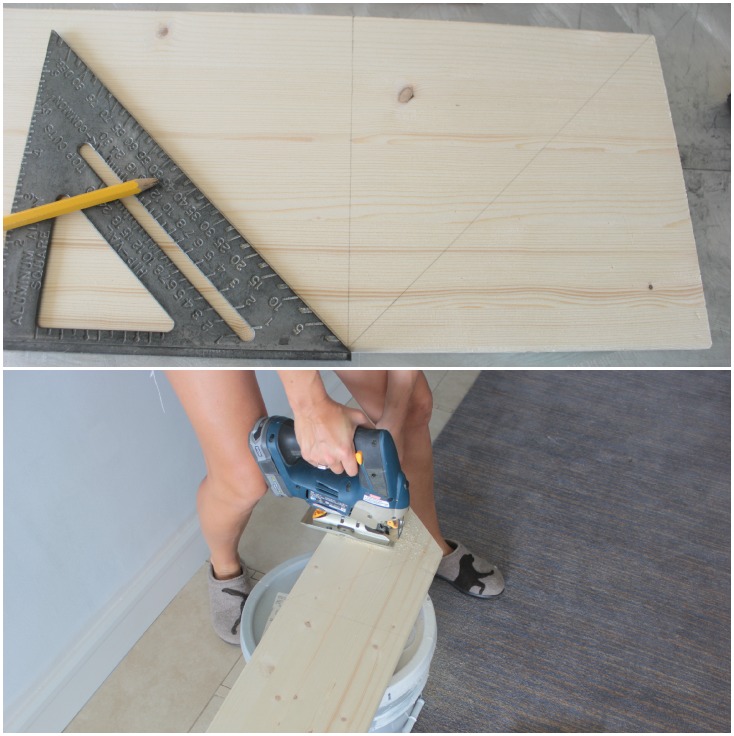
Now, let’s not judge a girl who DIYs in her LL Bean doggy slippers. 🙂 Oooooh, and you can see that I’ve started to make some progress with some primer and paint. Hellooooo white!
With the triangles cut I used the square again to measure 2″ triangles to cut out of the long edge of each of them. I thought this would make a simple yet decorative detail and also provide a flat edge that I could screw through to attach the shelves to the wall.
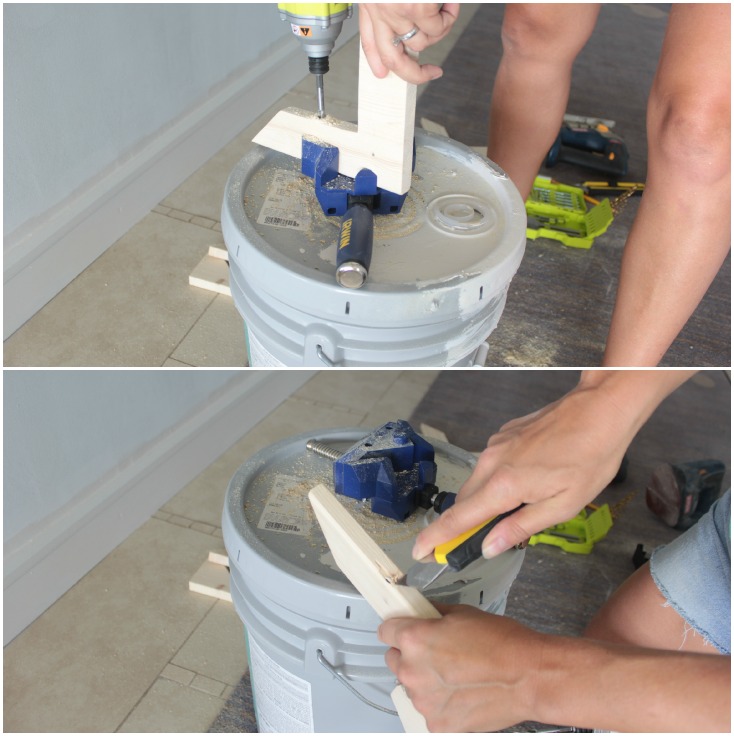
Before I attached the brackets to each shelf I wanted to drill the holes where I would thread my eye bolts through to attach the shelves to the wall. I used my impact driver and a drill bit slightly larger than the diameter of the eye bolts I had bought and a utility knife to cut away any splintering wood. To make drilling easier I used a new tool I bought on a recent trip to the US, a 90 degree angle clamp. A standard clamp would work fine if you had a stable, flat work surface, but since I was working on a 5 gallon paint jug (don’t be jealous) the corner clamp actually provided the flat base as well as clamped the piece perfectly vertical for drilling.
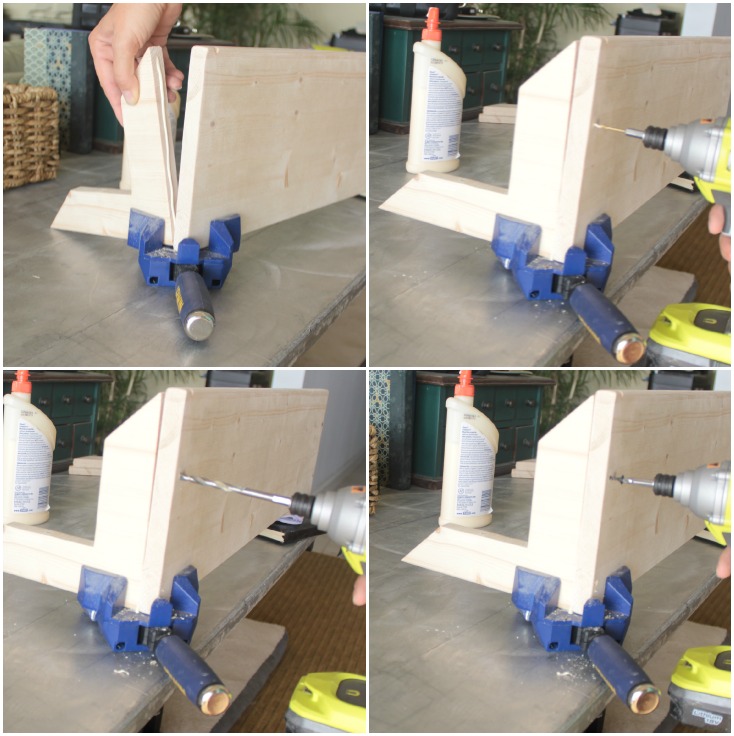
Here’s where the corner clamp really came in handy. I attached each triangle bracket to each end of both of the 30″ pieces of the board. With the triangles and board in the corner clamp 1- run a bead of glue on the edge of the triangle that does not have the whole drilled through it, 2- use a drill bit smaller than the diameter of your screws to drill pilot holes into both the board and the triangles, 2 – use a drill bit larger than the diameter of the head of the screw to drill slightly into the board so the head of your screw can sit flush with the wood or even sunken a little, and 4 – screw through your pre-drilled holes to attach each triangle bracket to the boards.
After a day or so to let the glue cure I sanded each shelf and applied a few coats of stain, I have no idea what color, it was all in Dutch. 🙂
To attach them to the wall I used a small allen wrench that fit through my pre-drilled holes to mark on the wall where to drill and install my anchors and then I used a pair of needle nose pliers to screw in each eye bolt. The eye bolts were actually Joel’s idea, something a little more interesting than just a standard large bolt.
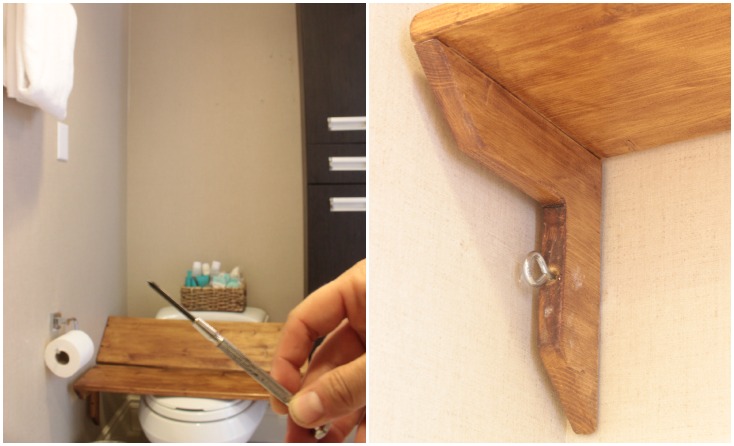
And I really love how they turned out. Simple but totally functional and a great DIY that pretty much anyone can do.
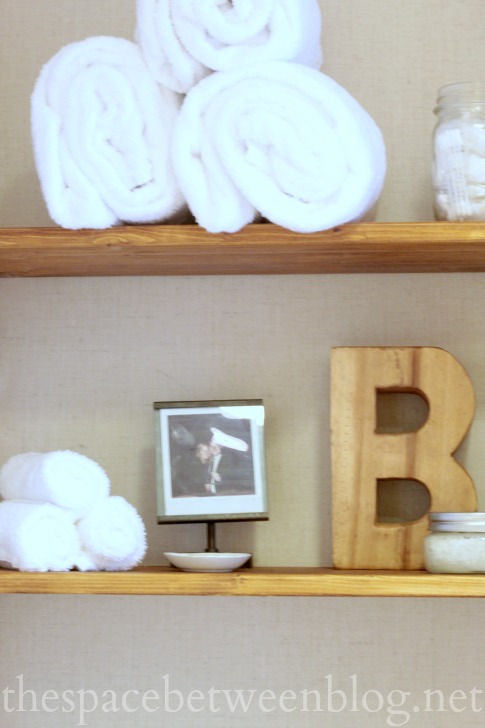
I have some plans for some maybe floating style shelves in our master bedroom and maybe even something like a picture ledge/narrow shelf of some kind for our living room. I admit, it was fun to get the tools out of the moving boxes and get creative with something again, it has been awhile.
Now don’t forget to check in with all of my talented friends to see all of the other fun things you could make. There are a few fun planter options, a plant stand, a couple of completely different stools and more shelf ideas, and no two projects came out the same. So many great ideas with just one little board!! And please tell me, what in the world have you been up to lately? I’d love to know.
Addicted 2 DIY, That’s My Letter, Pretty Handy Girl, Fix This Build That, Build-Basic, My Love 2 Create, Her Toolbelt, My Altered State, Sawdust & Embryos, The Kim Six Fix, The Ugly Duckling House, Pneumatic Addict Furniture, Decor Adventures, Merrypad, The House of Wood, Sawdust Girl

Sarah @ The Ugly Duckling House says
Great job, Karah!
Karah says
Thanks, Sarah!
Pauline Henderson says
This is great! (and you’re very resourceful.) 🙂
Brittany aka Pretty Handy Girl says
I’m so impressed that you made it work with your limited tools. You go girl! Love your shelves, they look great.
Mindi says
Your shelves look awesome! I think I need some in my bathroom! 🙂
Gevelwerken says
Hi Karah, your post is a must read for all looking to learn wood work! Keep sharing such stuff.