This post may contain affiliate links which won’t change your price but will share some commission.
With a whole house that pretty much has something screaming at me to update it in every single room sometimes I find it really hard to stay focused on just one project at a time. Especially when that one project involves day after day of me and tubes of caulk. I am slowly (very, very slowly) making my way through all of the new siding.
For now we’ve decided to focus our efforts on any project that helps us get closer to closing out the building permit we opened when we had our little roof raising Labor Day party weekend.

We have two full years until we have to close it out, but it’s giving us nice focus right now to just forge ahead and tick things off the list. In between family visits and playing tour guide that is. We’re in the middle of a “we have company visiting 21 of 27 days” stint right now so progress is on the slower side. But fun with the family is full speed ahead.
So, during my dad’s recent visit I tasked him with a number of nagging little things that I knew would be right up his alley and move us ever so slightly closer to a new exterior paint color. Otherwise known as the prep work that needs to happen before we’re even prepped and ready to prep and get ready for paint.
First, trim around the outside of the two new french doors.
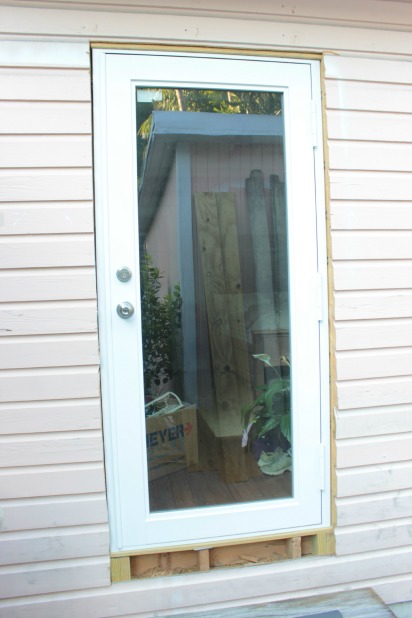
Remember the two new doors we had installed when we upgraded all of the windows? They’ve been sitting trim-less (inside and out) ever since. The interior trim is prominently on the to-do list, we’ll get there, but the exterior trim was going to be a bit more complicated since the exterior siding needed to be cut to fit the trim. And the doors were installed flush with the interior walls, not necessarily flush with the exterior trim. You’re welcome, dad.
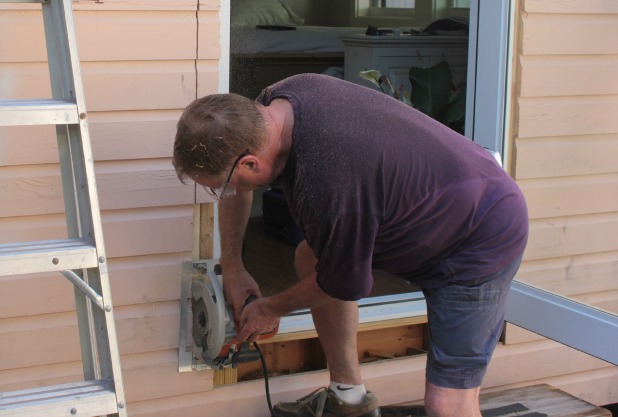
So my dad measured and cut and used handmade templates to fit the same pressure treated 2 x 4 trim we installed around the windows around each of the new doors. He had to rip out old window trim that was above where we installed the new double french door off of the living room and measured and cut to fit a couple of new pieces of siding. They were actually old pieces of siding that were cut out when the doors were installed.
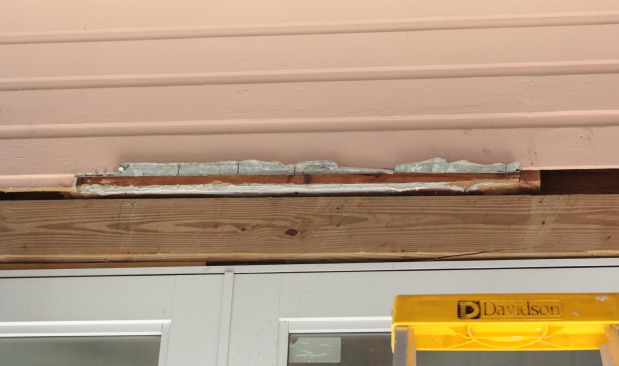
The whole process was quite a puzzle and it was impressive to watch him work through it all. Something that would have taken me weeks (with probably a lot of wood leftover from cuts that didn’t work out) took him barely a day.
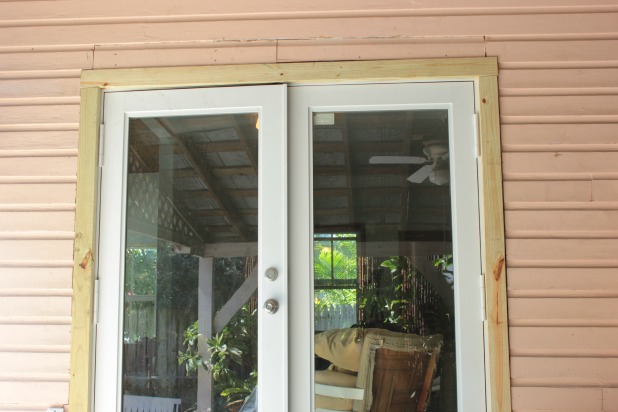
And of course the exterior siding isn’t level, which is pretty evident with our newly installed (level) double french door.
And let’s not worry about that not-fully-upholstered chair inside, we’re going on 10 or 11 years with that chair. Sigh.
Second, patch the siding where the AC used to be in the guest bedroom wall.
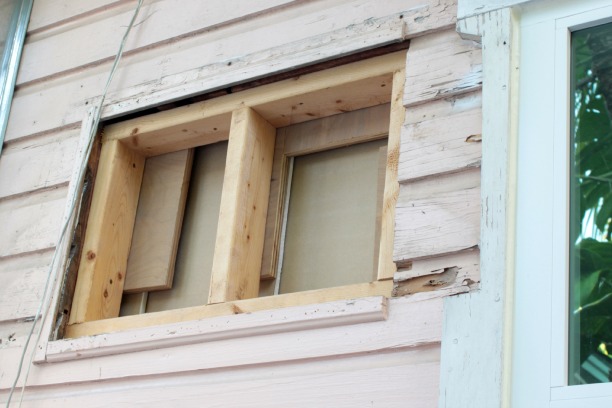
For some reason a previous owner decided to put a window AC unit right into the wall. Which could be equated to the fact the current home owners for some reason decided to fill said hole with a dog bed and a blanket.
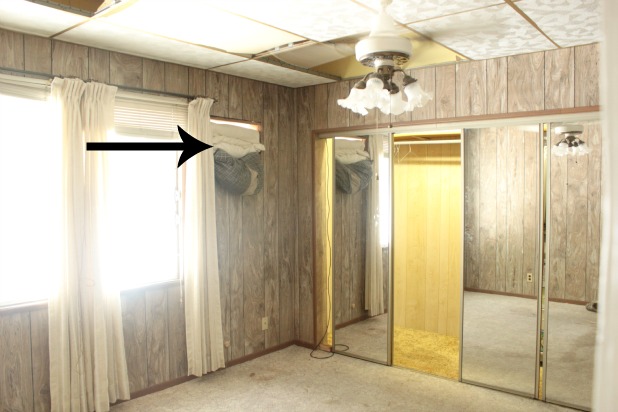
Just keeping it classy around here. 
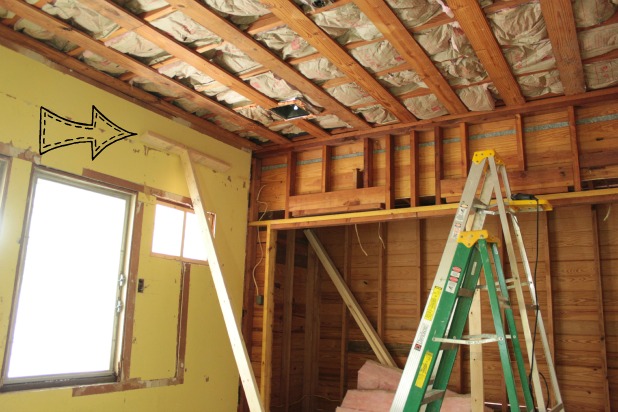
Thankfully the dog beds are long gone and I framed out the hole to patch it with drywall when we were updating the interior months ago.
But the exterior was left untouched until dad came to save the day. He used siding that had been cut out when we installed the doors and even custom cut a trim board piece to fit the weird cut out that is just another one of those quirky things we find around here everyday.
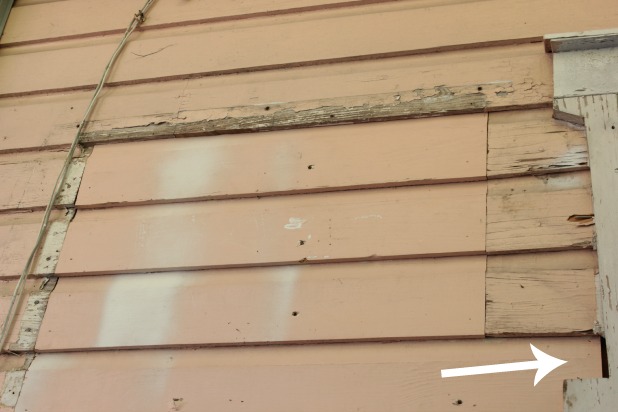
It doesn’t exactly look pretty now, but add it to the list of things that need scraping and cleaning and caulking to continue the prep process as we approach the delightful day when we finally get to repaint the exterior.
And third, fix my poorly executed new porch light placement.
I get quite a few comments in real life and on the blog about our new porch light.
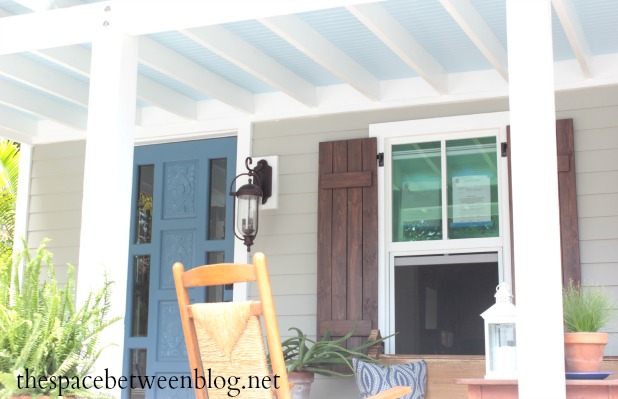
This was one of those little updates I kind of snuck in without a second thought. The light was among the things we moved down here and was one I bought on clearance at Lowe’s a number of years ago. I knew I loved it and just didn’t have a spot for it at the time, but knowing that we’re always in transition it was too good of a deal to pass up.
And here’s photo evidence I updated the light long ago, without a word.
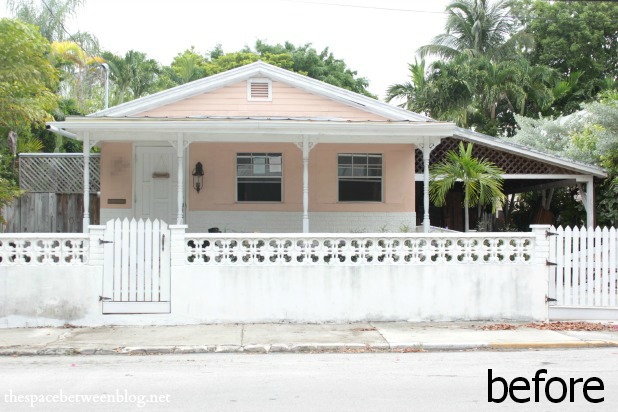
And when we started the exterior updates it was easy to decide where the light needed to be once we had the siding installed up close to the wiring.
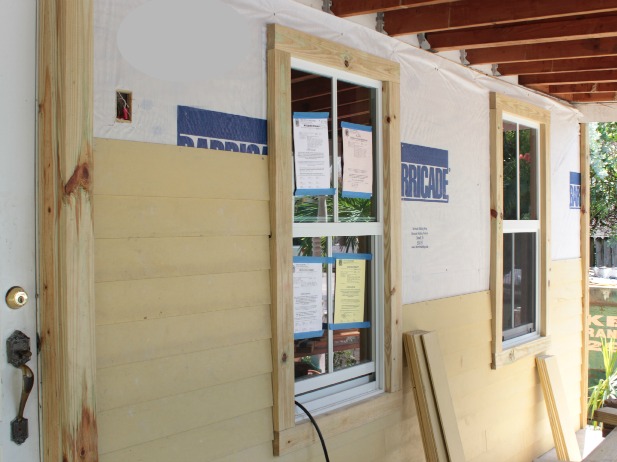 I just took a scrap piece of 2 x 8, so it is the same depth as the window and door trim and wide enough for a bit of it to peek out around the light fixture and bought a narrow electric box, that the contractor referred to as a pancake box, traced the pancake box in the center of the 2 x 8 and cut out the opening with our jig saw.
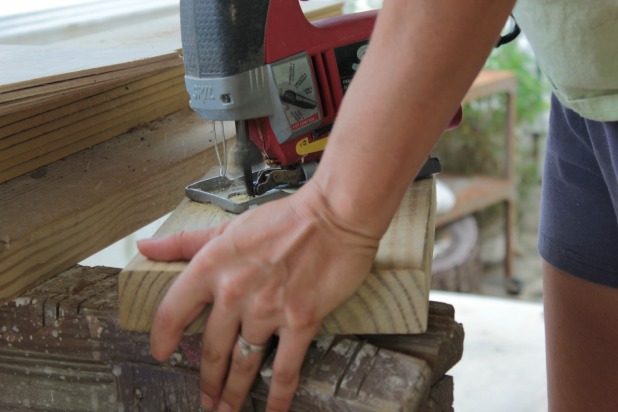
I cut a little 1 x 4 to wedge in the hole so the small pancake box could screw right into the 1 x 4 wedge and still sit flush with the front of the 2 x 8.
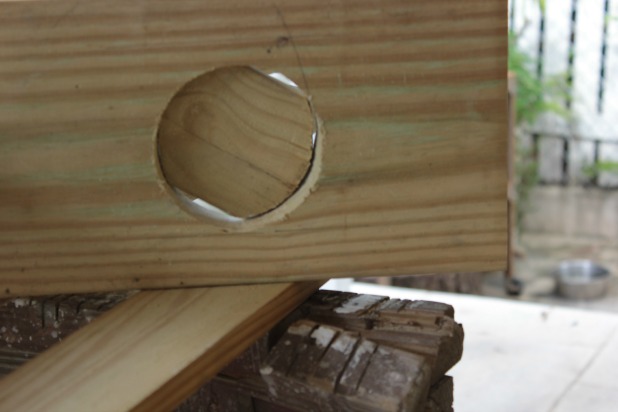
I even thought to cut off part of that 1 x 4 piece (you could just drill a hole but I had the jig saw right there so just cut off a section) so the wires for the light could be pulled through it and then through the opening in the back of the pancake box to connect to the light. I was feeling pretty good about myself at this point in the process from what I remember.
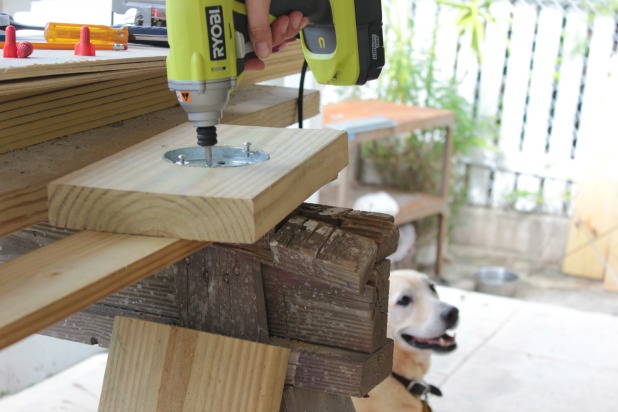
I pulled the wires through and everything fit snug right above the last row of siding we had installed.
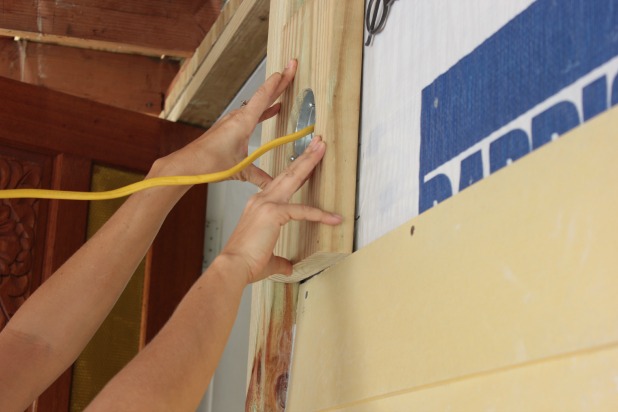
We actually lived with just wire nutted wires for quite a while until the day we decided not having light on the porch was silly since we had the fixture just lying around.
And this happened.
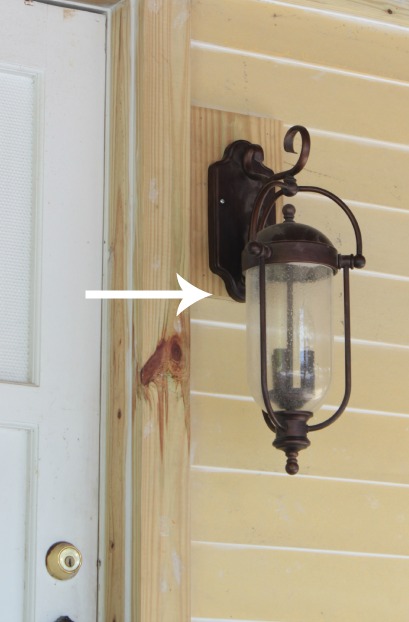
At this point I was not feeling like a master DIYer. Turns out you don’t just center the opening for the light fixture box in the center of the trim board, you have to see where the light fixture box lines up with the light fixture itself and cut the opening there.
See how the screws are higher than halfway up the light fixture?

That, my friends, meant that the pancake box needed to be higher than half way up the trim board. But somehow, while I was on a trip to the Home Depot, my dad took the fixture down and recut the opening and reattached everything with the light in the perfect spot without even removing the trim board.
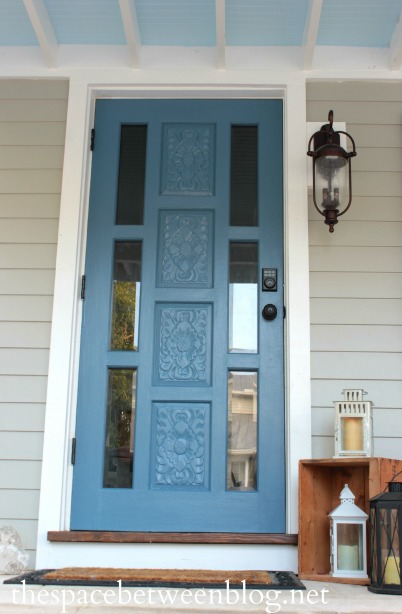
I tell ya, my dad’s got mad skills and was able to make these projects that were looming over my head seem like they were nothing.
So be forewarned, everyone is welcome to visit, but you never know what little to-do items you’re going to be tasked with while you’re here.
***********************************************


chris aka monkey says
it is so nice to have family huh? xx
Karah says
they are the best!
Traci Creel says
How wonderful that you get to share fixing up your house with your dad. I am so happy to be able to look back on the projects that my dad helped me with. Keep up the good work, I always enjoy reading about your progress.
Traco
Karah says
It is special to think that I will have this log of all of the things my dad and I worked on together, too. Hope everything is going well with you!
Thistle says
Your porch is AMAZING! Seriously…..Karah…..love the diy story and you are lucky to have such a wonderful dad!
Happy day friend!
karianne