This post may contain affiliate links which won’t change your price but will share some commission.
So, you all know that Joel and I have the perfect relationship, right?!?!
We never fight and always speak in loving tones.
And we live in a land full of unicorns and rainbows.*
*Consider everything I’ve said so far to be a lie. 🙂
Turns out this whole process of making and hanging our first ever DIY wood closet doors gave me some good insight into that husband of mine and some useless information about myself.
Husband Insight #1 – He likes to enable me to procrastinate on projects we are worried aren’t going to turn out well and I like to pretend to push him to get these projects done.
The doors have actually been made for over a month. They are knotty pine, tongue and groove slats that come in packages of 6 for about $16. After we had framed out our closet and determined the size of our door openings I started assembling the doors with wood glue.
I may or may not have insisted this was a two person job to justify not getting them done and then I would make plans (happy hour anyone?) for us on the nights he offered to help so he wasn’t available to help so they didn’t get made. All the while proclaiming “if you could just help me they’d be done”. I am fun. 🙂
DIY Wood Closet Doors Lesson #1
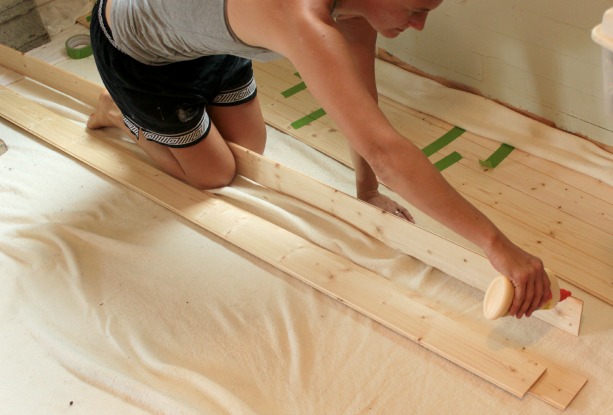
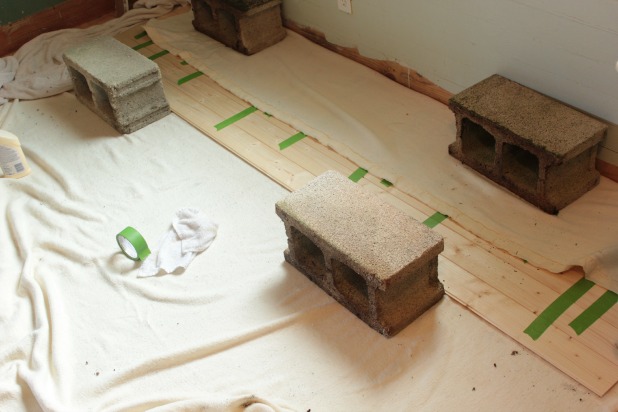
Dry fit all of the tongue and groove slats together before you start in with the glue. Some of the slats are more warped than others (they are only 1/4 inch thick), and those actually assemble easier in the middle of the door as opposed to as an end piece. This dry fit step is actually easier with 4 hands, but don’t let that hold up your whole progress. 🙂 And, either clamp the slats together after they have been glued, or use some old cinder blocks and a wall as a makeshift clamping system.
I eventually found the painter’s tape unnecessary, but was happy I had worked on a drop cloth because glue does seep out the bottom. But you may not want to go with a fuzzy blanket because I did end up having to sand off some glued on blanket fuzz.
Husband Insight #2 – Joel likes to give me free reign on projects. I can sometimes, in a weak moment, interpret that as “full blame” if things go bad. #DIYegogonebad
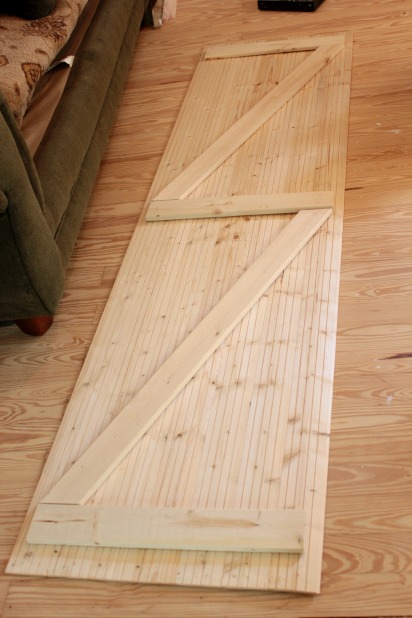
The whole idea for the doors was mine. I saw the wood slats in Home Depot one day and knew we’d like the look. I liked that we could run them through the table saw to adjust the size after they were assembled. I called my dad and learned a good way to support them on the back would be with Z supports. I decided to use the same 1 x 4’s we used as supports in the closet. I decided on the measurements for the Z supports, made the cuts, glued them on and then nailed them in with 5/8″ brad nails.
Joel watched soccer.
And I started getting nervous about “my” big idea.
DIY Wood Closet Doors Lesson #2
Almost 8 feet tall, 1/4″ thick doors supported by the 1″ x 4″ Z supports do end up a sturdy door. (Phew!) While I used my trusty cinderblocks as clamps while the glue set securing the Z supports …
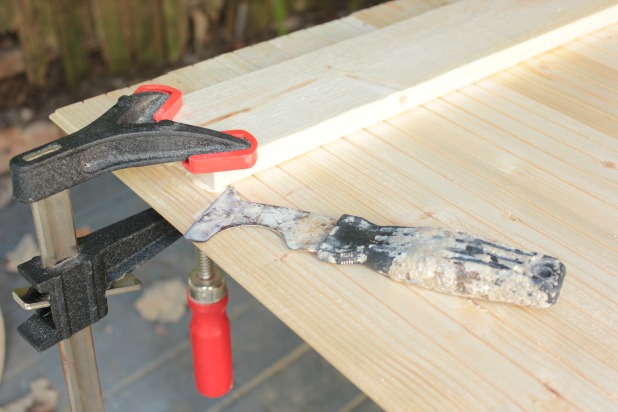
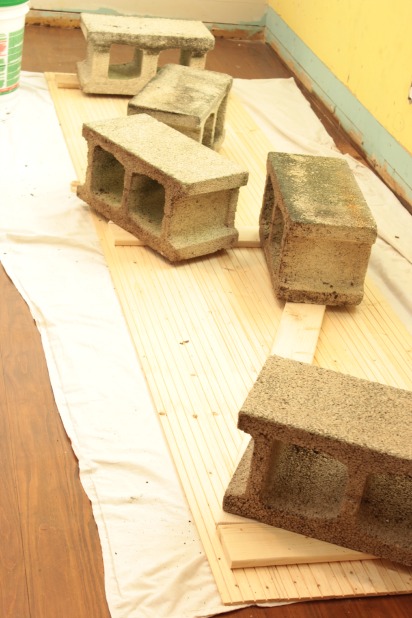 … I did have to clamp the Z supports in spots to make sure they were secured flat to the back of the doors. I used the 6-in-one tool to sneak in a little extra glue, too.
The doors were so tall I think we were both worried they would somehow just end up warping into useless piles of timber when we finally got them hung. Luckily, with all of the proper gluing and clamping and nailing they ended up perfect for the closet.
Husband Insight #3 – Joel hates painting. I have an uncanny ability to find many more, less appealing, tasks for him to do while he’s not painting and I am.
DIY Wood Closet Doors Lesson #3
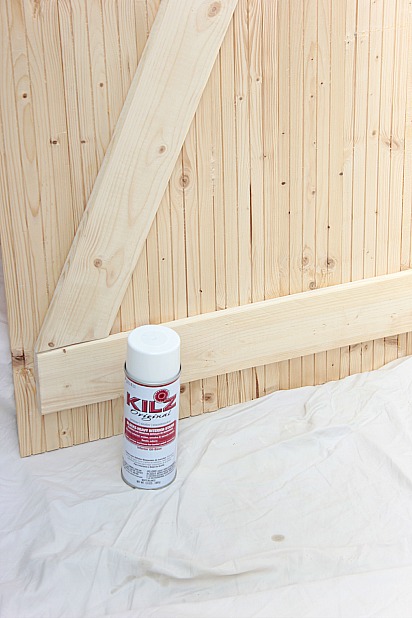
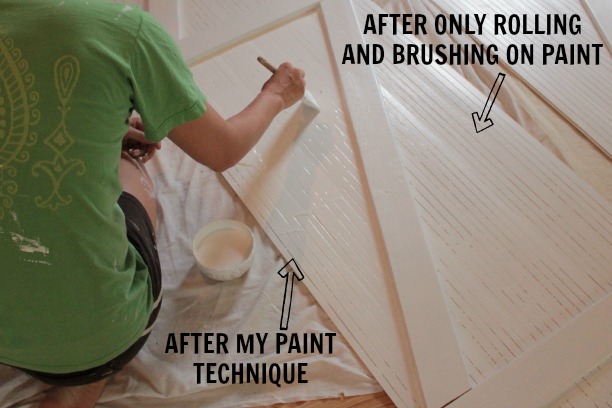
Painting small grooves is hard. See all those little grooves in the picture above? That is the back side of each door and there were 4 grooves per slat, plus the groove where each slat connected, times 7 slats per door, equals a pain in my painting behind! The roller wasn’t doing it and the brush failed me, too.
Lucky for me I had an idea, and reached out to the best ever primer sponsor, KILZ, to explain my problem and got to try a new to me product, spray primer.
I started by just leaning the doors up against our house (we will be repainting the exterior so I didn’t need to protect our awesome peach paint for this) and going through the proper spray painting motions.
We all know them, right?!?!
- Long, steady strokes across the entire surface you’re painting
- Keep the spray can about 12-15 inches from the surface you’re painting
- Don’t hold the can still in one spot or you risk paint drips
- Do this all in a well ventilated area
- 3-4 thin coats should do it
And then I followed my own spray painting rules
- Completely lose patience with the proper technique
- Lay doors on a flat surface
- Spray directly into each small groove with the spray can as close to the groove as possible
- Even out finish with paint brush – but definitely don’t over brush, just a couple long strokes to eliminate any evidence of your “too close for comfort” primer attack
- Use a cheap brush because this primer is oil based and you’re best off just throwing it out when you’re done
And since my own priming technique was so effective I followed it up with my equally effective paint strategy.
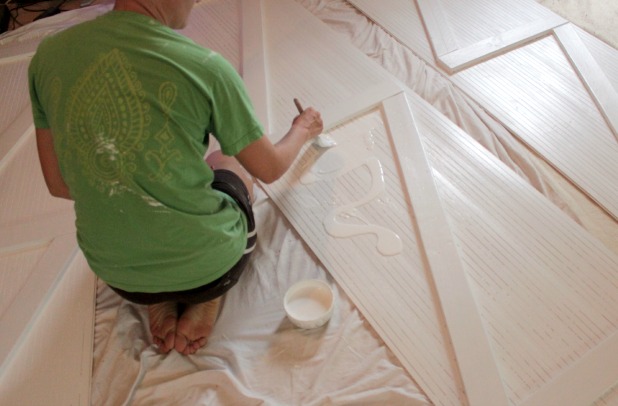
- Pour paint on doors (I used semi-gloss white, off the shelf)
- With a paint brush drag the paint over the grooves in the opposite direction of the grooves
- Brush paint smooth in the same direction as the grooves
- Step away from the doors as you point at them declaring “I knew I could cover you with paint you tiny little slats you” and let dry completely while you gloat
Here’s a little comparison shot for you.
Now that the doors were all assembled, primed and painted, it was time to make sure they were the right size.
What?!?! That seems backwards? Keep in mind husband insight #1. We both seriously procrastinated on this step just out of pure uncertainty about how it was going to turn out.
DIY Wood Door Lesson #4
When you have two doors opening in one large door frame you do not need 1/8″ clearance on all sides of each door.
This information comes to you courtesy of my own luckily overcomable mistake. I looked at a number of different sources online before we got up the courage to actually run the doors through the table saw to rip them down to right size. And everywhere I turned it was saying “leave 1/8″ clearance on all sides” of your door.
So I ran the info by Joel, explained the research, how the math translated to what we were doing … I needed his agreement so any bad cuts wouldn’t be my fault.
He was watching soccer and I got a half-hearted “seems right” response. That was enough for me, these cuts were practically his idea. 😉
The thing I didn’t take into consideration is that we had one opening for two doors and I didn’t really want the 1/4″ gap that was going to leave us between each door if we accounted for 1/8″ for each door.
They looked bad! We didn’t take any pictures. I was too busy feeling the effects of insight #2 ticked off.
Luckily for us Joel had suggested we only cut 2 of the doors and see how they fit before cutting the other two. Which left us the option to see how one cut door and one uncut door fit in each opening.
He’s so smaht! And we were so lucky that it worked out.
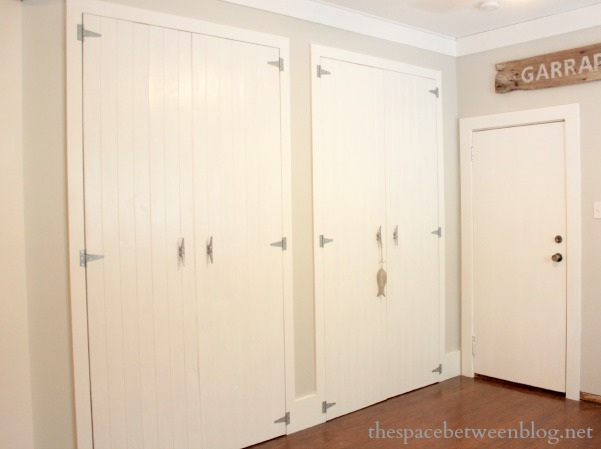
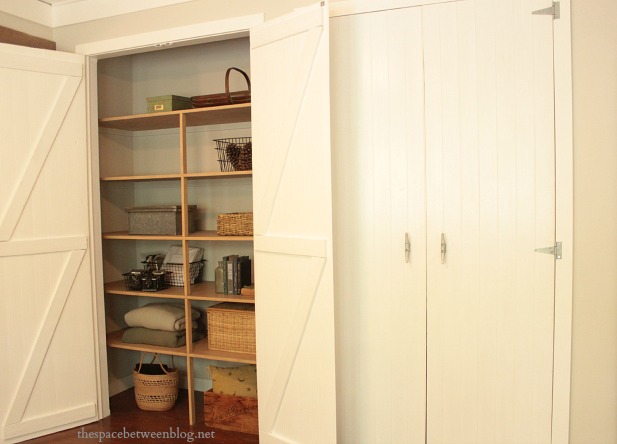
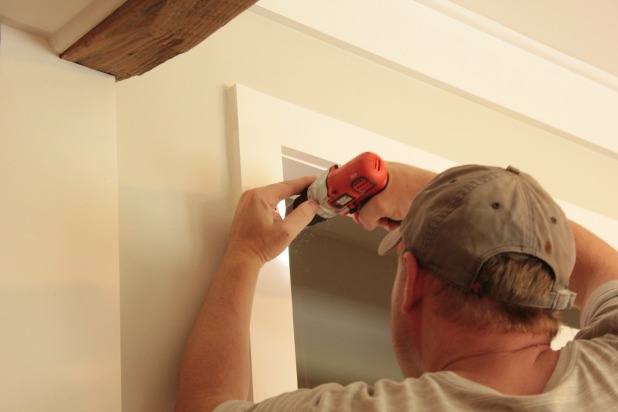
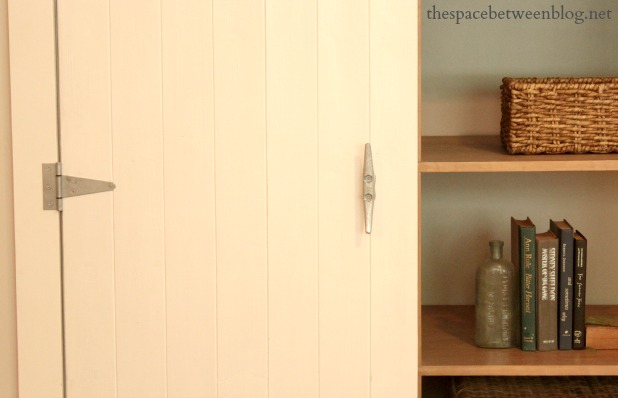
As far as hanging goes, we wanted a bit rustic and a bit nautical, so we used galvanized gate hinges, 3 per door lined up with the cross bars of the Z supports (which ended up being 4 inches from the top and bottom and exactly center). We used 3 inch long screws to be sure they would be secured into the door trim and studs in the wall, and definitely drill pilot holes so your wood doesn’t split and you don’t strip your screw.
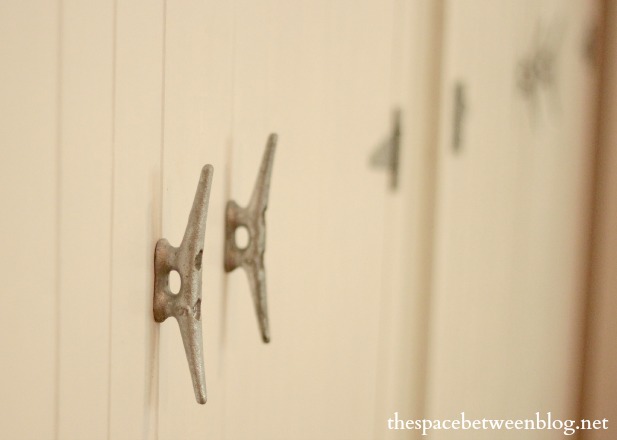
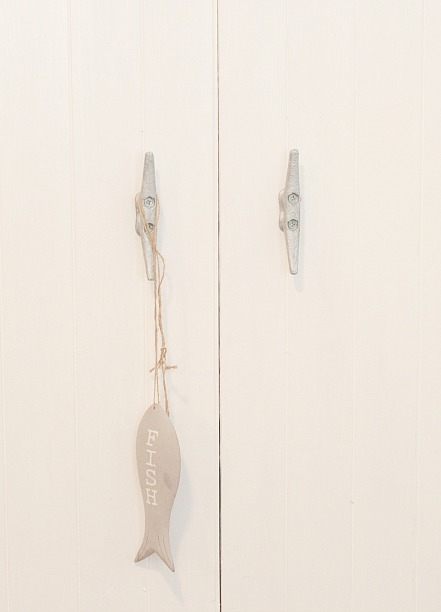
And, one of my favorite ideas, we used galvanized dock cleats for the door handles.
Since they are tongue and groove panels I did fill all of the edges that were the grooves with caulk and we hung the doors so those are the hinged ends. And since we only ended up making 2 cuts, 2 of the doors still have the tongue on one side. But, unless you’re looking for it, you won’t notice.
Just like how we lined the dock cleat handles up with the grove between the boards, so even though one door has the extra 1/4″ length of the tongue, the handles visually appear equidistant from the edges of the doors.
These doors are far from perfect, but there’s something to be said for doing it all ourselves …
… and learning a few endearing things about each other along the way. 🙂
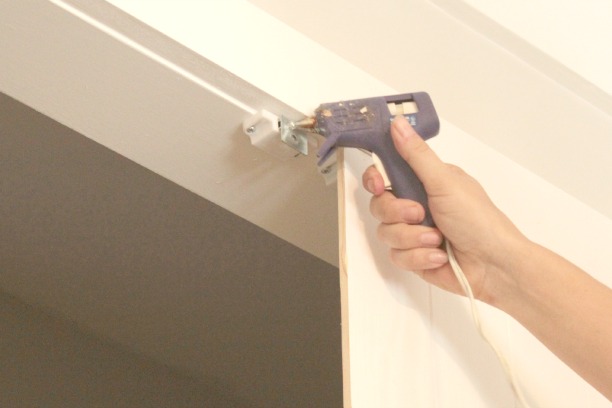
Oh, and we just used those little cabinet magnet things to make sure they lined up nice when they were closed. And since the screws were too long for our narrow doors I just lined the magnets up and hot glued them to the door. They’ve worked great so far.
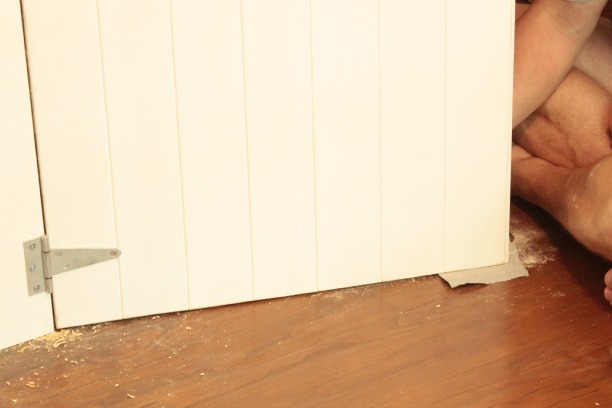
And because I may not have done the best job of holding one of the doors in position while Joel was drilling the pilot holes we ended up with a little door drag … a few minutes with some 60 grit sand paper under the door, while it was hung, did the trick.
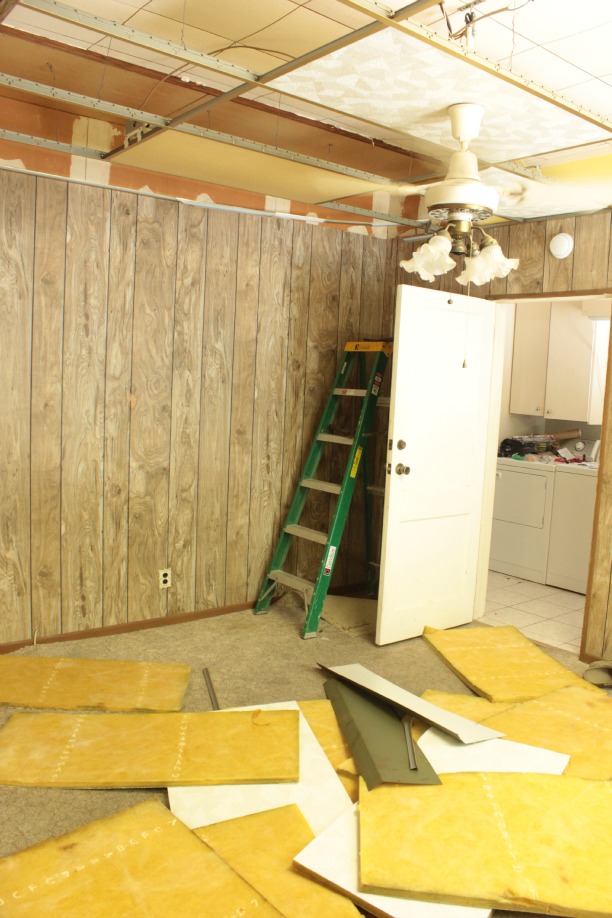
And let’s bow our heads now and take a moment to say good-bye forever to what this spot used to look like. First with the paneling and drop ceilings …
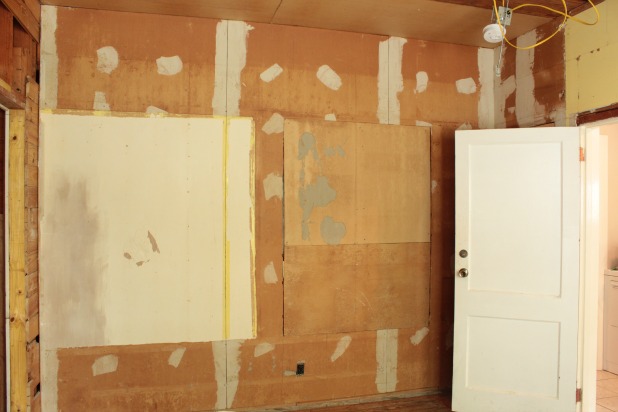
… and what we found under that lovely paneling.
Look away, look away quickly!
For anyone looking to tackle this project, here are some affiliate links to the supplies we used:
- tongue and groove boards
- wood glue
- clamps
- table saw
- 4″ galvanized hinges
- dock cleats
- cabinet catch magnets
If you want to see all of the projects we’ve tackled so far in this room you can find them here.


Kristy Rohm says
Wow…they look AWESOME!!!! love DIY~
Karah says
Thanks Kristy!
Jackie Sorich says
Wonderful outcome (on all levels!). The before pics have me traumatized. Both of you are amazing. Thanks for the great tutorial, love the look and the cleats are a great design element. Many thanks!
Karah says
Hahaha, Jackie … the before pictures traumatize me, too. I may be known to just stare at this one little finished corner up close to avoid the rest of the still-in-the-before-state house. 🙂
Karen @ Folk Haven says
They look great and that room has been transformed! And I enjoyed the relational insight spin. 🙂
Karah says
Thank you so much Karen! I hope you are doing well and enjoying that new little one. 🙂
Ana says
You guys are amazing! Congrats…bravo!
Karah says
Thank you so much, Ana!!
Ana says
🙂
txvoodoo says
ABSOLUTELY gorgeous and exactly what I want to replace my gawdawful massive, solid mirrored closet doors. Though I’ll need to build something in the middle, because the space is 8′ foot. I’m printing this out and giving it to my husband. (Who will undoubtedly look at me like I’m batsh!t at first, but eventually help me do it.)
Karah says
hahaha, after he gets over his initial reaction he’ll love you for it. And we framed out this closet, I gave very basic framing details in this post, https://thespacebetweenblog.net/2013/08/15/easy-diy-wall-to-wall-closet-shelves/, but basically all he has to do is build a box out of 2 x 4s whatever size you want, our center section is 13 inches. So cut 2 x 4’s 13 inches, nail one into the floor in the center of your opening and nail one into the top of the opening directly above it and then measure that height and cut two 2 x 4’s to run from the bottom 2 x 4 (the shoe) to the top 2 x 4, then just drywall it. tada, you’ve just built a small wall. 🙂
txvoodoo says
Oh, he’ll know how to do it – his dad build custom homes, and he spent about 7 years working with him in the summers! I think, though, that he’d rather I didn’t read blogs and get ~ideas~. 😉 When all’s said and done, however, he does great work and works hard to make me happy!
(I do think he really hates pinterest now, though :D)
Karah says
Too funny!!! I’m sure the world wide web of ideas can be a thorn in his side sometimes. Hopefully he enjoyes the projects every now and again!
txvoodoo says
Oh, he always enjoys them. He likes seeing the fruits of his labors. 😀 But I think he sort of enjoys grumbling a bit at first, if only so he can feel more virtuous later. *grin*
DesignedDecor says
Karah, beautiful! I love your painting techniques, sounds exactly what I do when I paint. The experts can’t give you this info, but we bloggers certainly can! Lol
Karah says
hahaha, paint instructions 1) read rules 2) disregard and set your own rules 🙂
heather says
Wow-eee!!!! What an amazing transformation Karah. Who said toys belong to boys? You are one ‘smaht’ cookie, my friend! 😀 Cheers, Hx
Karah says
Hahaha, toys are definitely for girls!! Thanks Heather!!
Cristina@remodelandolacasa says
Wow, those doors are awesome! I love the hinges and the dock cleat handles. There must be something why husbands don’t like to paint :/
Karah says
Thank you so much, Cristina. This whole husband hating to paint thing is a new revelation to me. I usually do it so it never really came up, but now it’s kind of funny. 🙂
Christine says
Such a dramatic change and such a useful idea! I really like what you’ve done. I’m going to be building a wall of cabinet doors out of wine crate panels (gotta be brave enough to teach myself how to use the planer — I hate loud noise!) so it’s fantastic to see how you did it on a big scale.
Tell me. Why didn’t you just paint the slats first, before assembly? Or was impatience there another reason? I always paint trim first, since cleaning up after myself is a PIA that sometimes takes days. Ok, weeks maybe.
Karah says
It would have been smart to paint the slats first … but you know how those things go, sometimes I just want to see something all put together even if I know I should take the time to paint it first!! 🙂
Bridget J. says
Love your doors! From CentsationalGirl’s blog: Here’s a tip when brushing latex paint on furniture: try the additive Floetrol. It’s a paint conditioner (not thinner) that lengthens your drying time and minimizes both brush strokes and drag in your paint.
Karah says
interesting! thanks for the tip!
rhild8 says
A great job. Congrats and thanks for all the details esp. your forbidden painting secret techniques!
Karah says
Sure thing, rhild8!