This post may contain affiliate links which won’t change your price but will share some commission.
For a couple of different reasons we’re in need of a larger attic access than we got with this house. We started with a cute little opening of 16″ x 24″ and to give ourselves the opportunity to utilize the storage space available up there and to put the new HVAC compressor unit up there, we needed an opening of at least 24″ x 30″.
Does the idea of cutting up your ceiling joists only make you envision your ceiling coming crashing down, but you love a good home improvement DIY all the same time?
This little tutorial for how to head out your attic access is for you. Cheers!
I started with Google … of course … and checked out a few options. But in the end I stuck with my own tried and true technique.
I called my dad. 🙂
He just so happens to be a contractor and an all around handy guy … and most recently responsible for teaching me, over the phone, how to head out an attic access. Thanks Dad!!
I will start by saying the whole idea was a little daunting, but I am so happy that this turned out to be one of those projects that seemed intimidating but ended up being technically easier than expected (so rewarding when that happens, right Traci?!?!) and took less than 2 hours.
I say technically easier because the attic is just an awkward space to work in. I was always either on the ladder or precariously balanced on the ceiling joists as to not fall through the kitchen ceiling. And the hardest part was definitely getting good pictures in the poor lighting, and having the will to actually break for pictures because it was so stinking hot the last thing you’ll want to do is dilly dally around in the attic with your camera.
Tip!!! Do this project in the morning before the heat of the day makes the attic too oppressively hot.
So let’s get to it.
Step 1 – Use a pry bar and hammer to remove trim around current attic opening.
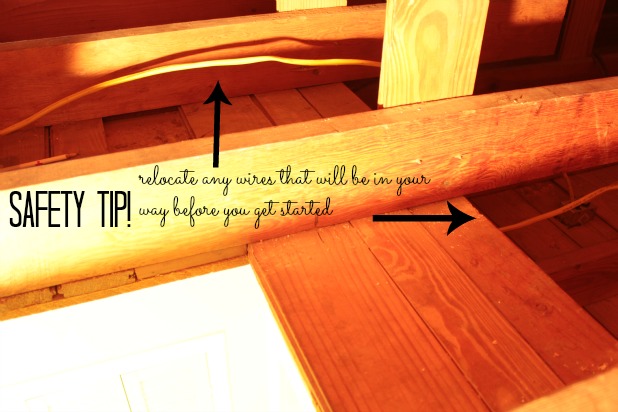
 Safety Tip!!! Make sure there are no wires in your attic that will interfere with your new attic access. We had to relocate a smoke detector wire.
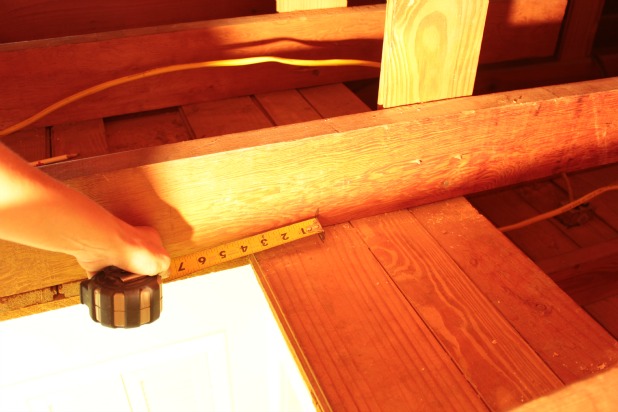
Step 2 – Determine the size of your new attic opening and measure 3 1/2 inches WIDER than that on the ceiling joist you need to cut.
This is where I will spout out some construction jargon that will hopefully sound very smart and also be normal enough to make total sense to all. Picture me looking all scholarly at a podium in the front of a classroom with a pointer and wearing glasses. 🙂
A header is a construction term that defines a framing board or boards used around windows, doors and other wall openings to help transfer weight from joists or studs to these parallel boards. They are usually twice the size of the surrounding framing materials.
Update: We enlarged the entry to the kitchen and made a header to frame out a doorway here.
So, let’s break this down.
Our ceiling joists are 2 x 6’s. I needed to cut one of those 2 x 6’s out to make our attic access larger. To transfer the weight that the now cut ceiling joist would need to carry I needed to add a header to either end of the now cut 2 x 6.
Using two 2 x 6’s butted together to create your header (now twice the size of the original joists) gives you a width of 3 inches since 2 x 6’s are actually only 1 1/2 inches wide. Since I didn’t want to run any risk of the new headers overlapping the new opening I measured 3 1/2 inches past the new opening to have a 1/2 inch of wiggle room in case my cuts weren’t straight or I missed my mark a bit.
Hey, it happens. 🙂
And that for sure breaks a record for how many times I can use measurements in one step of a tutorial.
Step 3 – Nail supports to either end of the ceiling joist you will be cutting up to the roof. Attach them to the ends of the ceiling joist that is staying, not the ends that will be cut.*
*That may seem like a no brainer, but no brainer tips always seem to be the ones that get missed by me.
You can see that we were cutting a joist that already had supports on either side of it, totally by chance, but I added one to either end anyway, just for sanity’s sake. 🙂
You can use a hammer and 3 1/4 or 3 1/2 inch nails. Or, like me, you can convince your husband that you need a framing nail gun like this one since we’ll want it later when we replace our fence anyway. 🙂
As a side note that framing nail gun is no joke. That baby has some serious power. It is crazy empowering to use, but be sure to read all the instructions, warnings, etc before you get started.
Because I was the only one in the attic (this is a great two person job so the person holding the ladder steady can also fetch additional tools and cut the 2 x 6 for the new header to size when it gets to that step and the person in the attic isn’t going up and down the ladder a billion times) and using my new favorite tool isn’t something to take lightly there are no action shots of this step. But here’s a shot of the beauty and her very own carrying case.

Step 4 – Cross your fingers, say a prayer and cut the joist. Just kidding. This is definitely the part that made me nervous, but it all turns out I didn’t need to be. We were prepared, knew what we were doing and it was over in a flash. We used a reciprocating saw like this one, sometimes called a sawzall
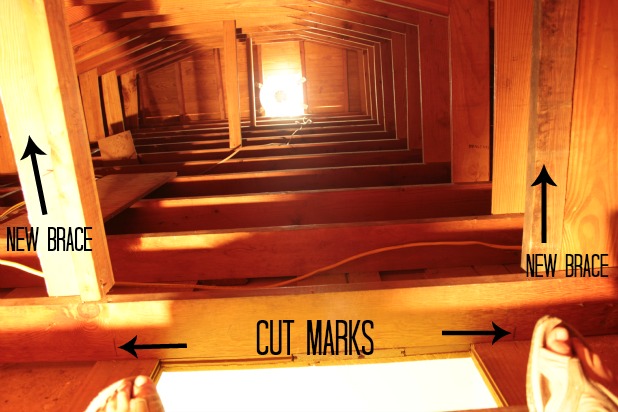
Now, using a sawzall is definitely a two-handed job so there aren’t any action shots. But here’s a shot of the supplies I had up there and what it looked like with the section of the joist cut out.
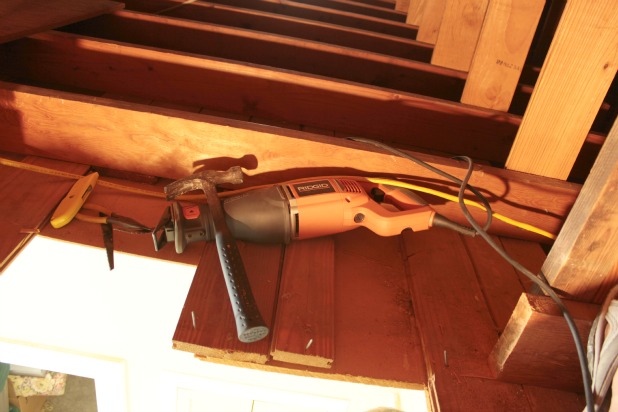 I used two different lengths of sawzall blades. The longer one worked great for most of the cut but when I got close to the bottom of the joist, since I didn’t want to actually cut through the ceiling, I switched to a shorter blade.
Tip!!! The sawzall blade will be very hot after it is used, use needle nose pliers to remove it.
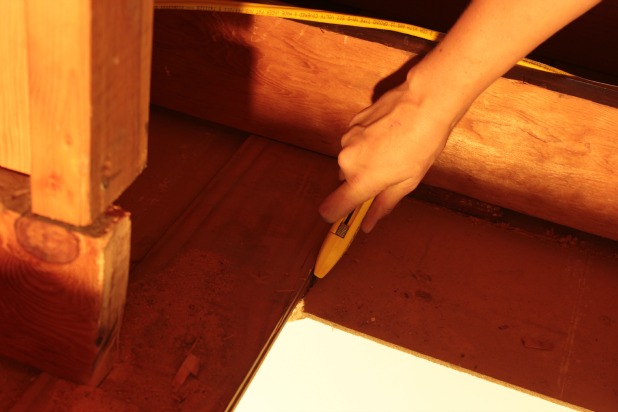
Step 5 – With the joist now cut out, I measured the length the header boards needed to be and while Joel cut them using our miter saw, I used a utility knife and the sawzall in spots to cut the ceiling out to the new opening size.
Step 6 – One at a time, using that powerful framing nail gun, attach the 2 x 6 boards to create your header.
So, you’ll be attached 4 lengths of the new 2 x 6 in total. Nail into the new header boards through the ceiling joists they are running parallel to (where the arrows are in the next picture) and nail through the new header boards into the end of the joist that you cut.
Repeat on both of the newly cut ends of the ceiling joist.
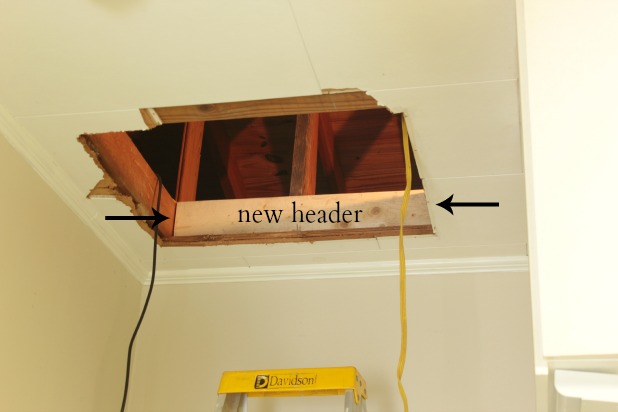 And, there you have it.
A pretty anticlimactic end to one of the most impactful changes we’ve made to the house so far.
We’ve got the HVAC company here the next week or so installing our new system so trimming out the new opening didn’t seem like a great idea at this stage.
Something about the hired help never taking the same care we would to not ding or damage the detailed finishes as they’re hoisting a heavy HVAC compressor into the attic. 🙂
And, that kitchen drop ceiling is getting removed at some point so there just isn’t a need for pretty trim around there right now.
We just cut a scrap of 1/2 inch MDF to mostly cover the opening to keep the heat trapped up there and we’ll finish her off with the rest of the kitchen.
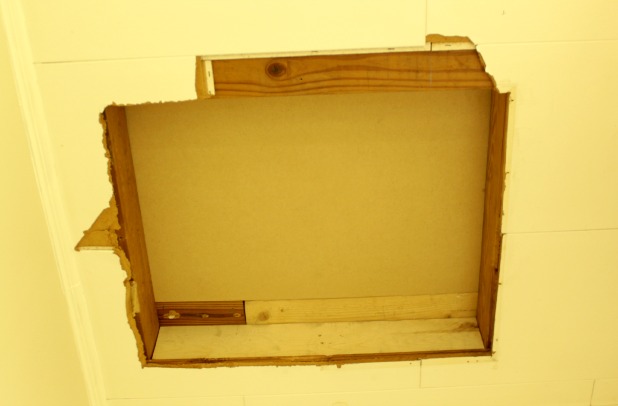
And a look back at what the mini version looked like.
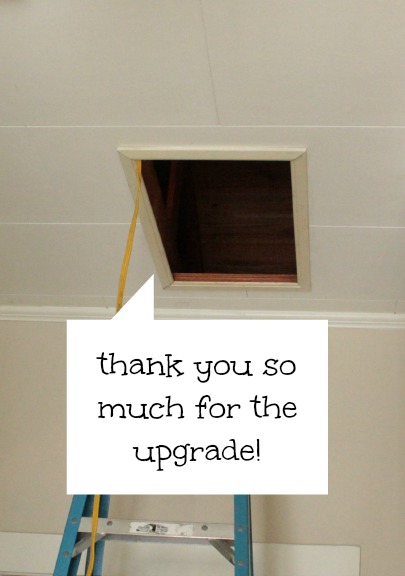
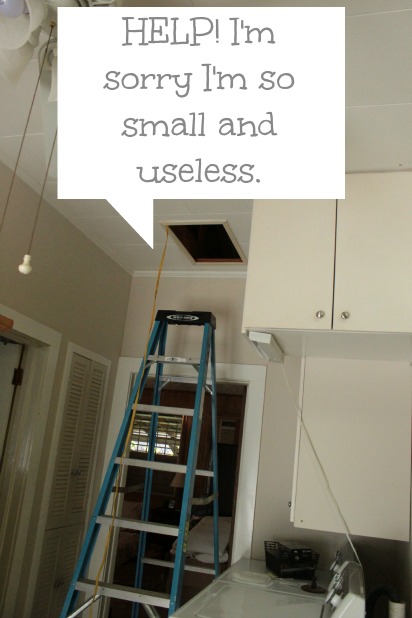
Sorry for the dorky comic bubbles, the attic access made me do it.
We don’t think we’re going to add a pull down ladder, but we’re going to live with it for a while before we decide for sure. Our ladder is a pretty perfect height and stored not too far away so we think it will work. With one additional cut of that same ceiling joist we could easily make the opening the right size for an attic ladder like this.
Two cheers for more storage space! And tackling a somewhat dreaded project and having it turn out great. And my new nail gun.
And thanks again, Dad! xo
This post may contain affiliate links which won’t change your price but will share some commission.


Traci says
I have to agree that a nail gun is one of the best tools we have. Not only do we have a large one for framing and fencing but we have 2 smaller ones for trim and moldings and upholstery. They make the job so much easier. We also have a pull down ladder for our attic, one of the good things about it is that my husband can put things up in the attic by himself, since we store a lot of things up there that is very handy.
Thanks for the link back to my post. I didn’t think you were referring to me so I was surprised to be taken to my own blog. I am glad your project was easier than you thought it would be too. I got a little burst in confidence and I hope you did too. Great job!
Traci
Ashley@AttemptsAtDomestication says
You guys are so handy! I never would have thought of making the attic access larger!
Nancy Carr says
Karah, love the upside down pic of you. You are one gutsy lady to tackle so many projects. I am proud of you.
Rob says
Wow that was cute…but it’s totally wrong and unsafe. At some point someone is bound to put a lot of weight up there and since it’s framed incorrectly it’s all going to crash down. It’s important to get these details correct.
Karah says
Hi Rob! Thank you for taking the time to comment. What part of this process do you not agree with? We’ve had it inspected through our city’s building department and the process came directly from a licensed contractor. If there is any specific part that you feel needs clarification please just let me know.
Frank Rizzo says
Just a quick WOW! Fantastic post. Thanks so much.
Karah says
Thanks Frank! Have fun with your project!
Ross says
Nice work, looks great. I think you mixed up the term parallel with perpendicular. Your new header is running perpendicular to the existing joist.
Karah says
Nice catch, thanks for the heads up!