This post may contain affiliate links which won’t change your price but will share some commission.
We are definitely getting a taste of what rainy season is like in southern Florida. 🙂
While I actually don’t mind the rain, it isn’t doing anything to help our floor curing situation. 🙂
It was recommended to give them 3 full days to cure, but with this damp weather and humidity we were told it wouldn’t hurt to add on some extra time. And while we’re extraordinarily excited to keep making progress in there, after all the work to get the floors looking so nice, the last thing we want to do is rush in and scratch them up. But she is definitely starting to look mighty fine. 🙂
But we couldn’t let her go topless, er … ceiling-less, and since Joel and I have taken on a number of different ceilings and found a few things that work really well for us I wanted to share our drywalling deets to help out anyone who is gearing up to take on this kind of project.
First, drywalling a ceiling is a totally different beast than drywalling walls.
It has actually become a little joke between Joel and I, because from what we recall I’m not sure we spoke for days after that first ceiling attempt. Ahhhh, love.
I guess this post could also be called “How to drywall a ceiling and not split up from your spouse”. 🙂 Or “How to Drywall a Ceiling, aka Couples Counseling”. 🙂
I’m happy to report we had more moments of laughter this go ’round than anything else.
And I’ll start by saying you can rent a drywall lift at most home improvement stores. We looked and ours would have been $24 for 4 hours. But $24 saved every now and again during a full house renovation adds up and we were happy to keep that cash in the piggy bank.
The other option is always to ask a friend. This isn’t a good job with only 4 hands. Drywall is heavy, both ends need to be held up, then there’s screwing … and it’s all above your head. Calling in a few helping hands is always another free option, plus the cost of pizza and beer if you’d like to keep your friends. But when I texted Joel to see about the friends option his reply was,
“I think we should struggle with it alone. That’s my idea of a good time.”
Hey, you gotta love his attitude. 🙂
But we definitely weren’t going it alone. We did employ the help of our friend, T Support.
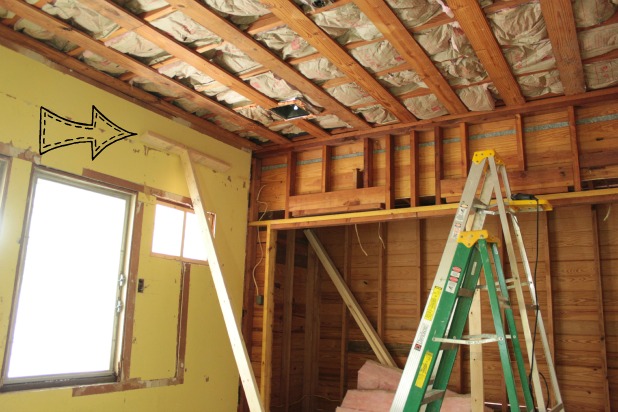 Just cut one 2 x 4 about 2 and 1/8 inches shorter than your ceiling. Then nail a shorter 2 x 4, ours was about 3 feet long to the top of it. With the additional height of that cross-piece your support should end up just slightly shorter than what your ceiling will be once the drywall is up, usually a 1/2 inch … hence that extra 1/8 for wiggle room.
And this T Support and double-ladder set up was our starting position. The T Support works best on the side by the wall so you can have it leaned up close to the ceiling to start.
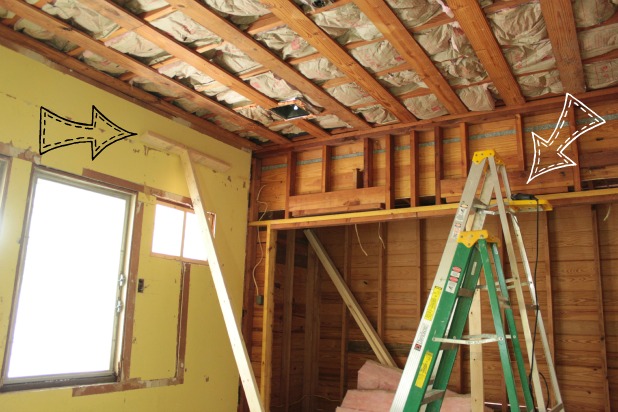 Our ladders just happen to be different sizes, if yours are too, I suggest putting the shorter one where the taller person is going to end up.
And definitely have your drill and screws up on the ladder and ready. There’s not much worse than getting the drywall in place to realize you don’t have the tools needed to screw it up. Trust me. 🙂
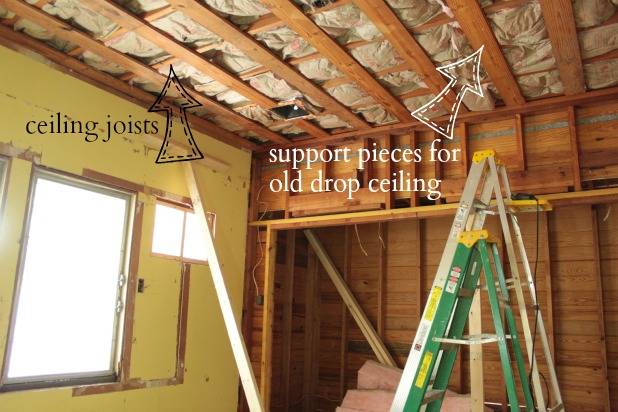
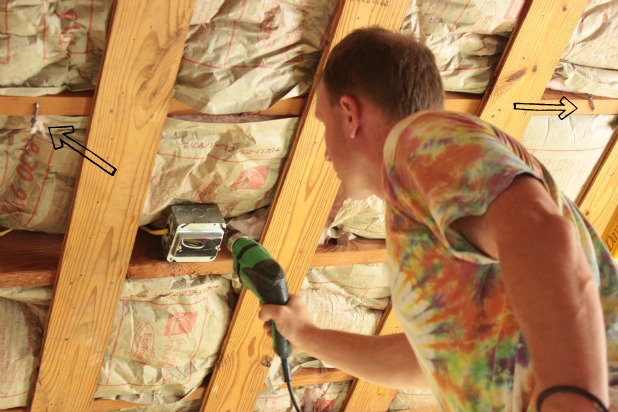
Another thing you’ve got to measure out first is to make sure that your ceiling joists line up with the ends of your drywall so you can securely screw them up. Since we had taken down a drop ceiling that was 12 inches wide we had nice wide pieces of wood every foot giving us a lot of options. And we have used the longer 12 foot pieces of drywall in the past, they are much heavier and we don’t have a vehicle now to transport them so neither of us were disappointed to stick with the regular 4 x 8 foot sheets.
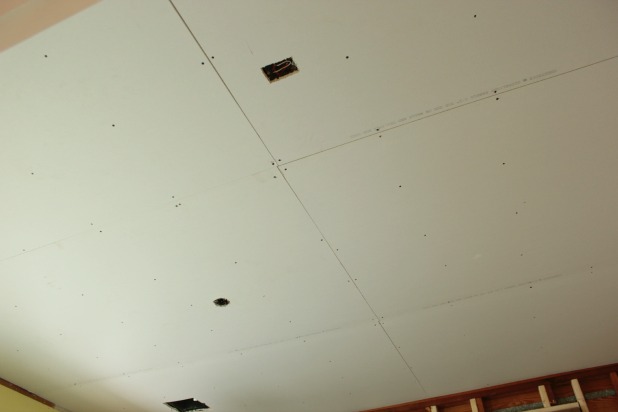
 And you can see that we needed to make cuts for our HVAC vents, which are in our ceiling, and also any light fixtures and we happen to have hard-wired smoke detectors to work around too. We just verified that our light boxes were at the right height given the additional 1/2 inch thickness of the drywall and were good to go.
Here’s the process that worked most smoothly for us after we got into our rhythm.
1 – Joel carries the end of drywall that will be supported by T Support
2 – I carry the other end and climb up the short ladder, to the tall ladder and rest my end on the top of the tall ladder while Joel secures the T Support
3 – When the T Support is secure I lift my end up to the ceiling and we shuffle the full sheet into position
4 – I screw in a few screws within reach (making note of where the ceiling joists are to be sure to screw into them) and Joel makes his way to the short ladder
5 – I hand off the screw driver and he screws a few more in within his reach while I move my ladder to the T Support end
6 – Joel can get down to bring me the screwdriver as the other end is now supported by the screws
7 – I screw in a few more screws within reach and Joel moves his ladder next to mine for another screwdriver pass off and a few more screws.
At this point there are enough screws in to support the full sheet and we can set up our starting positing and start over with a new sheet.
It’s not necessary to get every single screw in here. After we had all of the sheets of drywall up I ended up going back and adding a few more in where I thought they would add support.
And the farther along you get the more important to keep track of where your ceiling joists are. Marks on your walls can be helpful.
When it comes to cutting drywall, I’m embarrassed to even admit that I used to cut it with a circular saw.
Ummm, yeah, it does the job. But that approach is kind of like picking a daisy with a machete.
Sheetrock is designed so you can score the paper with a utility knife, then bend the sheet and it will break along that line and then just cut the paper on the back side and you’re good to go. The 4 foot T square is helpful for making those long straight lines square, too. (This picture shows the back of the drywall, I try to always score the front first for a cleaner break.)
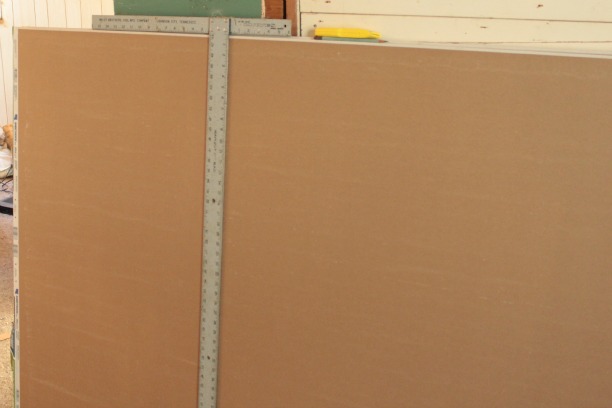 Here I’ve already scored the front and bent the drywall so it broke along my line, now I just need to run my utility knife along that crease.
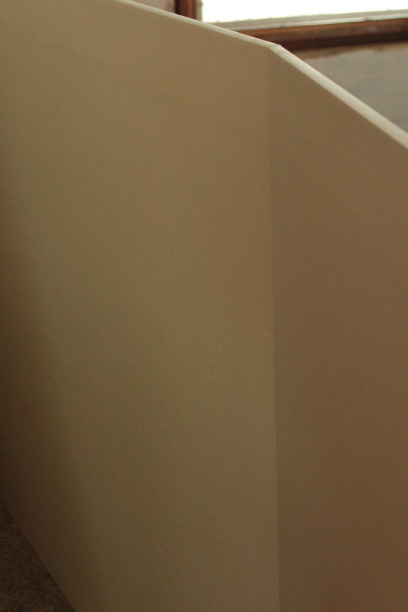
No power tools required. 🙂
And before we knew it we were well on our way.
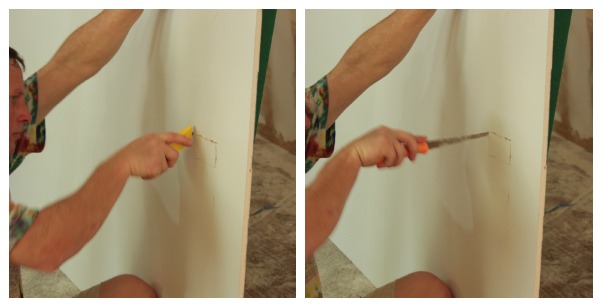
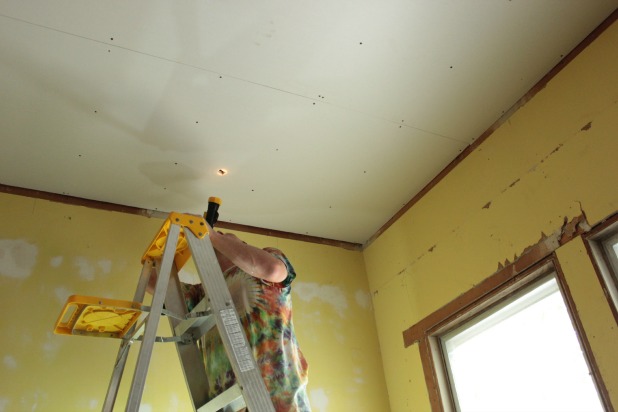
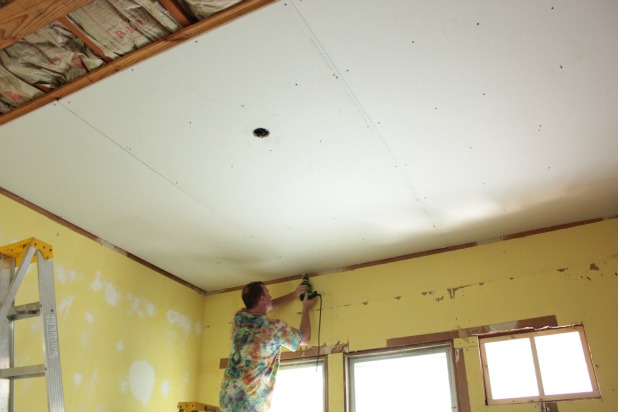 As for cutting the vent and light holes, we actually used a couple of different methods. Cutting some before we hung the drywall and cutting out others after the sheet was hung. And after a little flashlight verification that we had actually cut our little hole in the right spot. 🙂
Either way it works great to score the area you want to cut with the utility knife and then cut the full opening with a large serrated knife. The light boxes, that are hung to sit flush with the drywall are easiest to cut before you hang the drywall as the overhang will prevent you from getting the drywall hung properly.
After a couple of hours we had a clean slate ready to be covered in mud. I’ll give you one guess what we’ll be talking about next. 😉
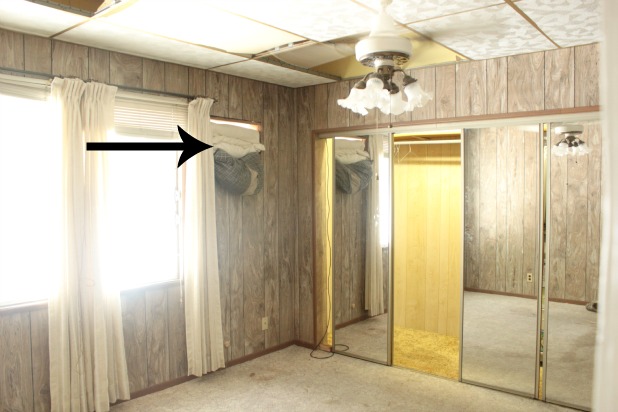
And all of the added height makes those good ol’ double drop ceiling days seem like forever ago …
One more step in the right direction on this long road we call home improvement. Thanks for walking right along with me. 🙂
Update: I shared my tips for finishing off the drywall in preparation for priming and painting right here. And if you have existing drywall in bad shape, check out how to repair it instead of replacing it right here.
Update #2: I go into more detail about drywalling over a wonky wall, spackling outside corners and cutting around window openings here.


Thistle says
Love the patch idea! I will have to remember this for our next drywalling project!
Thanks for all the tips!
Happy day!
karianne
shirley@housepitalitydesigns says
Even though I have not been commenting much, I have been following your journey and renovating your house in paradise!…you are amazing Karah!!!
Ashley@AttemptsAtDomestication says
You guys are so awesome! Again you leave me in awe of your skills!
Kelly @ View Along the Way says
Now that is an exciting before and after! Hope your necks aren’t too sore! Ceiling work is rough!
Traci says
Just reading this made me tired.
Jesse @ Scout & Nimble says
Now you need a massage because I am sure you are sore from all that looking up and arms above your head business! It is looking great…cannot wait to see where this goes! 😉 Jesse @ Scout & Nimble
Erin @ His & Hers says
haha cutting a daisy with a machete. We drywalled one ceiling and to this day vow NEVER AGAIN. (And by “we,” I mean Rick and another guy with me watching nervously and helpfully.) 😛 You guys make a good team!
Kelly @ Corner of Main says
My arms are tired just reading this! I am amazed you didn’t rent the lift! Well done, and what an improvement!!