This post may contain affiliate links which won’t change your price but will share some commission.
Today we have a how to build a floating shelf tutorial to gear up for our big link party tomorrow. To be honest, I was kind of nervous about this project and it ended up being so much easier than I ever would have thought. Seriously. You can do it. 🙂 Whether you need a diy floating shelf for organization or a diy floating mantel for decorating, this is the project for you.
Yes, yes … I did tell a few of you I started work on the coffee table. And I did. Promise. I just didn’t finish it yet. I hate it when that happens. 🙁
Update: The coffee table is complete and has shot to the top of our favorite DIY furniture pieces list, check it out here.
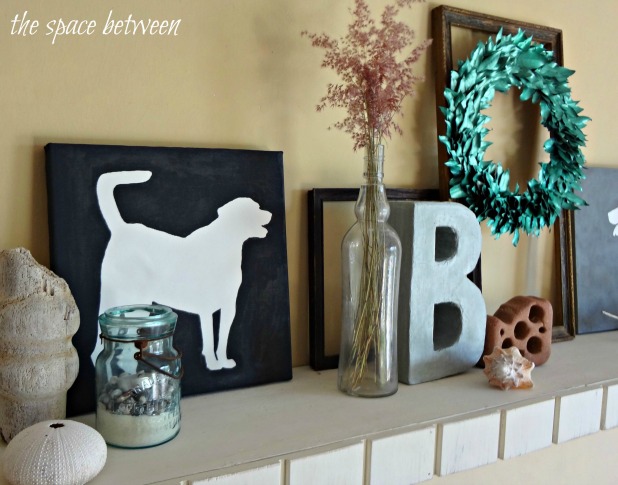
I’ll give you the secret first thing … wood glue! Ask any woodworker, the glue is the conduit to long-term success, the screws work as the clamps to hold diy floating shelves all together until the glue cures. This shelf hasn’t budged one little millimeter. Scouts honor. (My husband’s an eagle scout so that totally counts!)
With that said, let’s get started!
Preparation
Before I could get starting building floating shelves I first cleaned and measured my wall to determine how long I wanted my shelf. Have you guys ever used a Magic Eraser sponge? They really work magic at getting off all kinds of marks and stains. Just watch what you’re doing so you don’t scrub so hard you remove the paint, too.
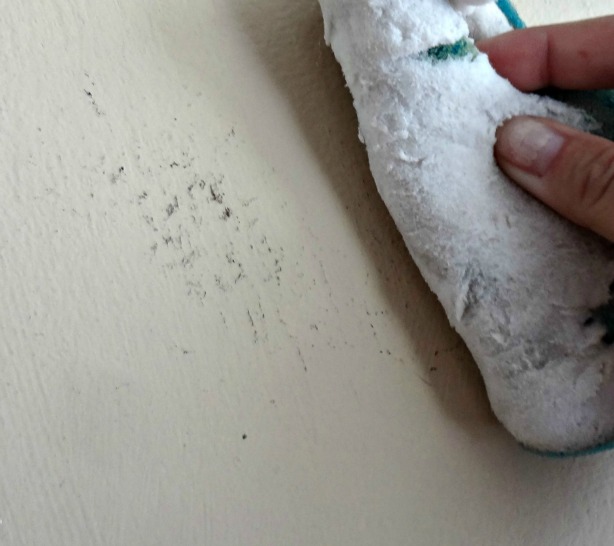
(I’m realizing now it would have made sense to take an after shot. #notthebrightestbulb)
The Wall Cleat
With my measurement (about 60 inches – why limit myself by an exact number) I cut my wood for the wall ‘cleat’ and the short pieces that would serve as ‘cleat extensions’ if you will.
I was actually able to use all scrap wood that I had recently accumulated from dumpster diving. Do you guys snag perfectly good construction material out of the dumpster? It has probably saved us thousands of dollars over the years. In using the scrap wood, I decided that my shelf supports didn’t need to extend the entire length of the shelf. Personal opinion here, if I were to buy wood I would buy enough to make the ‘cleat’ the entire length of the shelf.
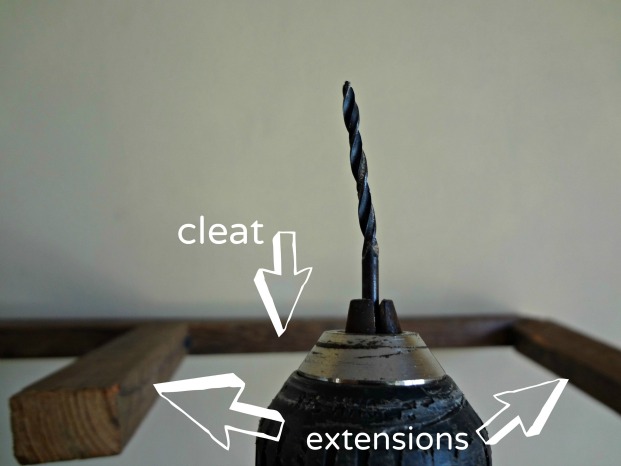
This ‘cleat’ and ‘extensions’ piece is the same wood that was used as the pole that hung the entire one screw gallery wall.
I glued and screwed my cleat into the wall and then glued and screwed the extensions into the cleat. In hindsight, I would have glued and screwed the cleat extensions into the cleat first and then attach the entire thing to the wall. Not that it affects the end result, I just think it would have been easier… and I might not have broken a drill bit while screwing my pilot holes in the extensions at the angle to use the screws to attach the extensions to the cleat.
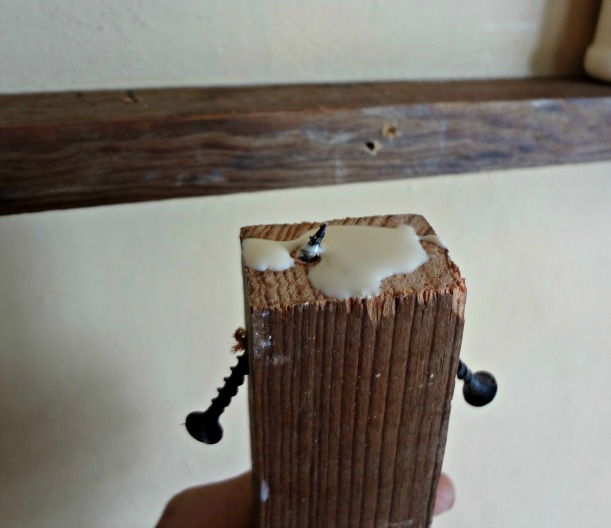
NOTE!! We have concrete walls, eliminating my need to find studs. For standard drywall and wood walls you will need to attach your cleat to the wall directly into your studs.
Update: Now that I have a pocket hole jig I would use that instead of the screws at an angle pictured above.
Making Floating Shelves
Once the innards are complete, it’s time for the actual shelf. I had two perfectly good pieces of 3/4 inch plywood to use. You could definitely use a thinner piece of wood if you had it or needed to buy it. Thinner is cheaper. 🙂
Using my jigsaw, I cut the length of the shelf.
Tip!!! Use clamps and a straight edge to help cut a straight line with a jigsaw.
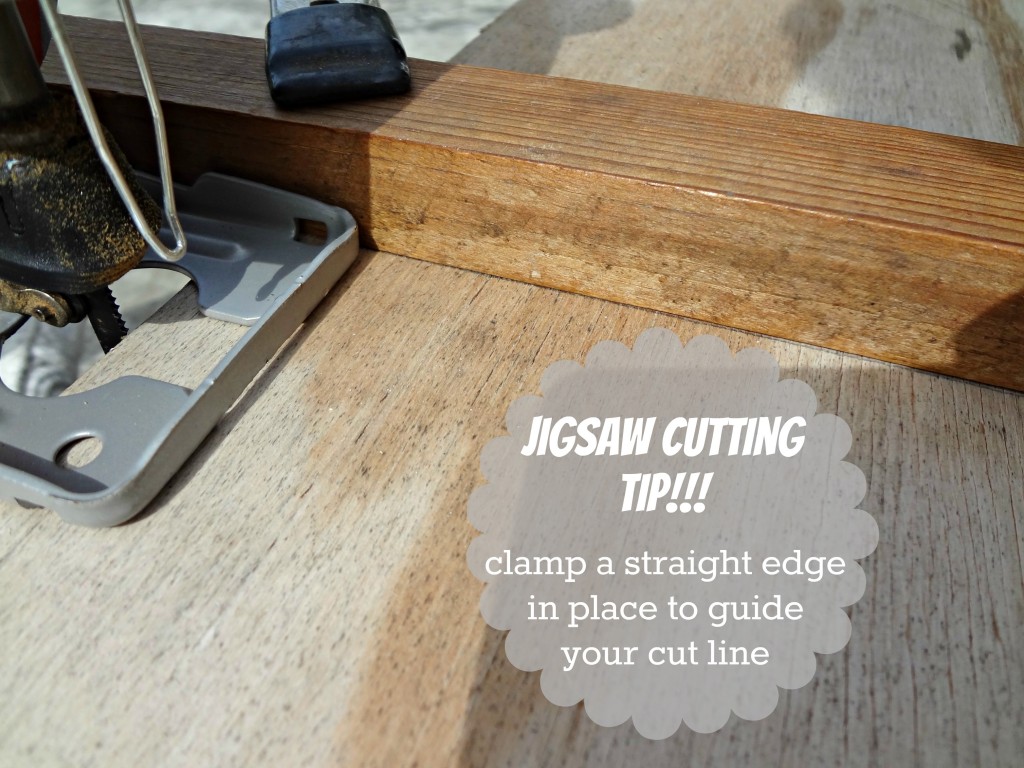
For the depth of the shelf (how far it comes out from the wall), the measurements needed to be more exact to ensure that the top and bottom were the same width. You could definitely not add a bottom, but I wanted a box look without being able to peek up at the cleat. Personal opinion.
So, I measured the distance from my jigsaw blade to the edge of the jigsaw guard. And on my wood, I measured the depth I wanted (9 1/2 inches, based on a professional opinion found here) and added the allowance for the jigsaw guard to determine where to clamp my straight edge to help this unsteady sawer (… not a word?).

(The third picture shows how to get creative if your straight edge isn’t as long as the cut you need.)
Now, this straight edge technique is not fool-proof. I am one fool who knows that. 😉 My jigsaw’s guard also swivels and, no matter how hard I tried, I couldn’t keep the darn thing straight. But that’s what wood putty and/or caulk is for. 🙂
OK, you have the top and bottom of your shelf cut, now onto the edges. For the sides I used the same scrap piece of plywood. Just measure the height of your cleat and add in the width of the wood you used for the top and bottom of your shelf.
Height of cleat (1 inch) + (Width of wood for shelf top and bottom (3/4 of an inch) X 2) = Height of shelf (2 1/2 inches)
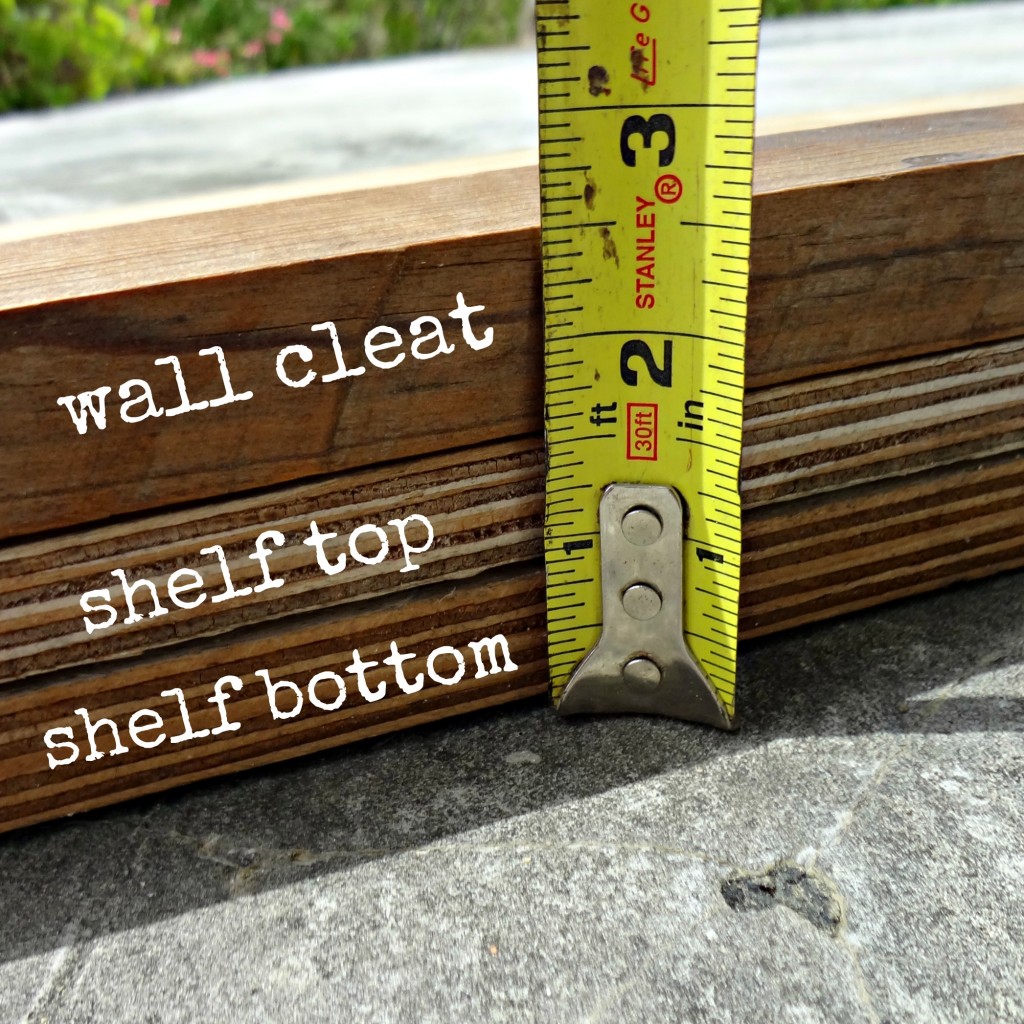
I have to admit, that was a bit mathy for me. But I hope it makes sense. I cut two end pieces 9 1/2 inches long and 2 1/2 inches high.
Which only leaves the front. Oh, the front. I was really leery of my ability to cut enough straight lines in a row to make a front that would look good out of the same plywood.
I sifted through my driftwood collection to see if I had anything that would work. Nope. But I found this piece of scrap wood I had lying around.
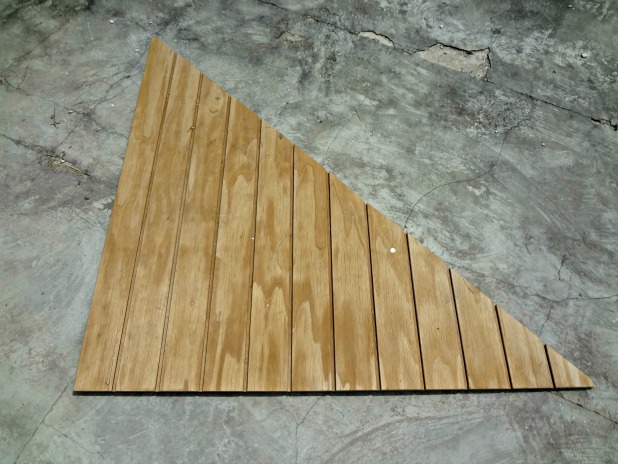
This type of wood is often used as a decorative ceiling in homes around here. Check out the ceilings in many of the rooms here to see it all painted and beautiful. I had snagged a few of these triangle pieces from the trash pile of a friend who is building a house.
I figured the additional detail of the dado would help distract from any straight line cutting sins I was about to make. Fingers crossed … and feeling impressed with myself all at the same time that I can actually use the word dado in context. 🙂
After I had the pieces for the front cut, I attached the top, bottom and sides using drywall screws screwed into the sides so they wouldn’t be seen from the front.
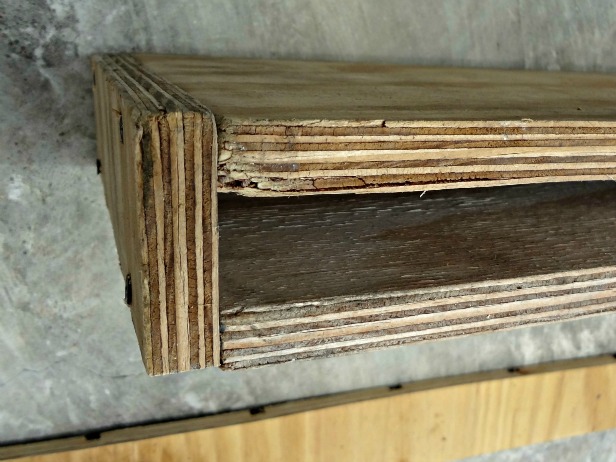
I think having the front open made it easier to hoist the shelf unit over the braces.
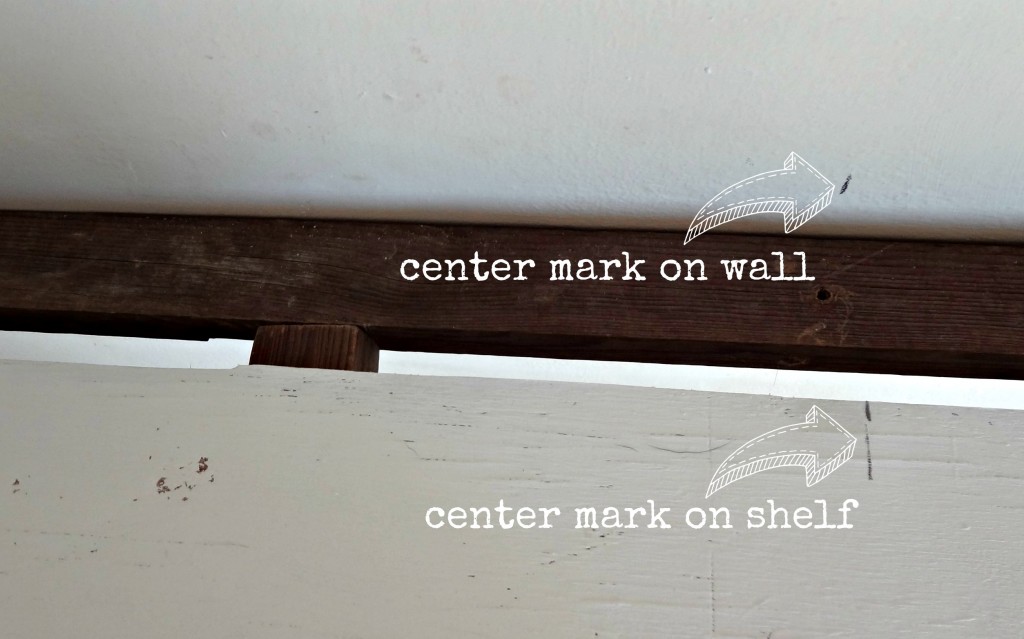
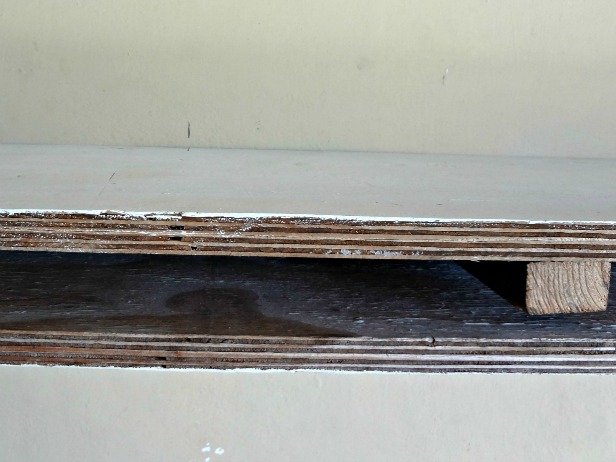 I did paint my shelf before I attached it to the wall, two coats of Annie Sloan Chalk Paint in Old White … then some distressing.
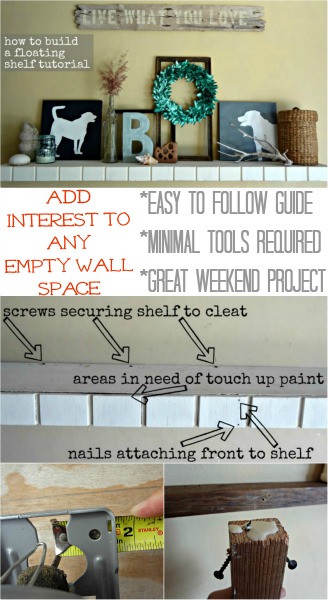
Which only left the last steps of adding the front using a few small nails and screwing the shelf into the cleat.
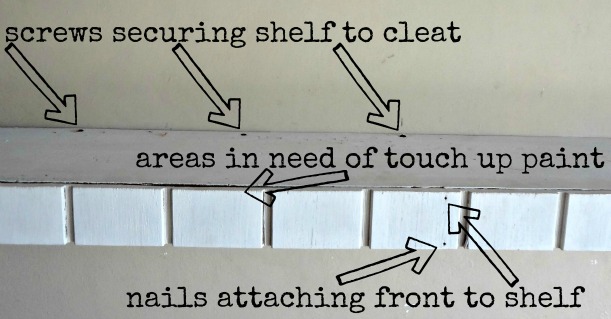
After a little touch up paint the job was done. Start to finish it took me about six hours. Thankfully I was able to get all caught up on the Kardashians during the process. 😉
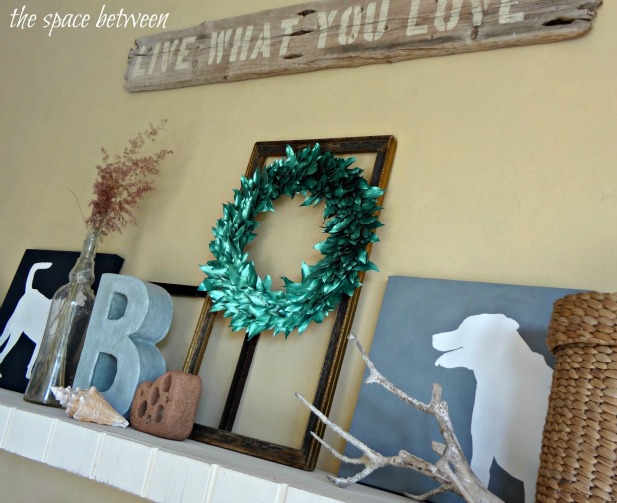
What do you think? I really believe anyone can do this project. It would be the same concept for a diy floating mantel or ledge. So versatile for either organization or decoration.
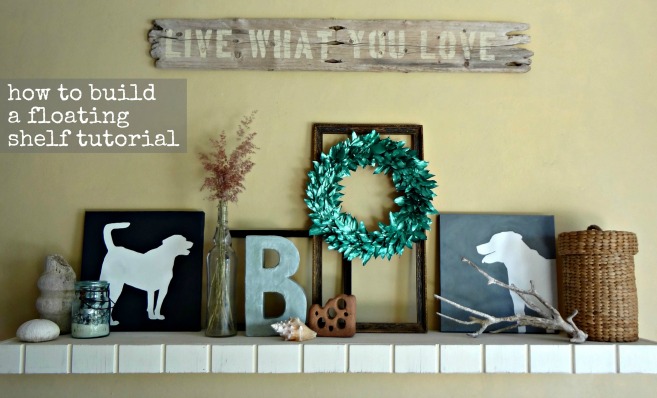
You can see how I made the dog silhouette art here and how I made the leaf wreath here.
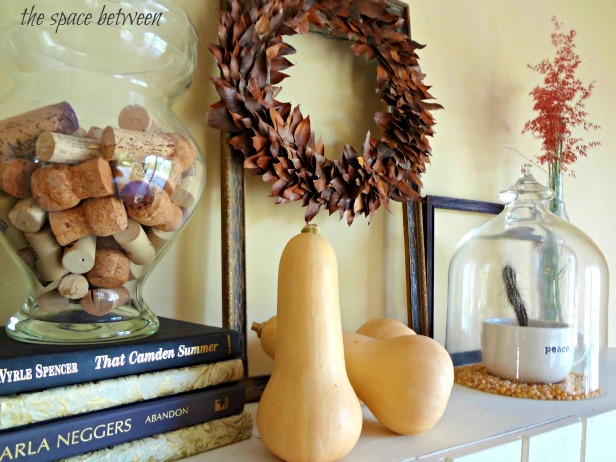
And you can find all the details of how I decorated the mantel for fall with upcycled and repurposed finds here.


Linda @ it all started with paint says
Your floating shelf made from your dumpster diving wood looks fabulous … especially with the dog silhouettes and that perfect pop of color!
Looking forward to our party tomorrow!
🙂
Linda
thistle says
What a fun project! Great tutorial and I love the spray painted wreath…..what an awesome idea.
Happy Birthday to you!
blessings,
karianne
Kelly @ Eclectically Vintage says
Glad you had such an amazing b-day – glad to see you’re getting your inner diva on with that crown!
The metallic green wreath is fabulous!! I bet Mico approves too (glad all is well)!
Here’s to our big party tomorrow – let’s all show off our colorful sides!
Kelly
Tisha @ Delectable Home says
Those magic erasers really are magic! Love the shelf tutorial, especially that you are a reclaimer of building materials. Everything looks great!
andrea cammarata says
Leave it to our ISLAND girl to make such a POP of color look so easy!!!! What a FANTASTIC idea…one of those smack yourself in the head and say WHY DIDN’T I THINK OF THAT moments!!!! It looks awesome on the floating shelf and thanks for the HOW TO on that — just fabulous…but most of all so glad you had such a great birthday and the gifts — THE BEST!!!!! how adorable! HAPPY HAPPY and wishing you another 100 years or so of sheer bliss!!! : ) sending hugs and looking forward to hosting tomorrow with you! : ) hugs to my M&M furry couple — I hope the day finds them happy and healthy!
Maury @ Life on Mars says
The mantle/shelf looks great! I love the sprayed wreath. Great job and Happy Birthday!!!
cassie says
the wreath is so fun!!!! seriously fun! serious and fun don’t go together, but here, they do.
Amy@BuffaloRoam says
Fantastic work! It looks great, and that pop of color is just perfect. 🙂
Jessica @ Stay at Home-ista says
Honestly who knew you could spray paint a wreath? Pinned it. Might have to remember it when “wreath season” begins:)
Jessica
stayathomeista.com
Robin says
“Queen for a day” is a good look for you … hope you had a great b-day. And those little princesses in the pic with you are precious. Really like the paint effect on the wreath; think I had already called the wreath “better than Martha” but still you found a way to make it better ++. So so so so glad to hear Mico is doing well.
Kelly @ Corner of Main says
It looks great =)
I am happy to hear your doggie is doing a bit better!
Carla says
Oh, my, does it say a lot about me that the first thing I thought when I saw your mantle was “is that Mico??” Smile. Big, goofy smile. Yep, all my kids have four legs, and I guess it shows, cause that is a beautiful mantle. Love all of it, love the arrangements, esp the natural bits from your Shangri La Land.
As for those bathing beauties?? Well, they are far and away more preferable to me than those siliconed, taped in, taped up, pumped up and Botoxed “beauty queens” (parentheses ’cause I’m not so sure about their beauty or why we call them queens!) who parade around our TV screens now and again. 🙂 Your bathing beauties are fully natural, totally cute, and absolutely adorable I can’t tell how looks happier, you or them! Oh, and you look great your own self!
You’ve inspired me to get going on my awful contractor installed pathetic mantle. If you’ve even seen Fried Green Tomatoes, picture the scene in which Kathy Bates takes out the sledge hammer, hollers “Tawanda” and goes at it. 🙂
Thanks for the instructions and detailed pics, and I’m truly so glad Mico is doing better. Fingers crossed and will be sending energy and prayers that she’ll get good test results and will be around a long, long time to bless you and the hubs with her love and friendship.
Karah says
Thank you SO much, Carla!! Mico’s results yesterday were better than the vet had anticipated. We are over the moon about it. 🙂 You should totally make your own pup canvases, they are easy and really fun to have as a memento of our our lovable furry friends!!
Good luck with your mantel, demolition is usually my favorite part. lol 🙂
Jessica@HomewithBaxter says
Happy Birthday!
Karah says
Thank you, it was a wonderful weekend!!
Ashley@AttemptsAtDomestication says
Karah, you rock!
Karah says
So do you, Ashley!!
Brandi says
Your wreath is gorgeous! I love your mantle too! Clever idea to use the open frames!
Karah says
Thank you, Brandi!
Heidi @ Decor & More says
I’m impressed!! Power tool wielding beach birthday girl! Love. 🙂
xo Heidi
Karah says
Nothing says ‘happy birthday’ like a little construction project. 🙂
Jaye @ Just Trying to Make Cents of it All says
Please send that wreath to me here in Denver. I’ll email you the address!
I’ve got floating shelves in the master bath that just don’t seem to hang right so I’m going to have the man redo them using your great tutorial. Do you have a camera mounted on your head or something? I just don’t know how you get those photos!
Happy Birthday!
Eva @ RiverCliffCottage says
Floating shelf was great! Your wreath, however, as the STAR!
Kristy Rohm says
Ha! Carla saw the same thing I did…MICO!!! So glad to hear his results where so good. I’m still lovin that floating shelf!!!
Jeanette says
GREAT JOB!! Love you floating shelf! I saw it before in an autumn post…we jumped the gun on that one. But it’s fun and all good. Putting up autumn here helped some, we got a couple of rainy days!
Karah says
Hey, I live in the land of summer, I can decide what season I want to be in. 😉 And so can you!!
Sheila @SZInteriors says
Awesome! I love your floating shelf, and you are so right, the spray painted wreath is the perfect touch of colour. Love the colour you chose for the wreath, too! 🙂
Karah says
Thank you, thank you!!
shirley@housepitalitydesigns says
First of all HAPPY BIRTHDAY KARAH!!!….Love your “princesses”…..and love the wreath…great color and is there really a soccer player on the spray paint can?…Now that’s a spray paint can I think I can get my hubby to use!!….I must say, I adore your shelf and I bow down to the Queen of DIY…however, you lost me at the measuring tape!…
Karah says
Hahaha, when I was writing the post .. and saying I truly believed YOU could do it, I meant YOU. 🙂
Kelly @ View Along the Way says
I’m so impressed with you and your floating shelf! Looks awesome! And that mantlescape is beautiful.
Angela at A Typical English Home says
Thank you for the tutorial. Your DIY shelf looks so much better than the ones you buy in the shops! And I’m jealous of how talented you are at artfully arranging things on it.
Karah says
That is such a nice thing to say, Angela!! Thank you so much. 🙂
annie! says
Great tutorial…awesome shelf.
Alycia Nichols says
Oh, my goodness! You are an incredibly handy person!!! I wouldn’t know where to begin! I salute you! And happy belated birthday!
Karah says
Thank you so much, Alycia!!!
Karen says
This is Tablescape Thursday–where is the tablescape? Shouldn’t this be posted on Met Monday???????
Karah says
Hi Karen! It’s my understanding Tablescape Thursday is for all tables, mantels and vignettes. I had fun putting the shelf arrangement together. Thank you for coming by. 🙂
Rose :: Fine Craft Guild says
Great detailed instructions. Excellent. Just excellent. I would like to invite you to show off your work at Fine Craft Guild, at Time for a party: http://www.finecraftguild.com/party/
Thank you in advance for joining in!
Rose
Athena at Minerva's Garden says
Hi Karah: This is a very detailed and helpful tutorial–thank you! I found your jigsaw cutting tip to clamp a straight edge down to be particularly helpful–the edges can get pretty ragged looking with a jigsaw, at least when I am at the helm!
Susan (Between Naps on the Porch) says
You did such a professional job! Thanks for the detailed tutorial. Love the green wreath, btw…brilliant spray painting it! 🙂
Emily says
Amazing!! I’m in awe of your power tool abilities :). This is SO SO pretty and I’m totally jazzed you have a “mantel” to play with now!! 🙂
Abbie (Five days...5 ways) says
Great shelf (and tutorial) and FANTASTIC styling! ; )
Rich H says
You put so much of yourself and personality into this post! Excellent job explaining how to install these shelves. Great job! Thanks
Karah says
Thank you so much, Rich! I was sad to leave that shelf behind when we moved.