This post may contain affiliate links which won’t change your price but will share some commission.
I would love to be able to say “So, I tackled the next project on our to-do list and I’m here today to tell you about it. Our brand new DIY wooden mailbox.”
But the truth is, that’s not at all how things happen around here. 🙂
Seemingly unrelated question – Do you travel to have girls’ weekends with your friends?
Not to alienate any male readers. Next week we’ll talk about guys’ trips.*
*no we won’t
I’ve taken short road trips for a night here and there, but next year my bff and I are planning a “real” girls’ weekend.
We’re both flying into a city where neither of us live. And we’ll stay at a hotel. And we’ll have an immeasurable amount of fun just being besties for three days.
One night we’re going to a concert. Justin Timberlake, baby!!! And I was tasked with buying the tickets. I only let her put that kind of responsibility on me because of the weird things she’ll do with me and think are a good time. Oh, and she has the best recipes.
Question #2 – Have you ever ordered tickets online? As soon as you pick seats on some sites a timer starts counting down.
Seriously?!?!?
I mean, I get it, you can’t have “just lookers” hoarding the good seats on their computer screens just so they can think about whether they’re going to buy or not.
But I was a real buyer. And I was just trying to verify that the tickets were in the section we wanted. And they were two seats together. And they cost what we were expecting … and I hadn’t accidentally misplaced the decimal point and they were really THIRTEEN THOUSAND DOLLARS or something.
Geesh. Is that too much to ask?
But every single screen had a new countdown.
4 minutes to decide if I want the seats.
3 minutes to give you my contact information.
2 minutes to give you my payment information.*
*note to self – have wallet on hand for future concert ticket purchases.
Does my billing address match my mailing address?
Sure.
Do I want them mailed?
I guess.
Transaction complete. Success! We be going to the 20/20 Experience!!
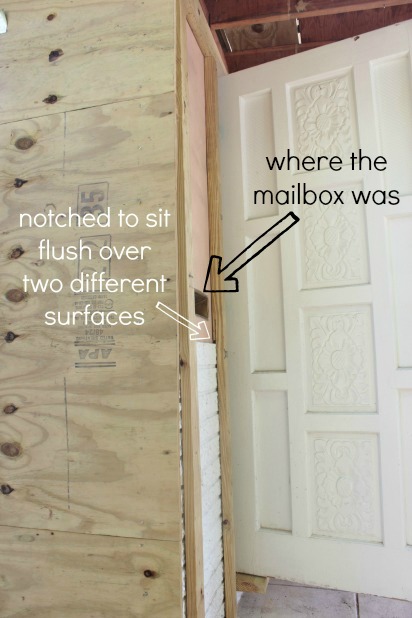
And then I realized that we had just installed new siding over where the mailbox had been on the front wall of our house. #goodnessgracious
That’s not going to work out very well now it is? (Rolls eyes at self’s stupidity.)
That’s how a new little diy wooden mailbox happens around here. (Shakes head at my “organizational strategy”.)
But I gotta say. I kind of love her. And don’t hate me. But she was free.
I know! A last-minute necessary project that can just be whipped up all lickety split like with random old stuff on hand. That doesn’t happen everyday, so let’s just enjoy it together, k?
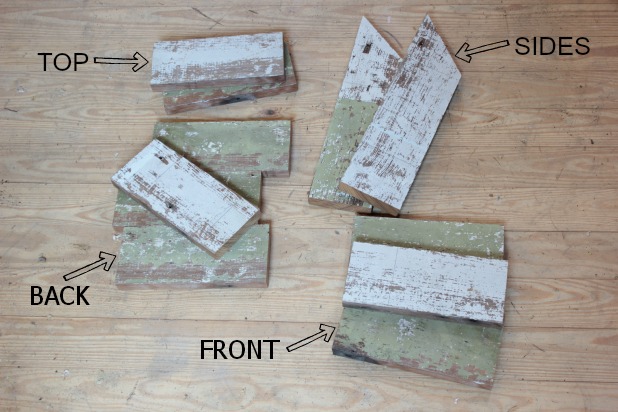
First I cut a scrap piece of 1 x 4 to size. This is a board I took from my neighbor’s garbage because I loved the chippy paint. Any old paint like this is most likely lead based paint so definitely take the proper precautions.
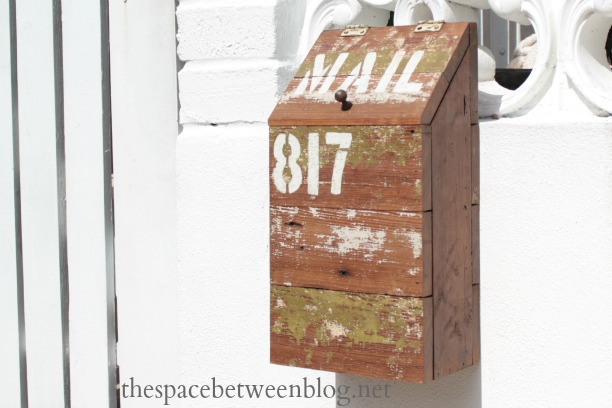
I made the width 9 inches, the depth 4 inches and the height 16 inches in the back and 12 in the front. I knew I would be attaching her to our front wall so essentially it’s a normal mailbox size, just upended a bit. 🙂
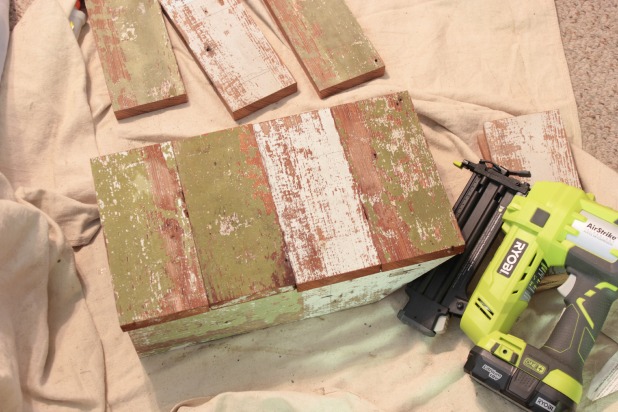
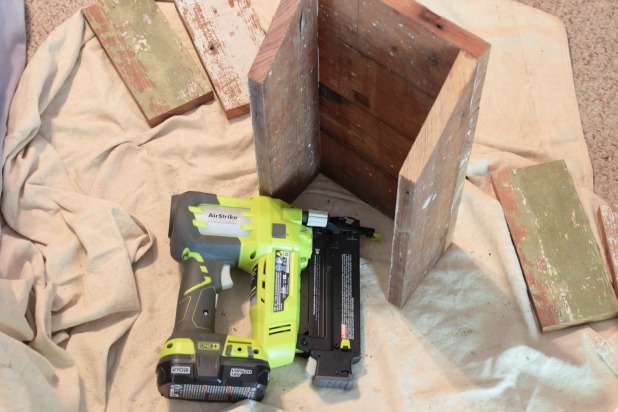
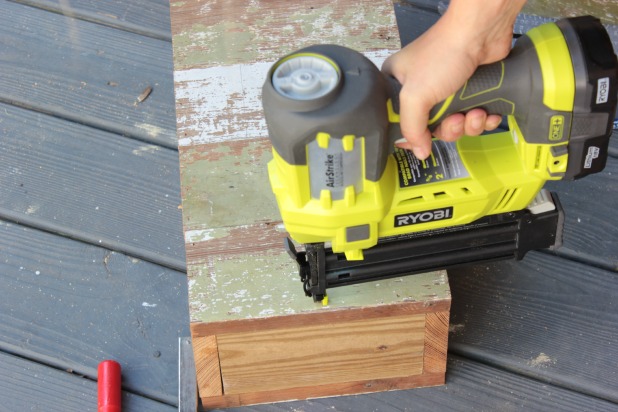
I ran a few beads of wood glue and attached the back pieces to each side with my battery operated brad nailer so that the back overlapped the side pieces.
Then I flipped her over and attached the front pieces the same way.
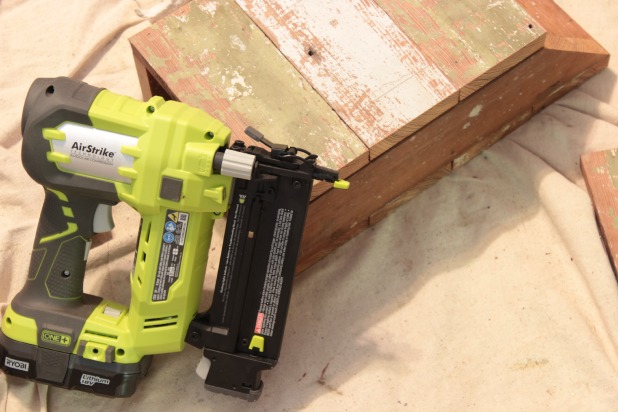
Now, I knew the top was going to be a little less straight forward because of the angle.
Square cuts weren’t going to cut it.
Somehow I determined that the angle cut I needed to make was a 45 degree angle. I’d like to think it was very particular mathy calculations, but I think I just got lucky by using our little triangle square to guess. 🙂
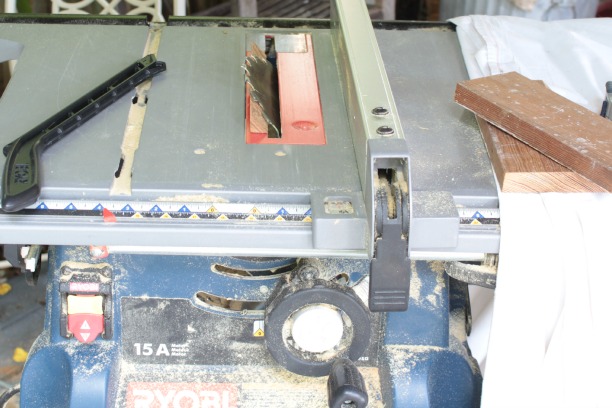
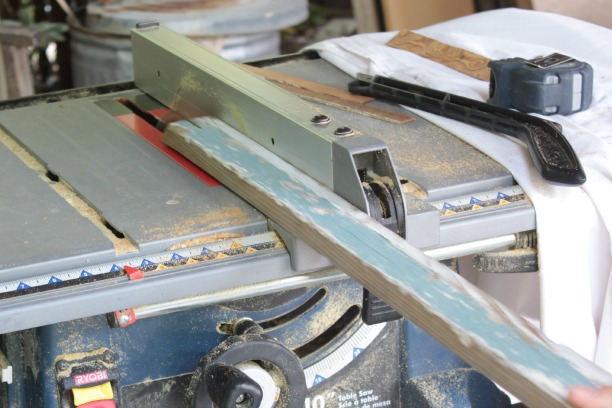
So I set our table saw blade at a 45 degree bevel and I used the black tool in the left of this picture to push my little pieces through the table saw to get the angled cuts.
And then I literally just did a few sliver cuts on the straight edge to get the two top pieces to fit just right.
A couple of discoveries were made here.
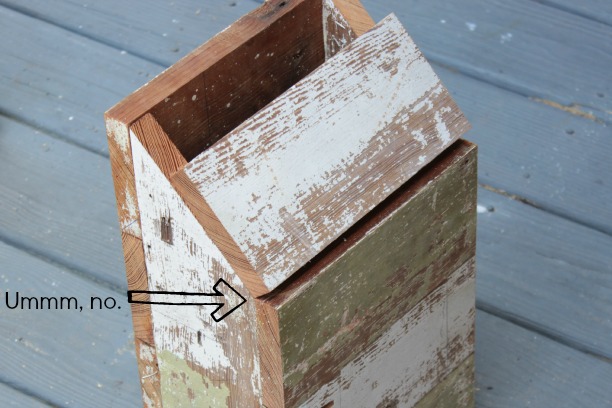
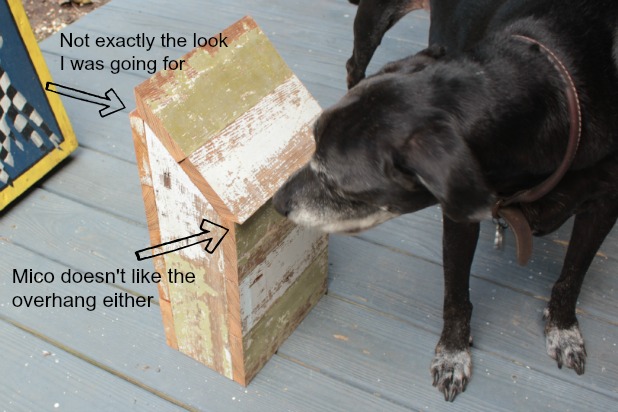
1) I hadn’t taken into account that angled cuts would leave longer edges than the width of the wood, and
2) I should have cut the sides 15 inches in the back so the top piece would sit “inside” the top of the back and not above the back.
What’s a DIY project without a few hiccups, right?!?!
Another scrap piece of wood to the rescue, this one straight out from under our crawl space. We be classy.
I just measured how much height I needed to add to the back so it would line up with the top of the top piece and ripped it to size with the table saw and cut it to the 9 inch width with the miter saw.
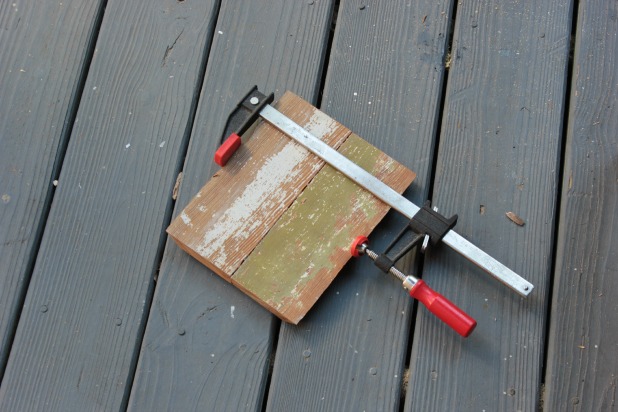
Once that piece was added, I just used the brad nailer and nailed straight down from the top, I double checked the top pieces were the right size and then I glued the straight edges together and clamped them and let them sit overnight to cure.
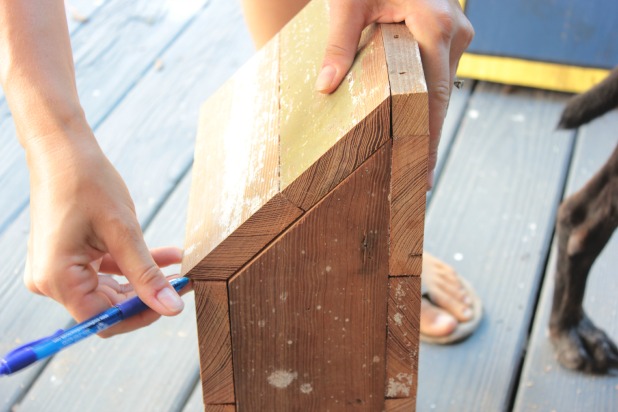
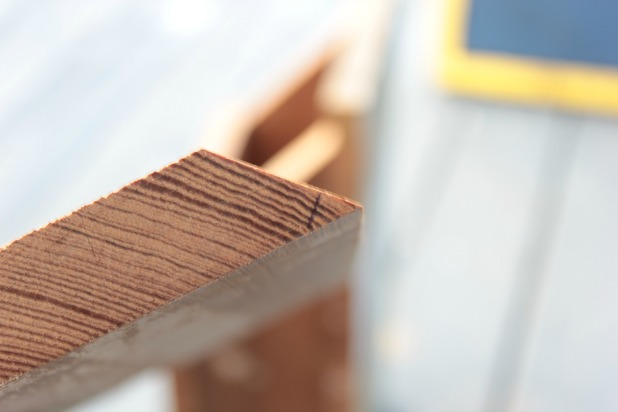
The next day I lined up the top and marked where I would need to cut to remove the overhang.
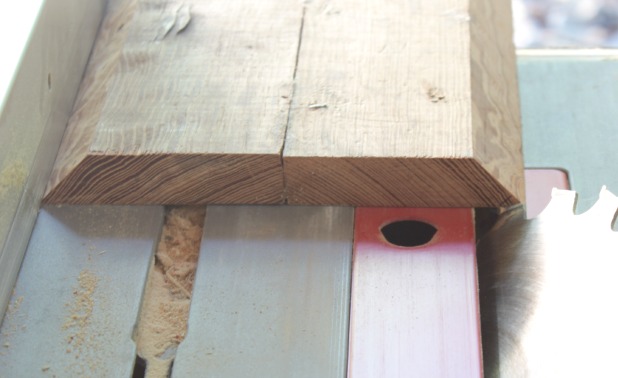
And I used the mark to set the bevel on the table saw blade. In other words, I avoided measuring of any kind. 🙂
Mark.
Lining mark up with blade.
One more piece of scrap wood, ’cause we’ve clearly got a collection, cut to the size of the opening in the bottom and brad nailed around the perimeter.
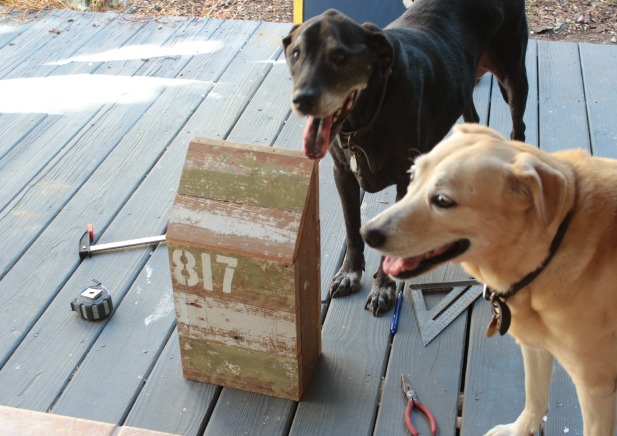
Some supervising from the girls.
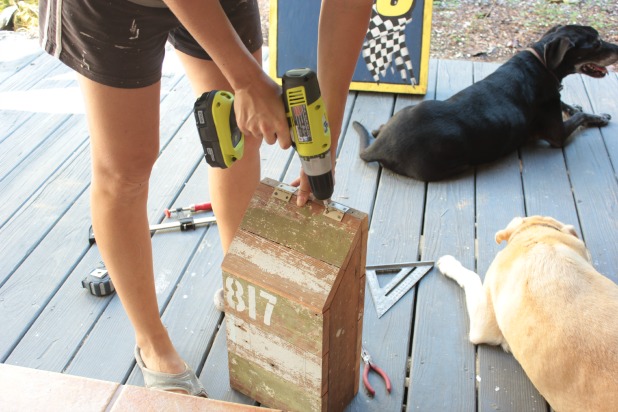
And we’re ready for hardware.
I actually took down a set of our kitchen cabinet doors that will be going in the eventual kitchen renovation anyway. Why waste the hardware, right!?!?! (see the cabinets here if you missed them)
They seemed perfect for this.
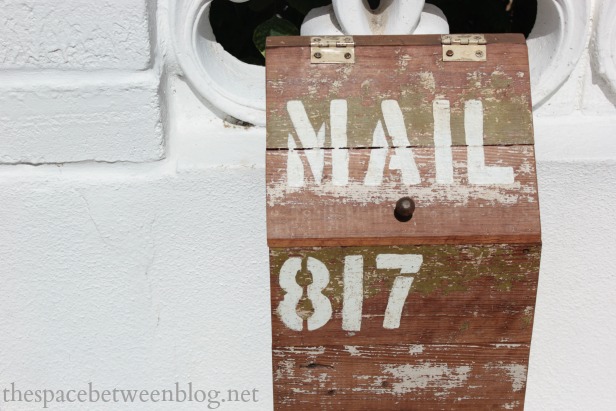
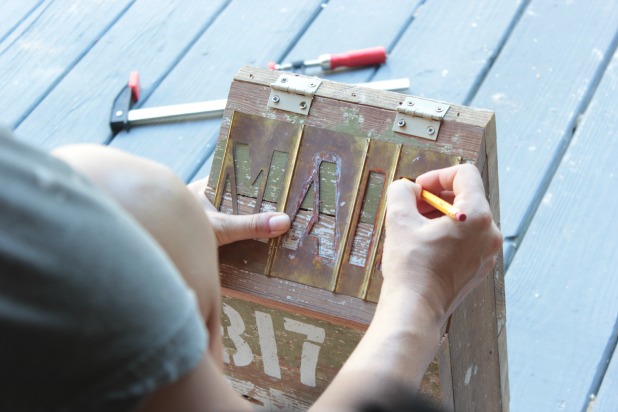
And I used my favorite brass stencils from my mom to leave no doubt about the purpose of this eclectic little box.
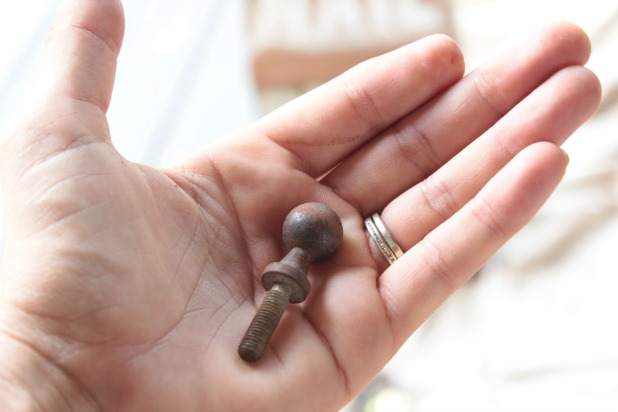
One last little serendipitous find was this rusty, iron knob that was hanging out in our shed … you know the one that is a thrift shop. 🙂
A light sanding and a little stain (leftover from our guest bedroom floor) and she was ready for her street debut!
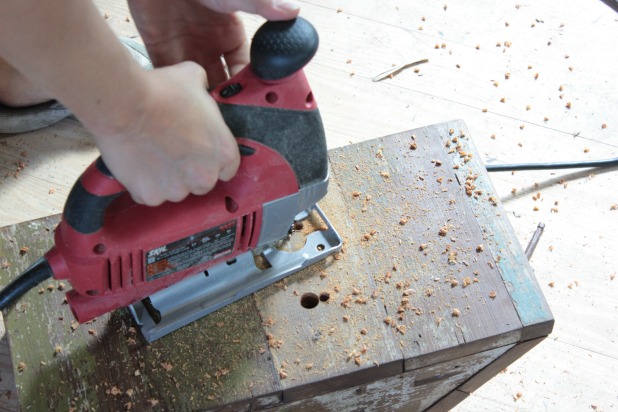
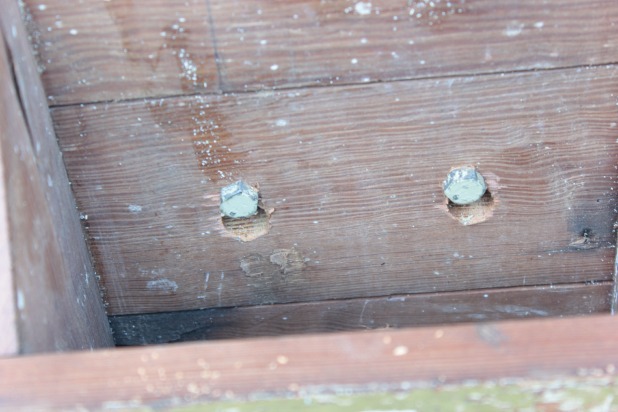
She’s 9 inches wide so I drilled two holes 3 inches apart in the back of her big enough to fit the head of the heavy-duty screws I was going to use. And I drilled a smaller hole right above it and cleaned up the edges with a jig saw. (This should all make sense here in a second.)
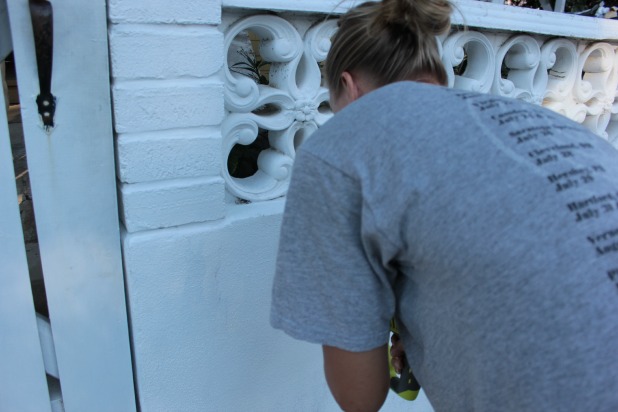
Now to get the large screws securely into our concrete wall I was so excited to use 2 new tools!! So excited in fact that I got this awesome picture of me using the rotary hammer to drill the holes into the concrete.
Hahahahaha 🙂
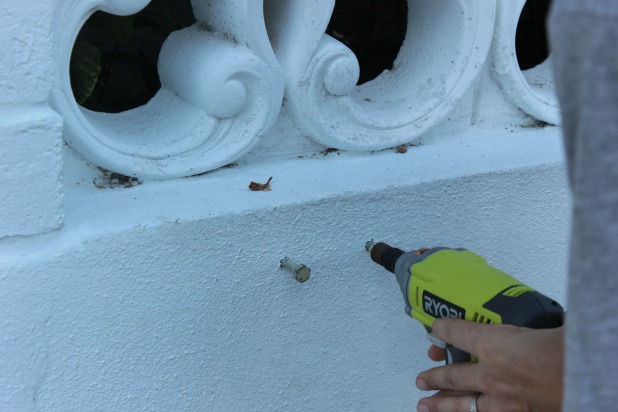
It worked so good I just kept right on working and didn’t even bother to check my picture. Basically it’s a drill that has a hammering function. And just to be sure I did try to drill the holes on the basic drill setting first with no luck. But switch over to the hammering function and I was showing that concrete wall who was boss.
And then I used the impact driver to drive in my large screws, leaving an inch exposed so I could slide the mailbox onto them.
Again, this tool made this job so easy. Having the right tools makes all the difference. I’ve ruined many a screw trying to screw them into concrete. This method was awesome!!
And here’s where my little hole drilling strategy comes into play, I wanted the screw heads to sit tight up against the back of the mailbox … here’s how that all looks from inside the mailbox.
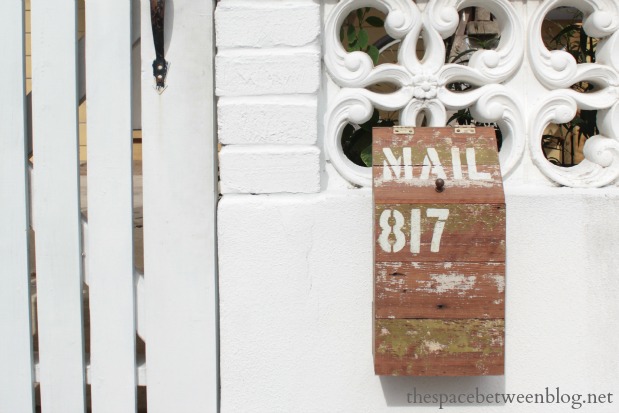
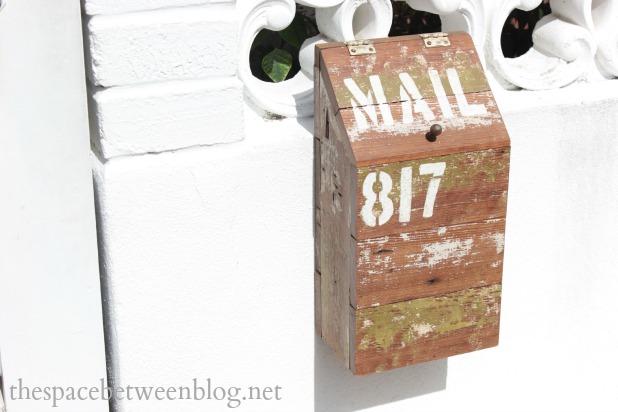
And in her glory in the Key West sun.
I love her.
But I know she’s not for everyone. She’s a little crusty and quite a bit rustic and perfectly Key West quirky. (And we’ve had quite a bit of rain this week and she is water tight.)
And FREE!!
We did consider buying one for about point 3 seconds, any styles that we would have considered were too rich for my taste, and I would always prefer a one of a kind.
I say, bring on the Justin Timberlake tickets!!!
PS. This post was not sponsored by anyone. But I did meet all kinds of awesome Ryobi peeps at a recent blog conference and they sent me their set of 18 volt lithium battery tools to try. And I will say, I LOVE THEM! I heart a hefty power tool, and definitely wondered if these battery operated versions would work … and they are great. And the dogs don’t hate that I don’t have to plug in the compressor to use the brad nailer either. 🙂 (Whatever that double negative means.)


Gina says
Love it!
Gina says
Forgot to mention your girls trip sounds fun! I’ve gone away for weekends but never too far away. Usually just an overnight to the mountains or a lake house. It’s been a while a him in need of a get away!
Karah says
I’m really looking forward to my first real get away!
Sue says
I love the mailbox! And especially what will be in it very soon! Whoop, whoop! Oh, and he released volume 2 of the new album on Monday. 🙂
cassie says
super cool! i love the way that looks!
Karah says
thank you cassie!
Anne@DesignDreams (@ddreamsbyanne) says
Super cute – Pinned!
Karah says
thank you Anne!
Thistle says
Love, love, love it! What a happy accident that you covered your other mailbox! This one is so cute! Totally pinned!
Happy day!
karianne
La Verne says
Karah, you have the BEST tutorials. Enamored with your mailbox. Where DO you get the energy? And, now I have to have pizza tonight and make sure there are leftovers.
La Verne@hope&salvage.com
Karah says
thank you so much La Verne!
Becca says
This is a great mailbox! {{LOVE}}
Karah says
thank you Becca!
Diana W. says
Fabulous! How brilliant are you!?
Karah says
thank you, Diana!
shirley@housepitalitydesigns says
Oh I so love the mailbox…and you know what I love more…is that you have a mailman that actually walks the streets and places the mail at your front door!…You said it…”quaint”…great job Karah!
Karah says
I know, right, it really is so quaint here … and we say “key west quirky” a lot. 🙂
Traci says
This is adorable. I have never heard of a rotary hammer but now my husband may get one for his birthday.
Love following along on your house progress.
Traci
Karah says
I think this style would look super cute on a post, too!!
Amanda Formaro says
Since Facebook is notorious for not letting page owners know when I tag them, I thought I would stop by myself and let you know I featured this post and my readers loved it! https://www.facebook.com/CraftsbyAmanda/photos/a.353593675216.349539.323548680216/10153936103700217/?type=1&stream_ref=10
Karah says
Thank you so much for the feature and for letting me know, FB can be infuriating sometimes!!
Katie Adams says
I love this mailbox and think it is absolutely fabulous! Thank you for sharing your tutorial.
Karah says
Thank you so much!!
Amy says
I’m making one! I wish I had that wood :/