This post may contain affiliate links which won’t change your price but will share some commission.
This isn’t going to be the first, or the last post about a spontaneous project that just took over me and happened on a random evening in a random week.
![]()
Remember the striped rug? That happened.
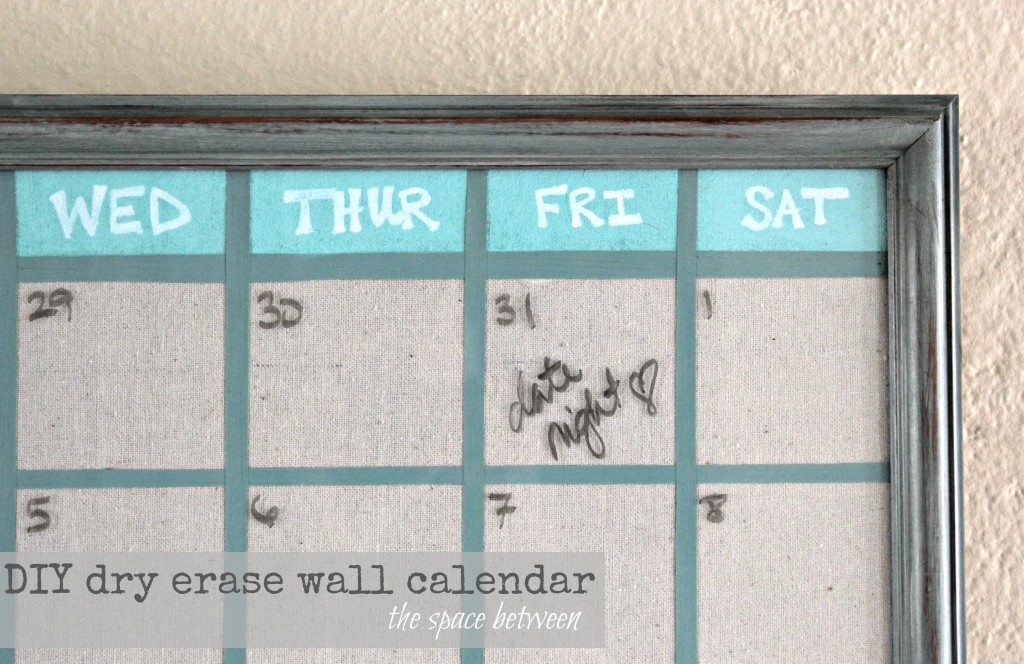
Well, in my quest for a functional blog room and with all of the focus on organization these days (you’ll be prompted to head over to Allison’s blog House of Hepworths to get your fill of Day 3 of Organizing 101 at the end of this post … you won’t want to miss it!), I had an idea for a diy wall calendar one night and ran with it.
I used an old frame we had gotten a few years ago at the same auction where we bought our couches.
I layered Annie Sloan Chalk Paint in French Linen, Duck Egg Blue and Provence. I sanded, added just a hint of Old White and finished her off with the light wax and just a touch of dark wax.
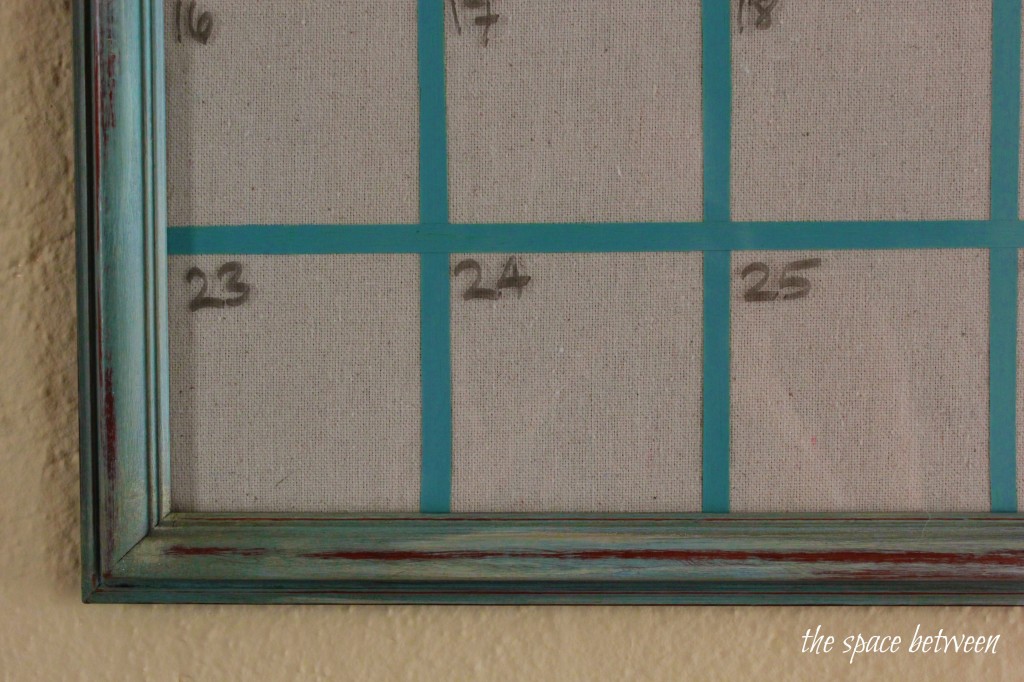
I covered the cardboard frame insert in canvas drop cloth secured with frog tape.
And here’s where I get to thinkin’ I can be pretty darn crafty sometimes.
I painted strips of Frog Tape! (I know, not rocket science, but got me excited about this little project for sure.)
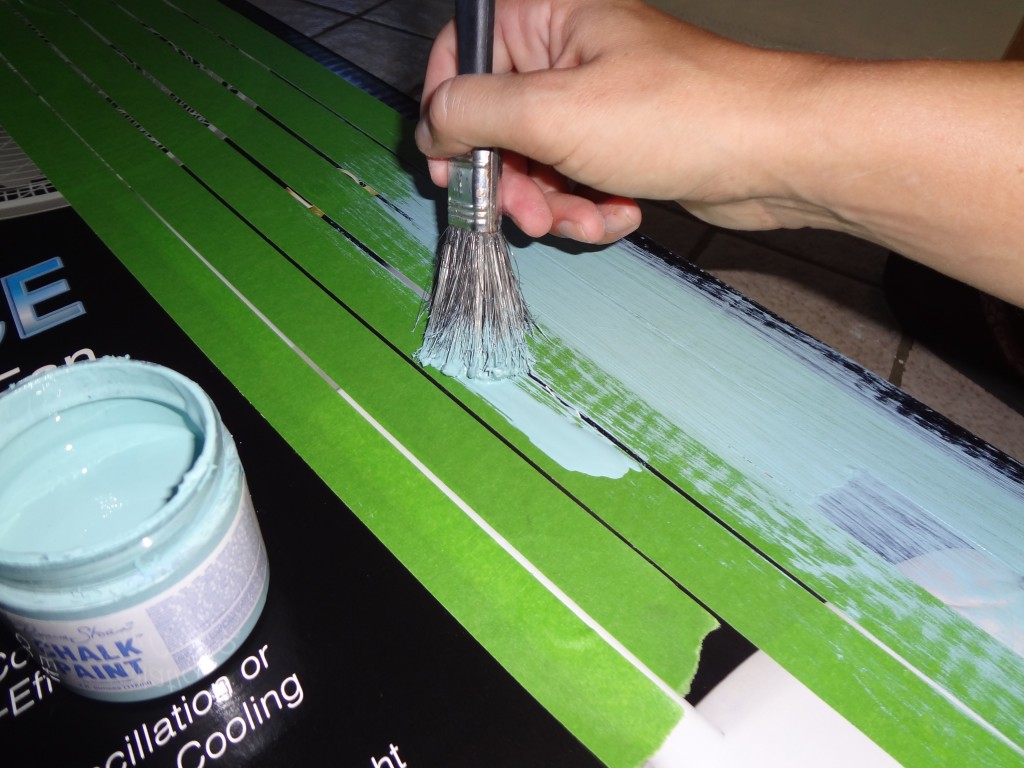
I taped enough strips of tape (measured to the right height and width) onto the box of a fan we just bought that day.
While the paint was drying I marked off a few inches at the top of the canvas. The plan was to use my little $1 Walmart stickers that I used on the Eat. Drink. Be Married. tray and white spray paint … so when I removed the stickers I’d be left with cute lettering for the days of the week.
But I wasn’t. I think the canvas just absorbed more paint and it seeped under the stickers. Plan B was to hand paint in a different color around the stickers … and that didn’t work out either. 🙁 Sorry for the bad night shot.
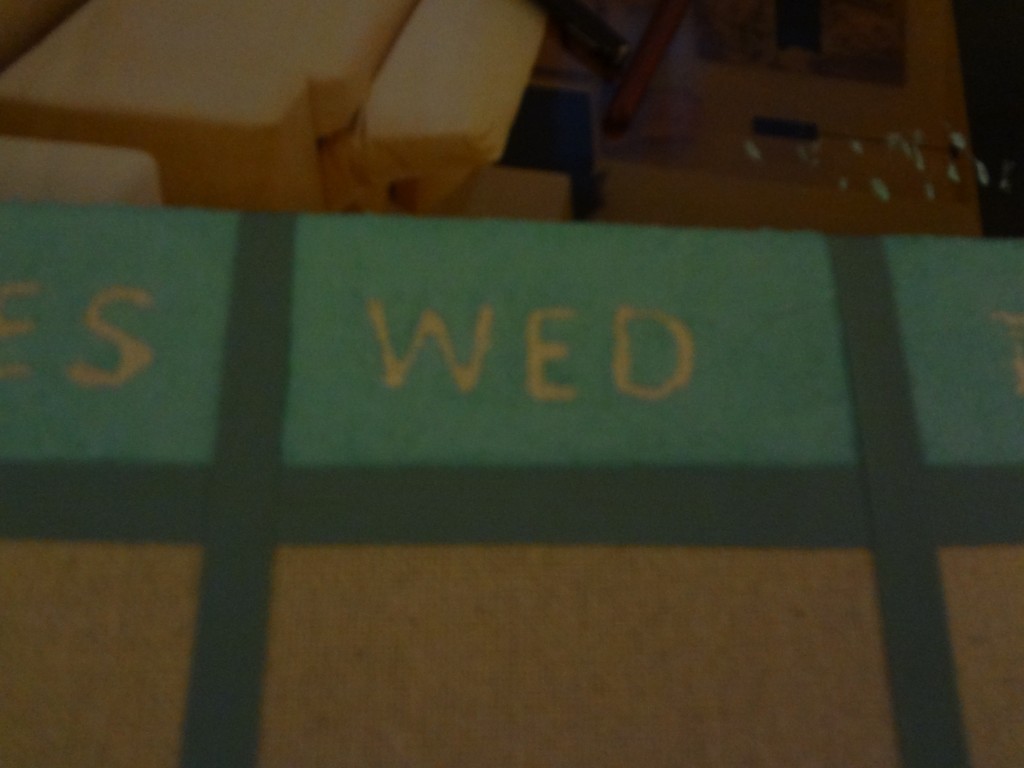
By now I was sick of trying to figure out the lettering so I went ahead with my painted tape lines. Using a straight edge and exacto knife, I cut the width of the tape into thirds.
I even drew up a little set of ‘plans’ for my new wall calendar because I am a dork.
Measured and marked my lines on the canvas accordingly, and then just connected the marks with tape.
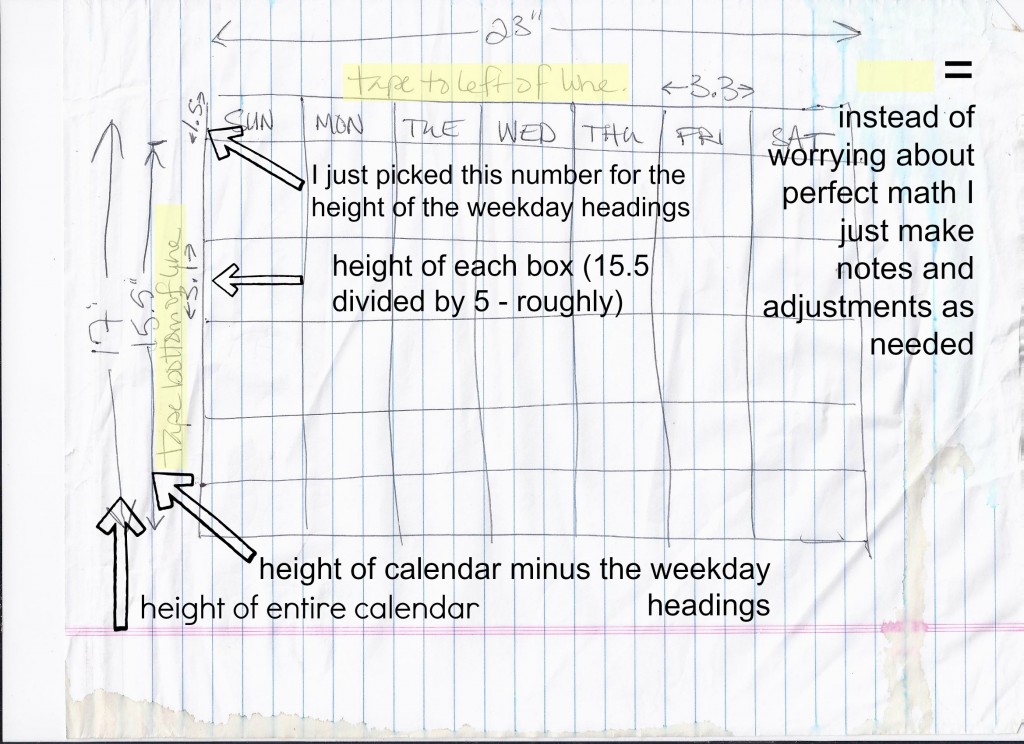
For the weekday lettering I ended up just painting the sections and then free handing the weekdays in with my white paint pen I used for our L.I.F.E. wall art.
TIP!!! If you have a frame that doesn’t have glass in it, you can have a piece of plexi-glass cut to fit.
Then just reassemble your taped, painted, canvas covered, cardboard insert back into your frame.
Use a dry erase marker to mark out each day.

And put your plan into action! More details on how to go about doing that are here.
I am using my new calendar as a way to schedule my one optional blog task a day … what I call the ‘back of the house’ stuff. These priorities are constantly shifting, so it’s nice to have the dry erase board where I can switch it around every day if I need to.
Like when I pretend my schedule looks like this. 🙂

![]() NOW, it’s time to see how Allison keeps organized with school lunches at House of Hepworths! Hopefully you’re enjoying the Organizing 101: Back to Basics series … it has totally inspired me, that’s for sure. 🙂
NOW, it’s time to see how Allison keeps organized with school lunches at House of Hepworths! Hopefully you’re enjoying the Organizing 101: Back to Basics series … it has totally inspired me, that’s for sure. 🙂
But before you go, tell me, how do you keep track of your daily plan? Planner? Wall calendar? In your uber organized brain?


Kelly @ Eclectically Vintage says
Ugh – mathematical equations involved! Since I’m always on my laptop, that’s where I keep my calendar. Not as cute as this of course!
Kelly
Maury @ Life on Mars says
Love how this turned out! I’m going to need one before long. I feel like life is getting busier and busier!
Kelly @ Corner of Main says
Cute. It turned out really well!
Jessica @ Stay at Home-ista says
So now let’s see the “real” schedule! And I love you “plan” for the calendar, very organized of you!
Sheila @sZinteriors says
Karah, I can’t tell you how much your post yesterday gave me the kick in the pants I needed! My day was so much more productive, and my mantra was tackle bite size pieces. I reflected on your tips as I moved from moment to moment, and am still processing some of the changes I want to make – like breaking projects down into steps on my To Do list. That was a revelation, because I never thought to do it that way. So, thank you!
PS – the book was mailed out yesterday!
Mckae (kaes corner design) says
It turned out so good! I love that you painted the frog tape, brilliant!
Anne says
that is some serious DIY’ing! Great idea!
Jen says
Love it!! I need to make one of those for my crafty corner!
shirley@housepitalitydesigns says
You are right…you are one darn clever, creative girl!!…Love it…Annie Sloan can cover the world..and tape too!!
Love, love it!!!…
Kelly @ View Along the Way says
Great project… and that’s an inspiring blog calendar! I need to do something like this… :-/
Robin @ happilyhomeafter.blogspot.com says
For someone who only recently received her first package of ASCP you’re mixing, talkin’ and waxing like an old pro 🙂 Very cute idea, hope the date squares are large enough to hold all that must be on your busy schedule. So that very clever paint the painters tape trick does have me thinking … thanks!
cassie says
super cute! much more attractive and efficient than my old fashioned wall calendar!
Anne says
Karah,
That turned out great!!! LOVE that color too!
xx
Anne
Rita@thissortaoldlife says
That is really stinkin’ cute! But I’m with Kelly–too much math when I’ve got my electronic calendar…But you’ve got my brain going. Currently giving my work office a little love and might need to incorporate this somehow…
Karen says
This is really very, very clever. Would not have thought to paint the tape!!! Love the way your calendar turned out.
Steph @ The Silly Pearl says
Love it! We need one of these at home. Thanks for showing how you figured out the measurements!
Carrie says
Great idea, and it’s fantastic that you can reuse it month to month without redrawing the lines each time!
Mary Beth says
Wonderful idea! I may try my hand at this.
Evey says
LOVE this!
Marilyn says
Just featured this great post…too good not to share!
http://4you-withlove.blogspot.com/2013/01/best-of-2012-yours-and-mine-features.html
Betty819 says
Did you give the measurements of that picture frame? What a great idea you have created. Last night or I should say “wee hours of morning” when i was trying somebody’s helpful tip for non-toxic oven cleaning method after an oven disaster this week, I was browsing on pinterest and came across “101 things to declutter” or something on that subject. It showed this person wrote/typed things that she needed to declutter each day. I’m a clutter person, has to do with my ADD..at 70 yrs. old. I start many projects and go from one project when the mind wanders there without finishing the ones I have already started. I saw where somebody makes a list on legal pad/with lines or notebook paper and these projects don’t have to be done in order of importance. I can do that(I think)but with the dry erase method, you could erase the completed project and have room for another task in its place. This person marked through with a highlighter when each task was done.
I wished I knew how to do it via computer but I’m computer challenged.
Would you hang that frame up or make it portable so you can move it from one room to another. Maybe one of those for each room would be easier?
I need a lot of help and encouragement..willing to hear other people’s way of tackling paper clutter.
Karah says
I can so relate about project ADD, it’s hard to not jump from one to another. You can use different colors on the dry erase calendar too to designate different urgency of items. The measurement of that frame is 18 x 24. Thanks so much for visiting.
Louisa Taylor says
Love it, I have a dry wipe board that I use for menu planning and it is just ugh. After reading this I now know how to make it lovely 🙂
Karah says
Awesome!! It’s a pretty simple upgrade, too. Let me know if you have any questions about it!!