This post may contain affiliate links which won’t change your price but will share some commission.
Have you ever done a project that was so easy it was almost embarrassing? Like, can this really even be called a project? And, really, should I even write a post about this ‘project’ or will I just look like a bit of an idiot when everyone reads the post and has the same reaction? “Duh, Karah!”
Well, lucky for me, we had so much fun with the It’s a Cinch projects, and it seemed that all of you are also big fans of the super simple, almost-can’t-call-it-a-project projects, that we’ve decided to dedicate one day a month to those easy peasy ideas! Yippee! (Said in a kind of sarcastic, rolling your eyes, even though you know it’s a great idea kinda way.)
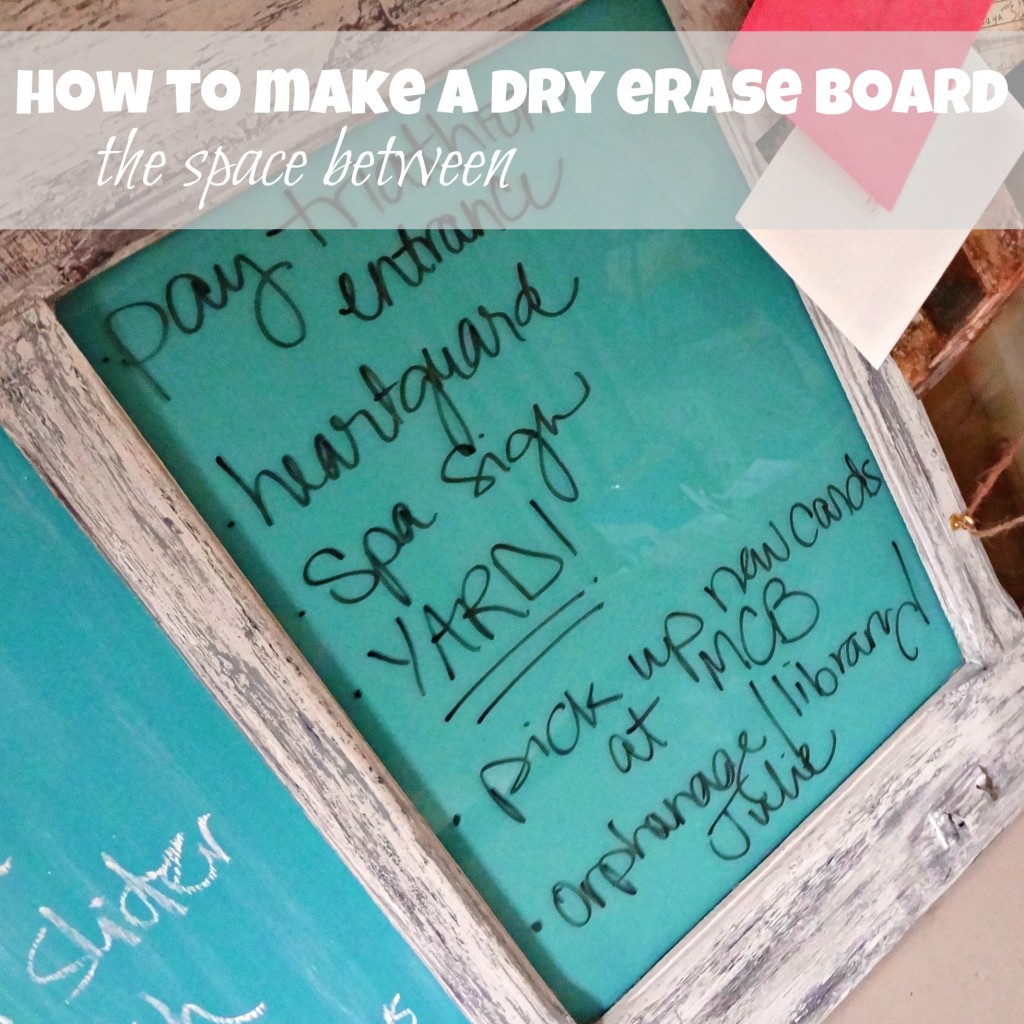
So, I now have the perfect excuse to post about how I took one of the window panels in the dumpster dive door I found, painted the backside and now use a dry erase marker to write directly on the front side of the glass. And, with my new aqua backing call it a “DIY dry erase board”.
Did you catch all of those very specific project details? 😉
Let’s take a closer look, shall we?!? And I warn you, this picture is not for the faint of heart.
 I’ll point out the 3 most noteworthy parts of this photo.
1) Apparently you don’t even need to put a complete coat of paint on the backside of the window for it to look like a pretty background from the front. #intentionalimperfectionismybff
2) No, I did not bother to re-finish the backside of the door. I haven’t shared with you the horror joy that was the actual door upgrade process yet. Another warning here, that post is definitely not for any woodworking purists. #lazydiyeratyourservice
3) Yes, there is all kinds of randomness going on on the floor and desk. #keepin’itreal
I was definitely surprised to see all of the bad painting action going on when I went into the closet since it really does look great from the front. Let’s remind ourselves how great.
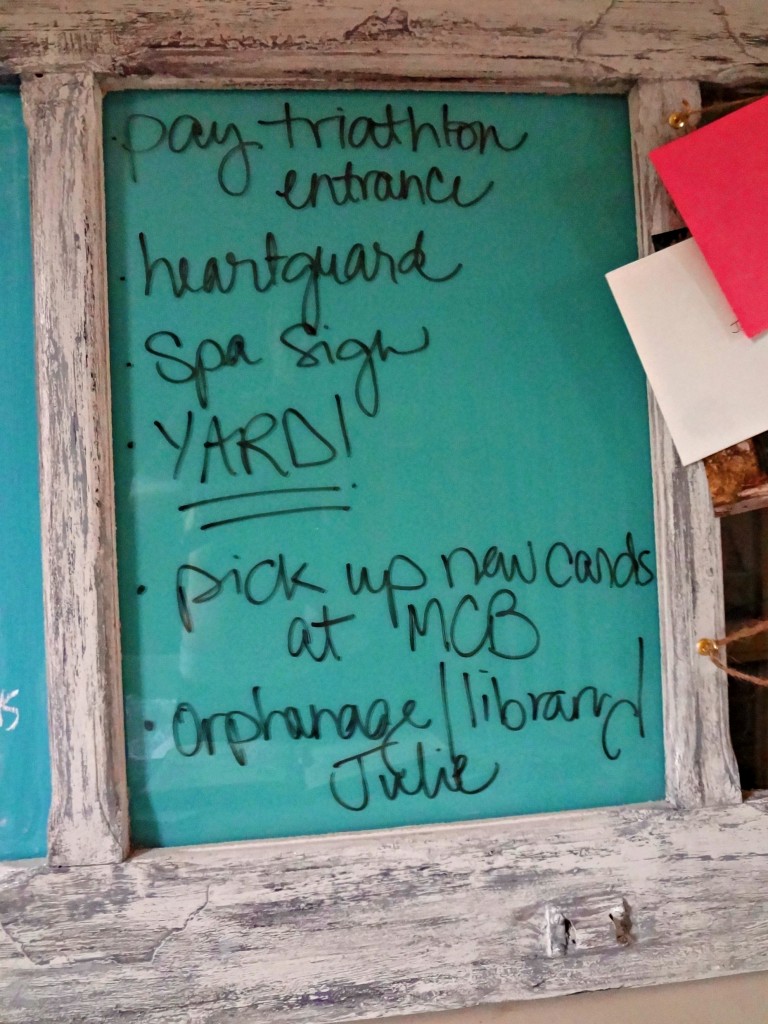 Seriously, not even a hint of the bad paint job hidden behind my fancy dry erase board. Phew! 🙂
And, uhhhh, yeah. I’m not one of those people with pretty penmanship and do kind of begrudge those of you who are. Grrrr. (Did I really just growl on the blog?) :/
And, I’m definitely not It’s a Cinching it again on my own. Click on the pictures below to see what my Mission: Possible gals tackled this time around. We’ll be posting a new It’s a Cinch project the first Monday of every month, cause who doesn’t like to start the month with a little somethin’ simple. 🙂 Especially after a weekend with a holiday dedicated to drinking margaritas. Am I right?
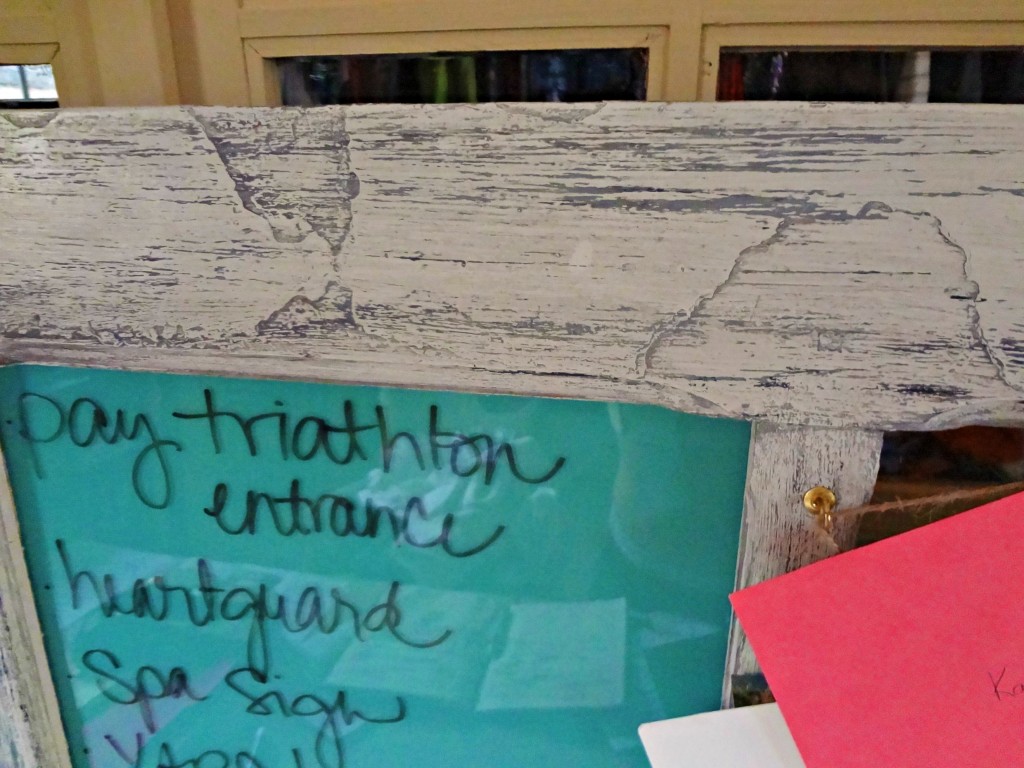
And one more look at the DIY dry erase board … try not to notice the laundry that needs folding in the chair and the papers that need filing on the desk. Thanks!
If you, too, love a simple project and have one you’d like to share please include a link in your comment to this post. I’d love to check it out and add it to our group It’s a Cinch pin board.
And, you can find the details of how to make the homemade chalkboard paint (to the left of the dry erase panel when looking at it from the front) here. And see more of the entire door here.
So let’s see it. What really easy projects have you tackled lately? Or, have you pulled anything fun out of a dumpster?
I am sharing this here and at: BNOTP, DIY Show Off, Home Stories A to Z, Savvy Southern Style, Remodelaholic, Today’s Creative and Sugar Bee Crafts and My Uncommon Slice of Suburbia.


andrea cammarata says
this is awesomely cinchy and just over the top fun and fabulous!!! i use to be all about the details — taking a ton of time and effort for every project…but NO MORE…i am all about the EZ PZ and this is a project that is just waiting to happen with those pain windows in the garage just screaming for some attention!!!!! thanks for sharing…this project plants a seed and i bet it will grow in MANY MANY different ways! thanks Johnny Appleseed…you deserve a pie!!!!! you hit this one out of the park (that’s Yankee stadium…could resist!!! : ) hugs…love ya!
Anne says
I actually prefer this idea to the chalkboard idea. Looks awesome Karah! Great idea!
Meredith & Gwyneth says
We love this link party because it’s such a great reminder that the little things can be incredibly gratifying! Thank you for hosting!!
Here’s one that’s so easy it’s embarrassing to post about:
http://www.meredithandthenewyorkie.com/2012/05/dumpster-dive-bauble-board.html
And yes, this is another one of Gwyneth’s dumpster dives!
xoxo,
mk & Gwynnie
Linda @ it all started with paint says
And here I was thinking you were going to show us how to make our own dry erase paint …
… how super simply and cinchy! It’s really all about the markers you use, right?
🙂
Linda
Kelli Frueh says
Just stopping by to brighten your day. I have given you an award. Visit my blog to pick it up. Congrats!
Kelly @ Eclectically Vintage says
That whole door is amazing! The back of the door is your (and now our) dirty little secret! If anyone is looking behind your door (sort of like people who look inside others medicine chests), you need to politely ask them to leave then write yourself a note on your dry erase board reminding you not to invite them back!
It’s a party in the front, business in the back message door!
Kelly
thistle says
That reflection will get you every time. I know. I just took pictures of myself….over and over and over again.
Love the project!
blessings,
karianne
Maury @ Life on Mars says
Definitely a project! and a super cute one by the way. Love the color you chose and it’s way cheaper than buying that ridiculously expensive dry erase paint (it’s like $80/qt… not kidding).
sherry says
Karah, This is super easy! Sorry, I can’t figure out how I missed out on It’s a Cinch party, hopefully I’ll be ready for the next one! Thanks
Lisa@budgetdesigngirl.blogspot.com says
I love this, Karah! Super cinch-y! 🙂
xo-Lisa
Kelly @ View Along the Way says
Cinchy, yes, but still fabulous and totally post-worthy!
cassie says
i know the feeling! i used an old mirror you couldn’t see into anymore as a dry erase board… call it a project.
kirby says
love these easy-peasy projects!
shirley@housepitalitydesigns says
Well, I certainly would not be embarrassed about the simplicity of the project…because this one is right up my alley!!!…You did not use your power tools…so you really got me now…I think I prefer the dry erase vs. the chalkboard as there is NO DUST..who needs more dust!…Love, love your “easy peasy” no power tools required project!!….So I do not have to hire the “saw czar”…
Holley says
Visiting from Coastal Charm! Great idea!
cynD says
I love it!! I have done this too!! I didn’t even have problem with paint uneven issues I used spray paint!! How fun is this! Write on wipe off all over the place.! I am with several other of the chickies who are not a fan of the chalk board thing… Heck if you are stuck you can even use lipstick or a crayon!! Just a little toughter to get clean but it can be done, Try that with your chalk board paint… Hey I am just sayen
Kelly @ DTTDidc says
Cinchy or not, your dry erase board looks great! And love the old worn paint on the door, it has so much great texture and character.
The faux zinc project that I posted recently is pretty cinchy: http://dttd-idc.blogspot.ca/2012/05/lets-create-faux-zinc.html
Jessica @ Stay at Home-ista says
Easy, cinchy, and the perfect color!
Jessica
stayathomeista.com
Dana @ Cooking at Cafe D says
Man, you are so creative. I see that window and I think:
1. Wonder if there’s lead paint
2. Could hang it on a wall.
3. Could spray the back of the glass with mirror spray.
4. I have no mirror spray.
5. I’m hungry.
6. Is that a gold finch?
You see how cool dry erase boards don’t just happen in my home!
Here’s cinchy project 🙂
http://www.cookingatcafed.com/2012/03/spice-up-your-organization-its-cinch.html
D
Amy@BuffaloRoam says
Easy peasy? Right up my alley! But seriously, its so cute and just a bonus that it’s simple to do!
marissa says
I love this, such a great idea. I hope you’ll stop by and add this and any other posts you’re proud of to my Wednesday What We Wore and Made Link party
marissa
http://raegunwear.blogspot.com
Tisha @ Delectable Home says
Love it! And I need creative people like you to copy – I never would have realized I could just write on the glass. Besides, if you’re training for a triathalon, you don’t have time for terribly complicated projects. Thanks for linking up!
HeartVintageDesign says
Like the aqua color : )