This post may contain affiliate links which won’t change your price but will share some commission.
So, I definitely don’t consider myself an expert on furniture transformations, although I’m not afraid to give anything a try. But I helped a friend of mine give her cute little bike cart an aged look recently and I noticed one big hesitation she had through the entire thing that I kept saying “this is the trick to an authentic looking aged paint technique”.
And I thought, if this was news to her it might be news to you, too.
First, her cute little bike cart.
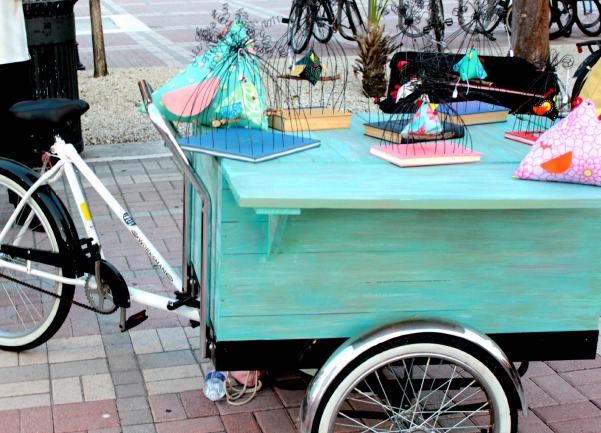 And of course I didn’t take any before or during pictures because I really had no plans to blog about it. But the thought that a lot of people who consider tackling this type of project could get stuck with a little project paralysis made me think a tip that you NEED to know is in order. 🙂
Here’s the scoop, my cutie friend Erin just opened a new booth out at Mallory Square here in Key West to sell a few little crafts she makes to unsuspecting tourists. She had painted the box a beautiful color of teal but in her own words it was “just so teal”. And she wanted to know if I knew how to give it an aged look and if I’d be willing to help.
So, I said “sure I’ll do it help”. 🙂
But when I started explaining about the multiple steps I could see she was getting a little nervous.
I guess it sounds like a lot, but the truth is, each layer is such a light coat because you’re not trying to “cover” each layer fully. You’re trying to create the look that each layer is just peeking through, like it has happened naturally over time.
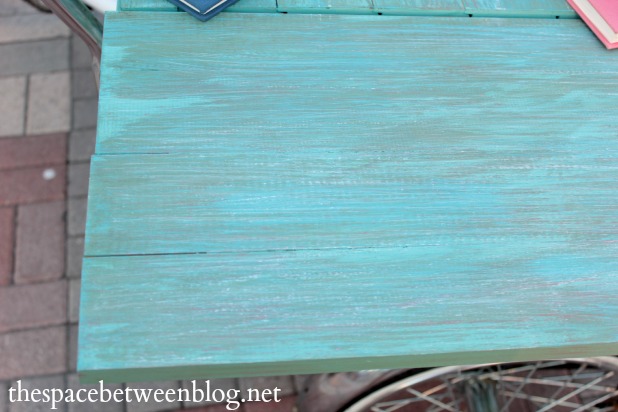
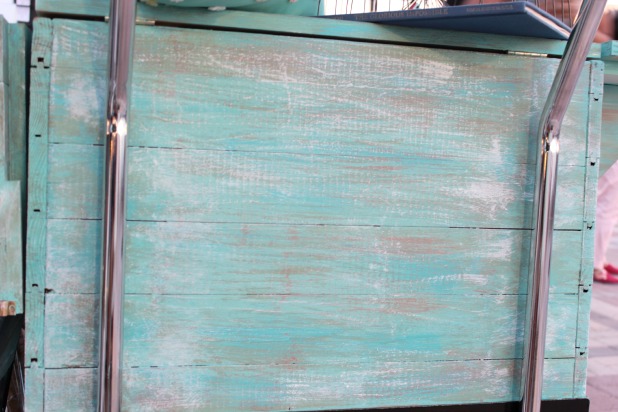
Here’s how we went form “it’s so teal” to the perfect aged look for this adorable cart.
- full base coat of teal
- dark brown stain over most of the teal to tone it down to a more muted shade – we used ZAR brand in Natural Teak
Then light, dry brush strokes (barely any paint on just the tip of the brush) of the following colors with imperfect coverage (darker in some spots, lighter in others)
- bright turquoise
- coral
- white
I suggested to finish it all off with a light sanding as desired, but as of these pictures she hadn’t yet … and it still looks pretty good.
I could tell through the whole process that she wasn’t sold on ending with the white.
And before every new coat she would say “Just try a little spot on the bottom to see if I like it”.
And then half way through each step she would say “This (insert color here) totally makes the look”.
So don’t be scared. Worst case scenario you can paint it all one color again and start over. But there really isn’t a way to screw this look up.
And another tip: barely put any paint on the brush. It is so much easier to add more paint in layers than remove it to get the subtle look you’re going for.
Oh, and trick #3 (or is this 4?) – use long strokes over the entire length of the piece, it’s hard to get a consistent look when the brush leaves obvious stroke marks.
Case and point, where her bike handles were gave us a little bit of trouble, it’s hard to get the full brush strokes with bike handles in your way. 🙂
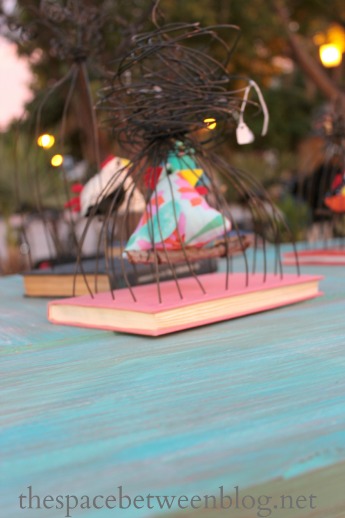
But Eryn ended up loving the look of the bike and I ended up seeing one of the most awesome sunsets ever when I went out to Mallory Square to see her bike all set up.
And, you can check out a few other furniture transformations I’ve done here … like a map covered dresser and a white washed buffet turned tv stand.
Read all of the tips in the series here.



Rebecca Moose says
Flat paint? I love this looking want to paint two old bookshelves with this technique. Please advise….Rebecca
Karah says
Hi Rebecca! Honestly it doesn’t really matter in my opinion, I do think one of the colors if not two were a semi gloss and satin. I think a flat paint would be great though, I tend to use whatever I have on hand (we were using old sample paint pots from when my friend had painted her house). Have fun with it!!