So we’re tearing out walls and building them back. And resurrecting old wood slat walls. And adding wood and rope accent walls.
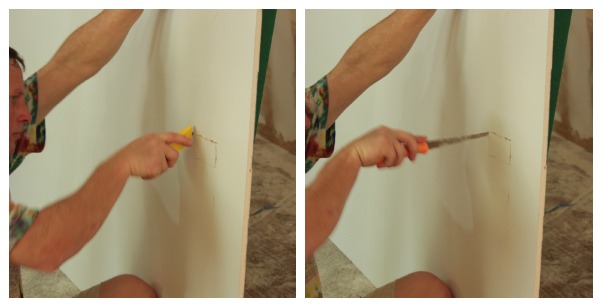
And all the while we’re running new electric and updating old electric and using old outlet holes that have previously been cut and cutting our new holes in new drywall trying to get all perfect looking outlet holes.
This might surprise you but probably not, but there are times that our cuts aren’t exactly professional grade.
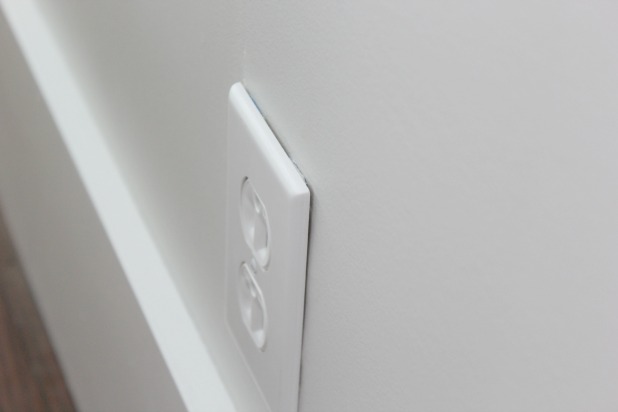
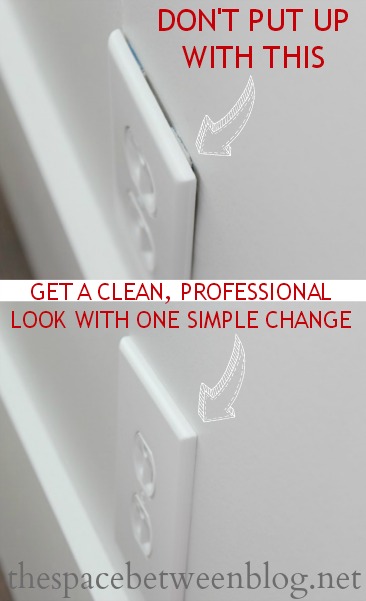
They could either be off a smidge. Or maybe we got a little aggressive and the drywall paper ripped. Or we added a new outlet box after the new drywall and we end up with an imperfect looking outlet and cover.
We use a utility knife and a Stanley Utility Knife and a basic Jab or Punch Saw.
Womp womp.
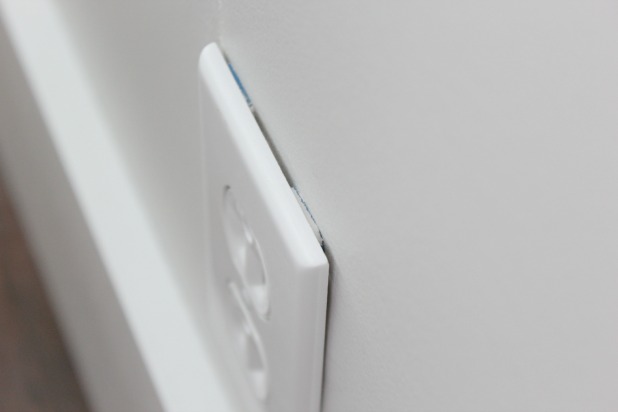
And upon closer inspection.
Double womp womp.
But this little problem has one of the most simplest (I say it because I can … according to my cousin leasest is a word so we’re adding most simplest, too.) solutions ever.
The trick to perfect looking outlet holes:
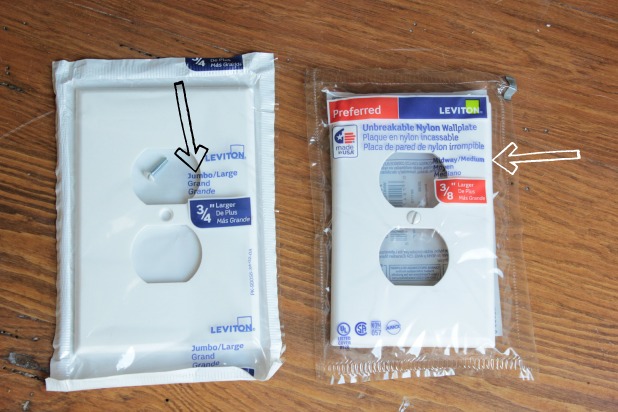
Outlet cover plates come in different sizes!
Buy the extra large size on Amazon here.
We actually learned this a number of years back when the err of our ways was much more egregious than it is now.
But every once in a while you’ll hear one of us say “this outlet is going to need a jumbo”.
That’s code for “I messed this hole up a bit”. 🙂
And then like magic, all sins are forgiven.*
*Let’s not go getting all sinful just to test the theory, k?
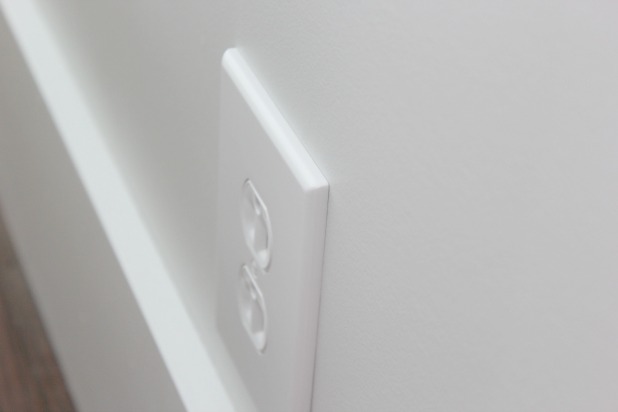
Here’s the same outlet with a large cover plate.
A much cleaner look, don’t you say? It really is the perfect looking outlet hole, no imperfections.
I have gone down the “just caulk that” road with this, too. It’s an option, but is more trouble than it’s worth if you ever want to remove the cover to repaint or for any other reason.
And if you’re having trouble getting our outlet to sit flush with the plate cover, you can solve that with this easy little tip.
This is part of a 31 day series of tips, find them all here.
*post contains affiliate links
