It’s the new must-have…the replacement for the little black dress, or maybe the accessory to…I don’t recommend trying to wear it.
But, I actually finally decided what she’s going to wear.
 You might remember her back story? This entire project only cost the $2 I spent for the canvas at Goodwill. Heck yeah!
She did manage to find her way onto the gallery wall, even though she wasn’t done.

Now…she’s done.

I am quite infatuated with all of the word and letter art out there. I recently turn a pallet into word art. But, as I mentioned here, I don’t have any of those fancy machines that can create what I tell it to.
And I can’t always create what I want to. :/
Luckily, this one worked out.
I first made a paper template the same size as the canvas.
 I just scribbled with pencil, used different stencils I had to see what size lettering might fit, played around with ideas.
I had received some GREAT suggestions on what to do.
Maybe some string art like Zoe.
Love the idea, but think this little black canvas is too small for it.
Then I got the awesome suggestion to put my word of the year on it in a dictionary type font. Who put that comment? And on which post? I’ve looked all over and can’t find you…I want you to get credit for the awesome idea. Let me know if it’s you!
Update: It was Leena! Thanks for the great suggestion!!

I had a moment where I thought I might put something kitchy, maybe a funny saying taken from a little DIY group therapy.
But the moment was fleeting.
In the end, I went with dates that are important to us.
I picked 5 different fonts I liked. I figured it would give it a more eclectic feel. AND, I would have a better chance of pulling it off if I wasn’t trying to make all of the numbers look the same. Can you say…intentional imperfection. 🙂
I increased the number size so the width of each date fit the whole canvas. Then I laid them out in order of date…and was not bothered when I discovered I was going to need to overlap them a bit. (Read: not interested in re-sizing and reprinting the numbers.)
 My plan was to trace over the outline of each number hard enough that I could see it on the canvas.
 Again, I say, luckily the plan worked.
 I just used some paint I had on hand mixed to different shades. And for a couple dates I added some water for a more paint wash look.

I wouldn’t go so far as to say this project was easy peasy. Very good light is necessary to see the vague outline imprint. A very steady hand is necessary to create good looking numbers essentially free hand. And patience is just always a necessity. 🙂
A little before and after just for fun.
 Once I knew what I was going to make and had picked out my fonts, this project took me a few hours…including the drying time between dates that wouldn’t be necessary if your numbers don’t overlap.
I have to say, I love her. She’s meaningful, a bit whimsical and not overly crafted…a nice addition to an already busy gallery wall.

What about you…what would you have done with the little black canvas? Have any number art of your own I should check out?
And, have you gotten all signed up on the new Linky Follower tool? If so, and want to follow me, please let me know you did in the comments so I can follow you back.
 Click here to follow this blog and view my other followers…
I am sharing this project here and at:
BNOTP, Home Stories A to Z, Savvy Southern Style, Remodelaholic, Today’s Creative, and Sugar Bee Crafts.
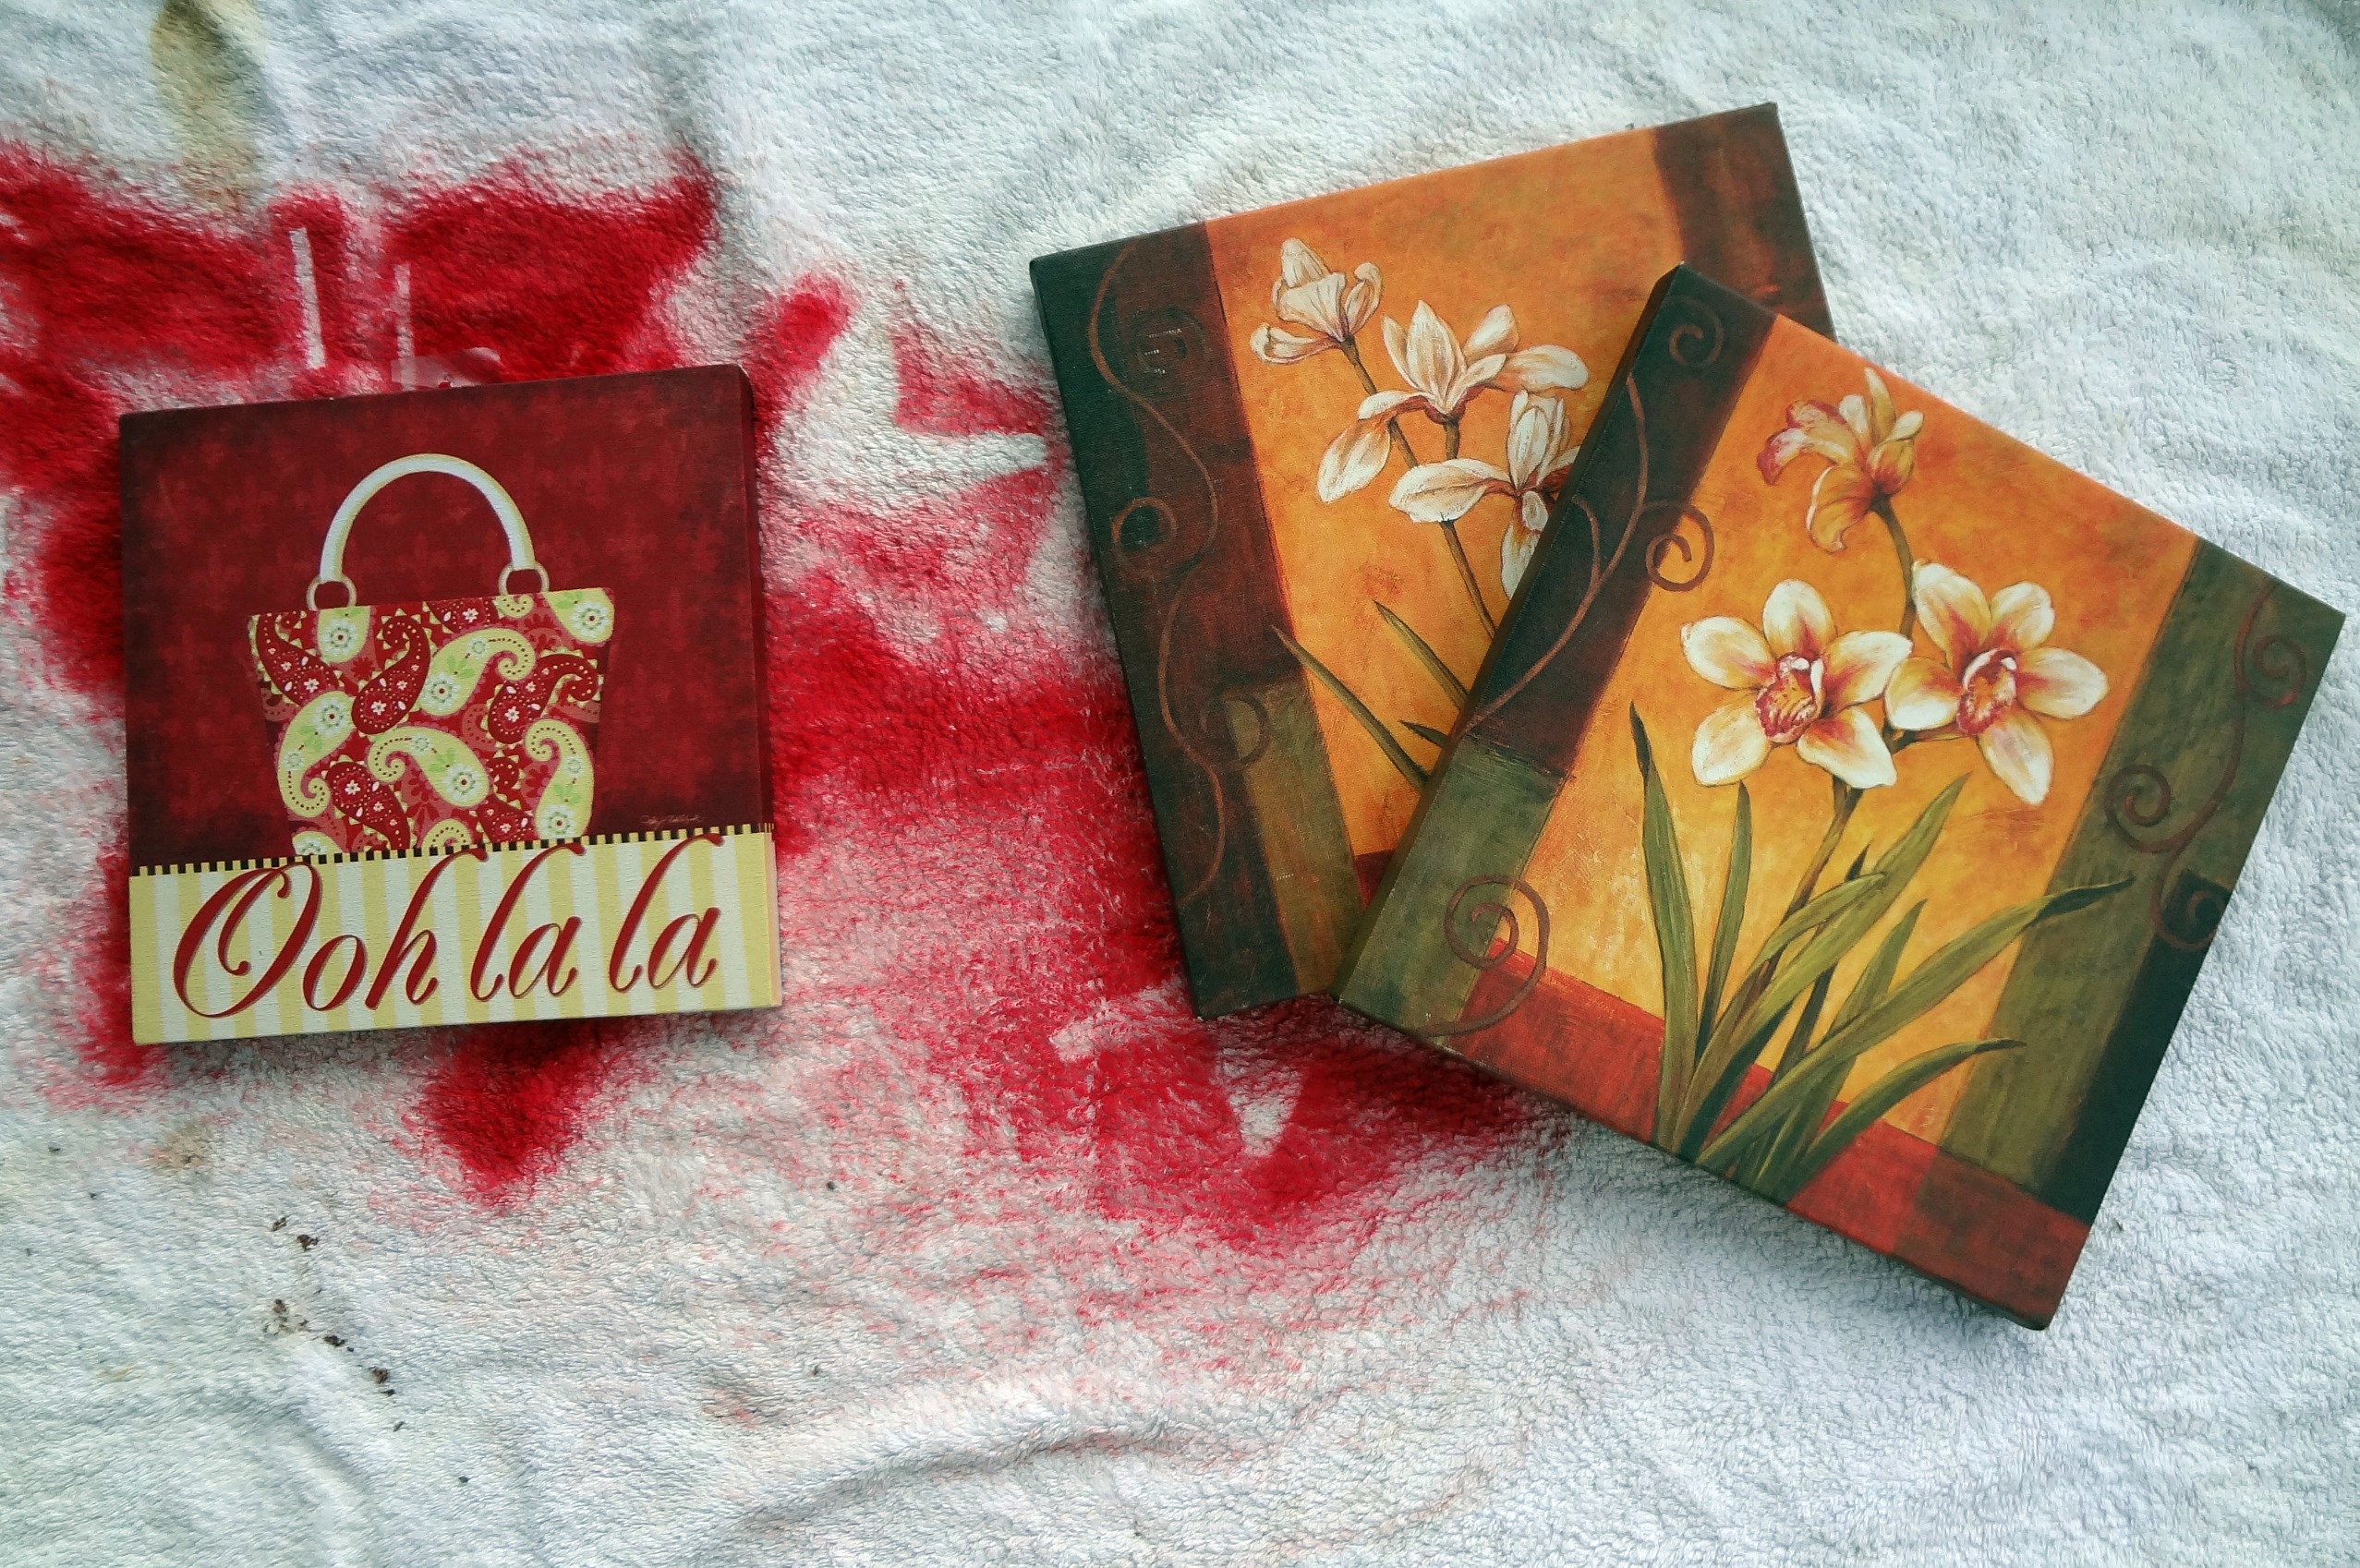 They are the two on the right. The one on the left got painted black and turned into
 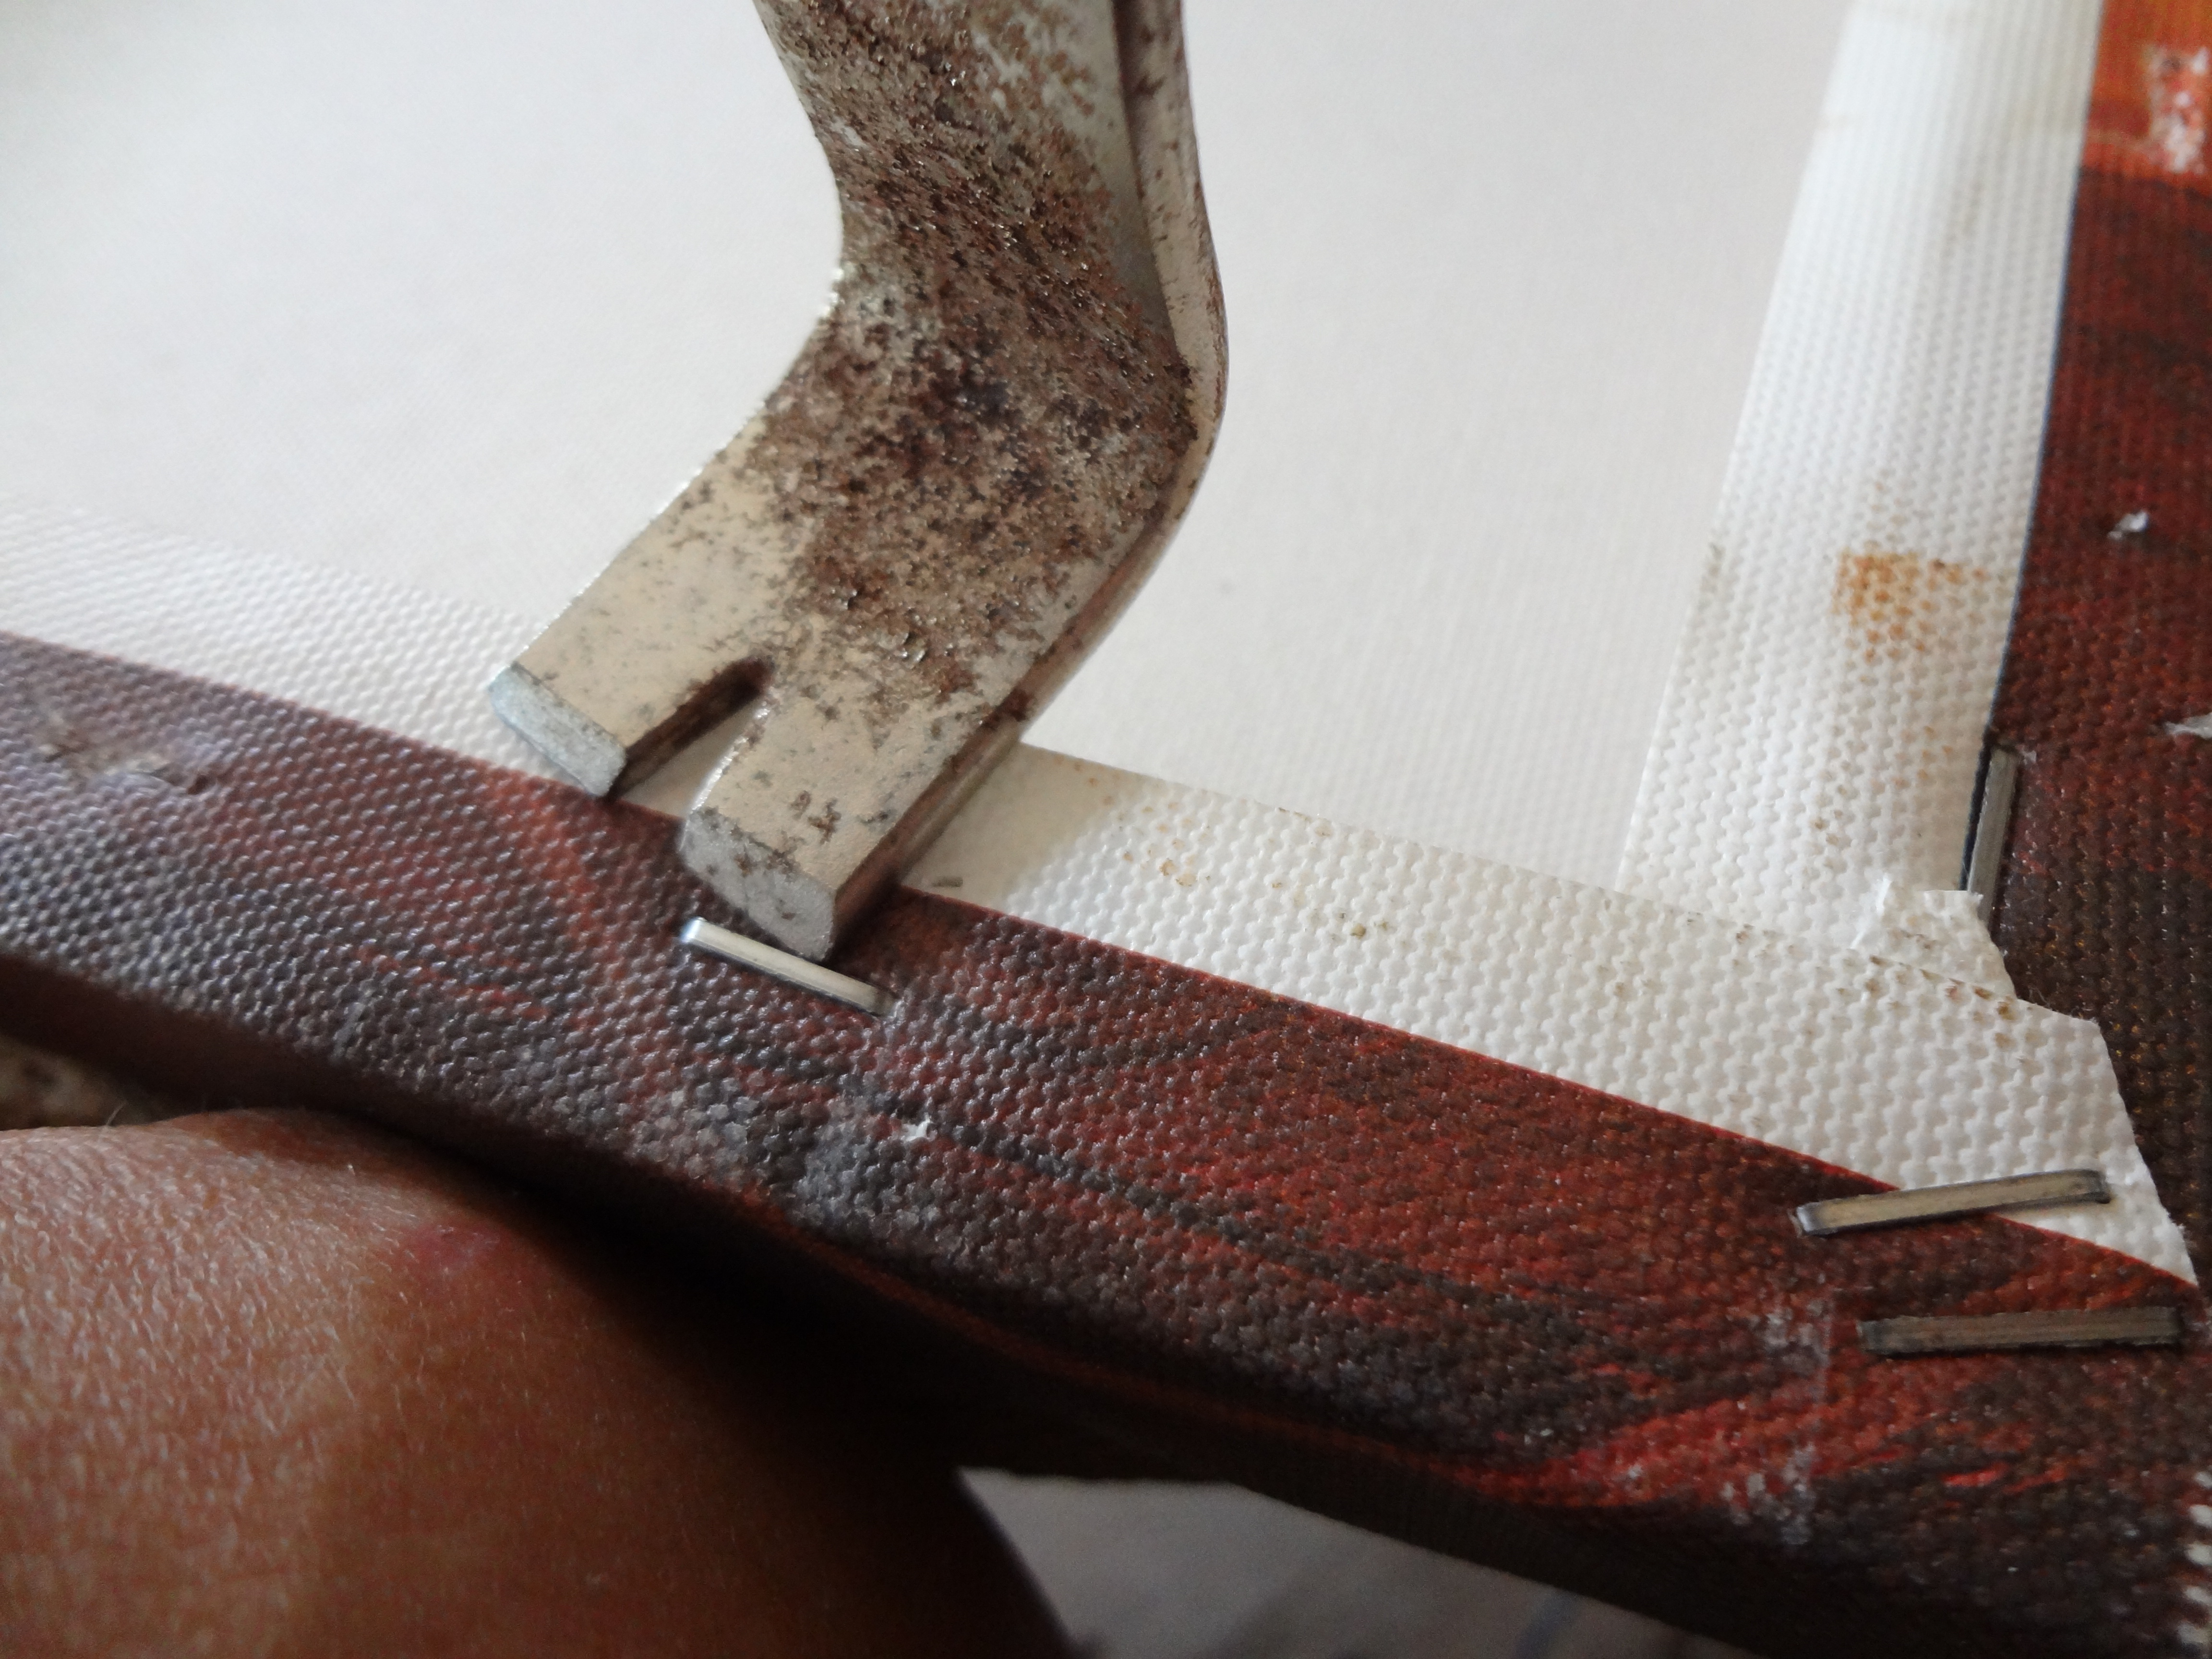 I do recommend not stabilizing the canvas with your knee unless you’re ok with this happening.
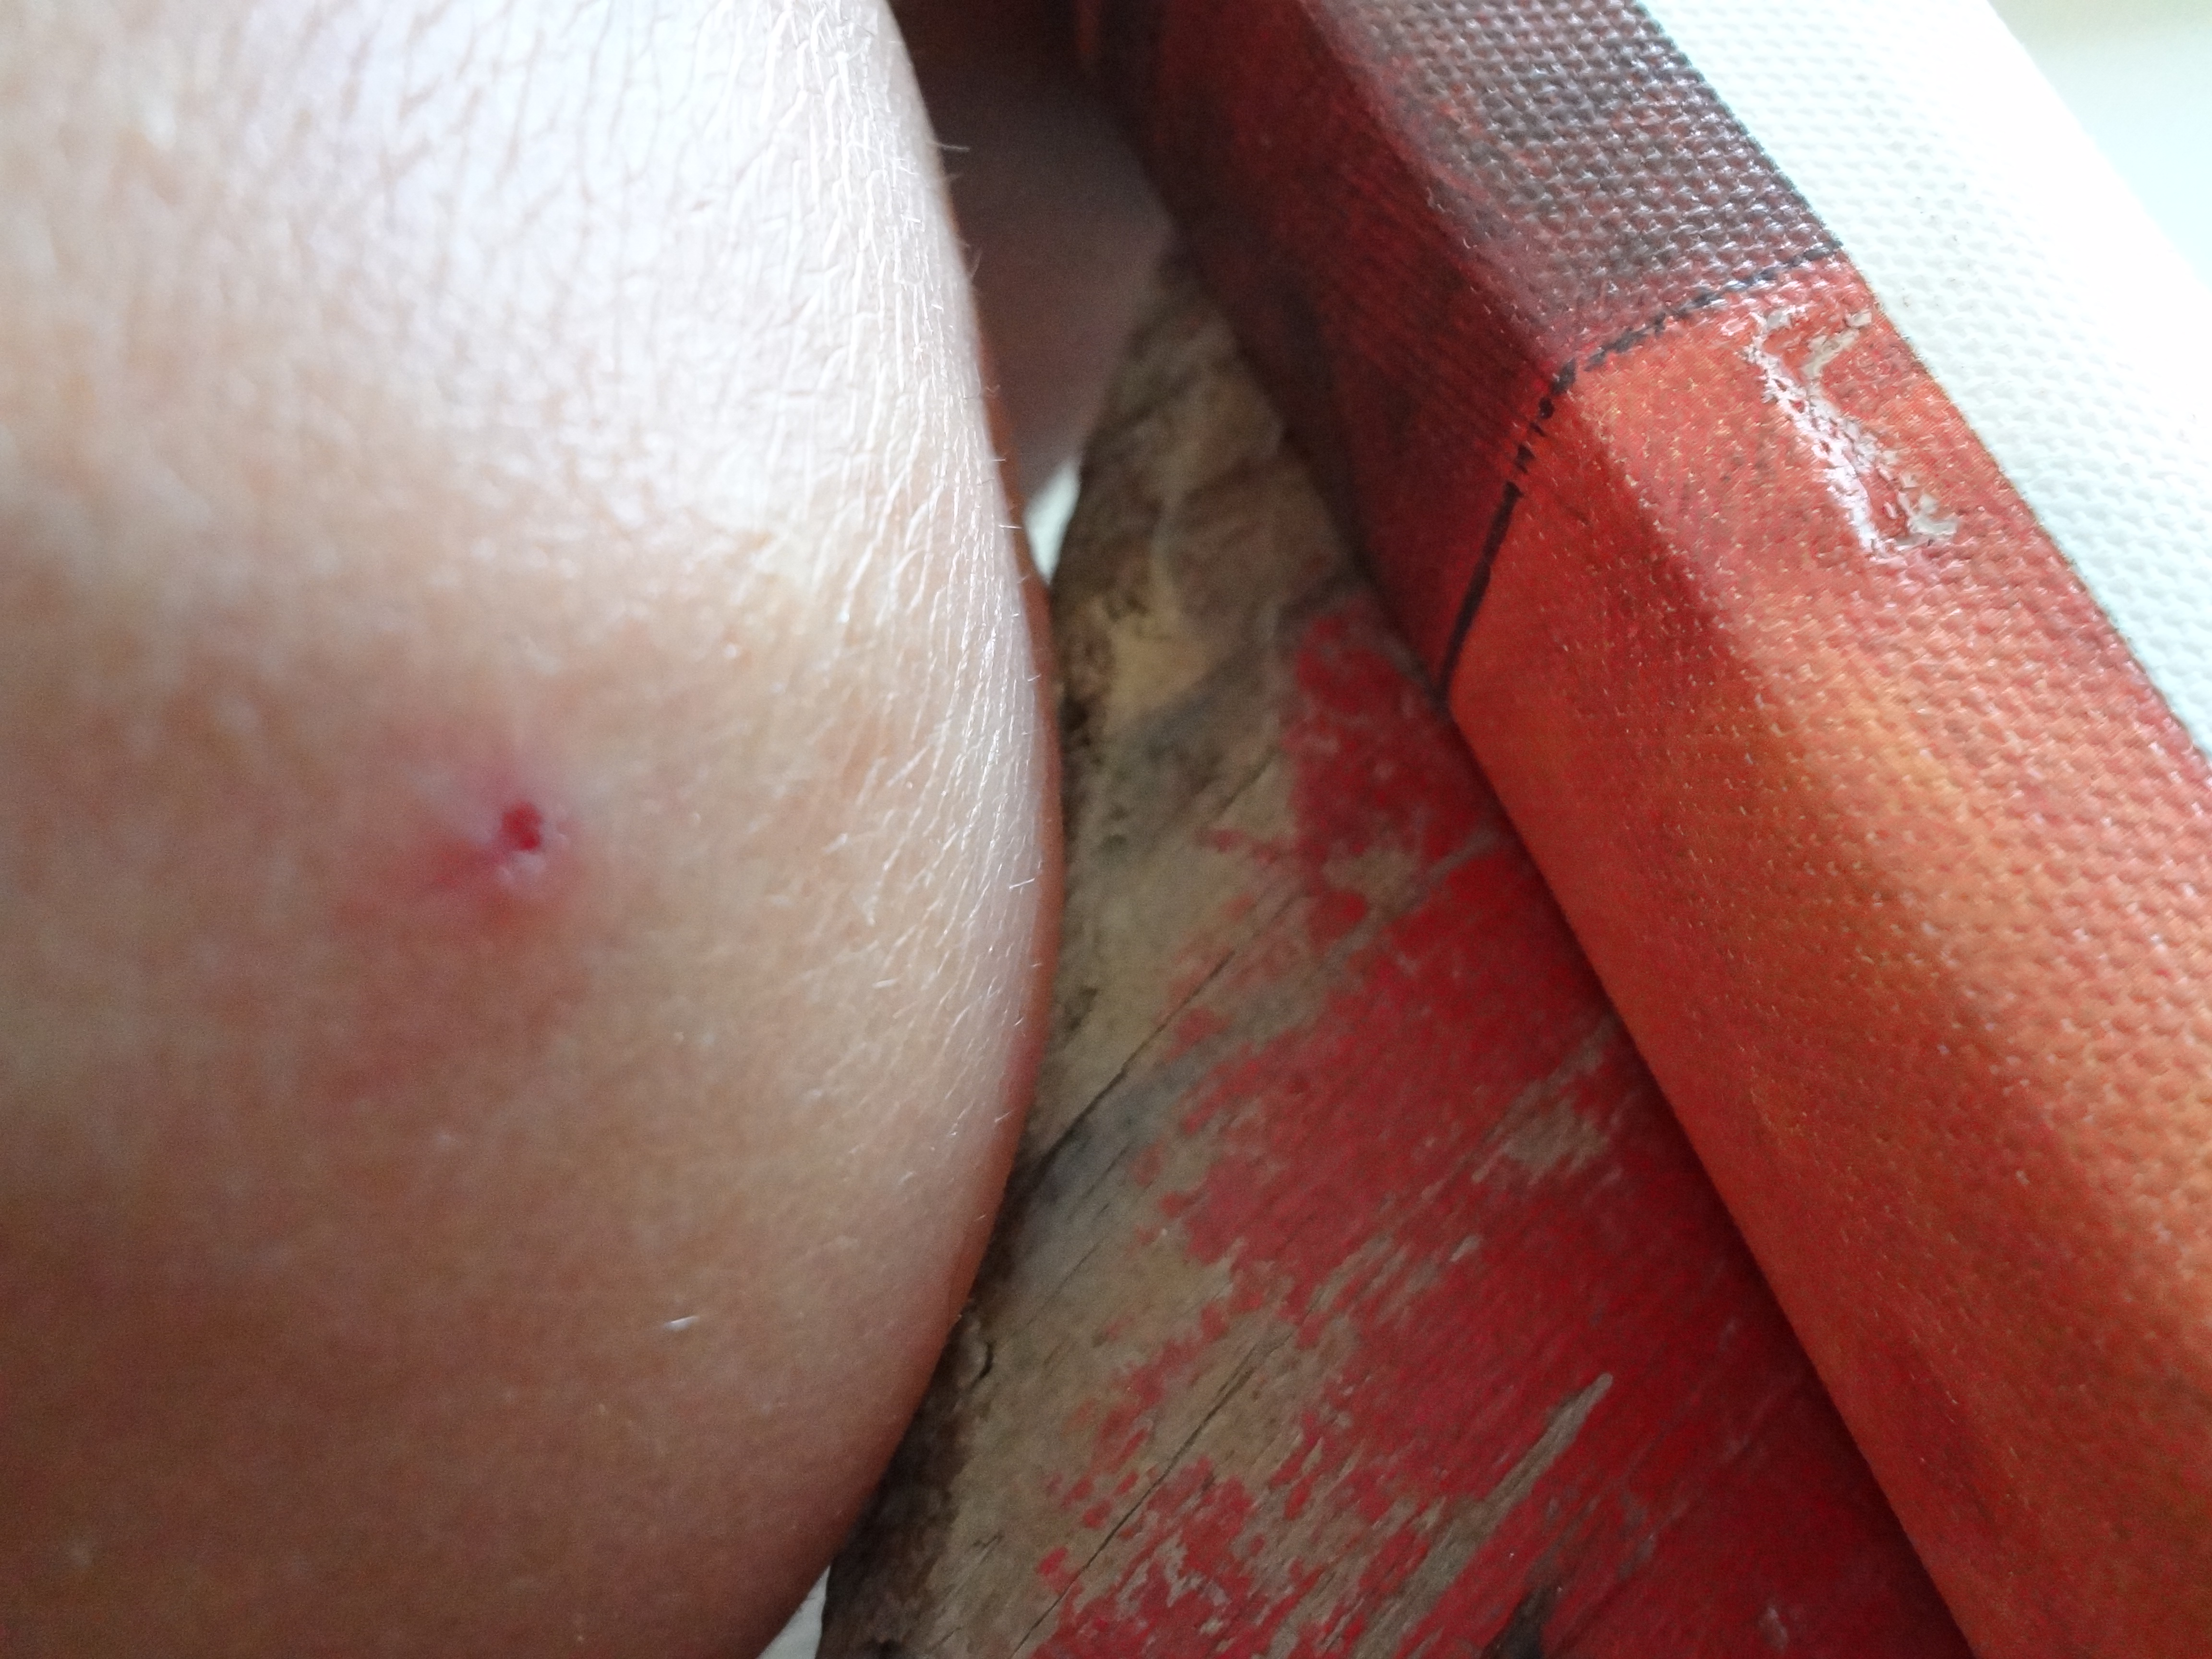 I’m happy to report I will survive. 🙂
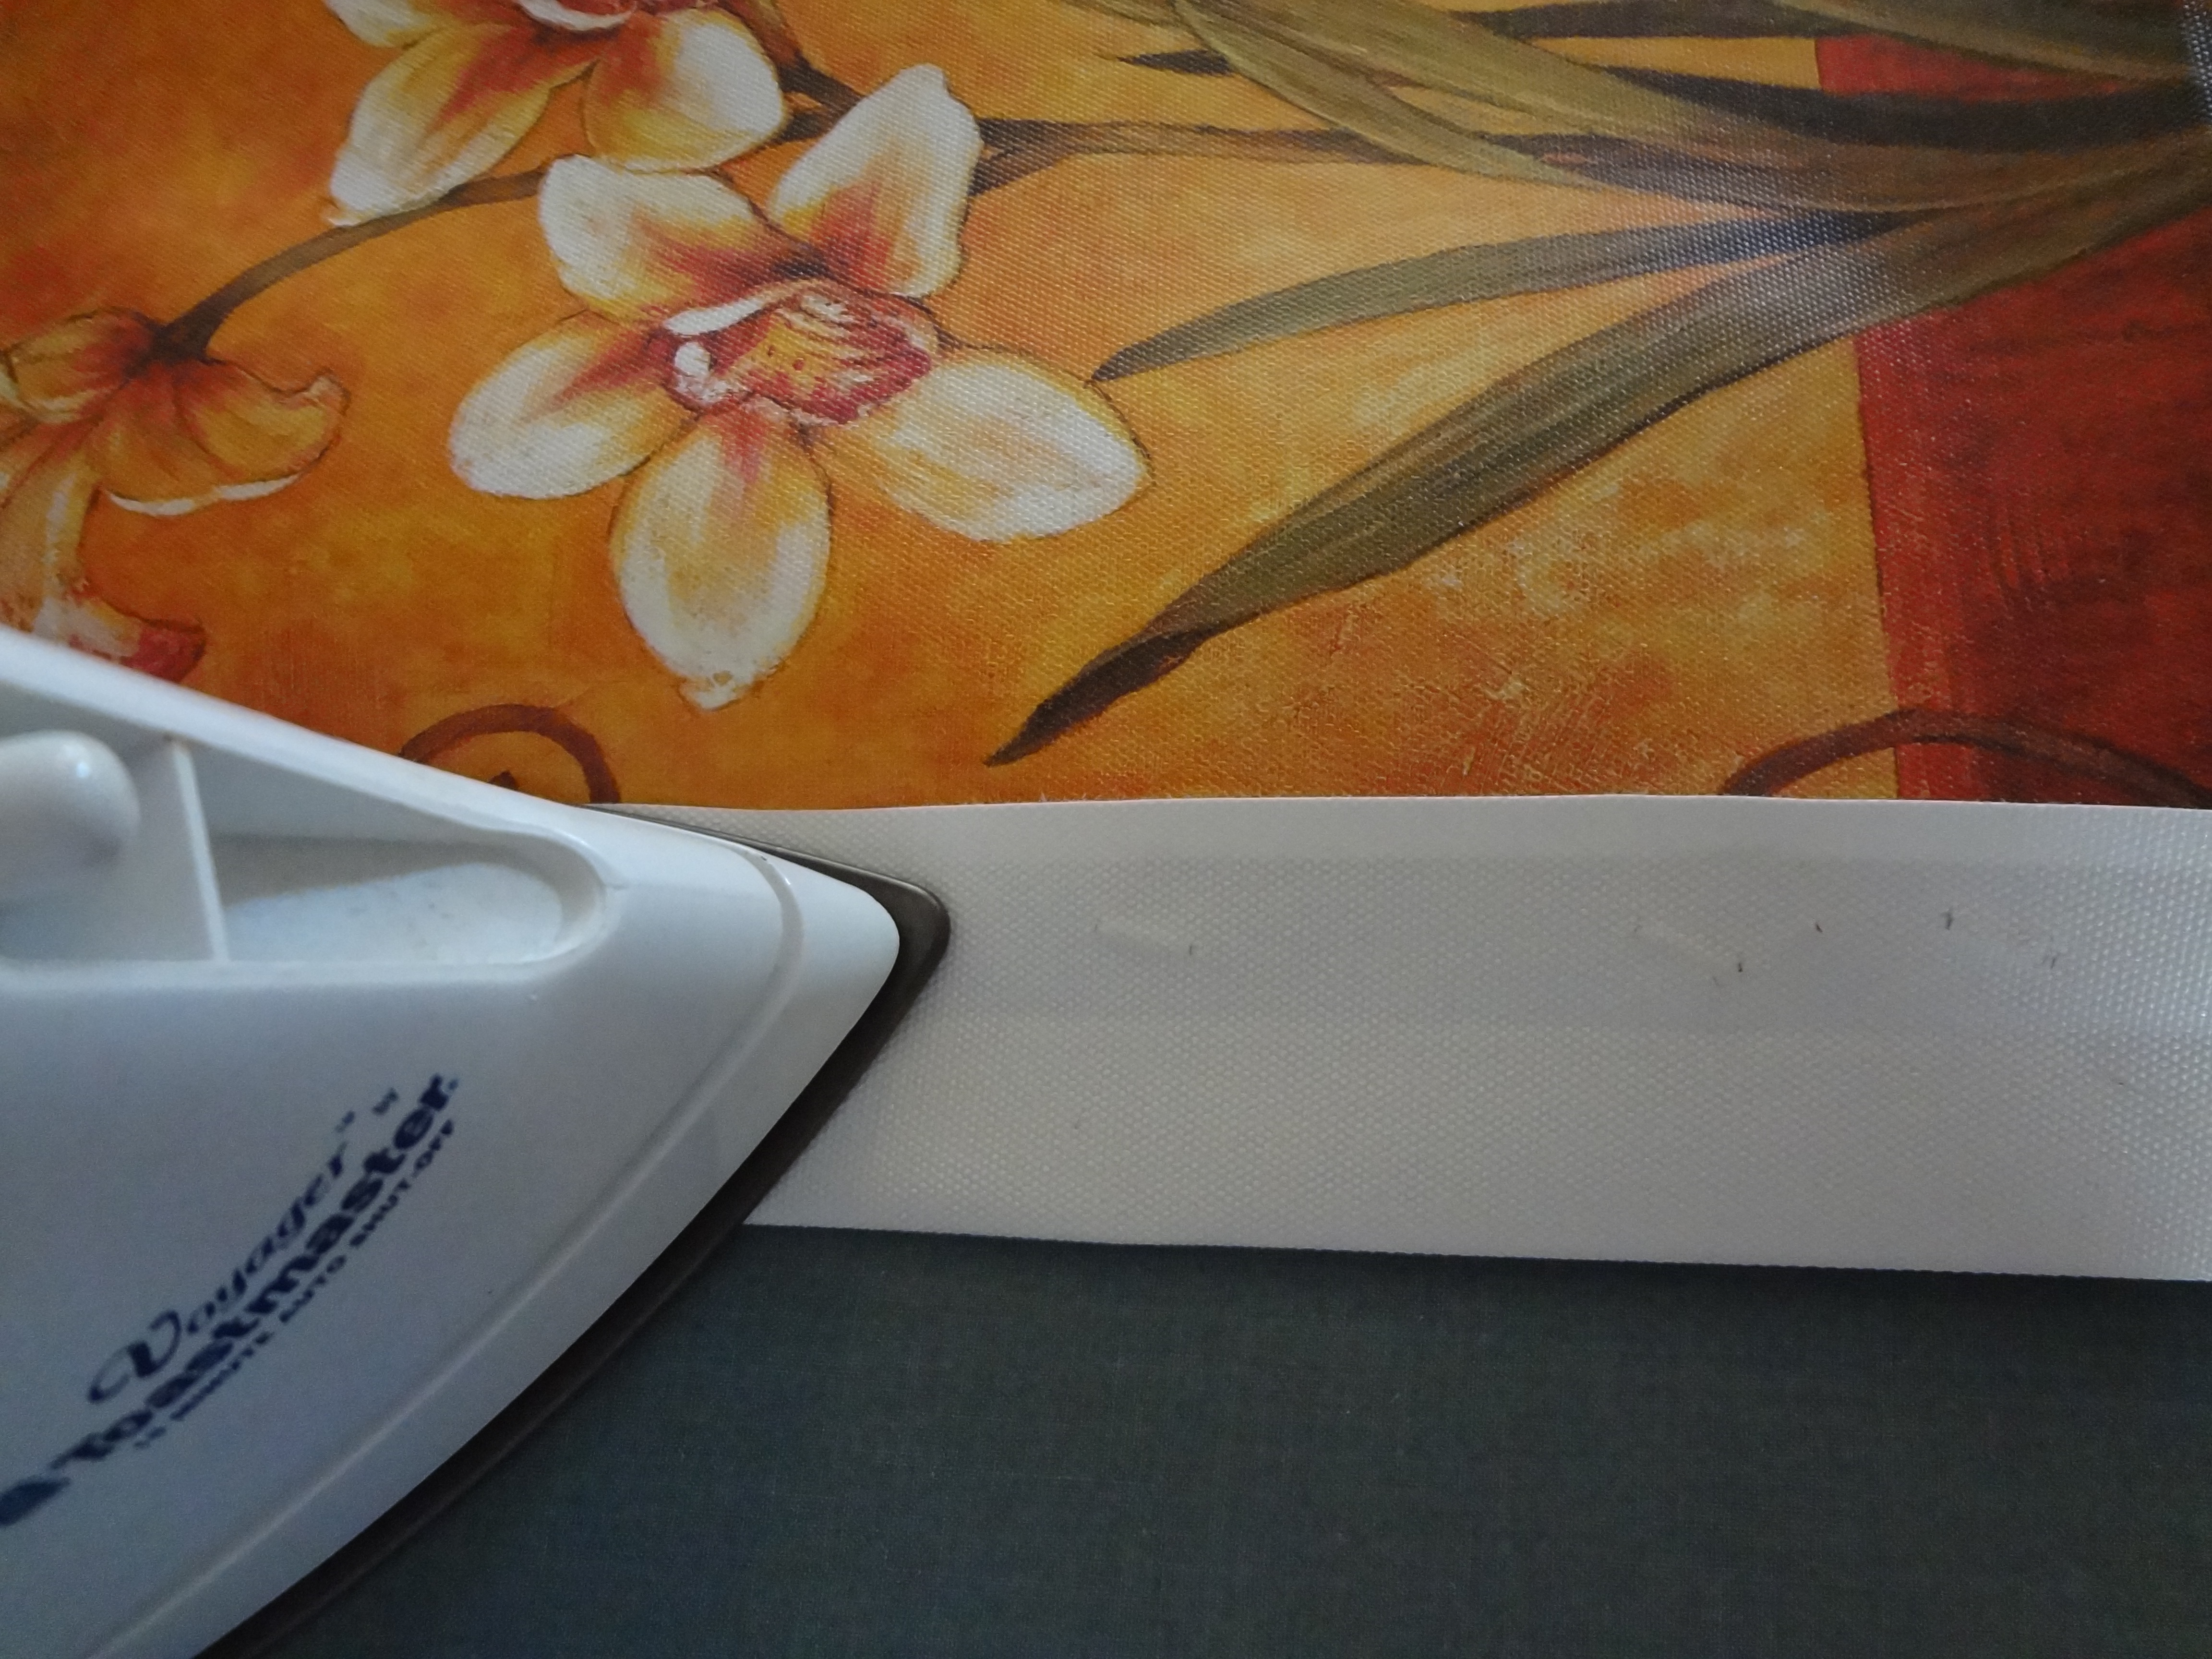 Then you really just have to line up your seams and restaple the canvas back on the frame.
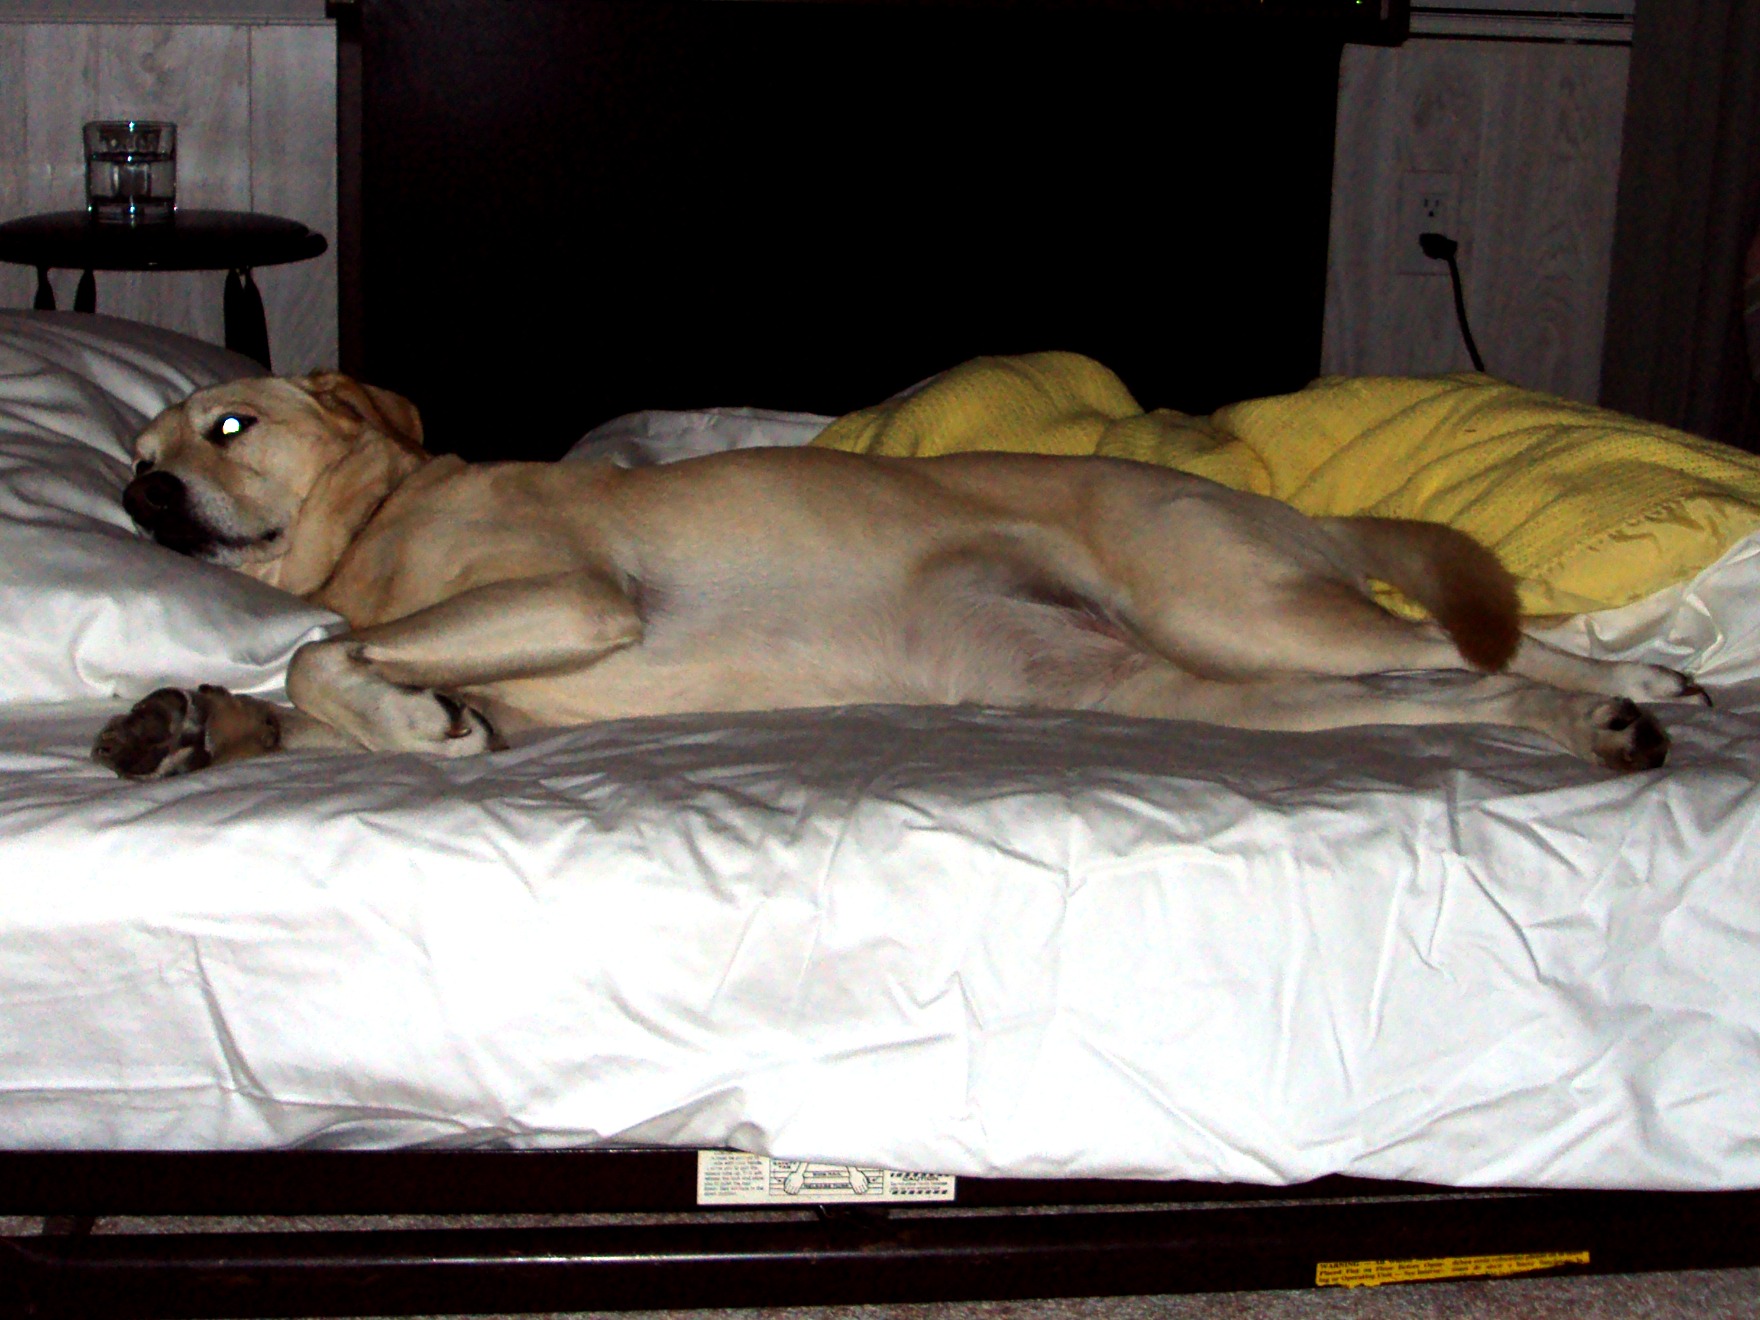
 They just make me smile.
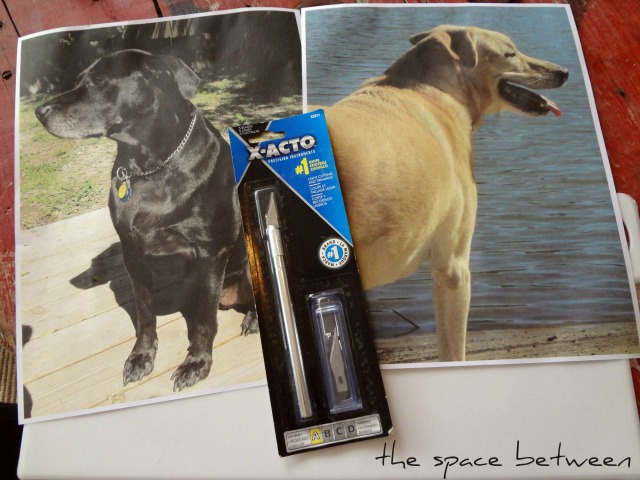
 But, back to the silhouettes, I was looking for profile pictures, so I picked these.