Hey hey! Hope you’re having a great week. I’m plugging away at sanding, priming and painting in the master bedroom and if you follow along on Instagram you know that we’ve added even more wood slat walls to this house.
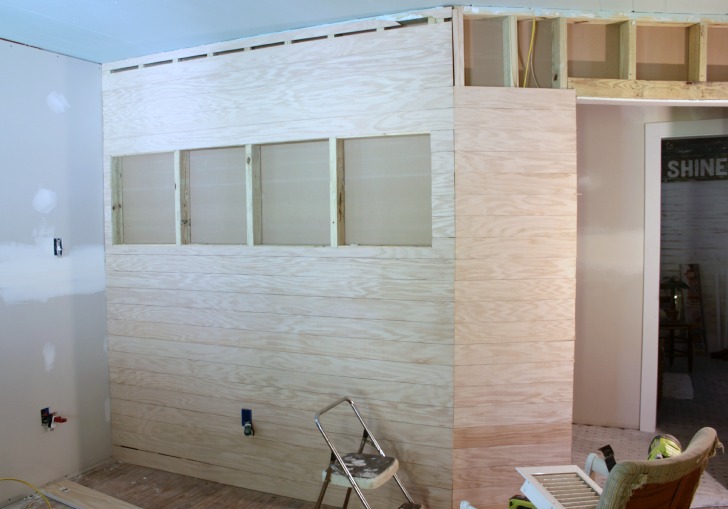
We’re also going to have some niches for a few favorite photos on that wall between the bedroom and the master closet. Let’s just hope I measured them correctly. 🙂
This time around with the wood slat walls we went a totally new route and used a 1/4″ plywood product knowing that we wanted to paint them and really just needed the “look” of real wood slats.
Which has had me thinking long and hard about how we make some of our decisions around here when it comes to choosing a less expensive option when working on a DIY. Hey, a girl and her paint brush have many hours to contemplate a whole array of things. Like how many times in a day is too many times to wish I had a bag of gummy anything to snack on? Or what time exactly is officially too early to take a bath each day?
But, back to the MDF trim and making decisions to save money that hopefully don’t end up sacrificing style.
Update: I first posted about our decision to use MDF here, and give more detail on the cutting and hanging process. And, because I’ve been getting the question, MDF stands for medium-density fiberboard which means that it is not real wood but more little pieces of fiber compressed together tightly to form a board.
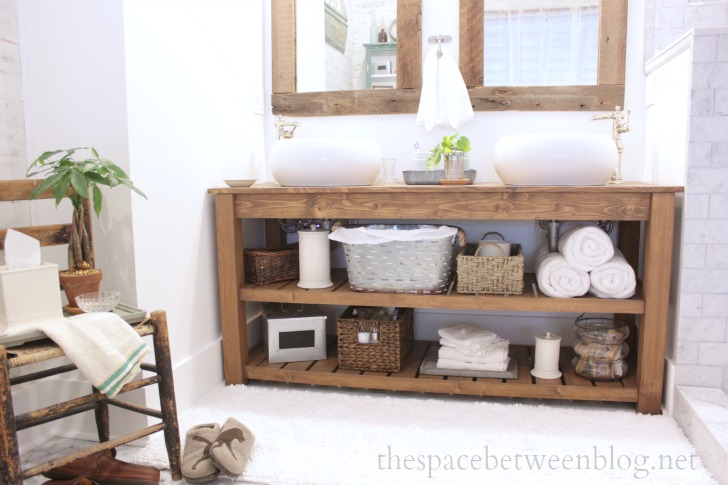
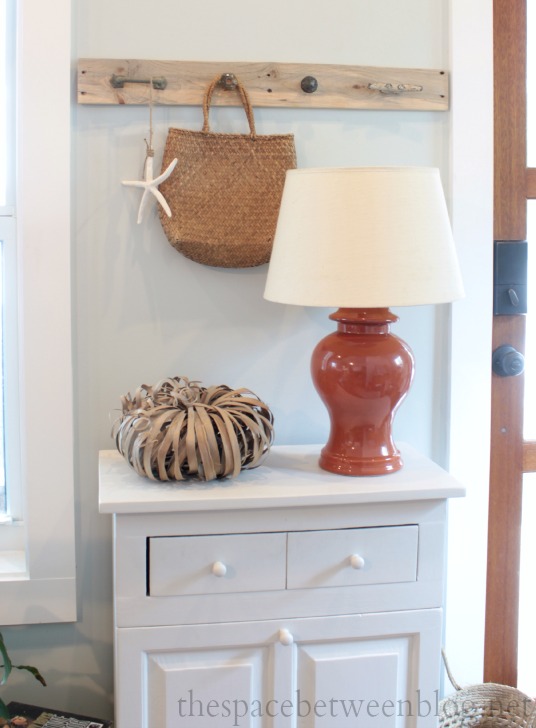
Take the wood vanity for example, I used basic knotty pine because it is one of the most economical wood options, and I like the look. I don’t ever want anyone to come into our house and be able to point out when something was used specifically for its cost saving qualities. So sometimes I use a less expensive option because it really is what I personally prefer.
Other than those times, I think the objective we have when we choose a less expensive option is to stick with something that can very closely mimic the look of the “real thing” and save us a bunch of money.
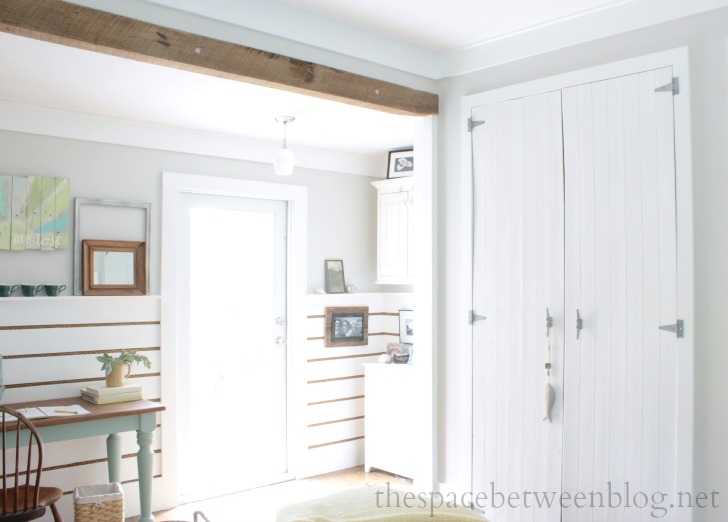
I haven’t finished up the new wood slat walls in the bedroom so we’ll have to talk through that another time, but we have used a plethora of MDF to mimic the look of real wood trim in every room we’ve updated so far and it’s something that I get asked a good deal about.

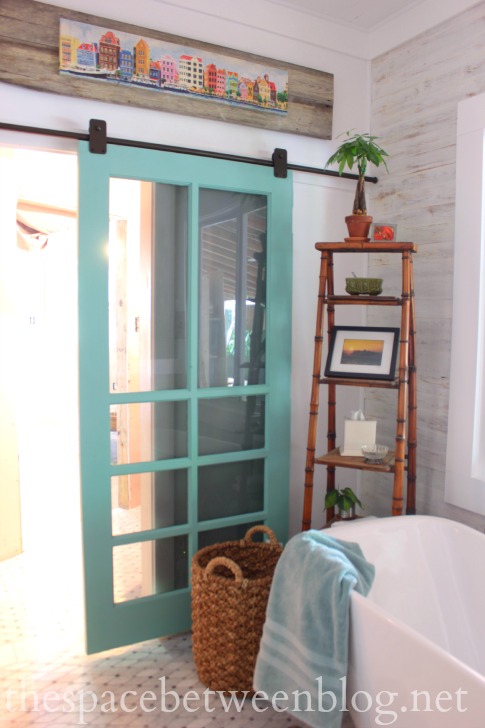
I’ve actually started to use a mix of MDF and real wood in spots (real wood baseboards in the bathroom just because of their likelihood to come in contact with water, but I stuck with MDF for the crown) and I’m happy to say you really can’t tell the difference.
We’ve kind of decided to use real wood for doorway trim since they tend to get more banged up with all of our constant furniture re-positioning.
I was going to say rearranging, but I don’t know anyone who considers a dresser in the dining room a furniture arrangement. 🙂 And I say “kind of” because we are the type to come up with a reason to break our own rules once we decide on said rule.
And I learned a little trick that has made all the difference in how I look at the MDF. There was a moment where I was going to stop using it altogether because I just felt it wasn’t looking enough like the real deal.
But! You know after you install trim and you run caulk along it where the trim meets the wall? When you’re using MDF just be sure to cover the entire cut edge of the MDF with caulk.
After we cut our trim to size I use 100 grit sandpaper on each cut edge but I really hate sanding MDF, the sawdust is so tiny and I break out in a sneezing fit every time. So I probably should sand each edge again with 150 and maybe even 220 grit to get them super smooth. But my cheater trick with the caulk prevents me from actually having to do that.
This might not be something that bothers you, but when you get up close and personal with our trim I don’t want you to see that it’s MDF, that would defeat the purpose of using it. There are a few pieces that we hung at the very beginning in the living room that I still need to go back and just run a bead of caulk with my finger along the edge. Funny enough, it actually makes the baseboards easier to clean. If the cut edge isn’t totally smooth when you run a wet rag over them the dust and dog hair just get caught in the little divots. With the edges caulked you can run a rag over them and it’s just like the smooth edge of a piece of wood.
After figuring out that little trick the only downside I see about using MDF to create a simple craftsman style trim is that it only comes in 8 foot lengths so we have to use more than one piece on most walls. A little more caulk and some touch up paint camouflage the seams pretty well, enough so that I continue to use the stuff for our trim. 🙂
What about you, other than cost do you have any tricks to why you choose a less expensive option than that special something you really want?
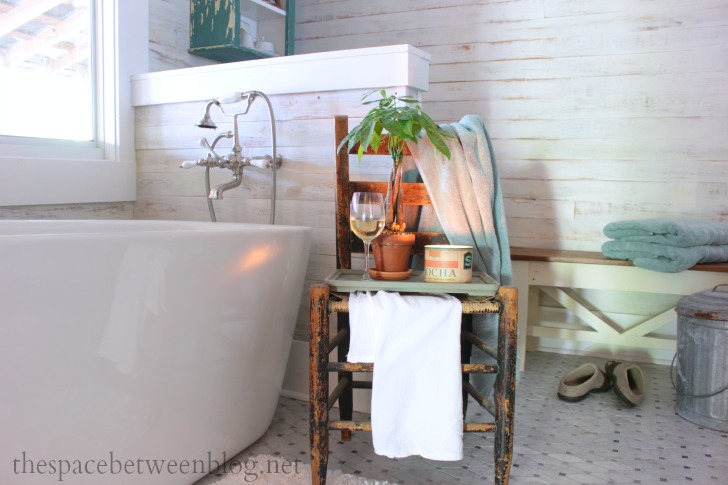
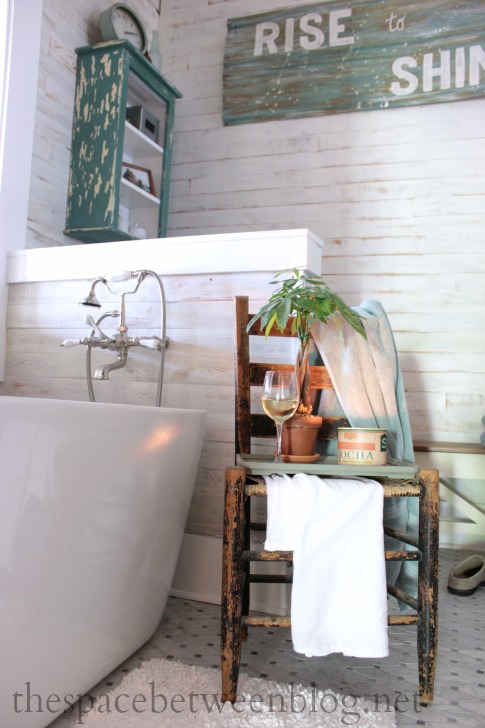
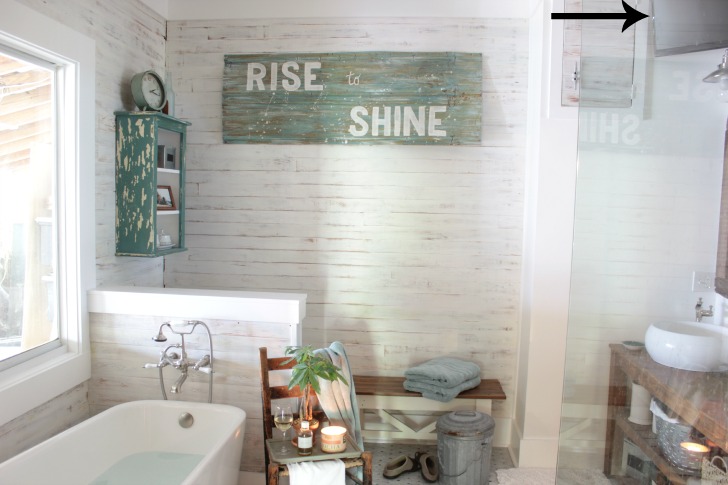
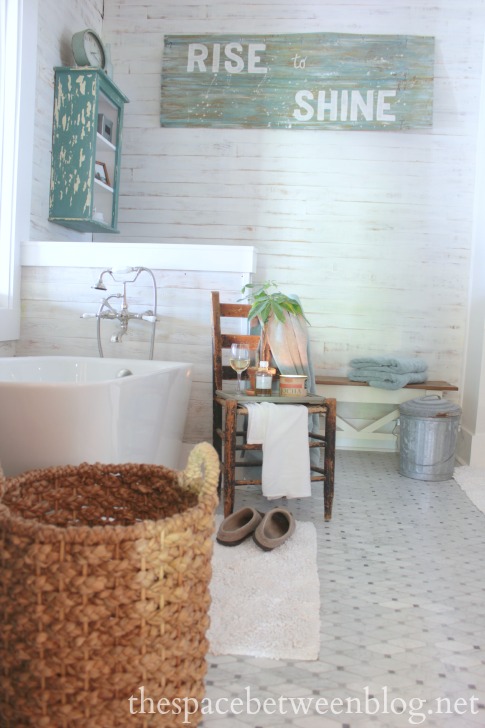
 I’m now thinking a full length mirror is in order where that bench is so the Rise to Shine sign might not have a long future ahead of it, I can see Joel smiling as I type that. And we’re way over-thinking the whole towel hook placement. Who knows, we may end up with those suction cup hook things right on the shower glass. For now the chair is working just fine for my towel and the floor has consistently worked splendidly for Joel throughout his entire life. 😉