the space between

upcycle, repurpose and reinvent your space

  • about
  • aruba
  • key west
  • curacao
  • projects
  • house tours
  • privacy policy

all about color {link party}

July 31, 2012

Check out these fun, colorful ideas created by some very talented gals.

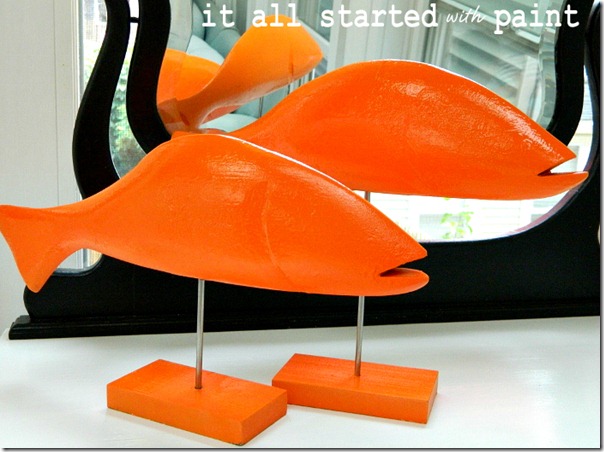
I don’t know if I’ll ever see orange again and not think of Linda. She definitely knows how to infuse a little color and these orange fish sticks don’t disappoint. See what they looked like before at it all started with paint.
craft projects

I think these pink framed animals with a fabric backdrop would be the perfect addition to a little girls room. Andrea always creates the daintiest, prettiest things. Head over to The Cottage Market to see how she made these framed animals … with a little help from Junkin’ Joe.

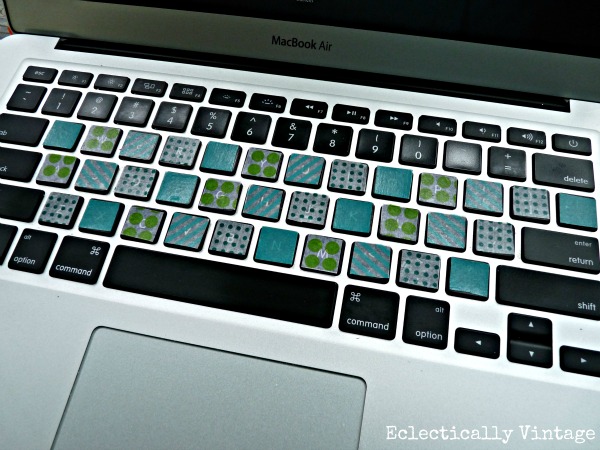
craft projectsI think these washi tape covered keys on Kelly’s Mac Air are so cute. What an easy way to make something so functional a little pretty, as well. Find out how she made her template to cut the tape just right at Eclectically Vintage.

craft projects

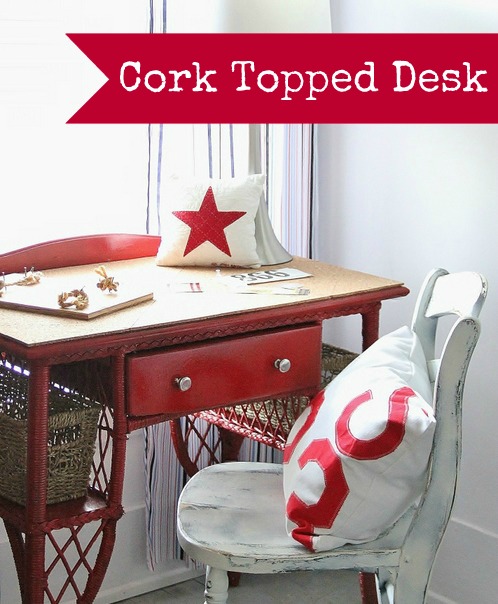
Now, I am working to get rid of the red that is our couch set, but Kari uses red in just the right way with this yard sale found desk. And that cork top is a great way to hide a damaged desktop, find out how she did it at Thistlewood Farms.
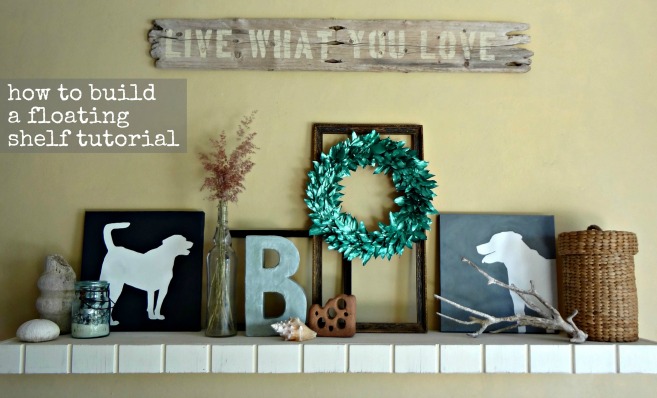
craft projectsAnd for those of you who missed it yesterday, I added a little metallic green to our shelf decor and think it adds just the right pop of color. What do you think?
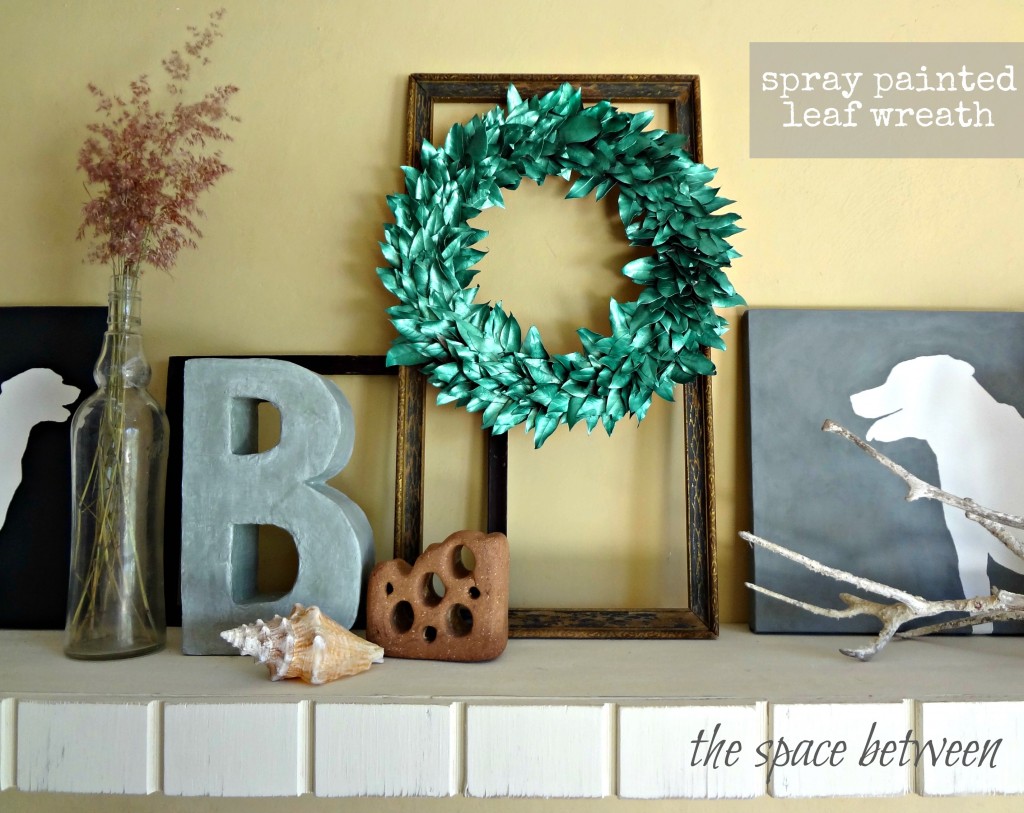
shelf


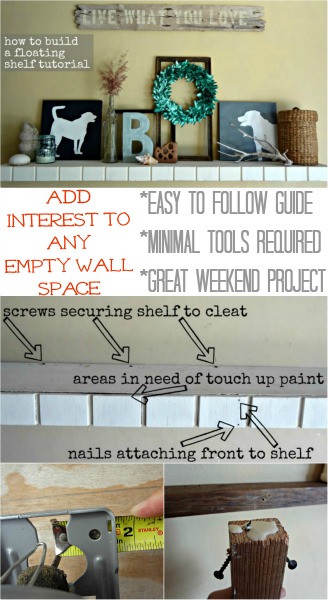
how to build a floating shelf

July 30, 2012

Today we have a how to build a floating shelf tutorial to gear up for our big link party tomorrow. To be honest, I was kind of nervous about this project and it ended up being so much easier than I ever would have thought. Seriously. You can do it. 🙂 Whether you need a diy floating shelf for organization or a diy floating mantel for decorating, this is the project for you.

finished and decorated diy floating shelf

Yes, yes … I did tell a few of you I started work on the coffee table. And I did. Promise. I just didn’t finish it yet. I hate it when that happens. 🙁

Update:  The coffee table is complete and has shot to the top of our favorite DIY furniture pieces list, check it out here.

diy floating shelf

I’ll give you the secret first thing … wood glue! Ask any woodworker, the glue is the conduit to long-term success, the screws work as the clamps to hold diy floating shelves all together until the glue cures. This shelf hasn’t budged one little millimeter. Scouts honor. (My husband’s an eagle scout so that totally counts!)

With that said, let’s get started!

Preparation

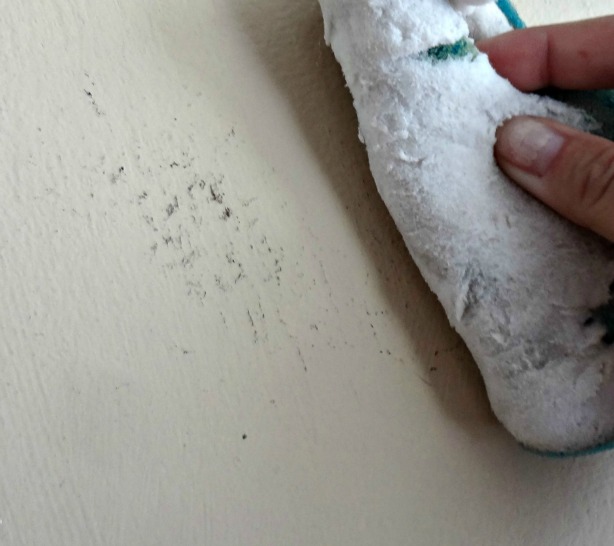
Before I could get starting building floating shelves I first cleaned and measured my wall to determine how long I wanted my shelf. Have you guys ever used a Magic Eraser sponge? They really work magic at getting off all kinds of marks and stains. Just watch what you’re doing so you don’t scrub so hard you remove the paint, too.

cleaning with a magic eraser

(I’m realizing now it would have made sense to take an after shot. #notthebrightestbulb)

The Wall Cleat

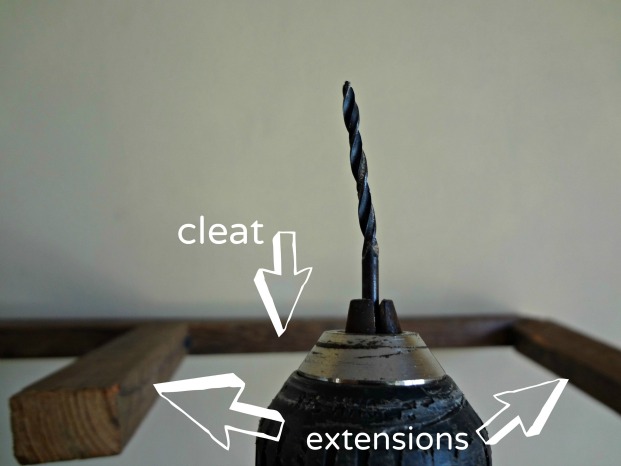
With my measurement (about 60 inches – why limit myself by an exact number) I cut my wood for the wall ‘cleat’ and the short pieces that would serve as ‘cleat extensions’ if you will.

I was actually able to use all scrap wood that I had recently accumulated from dumpster diving. Do you guys snag perfectly good construction material out of the dumpster? It has probably saved us thousands of dollars over the years. In using the scrap wood, I decided that my shelf supports didn’t need to extend the entire length of the shelf. Personal opinion here, if I were to buy wood I would buy enough to make the ‘cleat’ the entire length of the shelf.

installing a cleat when making floating shelves

This ‘cleat’ and ‘extensions’ piece is the same wood that was used as the pole that hung the entire one screw gallery wall.

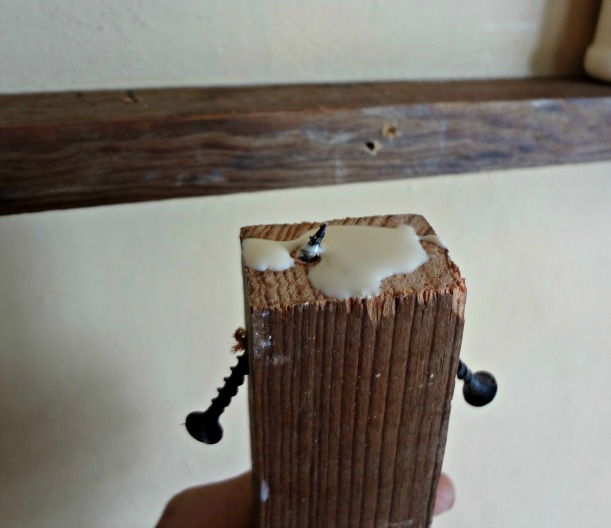
I glued and screwed my cleat into the wall and then glued and screwed the extensions into the cleat. In hindsight, I would have glued and screwed the cleat extensions into the cleat first and then attach the entire thing to the wall. Not that it affects the end result, I just think it would have been easier… and I might not have broken a drill bit while screwing my pilot holes in the extensions at the angle to use the screws to attach the extensions to the cleat.

using wood glue when building floating shelves

NOTE!! We have concrete walls, eliminating my need to find studs. For standard drywall and wood walls you will need to attach your cleat to the wall directly into your studs.

Update:  Now that I have a pocket hole jig I would use that instead of the screws at an angle pictured above.

Making Floating Shelves

Once the innards are complete, it’s time for the actual shelf. I had two perfectly good pieces of 3/4 inch plywood to use. You could definitely use a thinner piece of wood if you had it or needed to buy it. Thinner is cheaper. 🙂

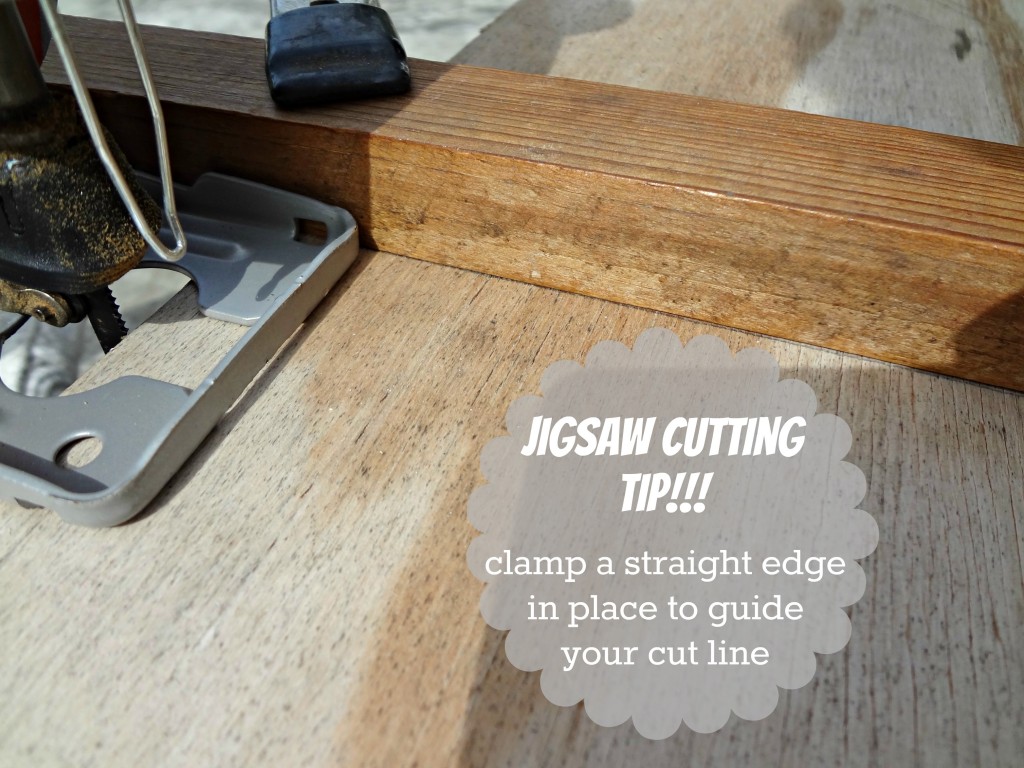
Using my jigsaw, I cut the length of the shelf.

Tip!!! Use clamps and a straight edge to help cut a straight line with a jigsaw.
jigsaw cutting tips for building a floating shelf

For the depth of the shelf (how far it comes out from the wall), the measurements needed to be more exact to ensure that the top and bottom were the same width. You could definitely not add a bottom, but I wanted a box look without being able to peek up at the cleat.  Personal opinion.

So, I measured the distance from my jigsaw blade to the edge of the jigsaw guard. And on my wood, I measured the depth I wanted (9 1/2 inches, based on a professional opinion found here) and added the allowance for the jigsaw guard to determine where to clamp my straight edge to help this unsteady sawer (… not a word?).
measuring the wood to cut for the diy floating shelf

(The third picture shows how to get creative if your straight edge isn’t as long as the cut you need.)

Now, this straight edge technique is not fool-proof. I am one fool who knows that. 😉  My jigsaw’s guard also swivels and, no matter how hard I tried, I couldn’t keep the darn thing straight. But that’s what wood putty and/or caulk is for. 🙂

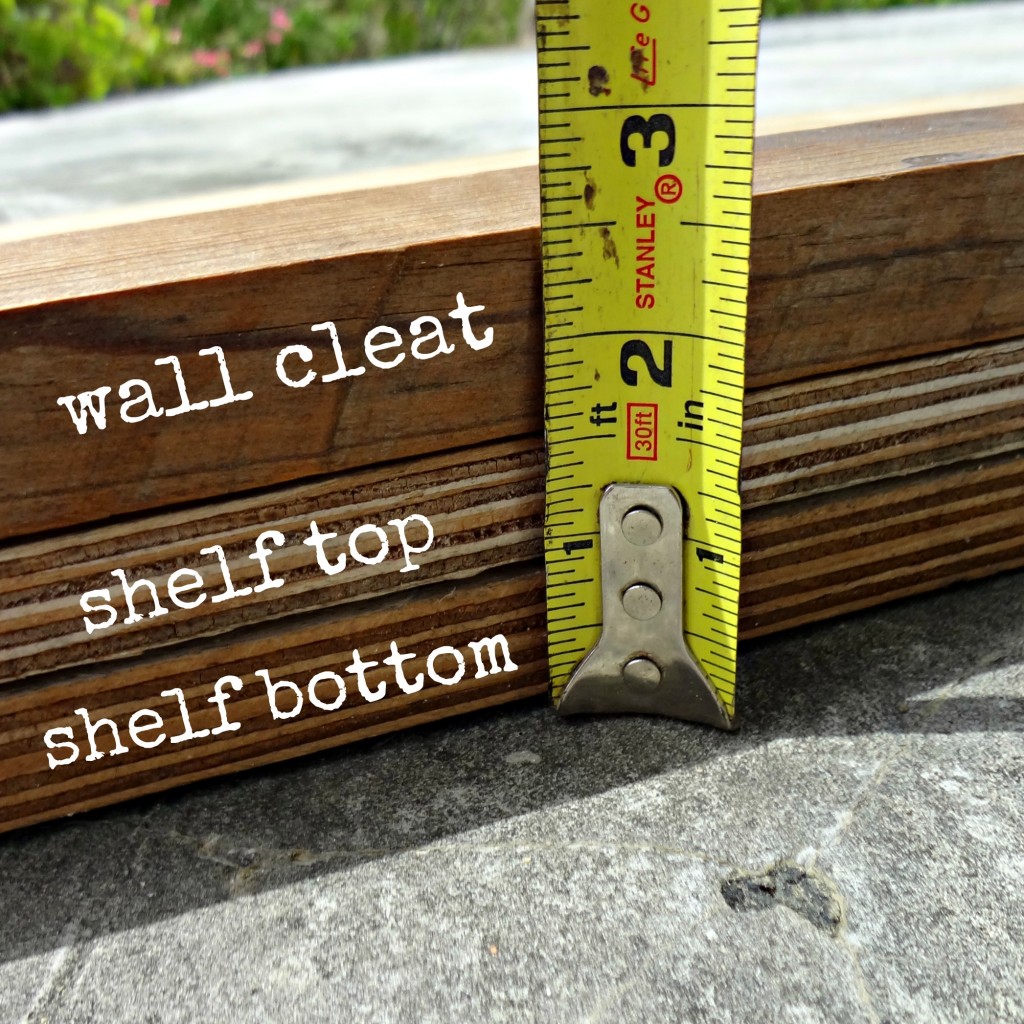
OK, you have the top and bottom of your shelf cut, now onto the edges. For the sides I used the same scrap piece of plywood. Just measure the height of your cleat and add in the width of the wood you used for the top and bottom of your shelf.

Height of cleat (1 inch) + (Width of wood for shelf top and bottom (3/4 of an inch) X 2) = Height of shelf (2 1/2 inches)

measuring the wood for a diy floating mantel

I have to admit, that was a bit mathy for me. But I hope it makes sense. I cut two end pieces 9 1/2 inches long and 2 1/2 inches high.

Which only leaves the front. Oh, the front. I was really leery of my ability to cut enough straight lines in a row to make a front that would look good out of the same plywood.

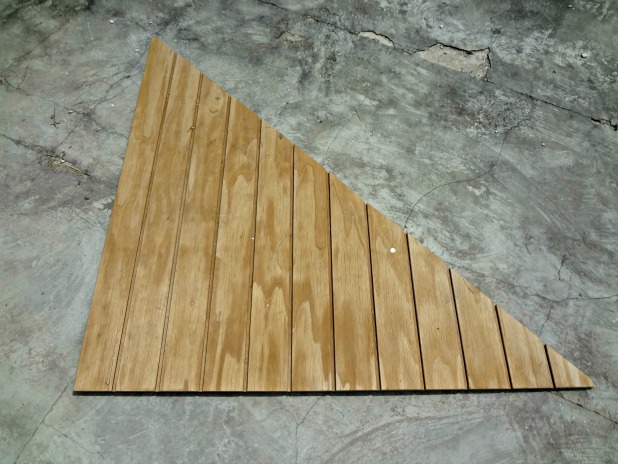
I sifted through my driftwood collection to see if I had anything that would work. Nope. But I found this piece of scrap wood I had lying around.

reclaimed wood used to build a floating shelf
This type of wood is often used as a decorative ceiling in homes around here. Check out the ceilings in many of the rooms here to see it all painted and beautiful. I had snagged a few of these triangle pieces from the trash pile of a friend who is building a house.

I figured the additional detail of the dado would help distract from any straight line cutting sins I was about to make. Fingers crossed … and feeling impressed with myself all at the same time that I can actually use the word dado in context. 🙂

After I had the pieces for the front cut, I attached the top, bottom and sides using drywall screws screwed into the sides so they wouldn’t be seen from the front.

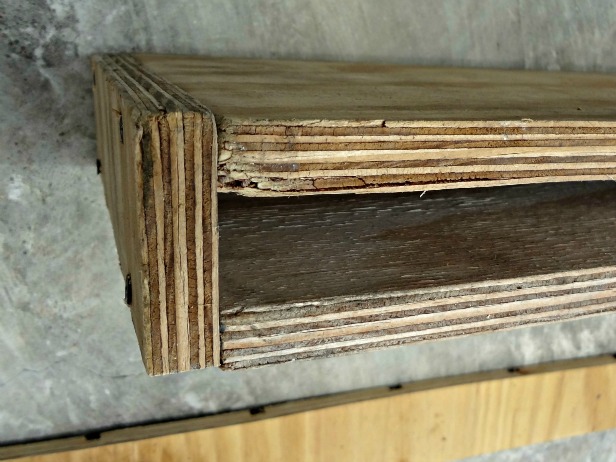
the carcass of the diy floating shelf

I think having the front open made it easier to hoist the shelf unit over the braces.
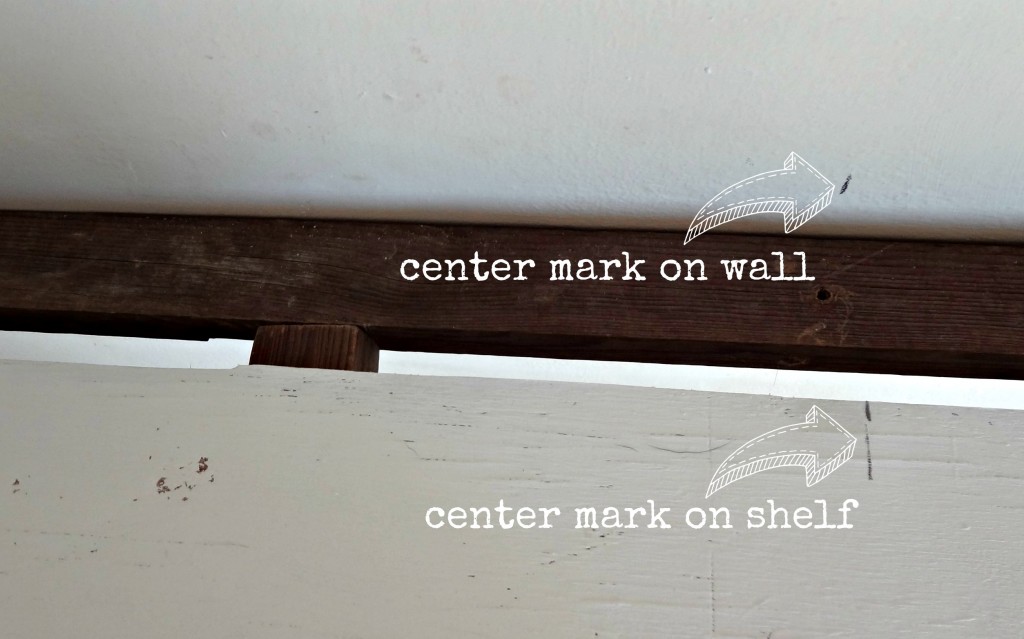
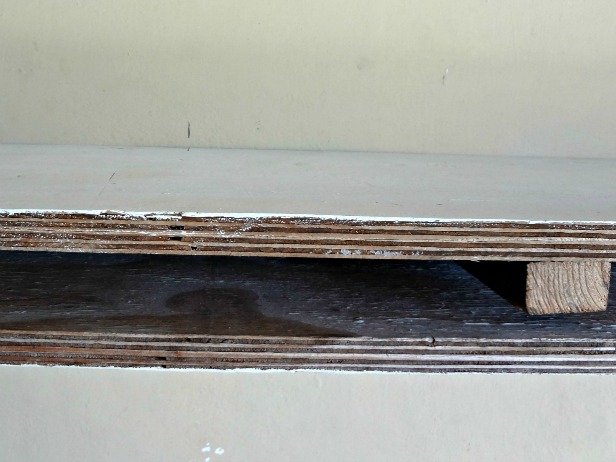
installing the carcass over the floating shelf cleat

the carcass installed on the diy floating shelf cleatI did paint my shelf before I attached it to the wall, two coats of Annie Sloan Chalk Paint in Old White … then some distressing.
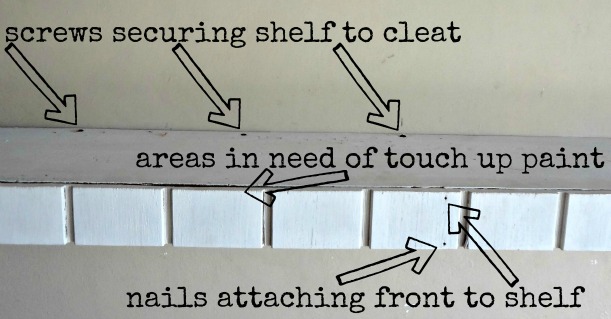
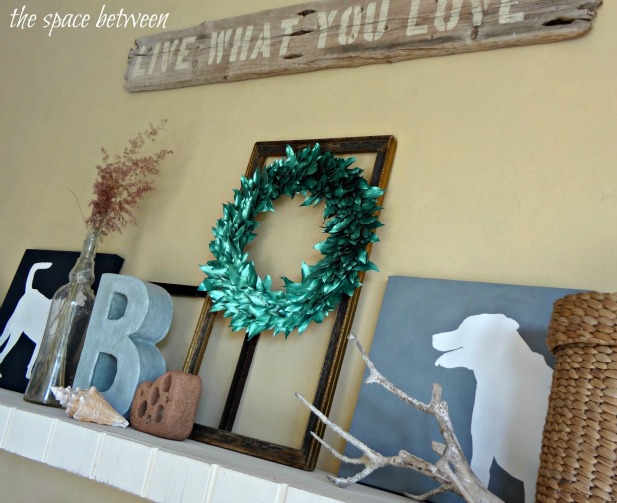
Which only left the last steps of adding the front using a few small nails and screwing the shelf into the cleat.

attaching the carcass to the diy floating mantel cleat

After a little touch up paint the job was done. Start to finish it took me about six hours. Thankfully I was able to get all caught up on the Kardashians during the process. 😉

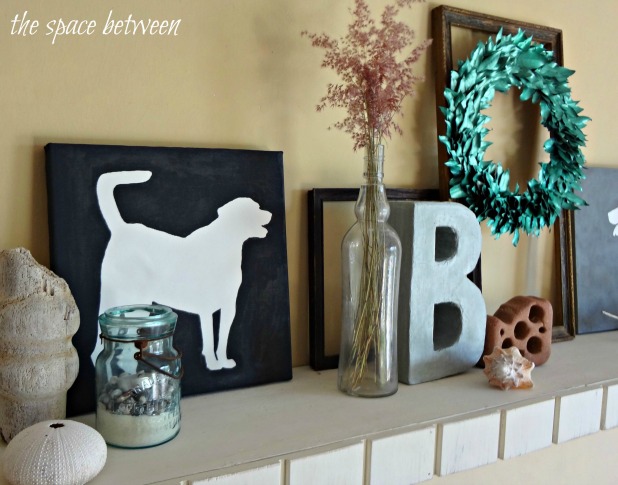
finished and decorated diy floating shelf
What do you think? I really believe anyone can do this project. It would be the same concept for a diy floating mantel or ledge. So versatile for either organization or decoration.

collage of different stages of building a floating shelf

You can see how I made the dog silhouette art here and how I made the leaf wreath here.

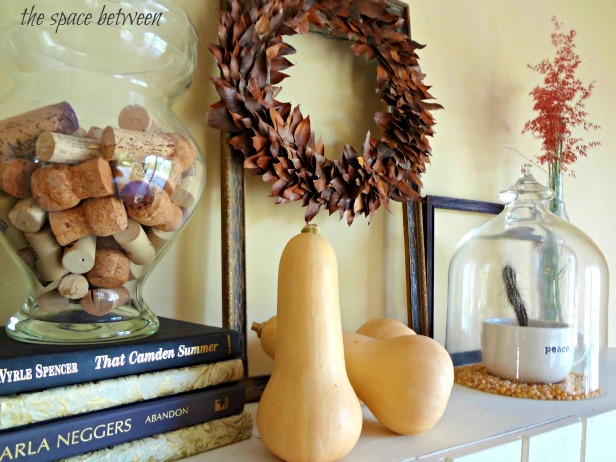
And you can find all the details of how I decorated the mantel for fall with upcycled and repurposed finds here.

squash, corks, books and a leaf wreath decorating a diy floating mantel for fall

  • « Previous Page
  • 1
  • …
  • 124
  • 125
  • 126
  • 127
  • 128
  • …
  • 169
  • Next Page »

Copyright © 2025 · custom theme design by this bold girl · Built on the Genesis Framework 

  • pinterest
  • facebook
  • instagram
  • rss