This post may contain affiliate links which won’t change your price but will share some commission.
Everything happens for a reason, right?!?
So when we got delayed by a week on our hardwood floor restoration adventure we had a little extra time to over analyze the situation.
We only waited a week to make it a weekend project so both Joel and I could do it together. The manning of the sander is really a one person job, but it was helpful to have that extra set of hands to get it in and out of the car. And we just like to do these kinds of things together so there’s equal blame if things go wrong. 😉
Anyway, Key West has these really aweful cool things called flying termites. We actually have to have our house tented every 5 years, picture a big circus like tent going right over your house.
So termite damage is a given in these parts and on that front we actually fared quite well with this house. Meaning we don’t have much of it around and a few weeks ago when everyone was talking about it being termite hatching season we got inappropriately excited that we weren’t finding little piles of termite evidence in the house like everyone else.
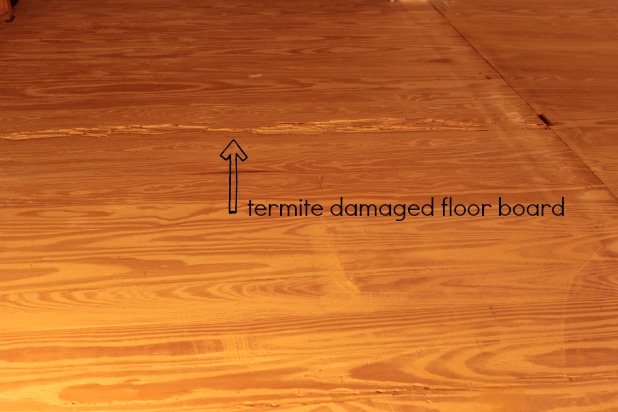
But we did find this when we pulled up the carpet in the guest room.
That is actually an 11pm picture after our night with the square buff showing a pretty significantly eaten floor board in what used to be the mirrored closet.
Since that closet was an addition we got lucky and the damage ended where the addition met the main part of the room.
But one fun addition we’re making to the guest bedroom is to add a door that leads directly out into the backyard. Key Westerners love easy access to their outdoor spaces so we’re jumping right on the bandwagon. But our little damaged floor board is directly in front of where that door will be and in a pretty high traffic area since we anticipate using that door a lot, even when we don’t have guests. So, at the risk of totally screwing things up we tried our hands at a little DIY repair.
Here’s what you’ll need for supplies to do the same kind of hardwood floor repair:
- circular saw
- hand saw
- hammer
- prybar (of course!)
- wood glue
- painter’s tape
- replacement wood slat to match current floor
We knew our floor boards were tongue and groove so we couldn’t just pull up one board without those little tongues and grooves messing things up for the boards in perfectly good condition around our problem child.
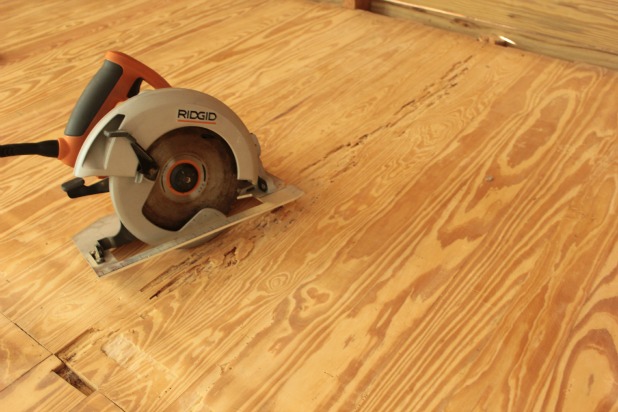
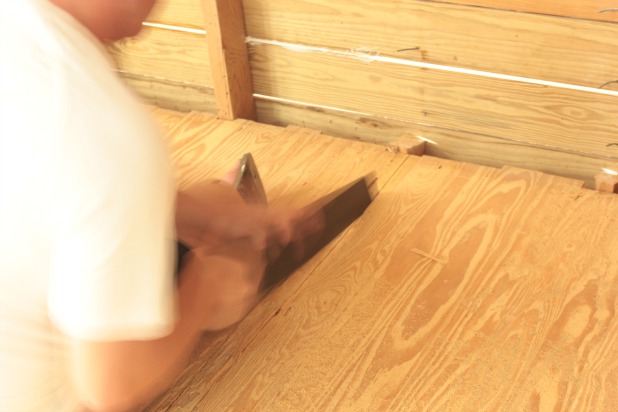
So we started by making 3 long cuts along the length of the damaged floor boards, making sure to set our blade to only cut the 3/4 inch depth of the floor board and not cut into our floor joists.
And then we used the hand saw to cut through the end by the wall where the we couldn’t get any closer with the circular saw and any areas that didn’t cut all the way through. We could have set our blade a smidge lower, but just really didn’t want to do anything stupid like cut a major house support. #thatwouldbebad
Action shot.
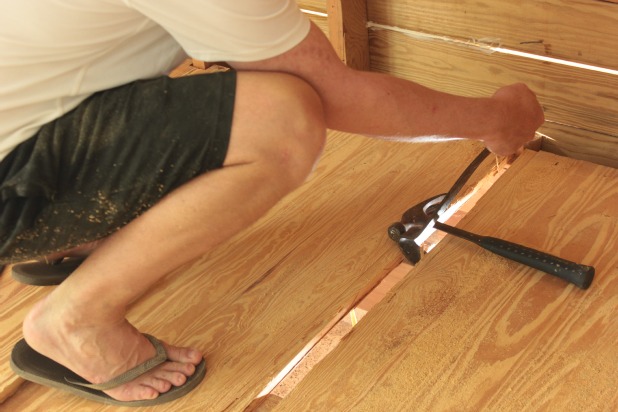
And then we used the hammer and prybar to wedge out our narrow little slats. We got the middle one out first to give the two edge pieces room to breathe from their respective tongue and groove counterparts, making it easier to remove those pieces.
Once we had the whole wood slat out we measured our replacement piece, that we had to buy in an 8 foot length, and cut it to size.
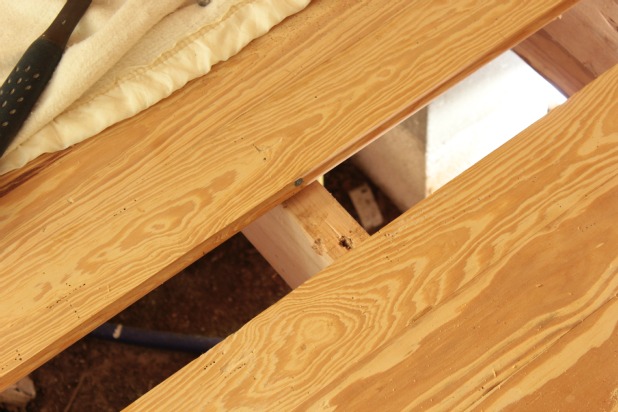
Here we had thought of just cutting off the tongue of the replacement piece so it would fit into our opening, but we didn’t like the potential of seeing daylight through that little slit for all time. Nope, no subfloor here.
Helloooooo crawl space.
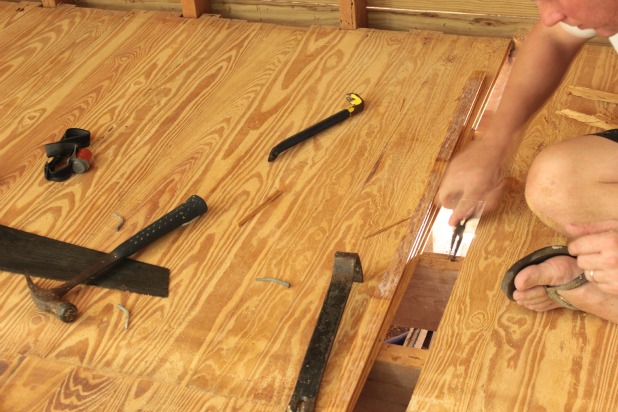
So, after removing some nails that would prevent our replacement piece from laying flat …*
*I don’t actually remember this part, but there is photo evidence, so it must have happened. And he’s using needle nose pliers and our cat’s paw is laying right there so you might need those for this part, too. 🙂
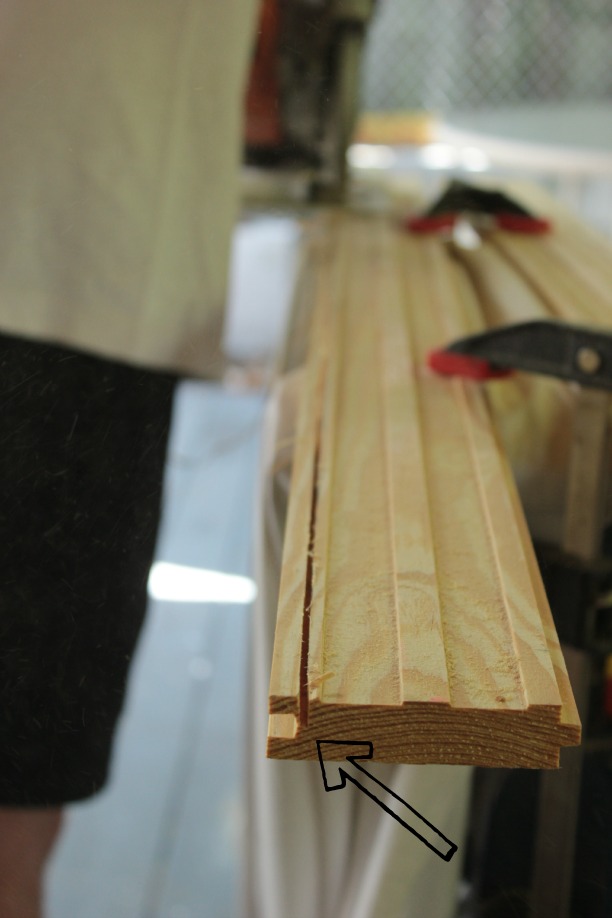
… we clamped our replacement piece upside down and set the blade on our circular saw to only cut the bottom groove off.
Our table saw has a guard on it that prevented us from using it for this type of cut, since we weren’t going through the full depth of the wood. But Joel’s steady hand on the circular saw worked like a charm.
Then we just glued both the tongue on our replacement piece and the top of the tongue that would be below our now half groove …
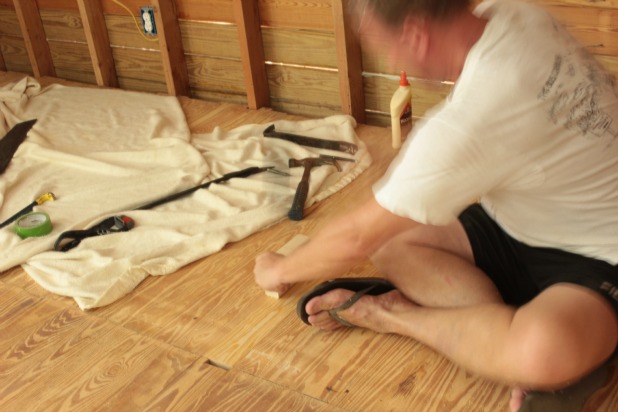
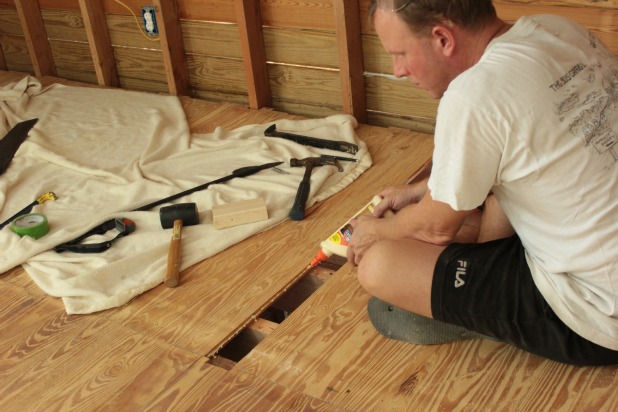 … and laid her in place with a little extra help from a piece of scrap wood and a rubber mallet. We didn’t want any evidence of hammering on the hardwood floor itself so the scrap wood worked as a shield of sorts.
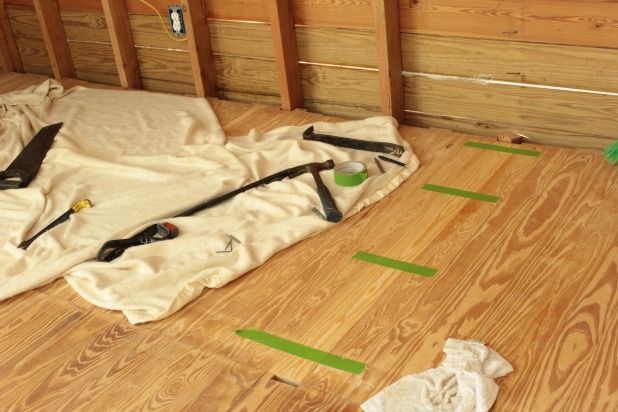
Some painter’s tape to hold her down for good measure. And a blanket for your tools and a headlamp for who knows what.
And 30 minutes or so later we were patting ourselves on the back.
Yes, I realize that all of the photo evidence makes it seem like Joel did all the work here. But he still patted me on the back to make me feel included and appreciated. 😉
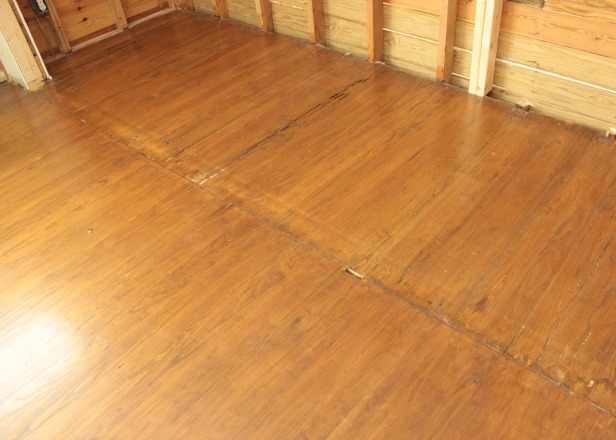
And these pictures do a good job of showing just how much the square buff didn’t sand down the other boards to their natural state. We were worried that the different shade of the new board would show through when we were all said and done. But after a couple of hours with the drum sander she stained the exact same color as the rest of the floor.
Phew!
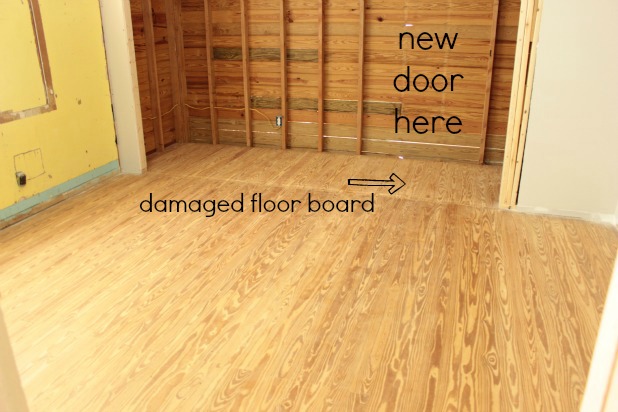
And this picture here illustrates a few key things.
Yes, we did leave another board that we could have repaired, but we actually like the character of it and I spent a lot of time hand sanding it down so she’s all smooth and soft and quirky.
Yes, that is a funky line going all the way across the floor. That’s the addition, the part that used to be the closet and I’m supposed to be working on a saddle to go all along there. No, not a saddle made out of leather, one of these (affiliate link), but 8 inches wide and pine.
And, yep, we framed out the new back door, just waiting on her arrival. We used the same framing process that we did here. And we’re working on a fun idea for the back wall, that’s why she’s not yet drywalled.
How about you … have any repair tips up your sleeve? Working on any of your own flooring projects? Do you believe everything happens for a reason?


La Verne says
Thanks for the tutorial on floor board removal. I am contemplating a similar one.
While you had access to the crawl space were you able to put down any termite “food” to ward them off from the inside? I guess every region has its annoying insects.
Good job.
La Verne@hopeandsalvage.com
Karah says
I haven’t looked into termite food at all, thanks for the tip!
Thistle says
Karah,
Great tutorial! I am always a little in awe of your DIY skills!
Happy day to you!
karianne
Ashley@AttemptsAtDomestication says
Awesome tutorial!
The first half of the pictures in this post aren’t showing up! 🙁
John Douglas says
Thanks for this post, really enjoyed it. The pics really help in seeing exactly what to do.
Karah says
Thank you, John! We were so happy it turned out so well!