This post may contain affiliate links which won’t change your price but will share some commission.
Hello hello!!
Happy week to you!
We are having a great time with my dad and his girlfriend, Catharine. Between house projects, sunset sails and walks around town we’re fitting as much Key West fun into this “vacation” as possible.
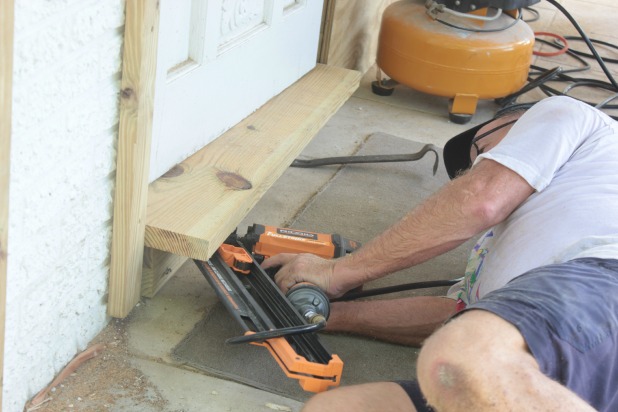
Now, most people’s idea of a vacation doesn’t include something like this …
But, lucky for me, that is my dad’s idea of a good time (or at least that’s what I tell myself). And it’s like having our own personal assistant in Catharine who has made us lunch and served us cold beverages before we even knew we wanted them. #spoiledmuch
And with these extra sets of capable hands our faux brick is no mo’!
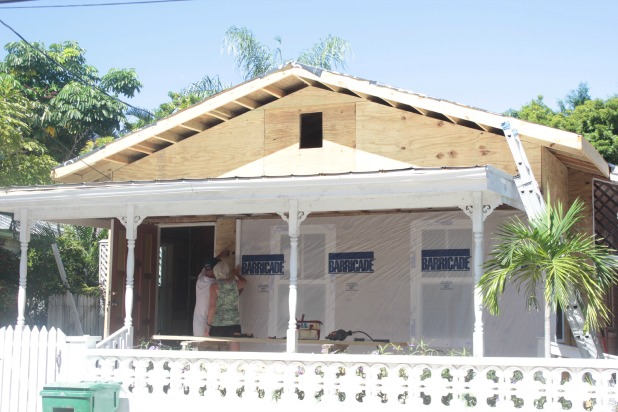
I can already start to see what a difference the new siding is going to make. The house is going to feel so up to date with the new clean lines and more typical Key West “conch” house siding. Good bye 1950’s, helloooooo beautiful. 🙂
Well, yes, I do see that it’s just house-wrap wrapped plywood right now … probably not your idea of beautiful. But, kind of like all of the vaulted ceiling framing pictures, I just focus on where we’re headed, not exactly where we are right now.
It’s called mind over matter. It works wonders. 🙂
Repeat after me “this is beautiful”.
Now, have you ever noticed that you can work for days on something and not really see any progress?
That totally happened for the first 3 or so days of dad’s visit.
It’s that constant mental battle of “let’s just do this already” and “the prep work is the most important step so let’s take it slow and do it right”. And there are always more steps in the ‘prep work’ category than anticipated. #amiright
Between there not being one level or square wall or corner on this old patio and the no mo’ faux brick only on part of the walls, we had ourselves a hey day of measuring and ripping down shims and mathy calculations that went a lot like:
Dad – “Well, it’s 1 1/2 inches at the top and 7/8 at the bottom so if we rip a 2 x 4 in half we can use it to make two shims and just trim the bottom part to fit.”
Me – “Ummmm, sure. Did you need me to do anything?”
The long and short of it is that shortly after we moved in I thought I could take my trusty pry bar and hammer to the faux brick and just remove it so the exterior would be flat from floor to ceiling and we could add new siding right over it.
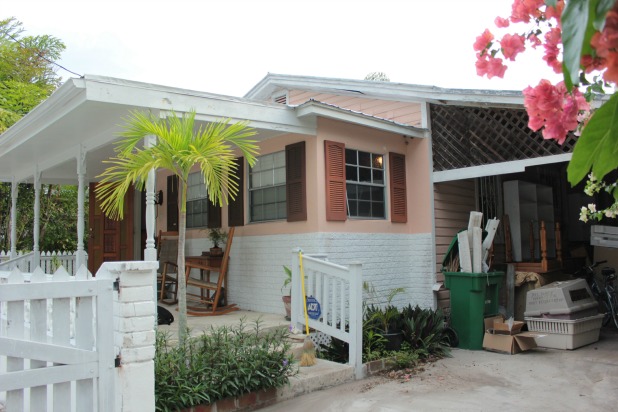
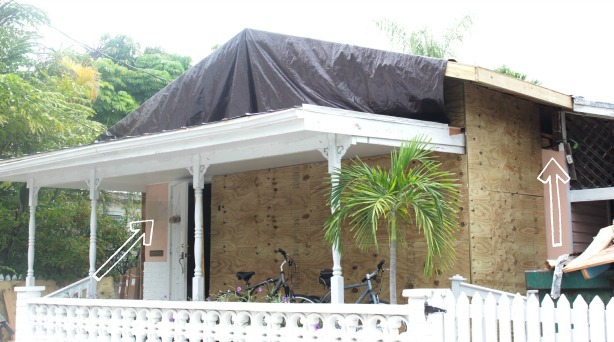
See how the faux brick is only around the old porch that was enclosed by a previous owner.
I was wrong. Miserably wrong.
So when we had the best weekend ever and the contractor suggested that it would be easier and less messy to just build out over it I was all over that idea. Something about whacking at the faux brick until you broke it into small enough sections to start to pull it apart from its chicken-wire-like backing was less than an attractive option.
Honestly, I’m not sure the build out option is any quicker, but from a manual labor perspective it is definitely easier. If you’re one of those people who understands math and fractions and stuff. 🙂
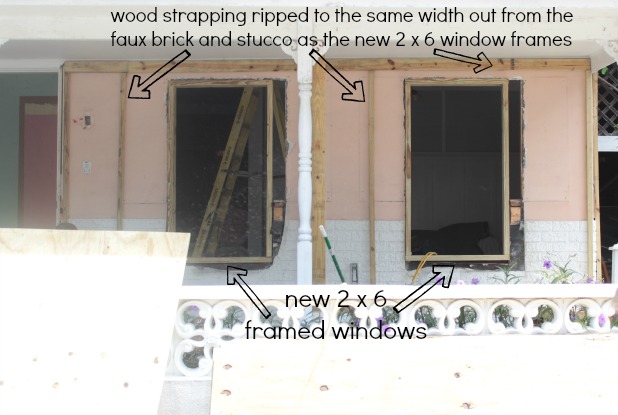
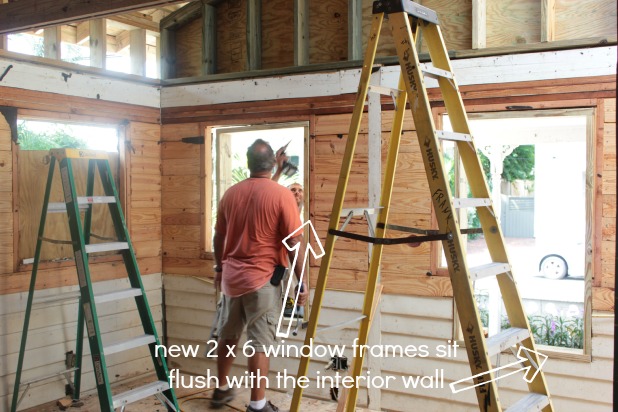
The key to how much we needed to build it out was determined by the new 2 x 6 window frames they installed. They installed the new window frames flush with the interior wall. This should make the drywalling process pretty smooth sailing, but I’m pretty confident I’ll manage to find some way to complicate it when the time comes. 🙂
The siding on the bottom third of the wall is from the original porch, the top part is just all scrap wood added on when the previous owners decided to enclose the porch as part of the living room.
The crew that was here over Labor Day weekend enclosed most of the faux brick but my dad and I had 3 little sections we needed to tackle together.
Which sounds really simple. But each area had its own set of challenges.
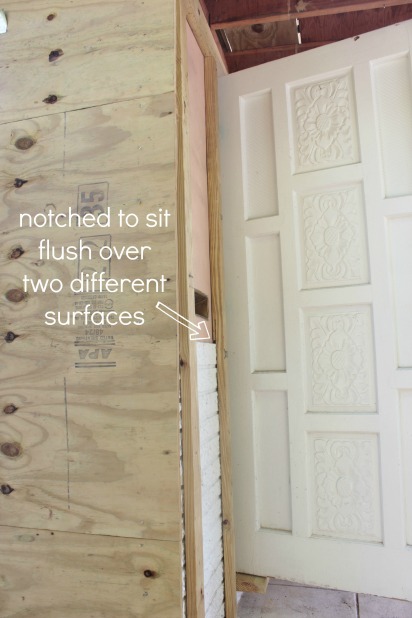
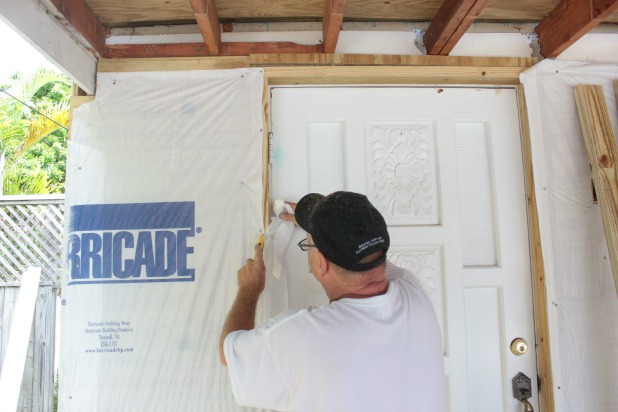
The area to the left of the front door needed to wrap around the top and bottom of the door and line up exactly with the part the guys had already done on the right of the door.
And that little 12 inch section on the far right needed to get built out to the level of the stucco before we could build it out to the new level to attach the plywood. We had to do the same thing on the far left side (not pictured above) and we were able to use scrap wood we had left over, which is always a bonus. 🙂
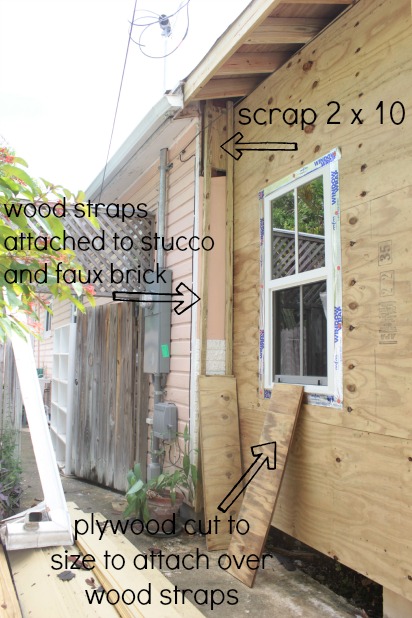 And we definitely had a few days where we were glad Catharine was here as a witness that we did actually work all day*. Because at the end of the day things were looking strangely similar to how they looked when Joel had left for work in the morning.
*By all day, I mean until happy hour specials started minus the time it took us to clean up the work area and take showers and walk into town.
So, one small visual difference is actually one large step forward for us. We’re continuing the slow process of adding trim around the door and the four windows now that we have all flat surfaces wrapped in house-wrap.
Then we’ll but the new siding right up to the trim and be ready for some paint!!! Now that’s exciting.
All the prep work the professional painter went through with me detailing everything I need to do before I’ll actually be ready to paint = not exciting at all.
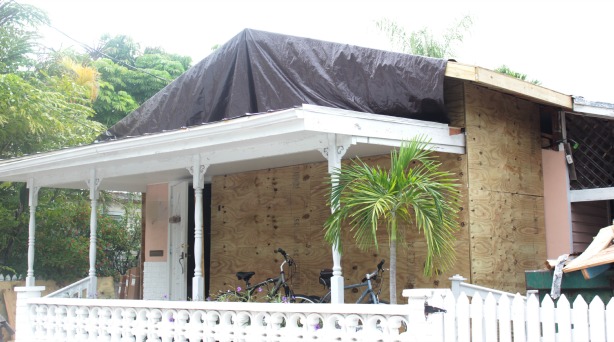
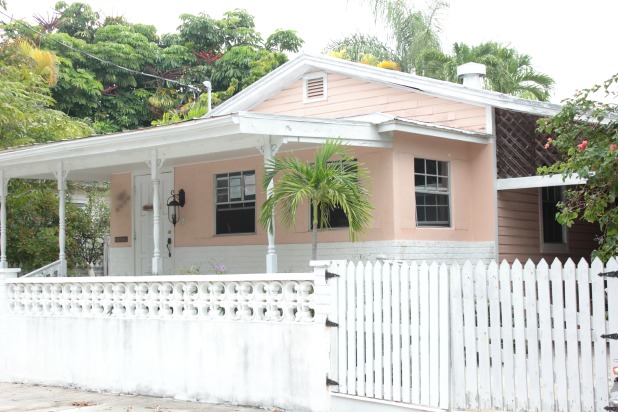
But, it feels like decades ago that the house looked like this.
Hope you guys are having fun these days! Right now I am so excited to be a part of something super fun and I can’t wait to share it with you later this week!!


Kelly @ Eclectically Vintage says
My parents still have faux brick in their kitchen! Maybe you need to take a trip up from the fun and sun and rip it out for them!!
Kelly
cassie says
i am dying!!!! ha ha ha!!! the title- you kill me!
Karah says
noooo, don’t die 🙂
Janet says
Lookin’ better. It’ll be totally awesome when you’re done.
Janet
Karah says
Thank you so much, Janet! We can’t wait to see how she turns out. 🙂
Ann says
I wish you well,Karan. You are blessed to have a Dad that thinks of this as “fun”. We enjoy reading about the adventureswith your house. Blessings always!
Karah says
Thank you so much Ann!! We have had a great visit!!
Krissy says
The funny thing is, I think your peach and white faux brick cottage is cute! But I KNOW your house will be amazing when it’s all tricked-out the way you’re creating. And I understand slow progress; we have to keep affirming that it IS progress and be pleased with that when instant results don’t appear. Keep on!
Karah says
Hahaha, I do think there is some 50s charm to what she looked like … we’re just hoping to give her a more traditional Key West conch style home … hope we can do her justice. Thank you for the encouragement!
karen@somewhatquirky says
It just keeps getting more and more exciting. Aren’t dads wonderful?
Shannah @ Just Us Four says
This is amazing! It’s like a whole new redesign!
Karah says
Hahaha, I keep telling my husband “it’s like a whole new house”. I love it!!