This post may contain affiliate links which won’t change your price but will share some commission.
One of the reasons that we weren’t able to work on our living room progress in a normal working order is because we wanted to insulate the attic before we drywalled it in.
Turns out we are leaving a small access opening in the front of the house so it didn’t really matter. #BestLaidPlans
Buuuuut, I choose to believe it is all for the best because if we had the drywall up already it would have made it nearly impossible for me to hear Joel while he was maneuvering his way around our cramped little attic with the long hose attached to the loud insulation blower. It was a bit of a Marco Polo situation as it was, so all’s well that ends well, right?!?!
But this is not one of those “we rented a blower, bought some insulation, came home, used it, laughed, joked, enjoyed the entire process, returned it, happy danced” stories.
We do have one of those stories. From about 7 years ago. We rented a machine and bought the natural fiber insulation, like this stuff (affiliate link). We used a hole saw and drilled holes in our walls every 16 inches, to get in between each wall stud, and blew insulation into the walls of our house in Maryland. From what I remember it went swimmingly.
From what I remember about this time around, Joel felt like he was swimming in the attic he was so hot and sweaty by the time I figured out how to work that darn thing. :/
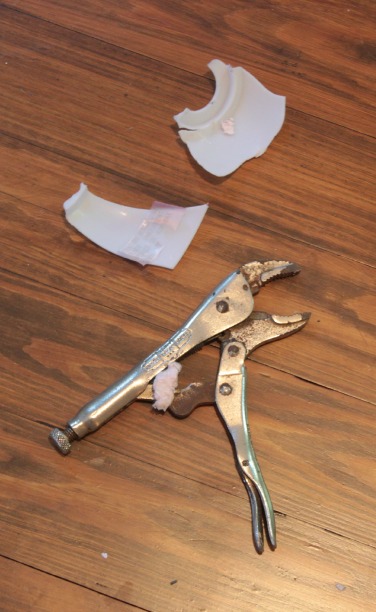
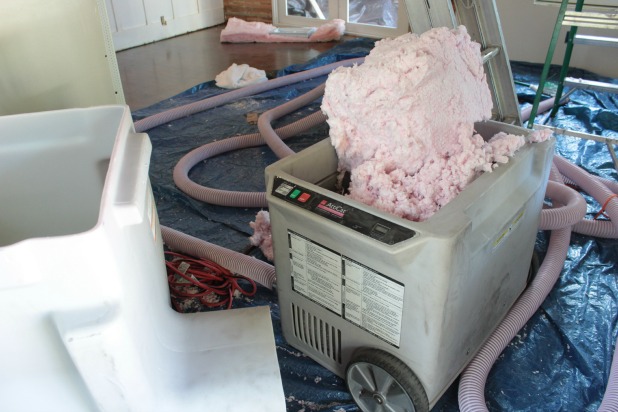
THIS!! Yes … these two little white plastic pieces prevented us from insulation blowing bliss.
It was madness. But let’s start from the beginning, because this story does have a happy ending.
We called our local Home Depot in advance to find out about our options and the use of the machine is actually free with the purchase of the insulation. Score! Off to a solid start.
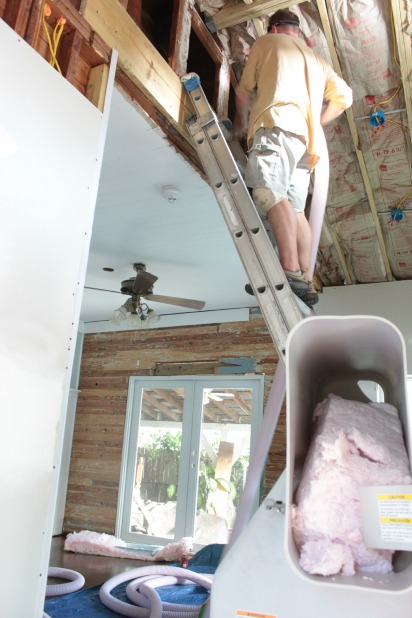
We got everything home, hooked a few hoses together just to be sure there would be enough length from Joel to work the entire length of the house, he hopped up the ladder and stood in the opening to the attic and we tested her out.
Worked like a charm so Joel headed in the bowels of the attic yelled the “all set” and I turned her on … and let it run … and run … and run. And then I saw the hose shaking violently so I turned her off.
Turns out nothing was coming out. So Joel nicely suggested that I only turned it on for a few seconds to make sure it worked because it was frustrating to be up there and yelling to me when I can’t hear him.
Two points for a solid argument from the man of the house. 🙂
To say we went through this little … It’s working. Now it’s not. It’s not blowing much. Are you sure it has insulation in there? … stage for an hour would be a guess, but that’s my guess. Although it felt like days.
We even borrowed a heavy-duty extension cord from our neighbor because we were worried our little extension cord wasn’t providing enough power for it to work properly. It says right on the machine a 14 gauge cord is required, turns out our extension cords weren’t marked to tell us their gauge so we just assumed we needed more power.
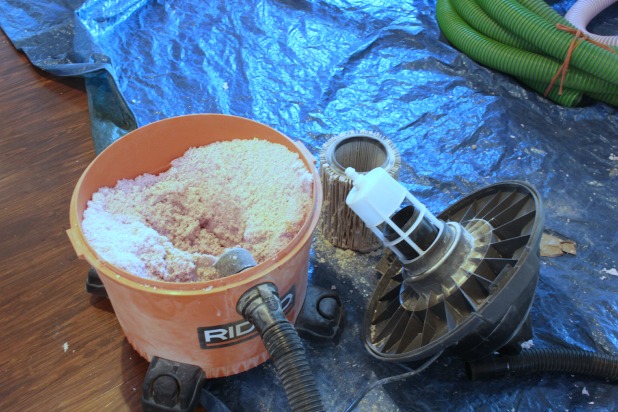
We kept clearing out the hose thinking maybe it was getting clogged. The shop vac worked like a charm here, and we were able to reuse all of the insulation since I cleaned it out before the use.
Two points for smart DIY to the lady of the house. 😉
And, on Joel’s suggestion, I put the vacuum on the blower setting and made sure he could feel the air blowing through. Full air pressure confirmed.
Two more points boys team.
And we knew it wasn’t a hose clogging issue.
So, what the heck was wrong?!?!? Turns out, what I thought was part of the machine, those two little plastic pieces as the opening of the machine where we plug in the hose were not supposed to be there and they were preventing the insulation from blowing properly!!!!
Dangnabit!!!
I grabbed my vice grips (locking pliers like these) and was able to weasel those guys out of there.
No action shots here. Picture Joel all hot and bothered sweaty in the cramped attic and me frantically rushing to get the pliers and get this show on the road already!!!
I found a latch on the insulation blower and realized I could take the top piece off so I unplugged her and reached my hand in there and try to feel for any other random pieces that might not be where they belong.
I think that sounds scarier than it actually is. It’s not like there are blades or anything in there, they’re plastic paddles that break up the bales of insulation. Picture me sticking my hand into the bin o’ balls at Chuck E Cheese and get that image of me sticking my arm in a meat grinder right out of your head. 🙂
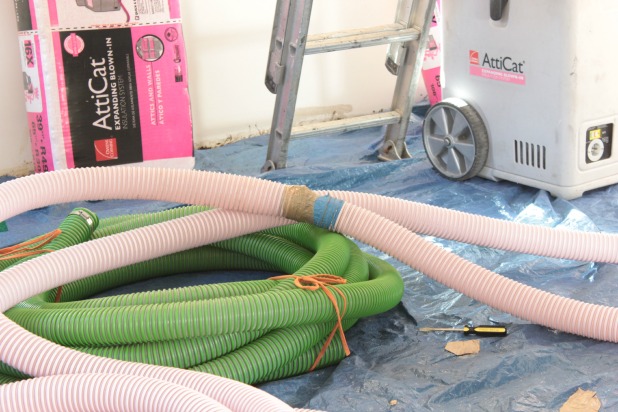
I should have taken more detail shots of the machine. I didn’t even get a good one of where the hose screws into it. But you can kind of see it in the picture above on the left side of the machine where the pink hose comes straight out.
Anyway, with that little obstacle now behind us Joel was singing her praises. He even made the comment that it would have been nice to have a way to slow it down.
I say be careful what you wish for. 😉
From here on out Joel would just yell down a time and I would turn it on for that amount of time. Anywhere from 10-45 seconds. Short bursts where Joel could get an area and then maneuver to a new spot.
I don’t have any real in-attic shots either. After the big ordeal I didn’t think Joel would react too kindly to me showing up up there with my camera and tripod saying “hold on a few so I can take some pics”. The attic isn’t really the best “hold on a sec” spot. You get it, right?!?!
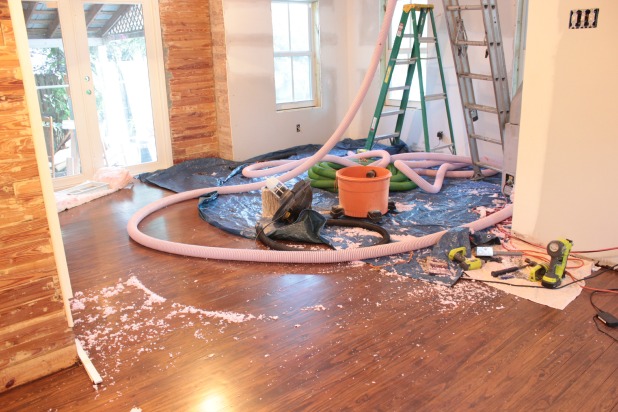
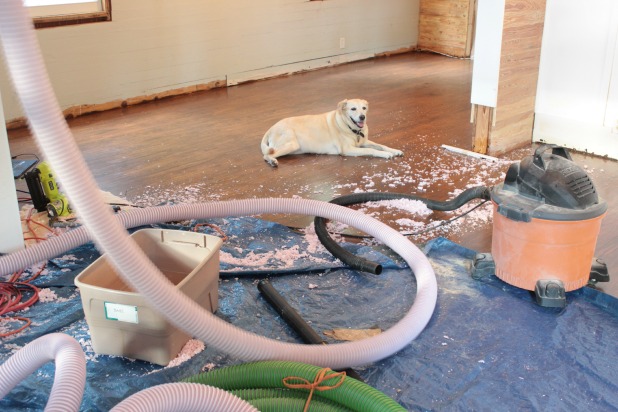
So how about another picture of the mess.
I actually created that mess when I turned the machine on without the hose attached on purpose to see if insulation was coming out. It created a mess, because it did come out in spurts, but it was that little test that showed me that those two little plastic pieces were not actually functioning parts of the machine. Shop vac to the rescue again.
Now while Joel was shimmying his way through the attic yelling down times. During the longer spurts I would grab another insulation bale from the front of the house and prep it.
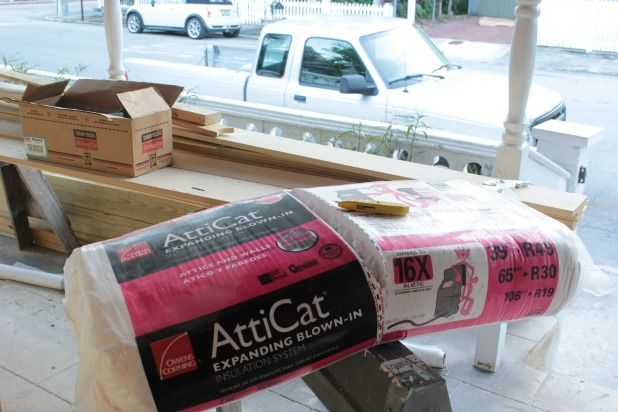
The instructions are right on the package but the saw horse was really handy because it gave me something to break the bales over, when they were laying flat they were hard to break apart.
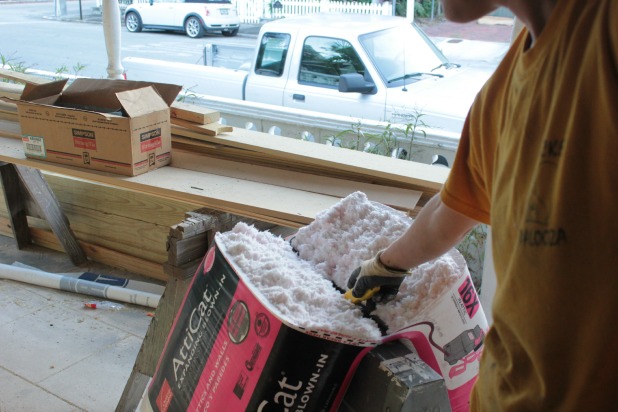
The half sections of each bale went easily into the feeder and there was a built-in cutter on one side that slit the plastic so you can keep a hold of that while the insulation goes into the hopper.
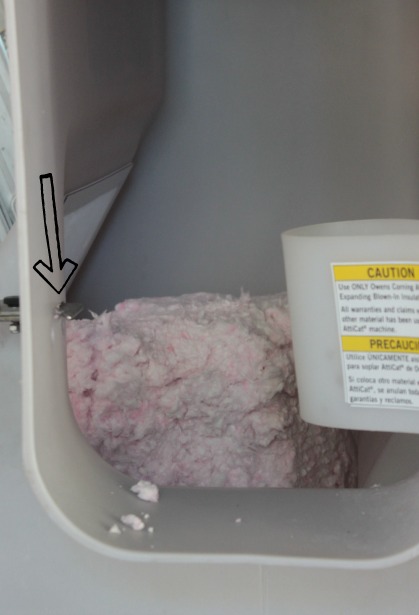
And once we had it all under control my duties looked a little like this.
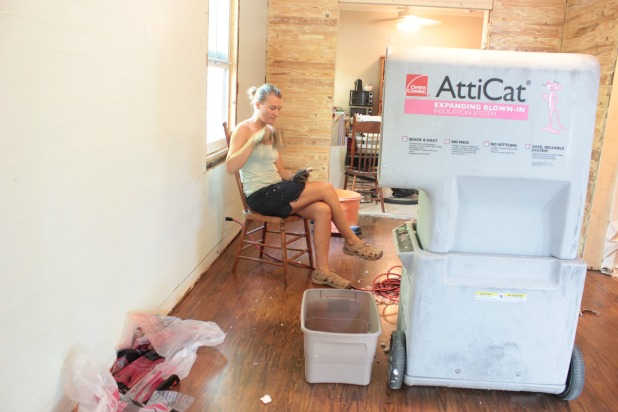
Just kidding, Joel!!!
I found myself checking me email on my phone while having a sip of coffee during a short 10 second burst so I thought it’d be a funny picture.
In actuality I spent most of the time cleaning up. As you’ve probably noticed it’s a messy job. Not in a hard to clean up sort of way, just hard to corral all of those feather light bits of insulation.
Here’s what the dining room looked like AFTER I vacuumed.
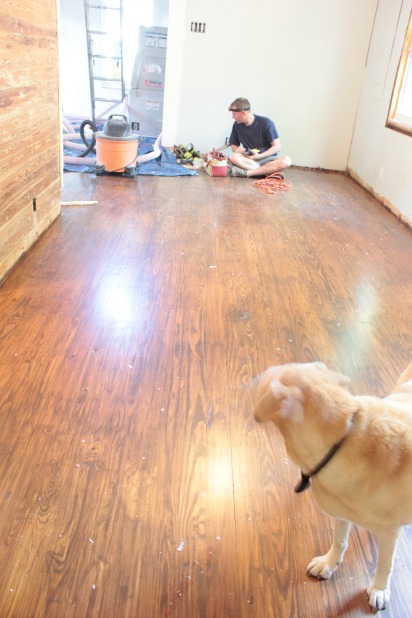
I have a feeling I’m going to find little insulation dust bunnies for a long time to come. :/
A few tips:
- Knee pads and a head lamp for the fella in the attic. We have lights in our attic but the headlamp helped see in all the dark corners and angles.
- Make sure there aren’t any stray areas where insulation might pop out. We had a few, like the spot above our circuit breaker box where I haven’t put up molding yet and a random hole in the ceiling in the little hall by our bathroom … those aren’t helping my insulation dust bunny situation one bit.
- The timing system really did work. Once we figured out the problem it really was pretty easy, quick work.
We went this route because we have a lot of electric and stray boards in our attic that prevent easy access between each joist with the paper-backed insulation that we put in the guest bedroom ceiling.
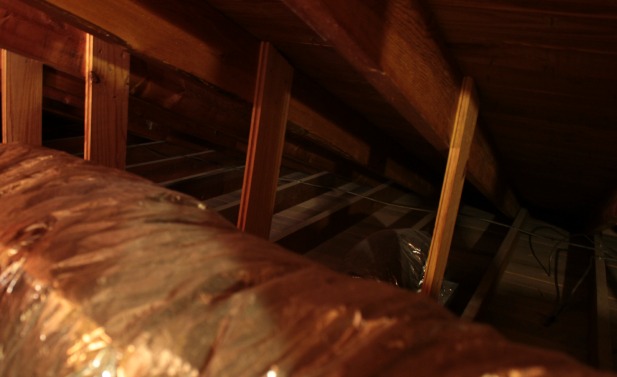
Here’s one random before shot of the attic above our master bedroom.
 And the after … you can see that there are a few spots not filled. Instead of open a whole new bag of the insulation at about $33 a pop we decided those last few spots would be easy enough to lay regular insulation.
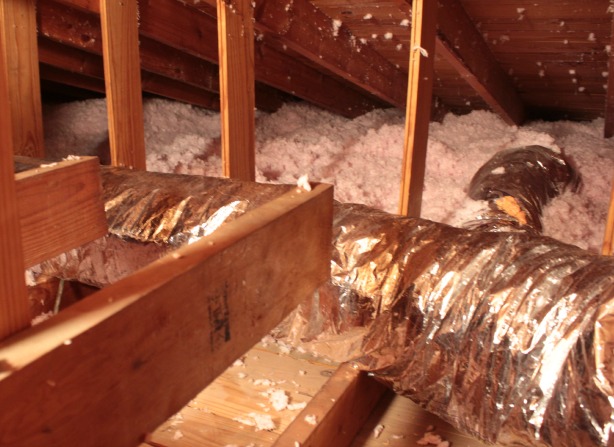
I said “It looks like it snowed up here”.
Joel said “It doesn’t feel like it snowed up here”.
We’re both very happy to have that little task behind us.
I’m spackling away in the living room this week, probably getting started on the sanding as you’re reading this. With all kinds of interesting situations we created for ourselves on that front I’ve got a whole new slew of drywall and spackle tips. Hold onto your hats folks, that exciting business is coming your way soon. 😉


Kelly @ View Along the Way says
GAH what a pain! I’m glad the story at least ended well. 🙂
MJ says
SO….I paid quite a bit to have 4 guys do this job with cellulose insulation, blowing it on top of batts for extra R-power.
Now, heaven forfend that anyone needs to go up in the attic to do electrical or any other darn thing up among that loose stuff. It’s a mess and I can’t even stash my treasures up there when I go on vacation because if I open up the hatch I’ll get rained on by insulation. Guess the next time, I just spend the insulation money on more oil for the furnace.
My late husband would be so chagrined………But i’m glad it finally worked out for you and that you and your hubby go through it w/o major conflict!!!!LOL
Karah says
Hahaha!! Definitely the benefits of doing it ourselves were we knew which areas to avoid and just lay the paper backed stuff. Such a bummer about your experience!!
Chris Winters says
I can see why short bursts would be useful when operating an insulation blower. It seems like the vacuum hopper material is what truly powers the system. I can definitely see how it would be essential when applied to an industrial setting.
Anthony says
You should have used some ventilation rafters on the attic sides. It helps with air circulation from the soffits.