This post may contain affiliate links which won’t change your price but will share some commission.
… my nephew. That’s right, that’s who x is for in my book.
You may remember a certain letter that I wrote him last year.
Well, when the announcement came out, that it’s time for the pinterest challenge winter addition I knew I had to participate. Hosted by the regulars Katie from Bower Power and Sherry from Young House Love and this time around Megan from The Remodeled Life, and Michelle from Decor and the Dog.
First, this whole blog thang started with a pinterest challenge … the fall 2011 challenge to be exact.
And second, I’ve been itching to get a little crafty lately. If you’ve been around here recently you know we have just moved to Key West and are living out of a hotel while we wait to close on a house. (I had typed our house, but she’s not our house yet, so I’m trying desperately to not get emotionally attached … even though I’ve already started a room by room project plan complete with sketches of project ideas. Mission Don’t Get Emotionally Attached is not going so well.)
Aaaanyway, take one girl living out of a hotel, combine her with a project she’s been thinking about doing for about a year, add in a little pinterest inspiration kick in the pants and you end up with …
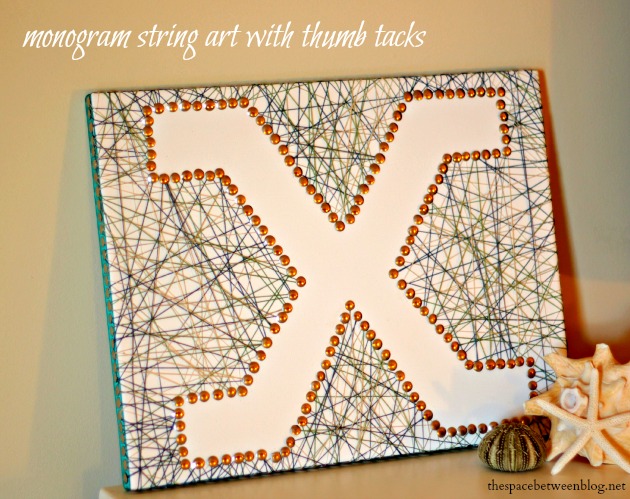
… monogram string art.
Here’s the project at Honey & Fitz that gave me the idea to do the monogram for my nephew.
And here’s how I decided to tackle this project.
Supplies:
- canvas, a variety of sizes can be found here
- thumb tacks, I bought two 300 packs at the Dollar Store
- string, I bought mine at Ben Franklin, but many colors can be found here
- foam board – I bought a 3/8 inch thick piece at the Dollar Store
- a hammer
- ribbon – optional
- super glue – optional
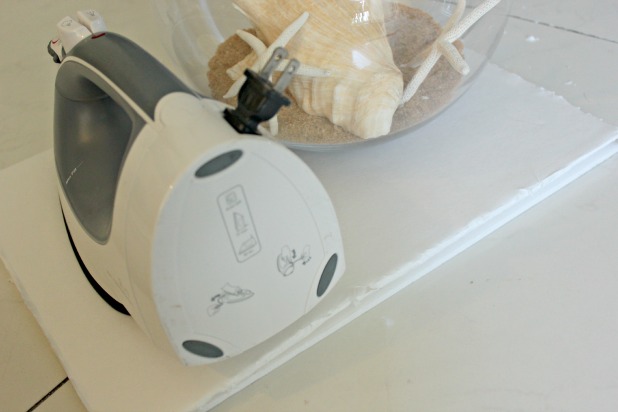
Step 1 – Cut the foam board so it will fit inside the back side of your canvas, double or triple it up as you desire and glue them together and into the back of your canvas. Use whatever you’ve got around to apply pressure while it dries.
This step is to give the tacks a thicker surface to stick into and prevent any little fingers from pricking themselves on tacks. That would be bad. Kind of like the time I made a cute little printable for my nephew and put it in a frame I had covered in book pages, like these, and my sister-in-law noticed in about point 3 seconds it had the F word on it. #kidgiftfail
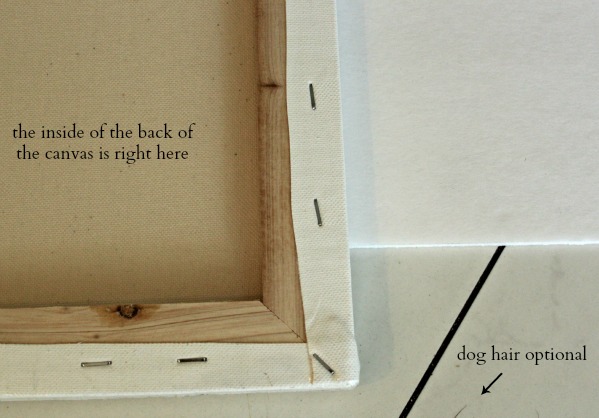
Step 2 – Draw and cut out your design on a piece of craft paper. I had cut the craft paper the same size as the canvas and just hand drew half of an x. I folded the craft paper in half and cut it out while it was folded so it would be symmetrical for the most part.
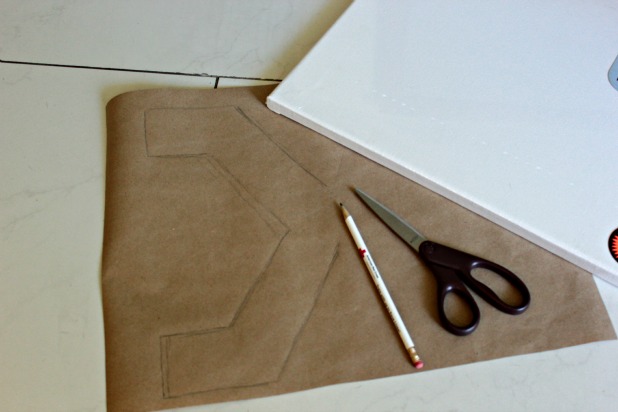
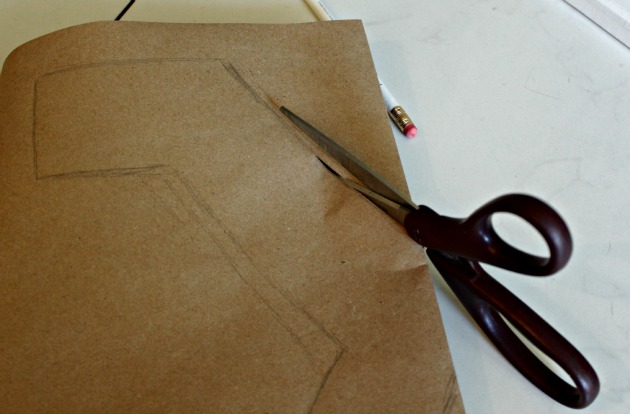
Note: It appears you need a pencil and scissors for this project, too. 🙂
Step 3: Measure meticulously to center your design … or just eyeball it … and then start thumb tackin’.
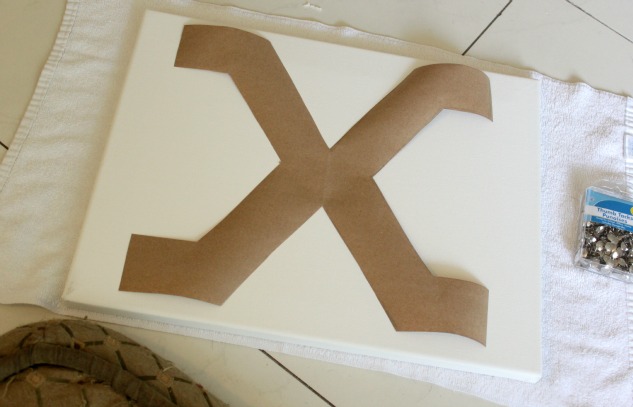 It is worth noting here that I was sitting on the dog bed to work on this project, all the while this was going on on the people bed.

That’s my husband in bed with two other women. #lovethem (I originally had that as #lovethemall but couldn’t help but read it as “love the mall”, which I don’t, but I do “love them all”.)
Ok, back to the tackin’.
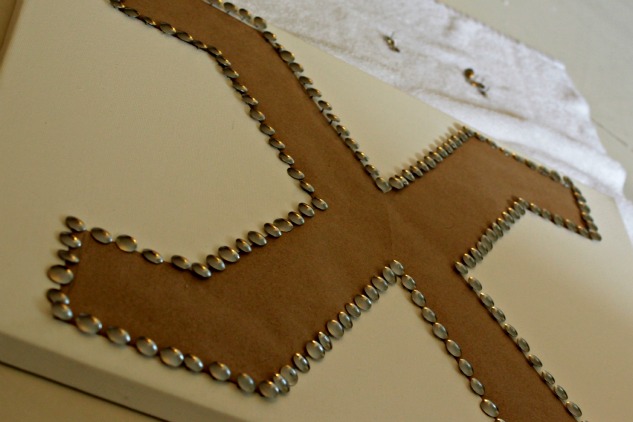 Here are my very specific tacking tips:
- don’t bother measuring
- just eye-ball the spacing between each one
- don’t do all of the corners first … that’s actually a real tip, just go from tack to tack and wing it as close to your stencil corners as you can when you get there
- don’t push them in all the way … another real tip … that step comes after the string
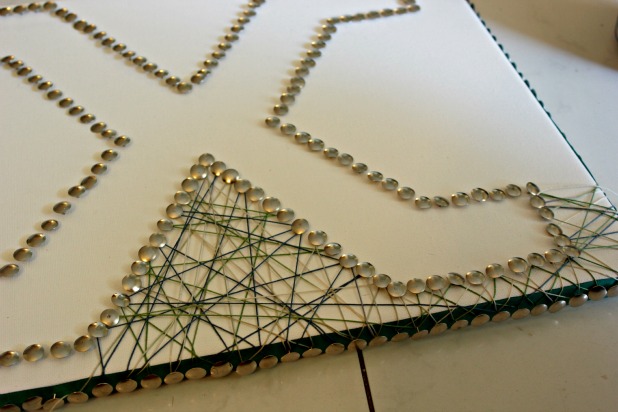
Step 4 – Ribbon (optional) and tack around the edge of the canvas. I wanted to make the inside of the monogram open with all of the string on the outside so I decided to tack strip the entire edge of the canvas and added a ribbon detail just for more color. This strip of tacks gives you something to wind your string around so you can create the hollow letter effect.
I used a glue stick to set the ribbon and a hammer to hammer in the tacks … there will be some tack casualties. Let’s just say I was happy I had bought that second pack of tacks.
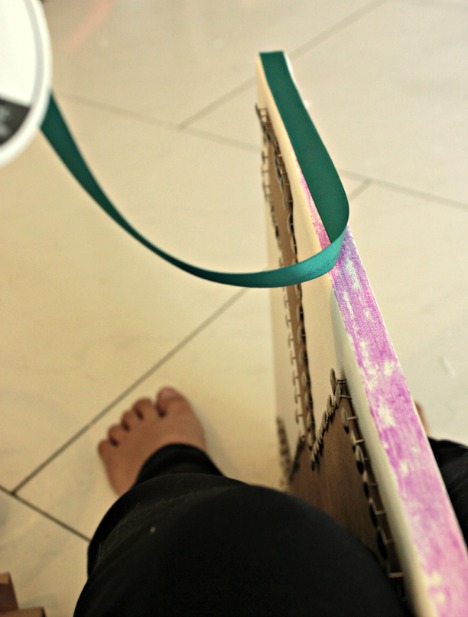 And I used my fingernail to hold the tack in place for nailing … you can see about how far in I was putting them in this picture, too.
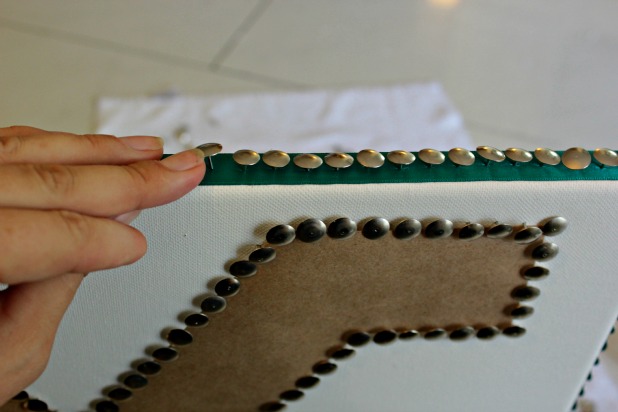 Step 5 – String. I just picked a random tack on what is the bottom of the canvas and knotted off the string and went in a totally random pattern making sure to wind around every tack until I thought it was enough.
Step 6 – Hammer all of the tacks in all the way and (optional) put a dab of glue on any of them that don’t seem to be holding tight in the foam board. If I was just going to hang this up I probably wouldn’t bother gluing, but this x needs to do some traveling so I didn’t want to risk it.
And then, if you’re living in a hotel, walk around the hotel with your monogram string art and camera trying to find a good spot for the right shot.
In front of a tree.
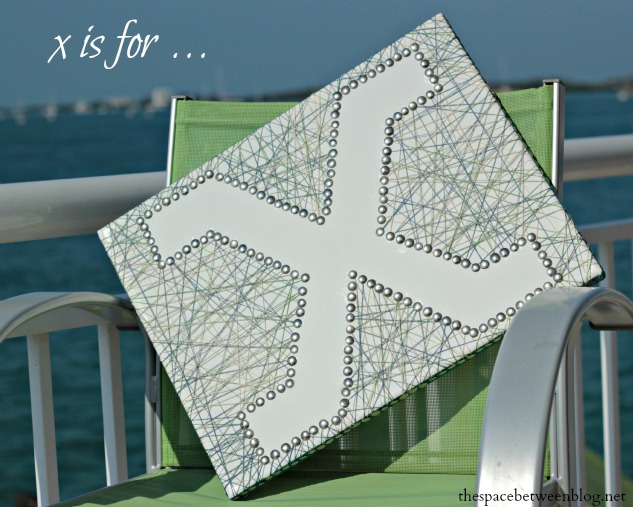
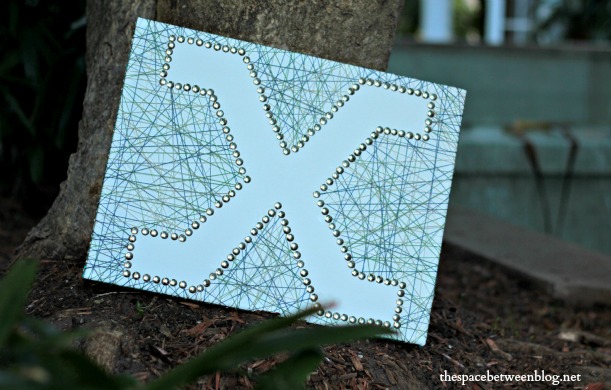 On a chair with the water in the background.
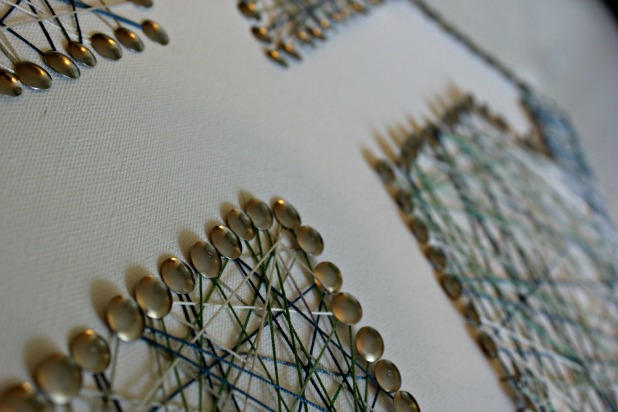
 Here’s a close up of the ribbon with the tacks all strung up … I love the industrial look of the tacks combined with the simplicity of the string and ribbon.
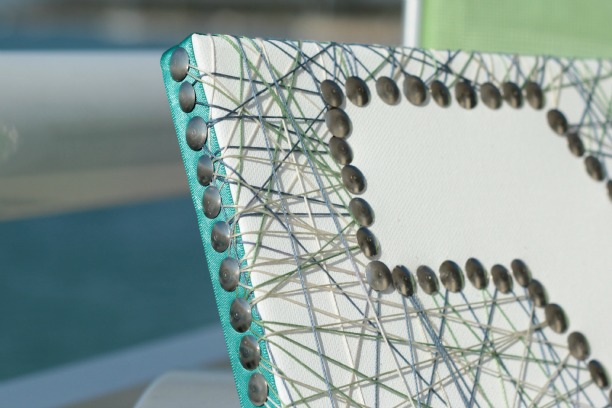 And then back in the room accessorized with a few items from the sea … where the fluorescent light makes the tacks look gold.
 I got the canvas for 35% off $14.99, the string was $3.59 (and I have a ton left) and the ribbon and tacks we bought at the Dollar Store … the glue I had on hand … making this about a $17 project. Not a bad price for a fun gift for a little boy.
How about you, have you made any string art of any kind? Do you have an adorable nephew?
Tomorrow I’m headed back up to MD to work on a few more projects at the rental house, meet with a few realtors and put our previous primary residence on the market and coordinate the shipment of our things from storage down here. It’s sure to be a busy couple of weeks … and I hear it’s winter up there. 😉



Shelley says
No need to post this comment – I love how the “X” turned out! A couple of your links (for supplies for the project) don’t link correctly.
Karah says
Thank you so much, Shelley!! I had no idea and fixed them thanks to you!!
Aryn says
So cute Karah!!! I love it!
Karah says
Thanks Aryn!! Hope you’re doing well!!
Jessica @ Stay at Home-ista says
Pinning the heck out of this! I wanted to do a name thingy just like that, but then realized I promised not ot use my kids’ names on the blog, and if I couldn’t blog about it, what was the point?
🙂 Jessica
ps- love the crafting from a hotel, especially when the craft gets out to the chair by the water and has a drink…
Christina @ Floridays Mom says
I absolutely LOVE this! Its so original, I mean I know you said you got your inspiration from that name gallery wall (which is also oohhh so cute) but yours is a thought all on its one. I just adore it. I already have a name sign in my little guys room, I’m seriously trying to think of how i can incorporate this whole idea in my house.
Kelly @ Eclectically Vintage says
X definitely marks the spot on this!! Your nephew is a lucky little boy! The thumbtacks are brilliant – can you mail me some dog hair though – I don’t have any!
Off to pin this bit of fabulous!
Kelly
Traco says
I have no idea how you managed to do this project in a hotel with two dogs. You are definitely handling your move better than I would. Love the finished art work and I imagine it was kinda fun. Thanks for sharing.
Traci
Dana @ Cooking at Cafe D says
Karah,
Love the final product – and the creativity.
It reminds me of a string art thing we did in school in 8th grade.
Good memory.
~ Dana
P.S. On the step where you wrap the teal ribbon along the pink border (see pic above)
It’s important to remember to “Put you left foot in, Take your left foot out” – right?! )
#totallysinginghokeypokeynow
cassie says
love it so much!!! i saw it last night on facebook, i think, and LOVED it then! you did an amazing job! now can you make a b…. for me? 😉
Debbie says
I love it, Karah!! I would love to do one of these for each of our grandkids, such a cute idea!!
Debbie 🙂
Karah says
They would be perfect for the grandkids!!
Crystal @ 29 Rue House says
This is so cute Karah! I’ve always wanted to make one of these string art projects!
Karah says
Thank you so much Crystal!
Kelly @ Corner of Main says
Cool! I like how the string is on the outsides of the letter vs. inside. I’m sure it will look great in his little room =)
And he is adorable by the way!
Gretchen says
Very nice! I love the colors of the string….it turned out great! I have a potential string art project planned, so I appreciate the tips 🙂
Karah says
If you do make your own I’d love to see it, Gretchen!
Maggie says
I have been greatly intimidated by string art for some reason, but this project makes me want to give it a try anyway. Thanks for such a great tutorial.
Thelovenerds.com
Karah says
I hope you end up trying it, if you do, I’d love to see it!
sometimes-homemade says
I love initial art. I’ve seen a lot of string monogram letters, but never one in reverse like you’ve done. Nice!
Karah says
Thank you Erin!!