This post may contain affiliate links which won’t change your price but will share some commission.
Here’s a handy list of some things that could, if you’re not perfect, possibly, maybe go wrong while making a wood bed frame. I mean, if it were someone else making the bed. In spite of it all, here is how my bedframe turned out here.
Let’s just agree that these problems didn’t happen to me.
And that these are pictures I found online from someone else’s bed making attempt.
I know what you’re going to think, “it’s crazy that the random person’s yard and room and bed frame looks just like mine” … I thought the exact same thing.
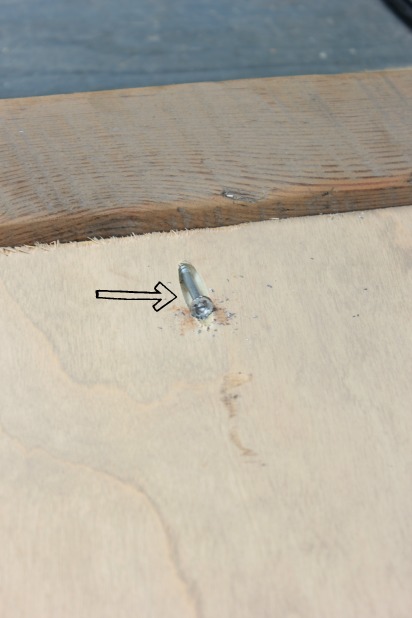
#1 – If you don’t line up your Kreg Jig Jr just right your pocket hole won’t be in exact right spot and you may crack your plywood.
 I know I haven’t really given any instruction or info on the Kreg Jig Jr. Truth is, I’ve had the tool for over a year and this is the first project I’ve used it on and am still getting the hang of it myself. With some fun ideas we’re working on for the house I’m hoping to use it a lot more and give you all the how-tos.
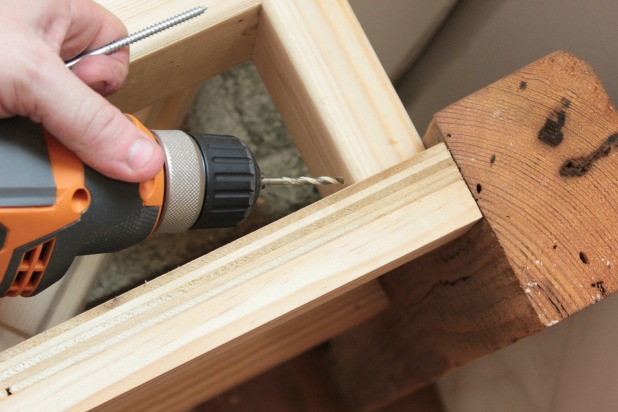
#2 – If you decide to use regular screws, that aren’t compatible with the long Kreg Jig Jr drill bit (which is totally fine) just remember that you have to use a drill bit extender with your regular drill bit so you can screw in the screws at a straight angle and not strip your 3 inch screws before they are fully screwed in.
#3 – If you do strip any screws you are going to need to be willing to improvise … I would imagine.
#4 – Don’t attach your footboard too close to the edge of your leg post so you don’t have enough room to attach the 2″ x 4″ bed frame.
#5 – If you do attach your footboard panel too close to the edge of your leg post AND you have stripped your screws that attach the footboard panel to the leg posts you’re screwed be sure to drill pilot holes smaller than the diameter of your screws so your screws go in at the correct angle and don’t awkwardly come out the side of the posts.
I couldn’t find any photo evidence of screws awkwardly coming out of the leg posts so this person must have gotten lucky and realized the whole pilot hole solution before that problem happened. Phew!
#6 – Be sure you attach your 2 x 4 bed frame to your leg posts in the right spot so the length from your headboard to footboard matches up with the measurement of the side rails that you have already made.
#7 – If you discover that you are a measly 1/4″ off and need to unscrew the frame from the front leg posts be sure to have your screw driver on reverse or you will strip the screw trying to unscrew it when your drill is trying to screw it in farther.
Trust me, that will totally happen and you will feel dumber than a box of rocks.
#8 – If, and only if, you have stripped a screw in one of the front leg posts and you can’t do anything to help your situation by adjusting the back leg because you also succumbed to #5 you are dumber than a box of rocks use a drill bit to try to drill off the head of that stupid screw.
That’s what happened to this poor guy from the wood bed frame tutorial post.
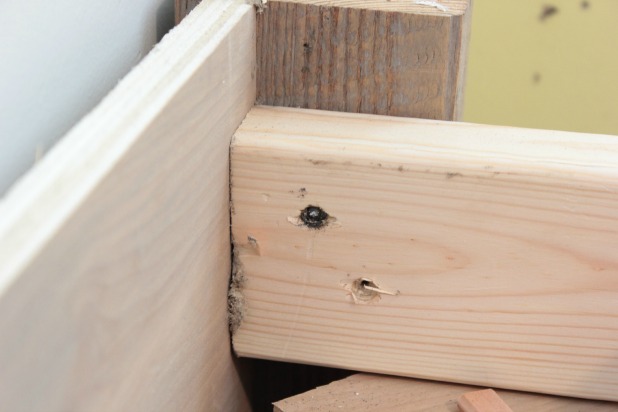
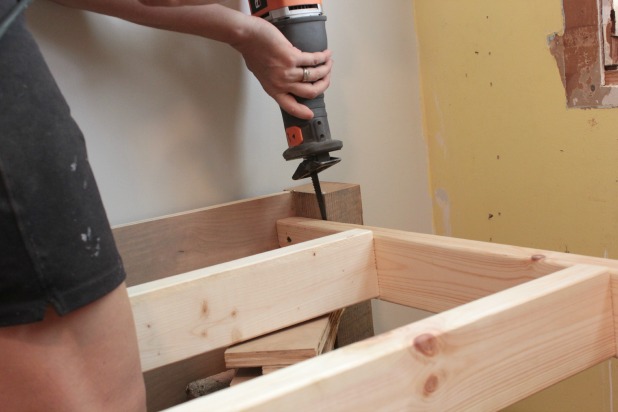
#9 – After you have used your annual allotment of curse words trying to make that happen and all you’re left with is a useless drill bit, a badly mangled screw head and a bad attitude, whip out your reciprocating saw and very carefully cut between the 2″ x 4″ bed frame and the leg post.
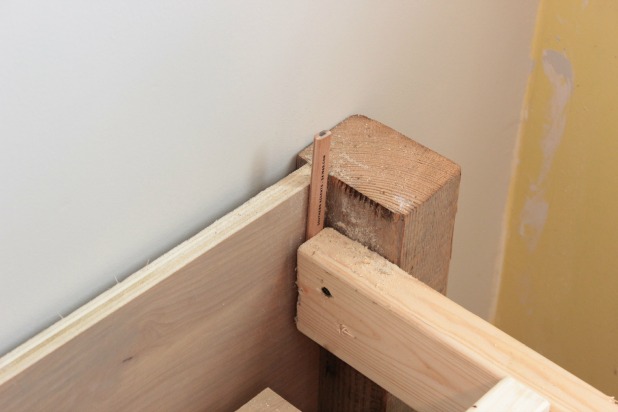
#10 – Through all of this madness you will feel like a carpentry insider to have determined that carpenter pencils are exactly 1/4″ thick and make the perfect shim to make sure you reattach the bed frame in the right spot.
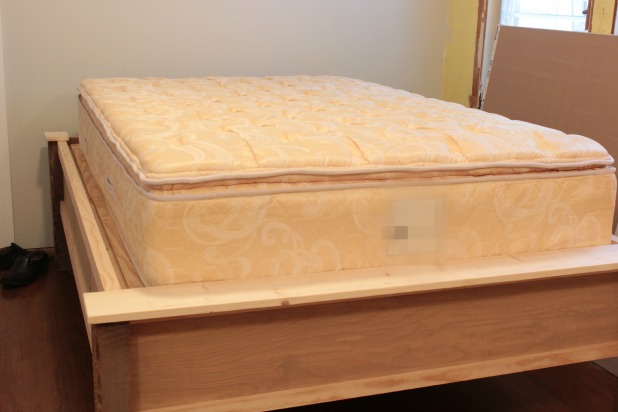
#11 – Oh, and I mentioned it in the post about making the wood bed frame like I had done it at the beginning, like you should … but you definitely should measure the height of your mattress before you attach the bed frame to the leg posts … or you may end up with a bed that also needs a step stool.
#goshdangit
I chose to take everything apart to reattach the bed frame to the leg posts at a lower level, that was much more compatible with our pillow top mattress height, but you could also just chop off the legs. I wanted to salvage as much of the Dade County Pine post as possible. In other words, I can’t ever do anything the easy way.
#12 – Don’t feel the need to line your side rails up with your footboard. It should be lower so it’s comfortable to get in and out of, obviously. I don’t know what that person was thinking putting the side rails so high at first. Ugh!
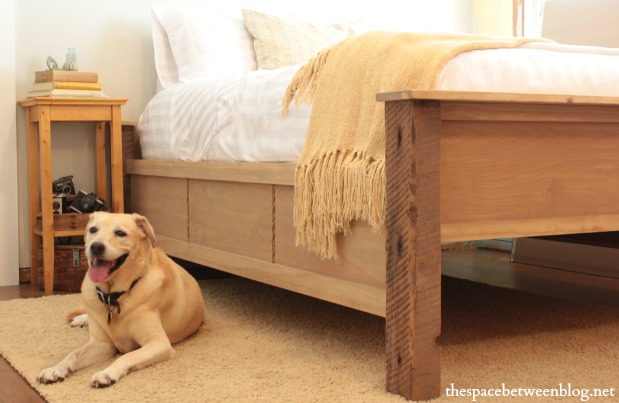
This lower height is much better. And the footboard is still at a good height to slip some under bed storage boxes in there and the side rails are now low enough to hide them.
Oh well. Such is DIY, right?!?! For all of us who have ever tried to do something we have never done before, we know a little turbulence is inevitable.
Thank goodness for patience, self-deprecating humor and large glass of wine at the end of the day.
Tell me, have you ever felt dumber than a box of rocks? Ever had any DIY project go exactly as planned? Want to come visit now that we have a real-life bed in there?
We made a bed!! (The full tutorial is here.)
That’s the real detail to focus on here, I think.






Kelly @ View Along the Way says
We made a bedframe once, and NOTHING went wrong. At all. Like, we didn’t accidentally measure the final size incorrectly so we nailed our shins on the frame when we got into bed, or ANYTHING.
Karah says
Hahahaha, when I had it all done the first time and then put the mattress on Joel was like “is that really the height you wanted?” And I was a little like “just shut up and help me move the mattress”.
Kristy Rohm says
Your adventure sounds like alot of ours Karah…no worries..it all works out in the end! I love the bed frame and the room. Oh, and of course the furry babies!
Megan @ Our Pinteresting Family says
Ah…I think this what we go through every time a project starts at our house. My husband loves using the Kreg System…but sometimes I do notice he encounters some of the same problems you did. The bed look amazing though!!
Karah says
hahahaha, glad I’m not alone!
Riverbend Home says
Although you hit a lot of snags along the way, it came out beautifully! Your choices of woods look great. Thanks for sharing
Karah says
Thank you so much, I’m resigned to the fact that I will always hit snags.
karen@somewhatquirky says
Yes I often feel dumber than a box of rocks. I’m not sure if any of my DIY projects have gone exactly as planned. Especially if you include the estimated time I believe something will take… and yes, the important thing is you made a bed. Fantastic.
Christine says
Hi! Just came in via Blogluvin’ and had to laugh. I always (i.e. Every. Single. Time) have to do things twice. Although I can sew/quilt with utmost, admirable precision, doing wood things defies my ability to measure properly. I think the thing is, you can’t be afraid to take those puppies apart and just start over. And people wonder why I’m such a lumber hoarder!?!
I have a bed planned and like the look of yours. Thanks for all the warnings from that poor person’s project…
Wine is a good thing.
Karah says
Hahaha, thanks for the comment, Christine! No matter what … wine to the rescue.