This post may contain affiliate links which won’t change your price but will share some commission.
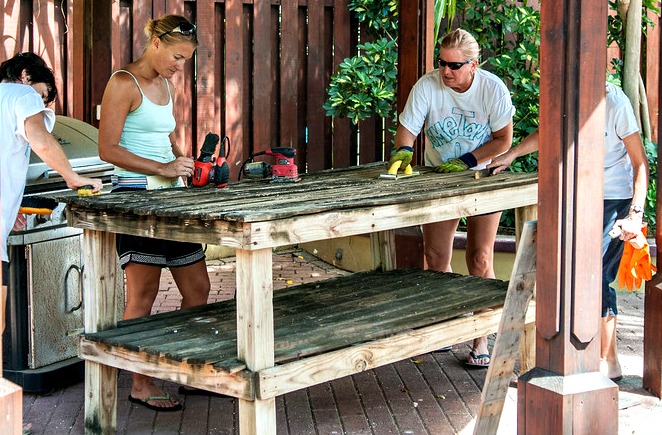
I have just finished my second old door project around here, and after my DIY day by the pool with my girlfriends I’ve started looking more constructively at how I work with old wood.
It was fun to be with my friends, and showing them new things, and realizing that what seems second nature to me might be new to others. So, here are some of my thoughts as I work with old wood. Some are technical, some are personal preference, some are physical and some are mental tips. Hopefully you find some, little bit of it useful. 🙂
Update: I wrote a book all about pallet projects. There is a whole chapter on safety tips. Check it out here.
Finding Old Wood, Pallets, Doors, Furniture, etc
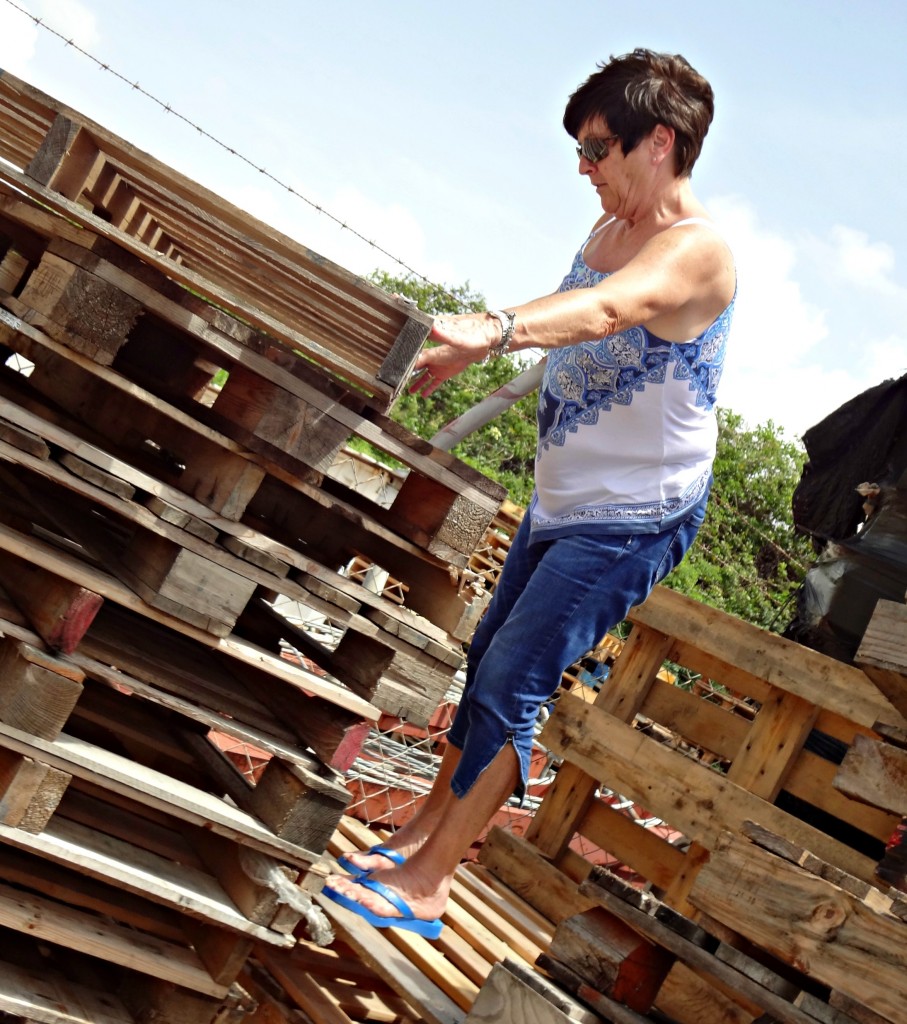
endless stacks of pallets in the garbage at island import company … think home improvement store garbage areas
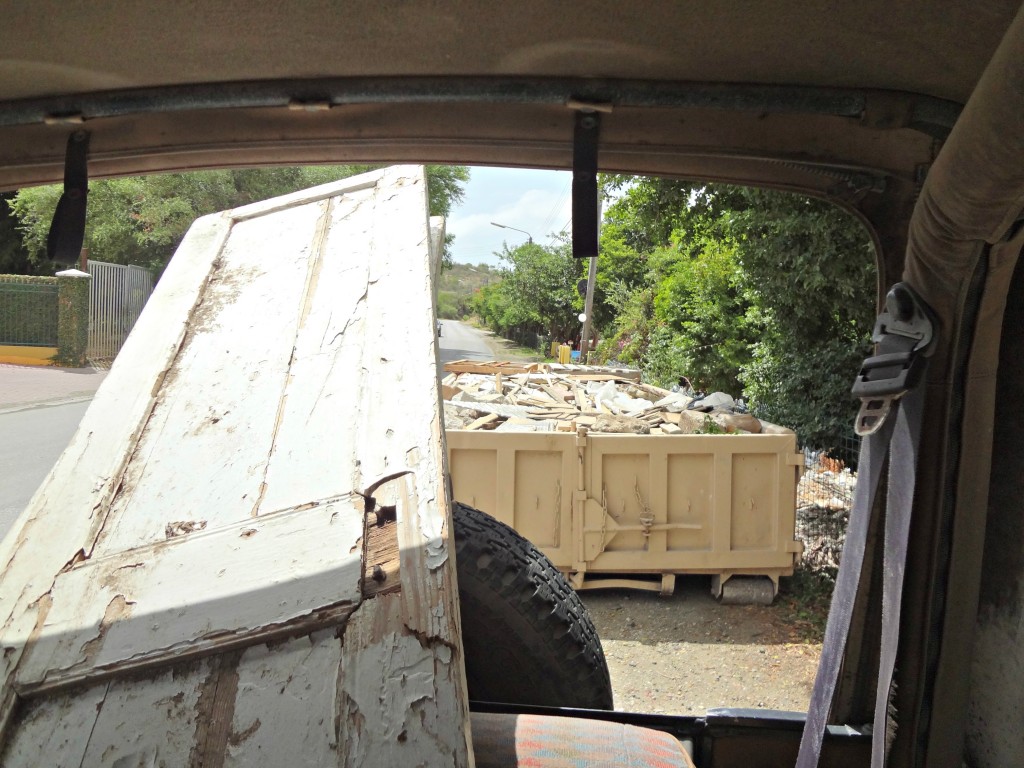
Where – dumpsters, trash day, construction sites, home improvement store (or any big store) trash area, the beach. Keep your eyes out, it’s everywhere. I found an old window frame in a roadside burn pile and a friend of mine said ‘I never even notice those piles are there’. They. Are. Everywhere.
What – old doors, windows, pallets, furniture, construction materials … oh, construction materials are my favorite. I built our entire floating shelf out of dumpster construction material.
Update: This is not intended to be a safety awareness post as much as a description of my working process. When working with all old wood please be aware of the possibility that the paint could be lead based and the pallet wood could be chemically treated and take the appropriate precautions.
How – as in ‘how do I know if I want it?’. Check for a few key factors:
- is any of the wood rotted?
- if it’s furniture, is the construction of the piece solid?
- if it’s a pallet, does it have more than 3 nails in each spot where the pallet is nailed together?
- does it look like more work than you can handle? (fair question)
If you can answer those questions to your satisfaction, you’re good to go. I’ve patched rotting wood, secured wobbly furniture and worked extra hard to get a pallet apart when I LOVED the slats … all because I loved the piece enough for the extra work. If you’re not up for that, skip it and move on to the next dumpster. 🙂
Scraping and Stripping and Sanding, oh my the Wood
Whenever I bring a new piece of old wood home I most often start by scraping it.
Where to scrape – Wherever you see loose paint, stain or debris that you want to remove. I even scrape the old hardware if there is any on the piece.
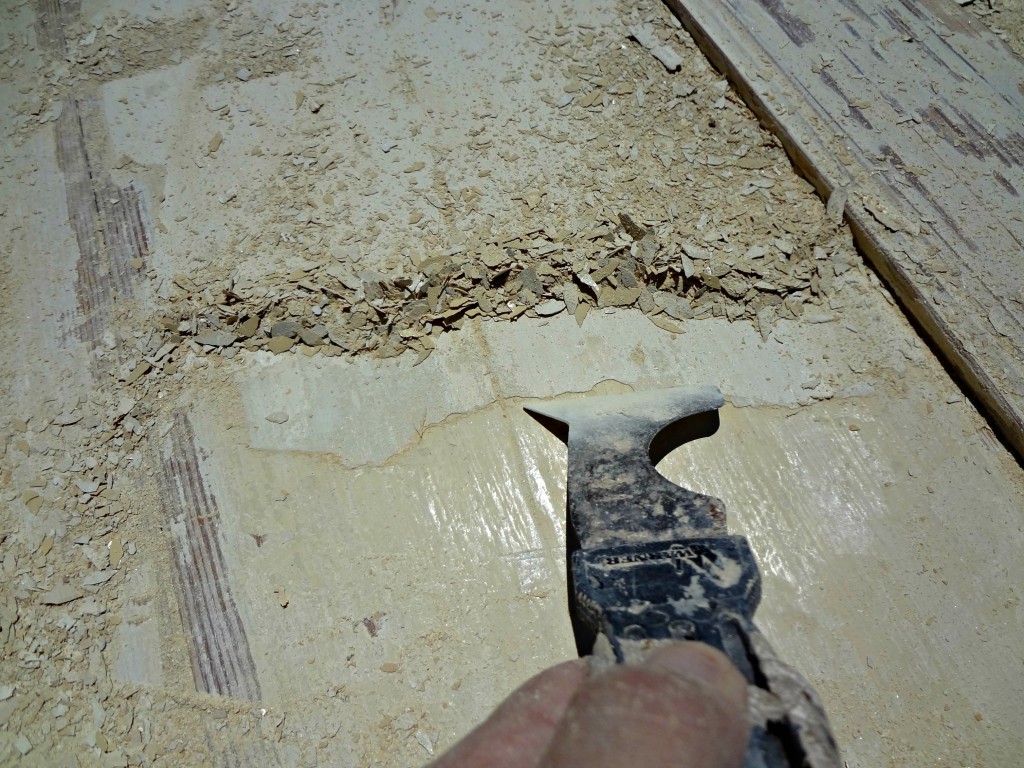
What to scrape – Whatever paint, stain or other aged debris that you want removed.
How to scrape – My biggest tips for scraping:
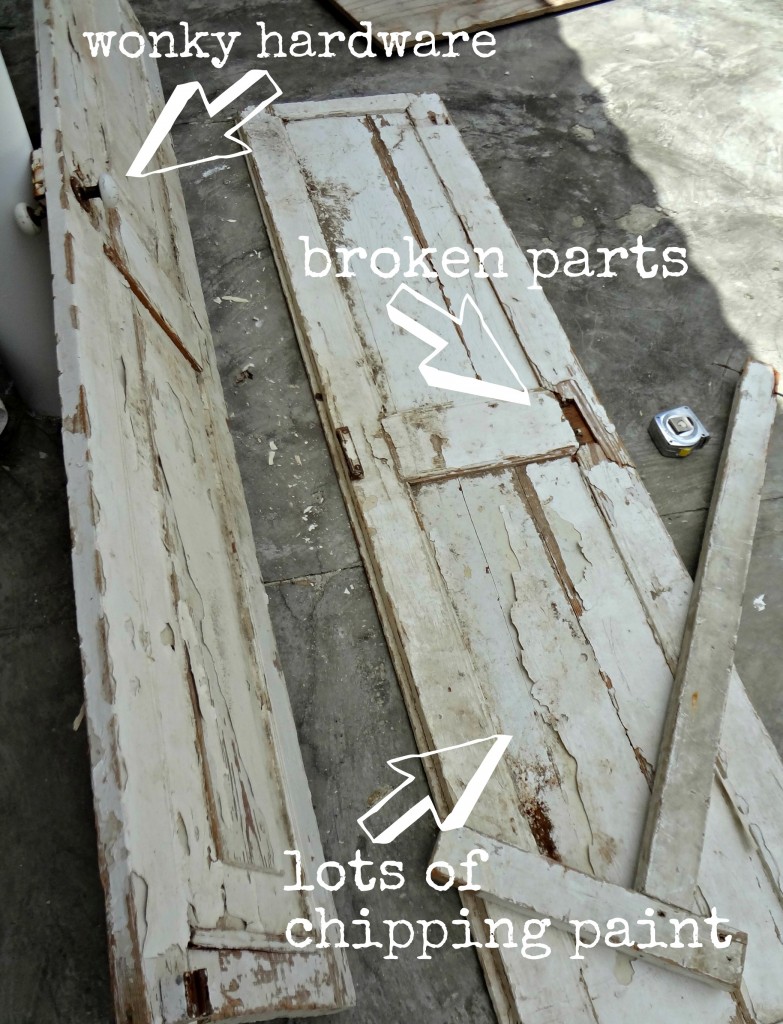
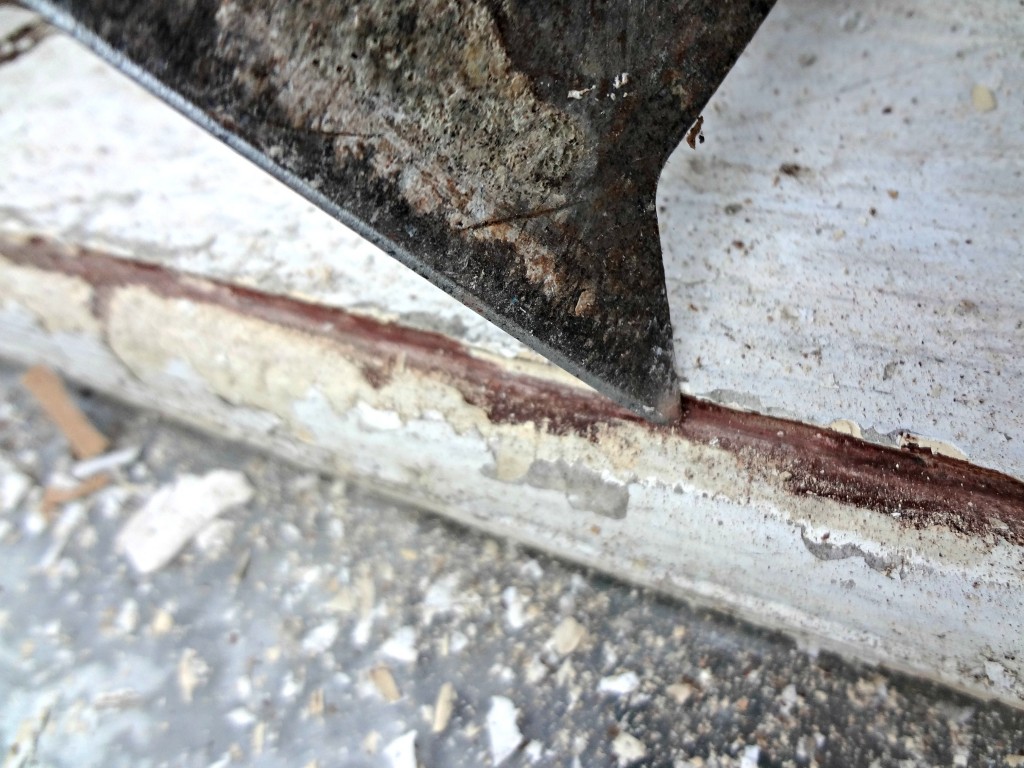
- ‘Read’ your chipping paint – meaning: scrape into the piece of paint you want to remove – I call that piece the one where you can ‘see daylight’ under it. Scrape towards the areas you can ‘see daylight’ under. It’s not important to scrape with the grain of the wood at this point
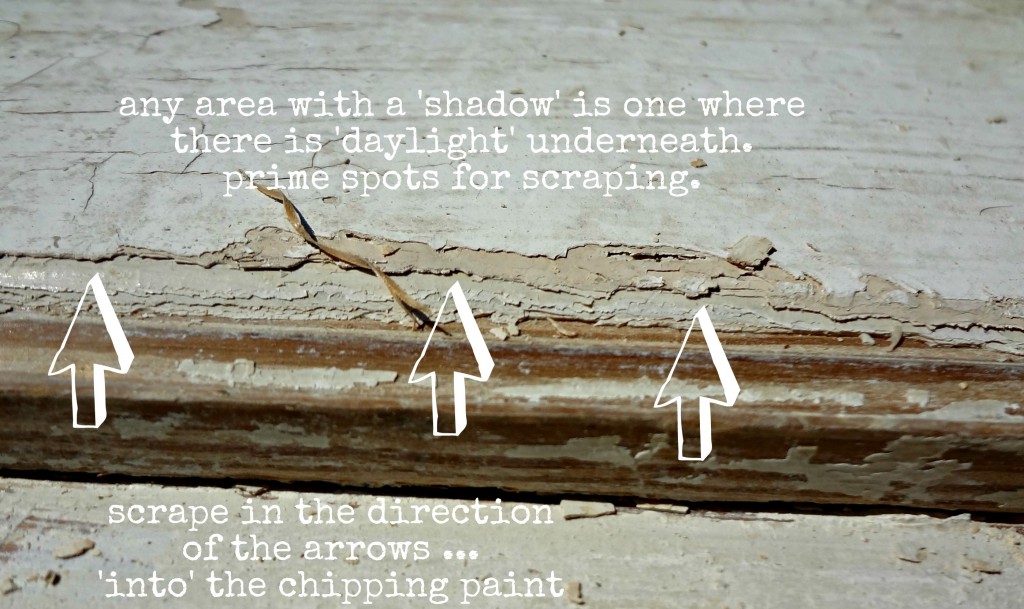
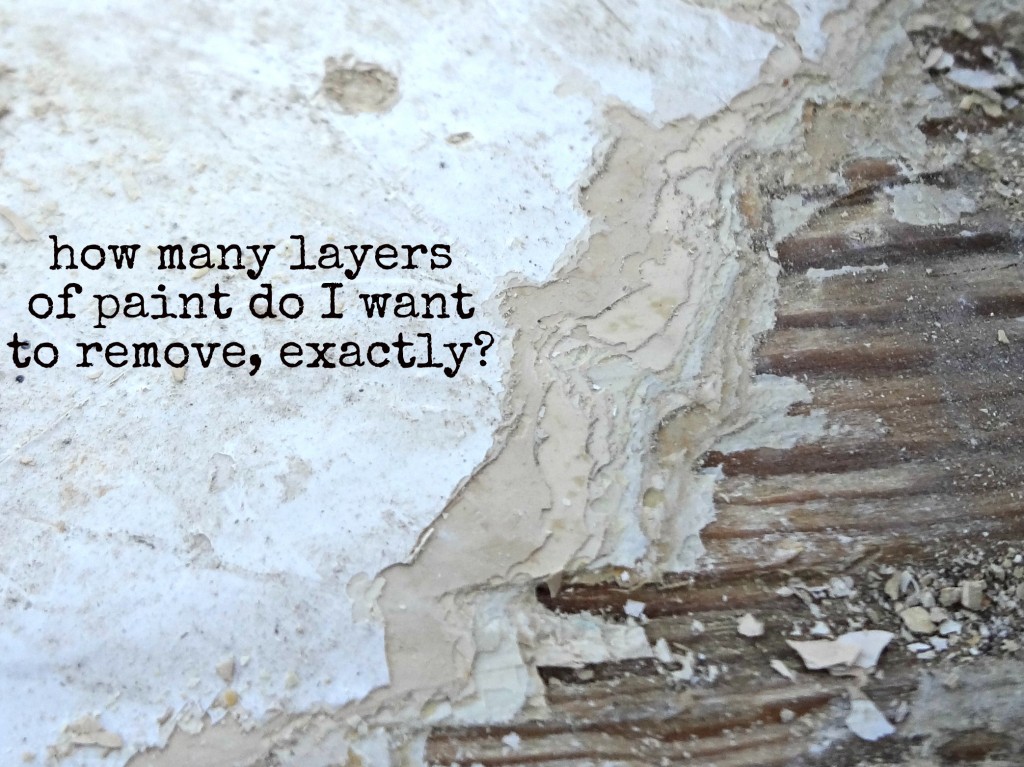
- Work in sections – if I’m working on a door, for instance, I’ll scrape my way around the perimeter of the door working toward the center. I think this is beneficial for a couple of reasons. 1) Sometimes a section is stubborn and just won’t budge (for now), move to the next section and continue – you can tackle the stubborn paint on the next go round, or with stripper, and 2) you get a better idea of exactly how much of the paint you’ll want to remove as you work around the whole piece – why work to get all of the paint off one little spot only to realize you kind of like the look with some patches of old paint remaining?
- Wear safety glasses for sure – this should probably be #1 on the list, you definitely do not want those little pieces you’re chipping away to get in your eyes.
- Learn how to use your off hand – Scraping is tiring! I get much more work done in a day when I can do a few spots with my left hand (basically guiding the scraper with my right but using more force with the left had) or at least use more pressure from my left side. Equal opportunity workout. 🙂
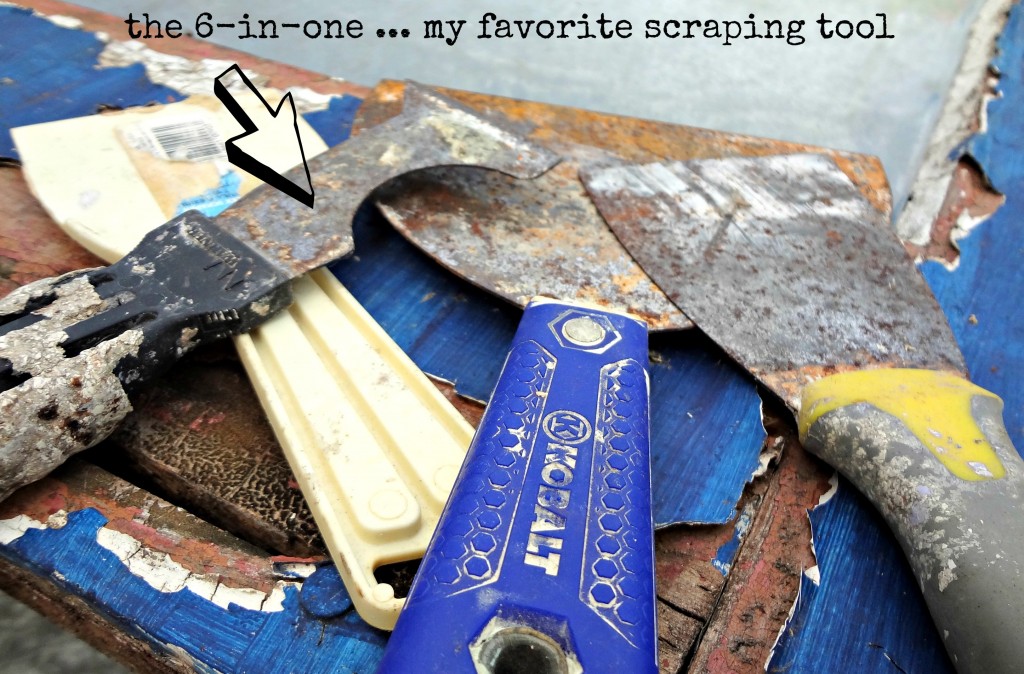
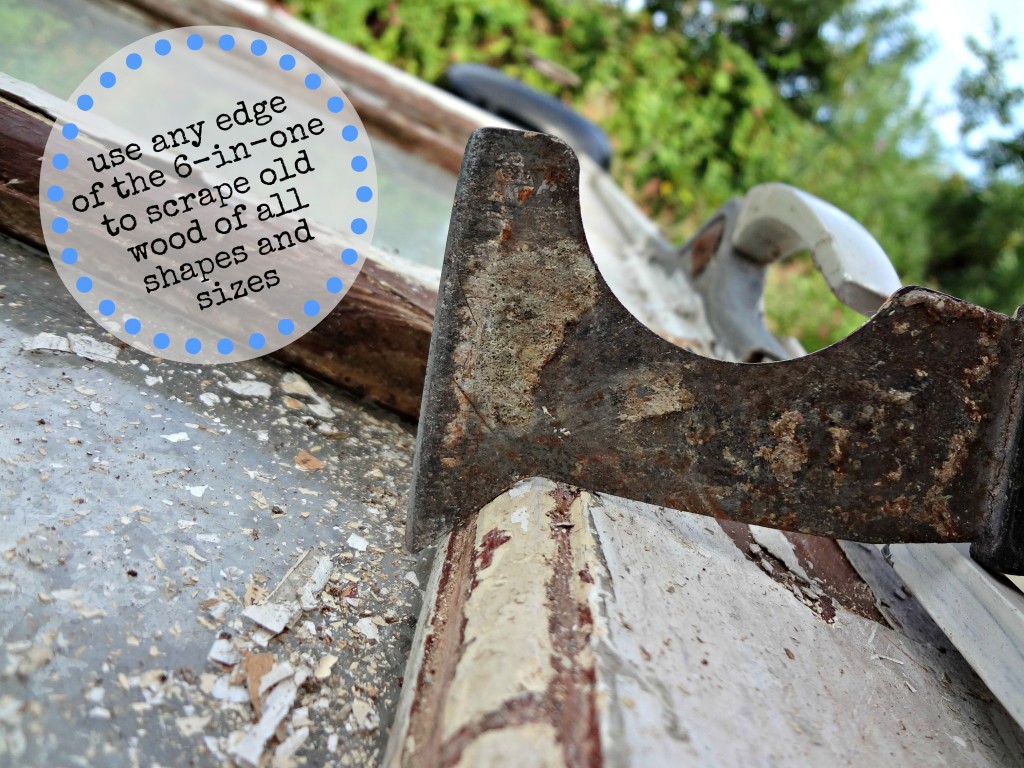
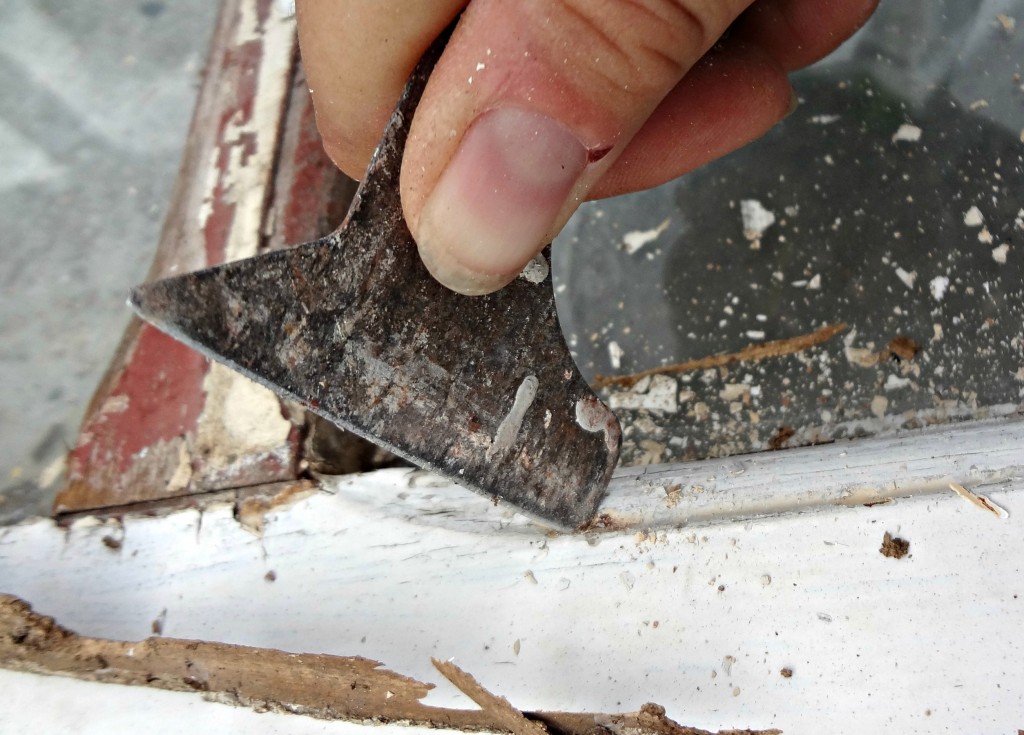
As far as any type of scraping goes, my absolute favorite tool for this step is the 6-in-One. With all of the different angles of the blade, you can work in any detail, corner, nook, cranny, and crevice. 🙂
When to strip – When you know you want to remove almost all if not all of the paint. Even here, I tend to start with scraping (what can I say, I’m a sucker for punishment) … as I scrape, I gauge if I like the look of the piece as some of the paint comes off before I decide if I want to remove it all. Personal preference only. 🙂 And when stripping, follow the instructions on the product you are using and follow the scraping techniques above.
Sanding Old Wood
When – When you don’t see any more of those spots where you can see daylight underneath or when you’ve reached a look you like with the chipping paint.
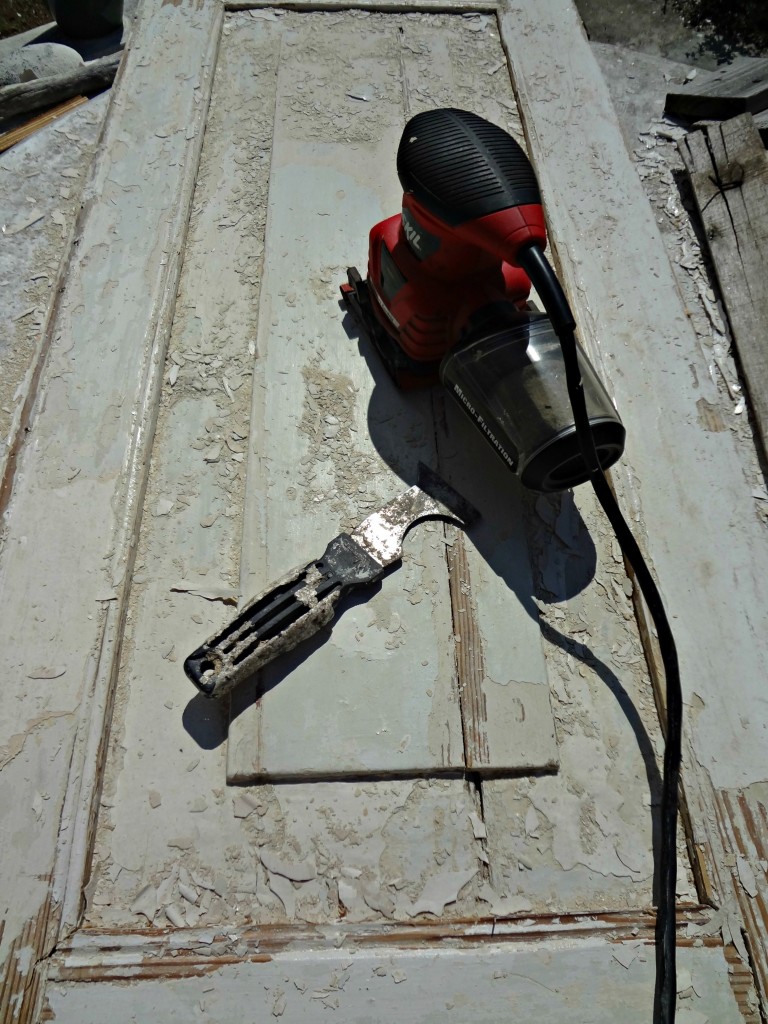
Where – All over. Make sure to get rid of all rough edges and smooth out the ‘transitions’ between layers of remaining paint. I like to round every corner, I think it gives a softness to an otherwise chippy piece.
How – These are the steps I take:
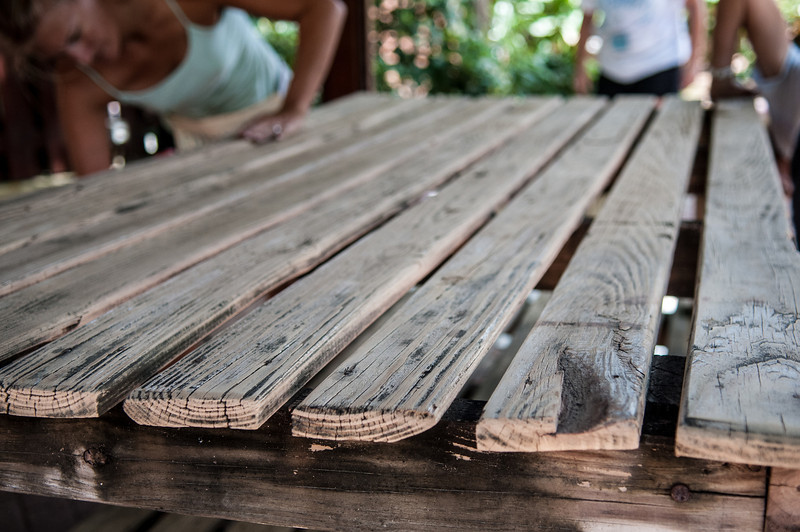
- Always sand with the grain of the wood, I start with my 1/4 sheet electric sander similar to this one using usually a 60 grit piece of sandpaper. Work your way to a smoother grit sandpaper. The higher number sandpaper equals the smoother grit and finish.
- Then, don’t hesitate to get in there with your hands. There are going to be edges and details and crevices that the electric sander can’t get. Fold up a piece of sand paper, or use a sanding block and get in there.
Take extra care on those spots where you transition between layers of old paint down to the wood. Even though there will always be a difference of finish at these spots, sand the transition edges down smooth. This will give the piece a more finished look.
 General Tips
- Enjoy it! Sometimes I have to remind myself that I am ‘choosing’ to do this work. Unlike that house with the 23 windows, 21 doorways and 6 fireplace surrounds that I arrogantly bought thinking I could scrape, strip, sand and repaint and come out the other side a cheerful human being. Lesson learned … the hard way.
- Take a break! These kinds of projects always take me longer than I think they’re going to. I usually run out of steam half way through the scraping, because I tend to scrape and scrape … and scrape … instead of stripping. Which leads into…
- Work on a variety of other projects at the same time! It always helps me to have few ‘lesser impact’ projects going on during these old wood projects. When I’m tired from the scraping making a little leaf wreath or creating a fall mantel are a welcome ‘break’ from the ‘work’.
- Sun deteriorates old paint quickly! This one I learned inadvertently. Leave your projects out in the elements if you can for a few days and the paint will scrape off so much quicker. At least here, 12 degrees from the equator, this tip works. 🙂
So, that’s how I get through my old wood projects. How about you? Am I crazy for just not using stripper? Would you rather just buy something new?
If you’d like to see the first old door project you can see the finished project here, the homemade chalkboard paint details here and the dry erase board how-to here.
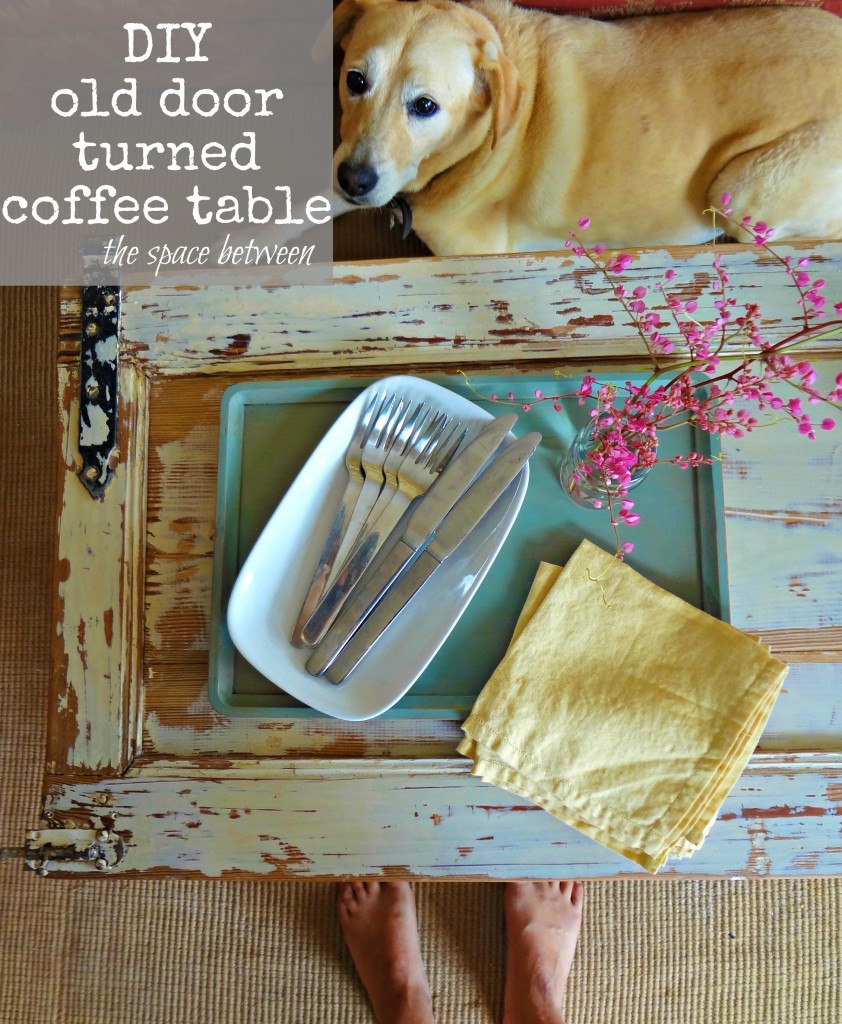
And here is the newest old door project … I turned it into a coffee table.
And, here’s a shot of it with a little something different in the living room …

And, to check out more of the fun from our DIY day by the pool click here. Some of the pictures from that day were taken by my friend, Suzie, you can see more of her incredible photography here.

Kelly @ Eclectically Vintage says
Who knew you knew your way around a piece of wood so well! Yes, our hands do tire out when handling wood – so it is extremely important to be ambidextrous!!
Kelly
Maury @ Life on Mars says
These are great tips!!! I wouldn’t have thought to look in some of those places!
Rita@thissortaoldlife says
I’m not feeling so lucky that the door for our coffee table project required pretty much NO prep work! These are great tips–thanks for sharing. I think the advice to take breaks with other small projects is genius. We’ve been doing that all summer. It’s one reason our house painting project has moved so slowly, but it’s the thing that’s kept us from going (totally) insane!
Janet says
What a great, informative post. Being a person with a lot of severe respiratory allergies, I would add to think about a mask, you can get paper ones in multi-packs near paint tools. Always try to be sure there’s no lead in the paint you’re scraping/sanding. The older it is the higher the likelihood. If there is lead, remove it entirely or cover it with a clear product if you want to keep the look. Thanks, Karah.
Jessica @ Stay at Home-ista says
I’m reading and reading even though I’m pretty sure I will never do this. Or sew. Although I thought I wouldn’t garden either and I have at least 3 tomatoes growing as we speak/blog. So I’m google +1’ing for reference. And because you are awesome.
Jessica
Shannon Fox says
That is one comprehensive wood scrapping post! I think I learned all your tricks 😉 It’s so obvious you adore what you do Karah… your finished projects shine with love 🙂
Anne says
Thanks for all the tips doll! I’m sure they will come in handy when I have to scrape 100 years of paint off the front windows on my house so I can prime & paint them properly!! Hey where did you get that scraper? I think I’m going to need one or two (I can never remember where I set these things down!!)
Heidi @ Decor & More says
Wow! Great info, Karah… gotta love that 6-in-tool. You’ve got me wanting to start scouting the garbage areas! TGIF!
xo Heidi
Kristy Rohm says
Thanks for all the great tips!!1 I’m still hiding the pallet behind the shed and haven’t done anything with it! Oh well..soon enough!
Ashley@AttemptsAtDomestication says
Such awesome tips! Thanks Karah! 🙂
Amy@BuffaloRoam says
Good post and great info! Definitely worth the work for that table!!
shirley@housepitalitydesigns says
Karah…this is one of the best tutorials and tips of this kind I have ever seen….Watch out Ana White..here comes Karah!!!
Lisa@ Before Meets After says
This is amazing! I found some old chunky spindles I’ve been waiting to add to an old door to make a table. I’ve seen old doors priced as much as $150! I wish I had a good dumpster like yours 🙂
malia says
Wow Karah! I am always astounded at the way you take something that seems so daunting and make it into something beautiful… with photos and directions too! Thank you! Malia
Liz says
Love the indepth description you provided. I’m also notoriously willing to scrape beyond what seems reasonable by the standards of most. I’m not much for stripper because why spend all that money on stripper that you just saved by getting free stuff from the trash. Stripper is expensive and still takes time and hassle, although for something stubborn you must have off and can’t scrape off, it’s like magic. The good ones are caustic and a real mess though from my experience. Love your tips about picking pallets and how many nails are in them. I’m also big on working that left arm. It does often have an angle and strength you might not think it does, esp. after the other gets worn from overuse. Great post!
Liz
Rhoda @ Southern Hospitality says
Hi, Karah! Now, that is some project you took on. Lots of hard work, but it looks great. I love old doors too. Thanks for sharing at the party this week.
thistle says
Great tips, Karah. I really like the one about leaving it the project out in the sun to start the process!
Have an awesome day!
karianne
Whitney @ drab to fab says
Awesome post Karah! I often look at finished projects and wonder how the heck they got from point A to B. Your table is just soooo stinkin’ neat! 🙂
andrea cammarata says
This is an awesome post!!!! I so wish that my family has officially banned me from ever using a power tool again in my life — this post makes me sooooooo want to do something that would require a saw or two ; ) but i shall live vicariously through your creations which ROCK!!!!! how is my friends the M&M team doing — i sure hope just wonderfully! sending hugs to all!
ali thompson says
that was a ton of paint layers! you worked hard and it turned out beautifully. well done!
Laura says
great tips! thanks for sharing- now I just need to find some old wood to work with:)
Roeshel says
It’s beautiful! I’ve been sanding a door for a couple of weeks now and probably for another few weeks. lol! Thanks for sharing your great tips, Karah!
Trish - Mom On Timeout says
What a fabulous post! I never knew so much went into re-purposing old wood 🙂 Lots of great information! Thanks so much for sharing at Mom On Timeout!
Sheila @sZinteriors says
Wow, this is an excellent set of tips and advice! Thank you so much for taking the time to share this. I really like your advice to have a few projects on the go – that makes such sense from both the labour intensive point with the scraping, but also just the old saying that change is as good as taking a rest!
christineefreeman says
Thanks for sharing your experience.
I’ve built 15 pocket doors in my home and have collected old doors from the reuse centers. Some need stripping, some just clean-up. I’ve discovered the joys of a gorgeous wax finish, and how lovely a freshly sanded one looks. However, I’m going to take 4 French doors outside tomorrow and leave them until I feel like messing with them. You just cannot replicate a real, chippy finish! There might be areas for stripping later, but if I could just get them to chip….
I enjoy reading your blog!
Karah says
Thank you so much Christine!! And you are absolutely right, nothing compares to the “real” deal of natural weathering. Here’s hoping for some chips in your french doors!!
Christine says
I thought I’d share another tool in your toolbox since I last read your blog. 🙂
The chips on my doors worked beautifully, They’re absolutely perfect, being a natural weathering. Yeah!
After much experimentation, I have settled on Latex, exterior, FLAT, DARK paint base as a sealer. It goes on horrifyingly white, but dries so matte and invisible, I defy you to tell me it’s even there. Using the paint base, the chips don’t looked gummed up or glued down as they do with -urethane products. I can’t even chip them off with my fingernails after 2 coats.
A couple of other doors I stripped down to pure, clean bare wood with my beloved Citristrip (that’s another happy rant, ’cause it sucks stain right out of the wood!) were treated with this paint base. They look just raw and ready to stain — but they’re sealed. No fingerprints, splatters of unidentifiable goo, no darkening.
On the up side, too, it doesn’t yellow and it’s an excellent exterior sealer! After all, paint base is paint without pigment. All the good UV, durability, and other exterior secret ingredients are in the base, not the pigment. I’m using this all over.
With your excellent work, I thought you might enjoy this trick.
Karah says
This is awesome! Thank you so much for the info!
Kellil says
Does it matter if the paint is lead?
Karah says
Yes, you should always take the necessary safety precautions around the potential of lead paint.
Courtney says
Would it be a good or bad Idea to polyurethane the old wood after you have scraped and sanded it to keep it from deteriorating if it is an outdoor piece?
Karah says
Hi Courtney, I don’t think it would be a bad idea, just make sure the poly is for exterior use. The one downside to poly in my eyes is that it does yellow over time, just something to consider!