This post may contain affiliate links which won’t change your price but will share some commission.
Thou cabinetree most fair and lovely.
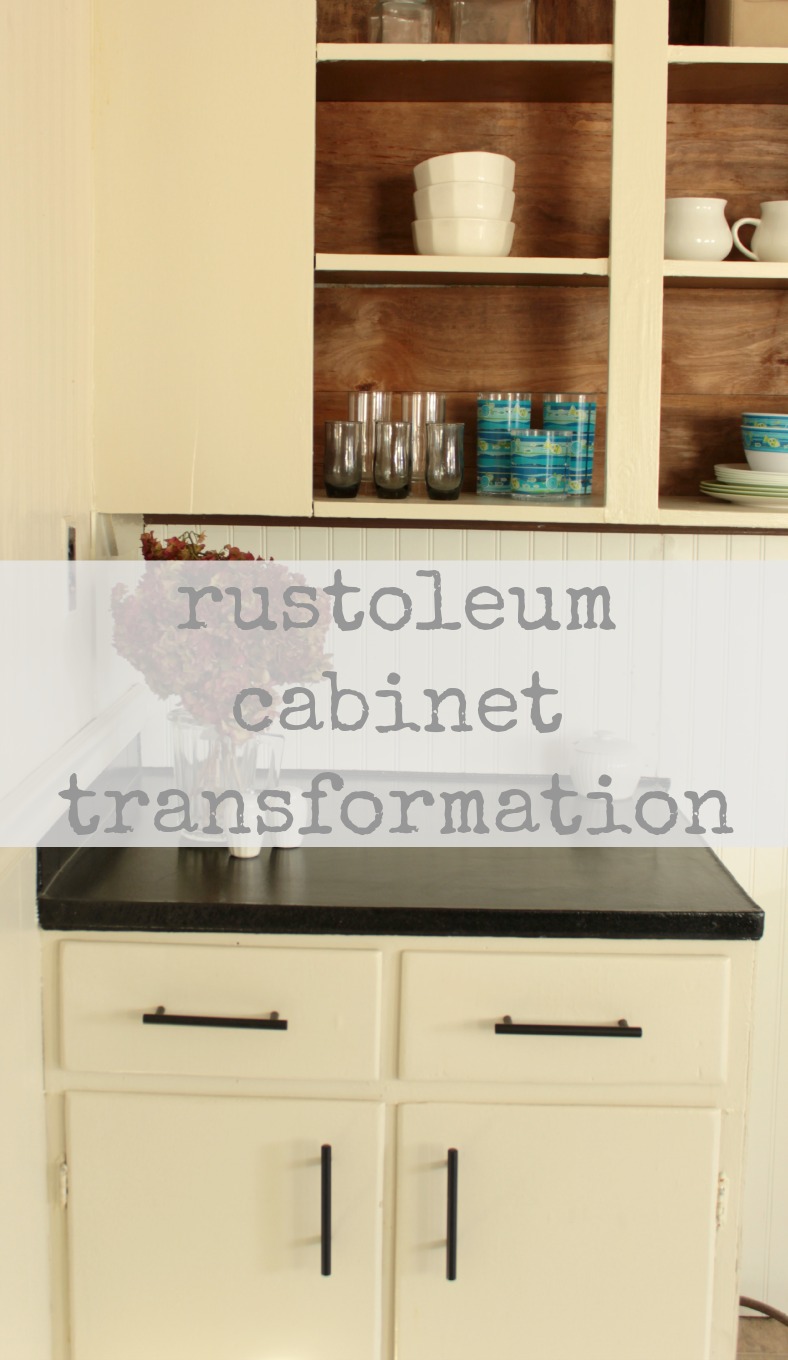
But, let me tell you, the cabinetry was not always that way.
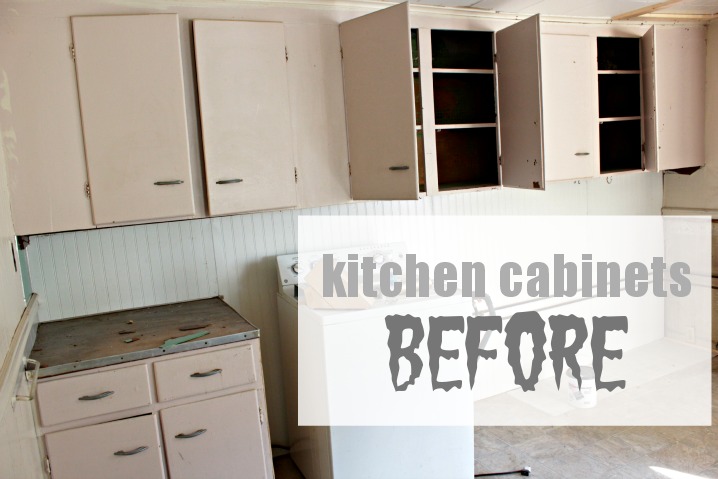
Yowza!
Thanks to one of our tenants we found ourselves with light pink cabinets in the kitchen at one of our rental properties. No really, thank you previous tenants.
Combine that with the wood-stickered-but-actually-green-laminate counters and our kitchen was totally stylin’. If stylin’ actually means ‘a total disgrace’.
But, with the wonders of paint, and paint specifically designed to transform the kitchen we find ourselves on the way to a kitchen with a lot of charm.
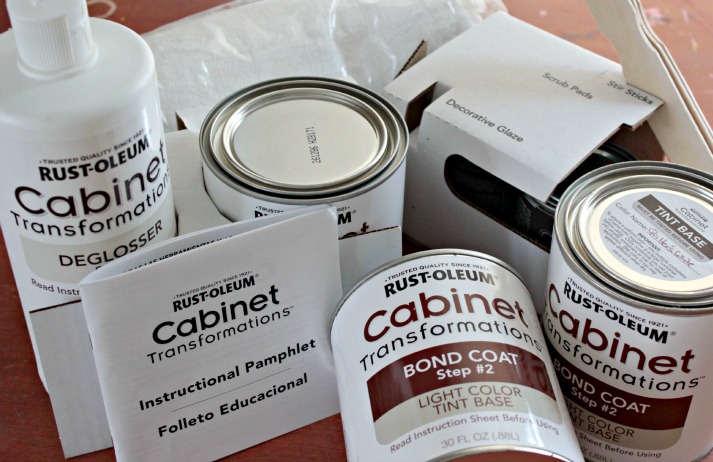
Enter the Rustoleum Cabinet Transformation Kit.
We actually started the kitchen upgrade with a countertop transformation.
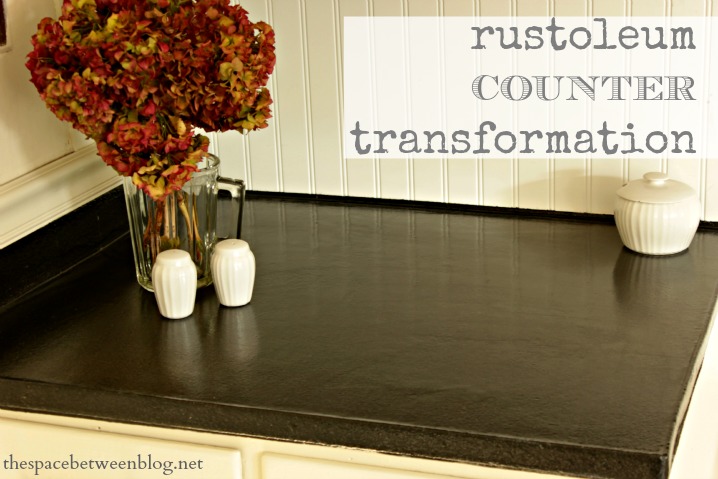 That one little transformation alone was already changing the whole look and feel of the dingy old kitchen. I was super excited to see how things would shape up once the cabinets were transformed. It couldn’t get any worse, right?!?!
During the process we decided to just remove the upper cabinet doors for good. They were hiding some pretty ugly insides but 1) we had a plan for that and 2) removing the doors for good was a huge time saver.
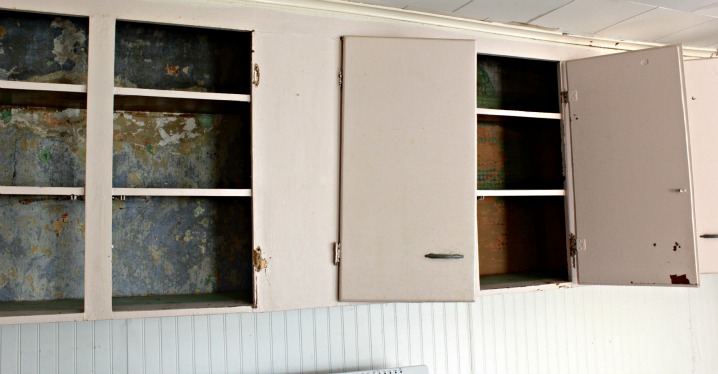
From there, here is how the whole cabinetry transformation process went down.
Step 1 – Prep and clean. Since our cabinets were already painted we needed to make sure there wasn’t any loose or chipping paint and we needed to fill in all of the holes left by the old doors and hardware. Also tape around where cabinetry meets the wall or floor, I used one of my new favorite products, Frog Tape.
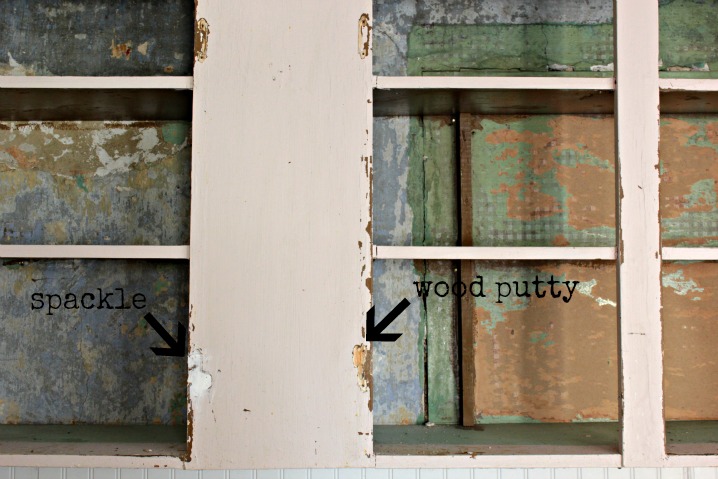
Money Saving Tip!!! We use a combination of spackle and wood putty for filling the holes. Spackle is much cheaper so we fill the hole with spackle and just do a top coat with the wood putty. If you’re not going to be washing the surface before you paint you can skip the putty all together … but spackle will wipe right away with a damp cloth.
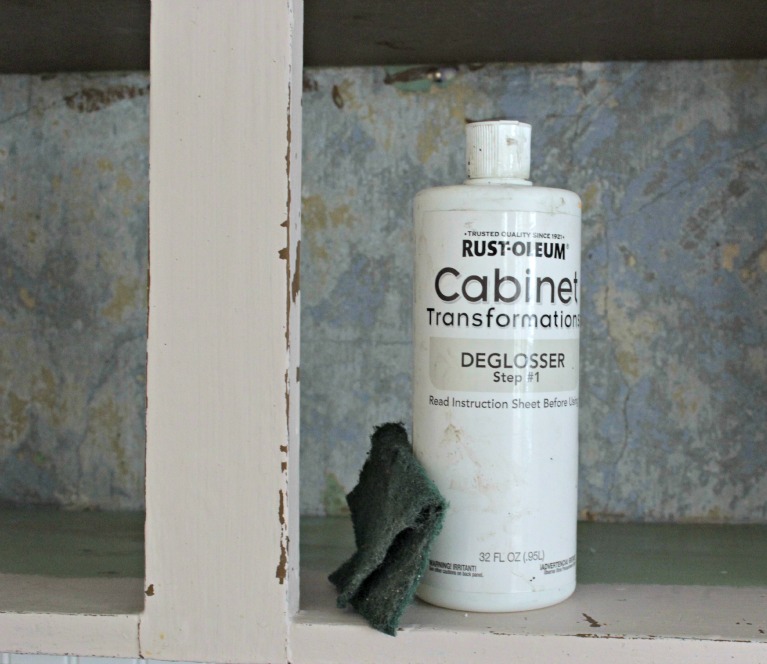
Step #2 – Degloss. The deglosser and scrubbing pads are provided with the kit and this step is more elbow grease than anything. If I’ve learned one thing over our many years of DIY … spend the extra time on a good prep job to save you from the headaches of needing to redo the whole job.
 Step #3 – Paint. The bonding coat paint comes with the kit. It took me two to three coats to get the complete coverage I wanted. With a little online searching that seems normal with the lighter finishes. The color I chose was Quilter’s White … it’s a nice very near white cream color. And now hopefully all quilter’s will feel right at home in our kitchen. 😉
Tip!!! Paint all surfaces with a 4 or 6 inch roller first and then brush over in long strokes to prevent roller marks. It’s a huge time saver. Brush around the edges and then finish it off with long horizontal strokes on the drawers and long vertical strokes on the doors.
Step #4 – Glaze. This step is optional even though the glaze does come right in the kit. I chose not to go with the glaze just yet for a few reasons. 1) I wanted to test the longevity of the bond coat on its own for a while … will definitely keep you all posted. 2) I like the look of the fresh white cabinets right now. 3) Maybe after a few years the glaze step will be an easy update to freshen up the look a bit. Gotta love a simple update with items you already have on hand, right!?!
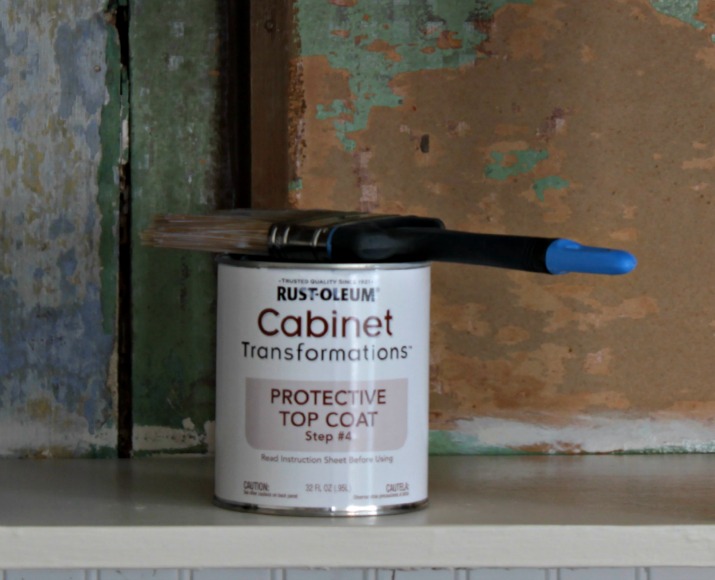
Step #5 – Top coat. This is the final step in the cabinetry transformation and gives a nice, durable, matte finish to the whole look.
 Overall, I am in love with the whole transformation. It always amazes me what a little paint can do to the feel of an entire room. And yes, I do realize that the room is still a complete mess, so this ever elusive ‘feel’ I keep referring to might not be translating in photos. But it’s there, it really is.
A look back at the before.
 And what we’ll call the during.
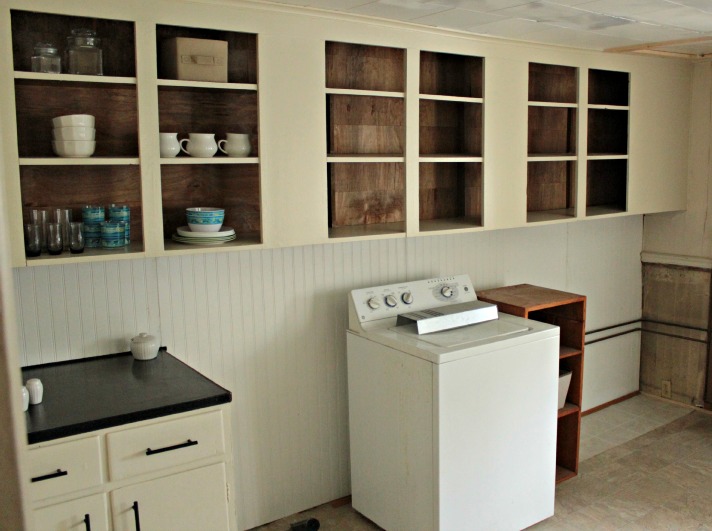
A couple of things with my transformation that are noteworthy for anyone looking to give this a try …
1) The kit isn’t intended to paint inside the cabinets … you can use their measurement guide to find out what size kit you’ll need. Since I decided to take most of the cabinet doors off I did have enough paint to use on the shelves … but I only did the front edge and top because I’m an impatient DIYer to save time. For the same reason, I only painted the front panel of the drawers.
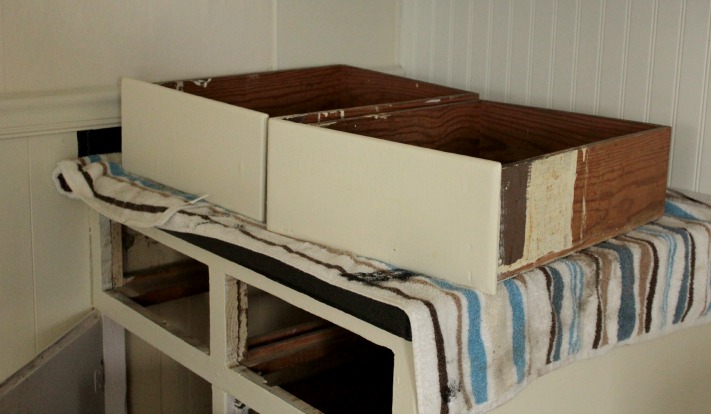 2) I didn’t even bother to take the cabinet doors off that we were keeping and painting. The design of the doors is so old that finding a new set of hinges to fit was proving difficult so we just painted away … and all worked out fine.
3) These babies were in pretty bad shape to begin with. They don’t actually recommend using this product on previously painted cabinets that are in bad shape. But, we took our chances and again … it all worked out fine! The longevity of the coverage might be affected given our starting point, but only time will tell.

This cabinet transformation kit proved to be the perfect product for us to give a budget upgrade to a well-worn old set of rental house cabinets. Beautiful and budget friendly, I’ll take it!
As for the plan for the rest of this kitchen upgrade: counter transformation – check, cabinet transformation – check.
Still to come in this space: an easy tip for installing cabinet hardware, wood slat backing to open cabinets, how to hide water stains on a drop ceiling, beadboard magic, appliances (tenants can be so needy), maybe a new light fixture and definitely a good, solid deep clean.
Worked on any beautifully budget friendly upgrades lately?

And, because I think this is a transformation worth sharing I’ll be linking this post at Tip Junkie, BNOTP, DIY Show Off, Positively Splendid, Home Stories A to Z, House of Hepworths, Shabby Creek Cottage, The 36th Avenue and Savvy Southern Style.
*I was provided the Rustoleum Cabinet Transformation product at no charge, but the opinions expressed are 100% my own … of course. You can read my full disclosure here.

Kelly @ Eclectically Vintage says
Too bad you didn’t do this the day you moved in instead of the day you moved out! The new owners will be thanking you!
Kelly
Karah says
Hahaha, it’s at one of our rental houses, hopefully the new tenants enjoy it!
Jen says
It looks great! What did you do to transform the interior of the cabinets–they look entirely different!
Karah says
Thank you Jen!! We installed wood slats and it improved the look dramatically. I’ve got a post coming up with the full how-to. Another great budget upgrade option! 🙂
Kelly @ View Along the Way says
Wow, that is a terrifying before, and an amazing after! I was intimidated looking at those before shots!
Karah says
I know, bad, right?!?!?
Audrey Zumwalt says
Great Job Karah … reminds me of some of our rental repairs.
Some took months to do. Always hated the greasy contact paper.
I love how you left the cabinets open. I hope your next tenants will appreciate it.
Blessings,
Audrey Z.
Timeless Treasures
Karah says
me too, hahaha 🙂 and yes, ack, to greasy contact paper!
cassie says
i cannot believe your tenants painted the cabinets pink! and that you wanted to get rid of that lovely pink! 😉 SO much better now- phew!
Karah says
pink would be perfect for a winter fairy kitchen party … but that’s about it. 🙂
shirley@housepitalitydesigns says
Great job Karah…I just saw Rhoda’s bathroom in which she did the countertop transformation and it looked great…This transformation was amazing…as always!!
Julie says
THANK YOU!! I picked up that kit a few weeks ago in Lowe’s, intrigued by the idea and the range of finishes. DH put the kibosh on it, but now I can show him how it really works! I’d love to get rid of the builder-grade ‘golden oak’ cabinets in this house…
Karah says
It really is an easy way to make a dramatic upgrade! The prep work is the most important … I would probably even take the extra step of a light sanding of everything if I was doing the cabinets in my own home. Definitely don’t hesitate to email me if you have any questions!!
homastyle says
Great job and wonderful additional tips along the way. I’m sending a friend over…to your website to check the out the process. They have a renter that moved out and she wishes they would have left the cabinets pink or any color. The renter took the cabinets…all of them. Along with the toilet, sink, molding around doors and windows, the tile flooring, carpet, bathtub, and anything else that wasn’t and was nailed down! Amazing.
Karah says
OH NO!!!! That is so awful. It really is amazing what some people will do to others!
Jessica @ Stay at Home-ista says
Crazy impressed, both at you and with the whole “kit”. And who chose that pink? Whaa!?!
Karah says
yeah, and the pink was really the least of their offenses.
Christina @ Floridays Mom says
whooooahhh! I don’t think you could have tested that Rustoleum kit on a better set cabinets. What an incredible transformation. I am sure your new tenants will be loving the new look..ya may not want to share with them the before pics though. Hahaha
Karah says
hahaha, so true about the before pis!
Rita Ott Ramstad says
Wow! The difference is amazing. We were looking at one of these kits just two days ago, wondering if/how they really work. We’ve got kitchen cabinets with icky laminate, and the box says that it can even cover that stuff. I’m skeptical. It was nice to see how this really worked for someone. Thanks!
Karah says
I was skeptical, too. I think the prep is the most important part … I would probably add the step of a light sanding just to grit up the surface a bit if I was doing the cabinets in my own home.
Ashley@AttemptsAtDomestication says
Oh man that cabinetry was in rough shape! It looks 1000x better now!
I definitely want to give that Rustoleum kit a try!
Karah says
Feel free to email me if you want to give them a try and have any questions … I think the prep is the most important part! Clean, degloss and even though the kit says it’s not needed, if I was doing the cabinets in my own home I’d probably do a light sanding all over.
szinteriors says
What an incredible transformation, Karah, and as well, a very helpful tutorial! I will be pinning this one… thank you so much for sharing!
Karah says
Thank you so much, Sheila! It’s amazing how a new color and really change a look!
Susan says
We rent from the world’s best landlords. The previous tenant (who had anger management problems among other things) and his wife decided that they would paint the kitchen cabinets in this 1920 farmhouse….blue.the frames are a lighter ugly blue and the doors are darker ugly blue. As is the molding. When the kitchen was remodeled (70s?) they put in a bar with a faux tortoiseshell countertop. WHY? Hard to clean, hard to see that it is clean, etc. We’ve pretty much been given carte blanche to do whatever we want, but I plan to clear anything with them first (of course). They even painted over the hardware! So I’d like to try the Rustoleum on the countertop. My husband is a custom cabinetmaker so all we can do with the cabinets is replace the doors and paint. We’ll also replace the molding as it will be easier to just paint then replace it than to strip their lousy paint job off and repaint. We might see if we can take out the bar and open up the kitchen to the LR/DR…but we’ll have to draw it out first. AND I have to argue with my husband’s best friend on painting the countertops vs tiling them. And then there is the backsplash. But it’s a fun argument….he’s like the annoying big brother that I never had 🙂 Your redo looks wonderful and is impressive. Now to go read about doing the countertops!
Karah says
WOW!!! Faux tortoiseshell and blue! Yikes!!! Sounds like some fun projects though! And you are so right, sometimes just starting fresh is so much easier and cost effective, in the long run, than trying to undo someone else’s disaster!
Debbie says
They look so much better! And the insides…can’t wait to see how you transformed them. It’s really starting to come together. Great job!!
Debbie 🙂
Amy@BR says
It’s like they’re totally different cabinets! The color is perfect and just lovely. 🙂
Kelly @ Corner of Main says
What an improvement! I bet your landlord loves you guys now!!
bridgett says
Your transformation is breathtaking! Would love for you to share at the party tonight! xo bridgett
http://www.osiemoats.com/2012/07/thursday-linky-party-1.html
Roeshel S (@DIYShowOff) says
Amazing transformation, Karah! WOW! You’ve given that little kitchen a new life!
Karah says
Thanks Roeshel!!
Justen says
A word about the top coat. It is EXTREMELY technique sensitive, especially on dark colored cabinets. It is a very, very fast drying substance and it is milky colored. If you slop it on, it will pool in crevices and if not removed quickly, will dry white RUINING all your work as everything will need to be sanded back off and you will start all over. Thankfully I did my homework before applying this final coat. I went out and purchased a separate poly ” crystal clear” water based semi gloss to use instead of what comes in the kit. It dries clear and is self-leveling, eliminating all this white crevice nonsense. READ READ READ everything you can before doing the top coat. The kit is fantastic but rustoleum needs to get that top coat to be clear. They dropped the ball on that part.
Erin says
Can you tell me if you think quilters white is like an antique white. We purchased linen and it’s too white for us. Thanks in advance!
Karah says
Hi Erin, I wouldn’t say alone that Quilter’s White is like an antique white, but I bet with the glaze it would be. I hope that helps!
Nichole says
Hi! I know it’s been quite a while since you posted this, but could you tell me the color of the paint for the cabinets? We’re planning on doing ours as well, and I don’t want plain white. Thanks!
Karah says
I’m assuming you’re already done with your project, I hope it went well. I’m sorry I don’t remember the color I used.