This post may contain affiliate links which won’t change your price but will share some commission.
Hey y’all! I found a pretty easy way to get my new cabinet hardware attached, lined up, centered, level and lookin’ good so I thought I’d share it with you.
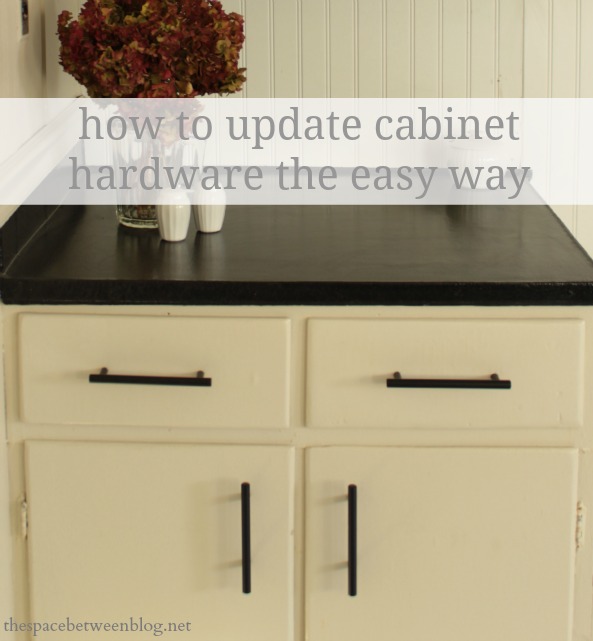
And really, doesn’t all of that just depend on how accurate a measurer (not a word?) you are?
But, I had just resurfaced my cabinets with the Rustoleum Cabinet Transformation kit so I really didn’t want to go and screw them up. So, when it came time to attach the hardware here’s what I did.
1 – Measure height of drawer to find halfway. Mine are 6 inches tall so I put a mark up 2 1/2 inches from the bottom on the side of the drawers and ran a piece of Frog Tape at the mark.
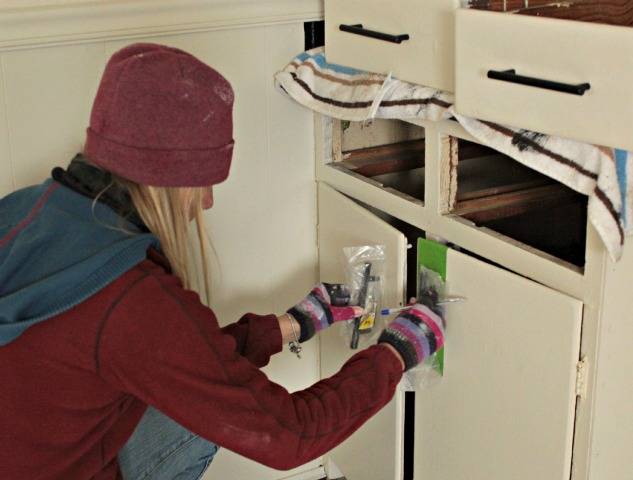
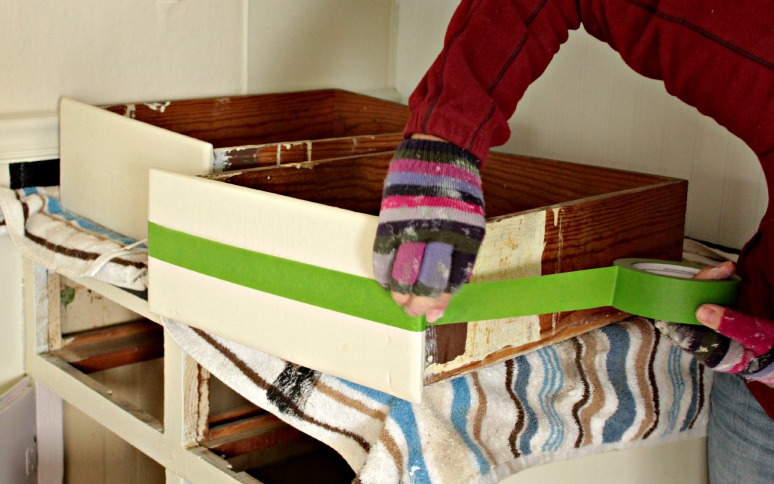 Like my work gloves?
2 – Make a mark on the tape where the tape lines up with the edge of the drawer.
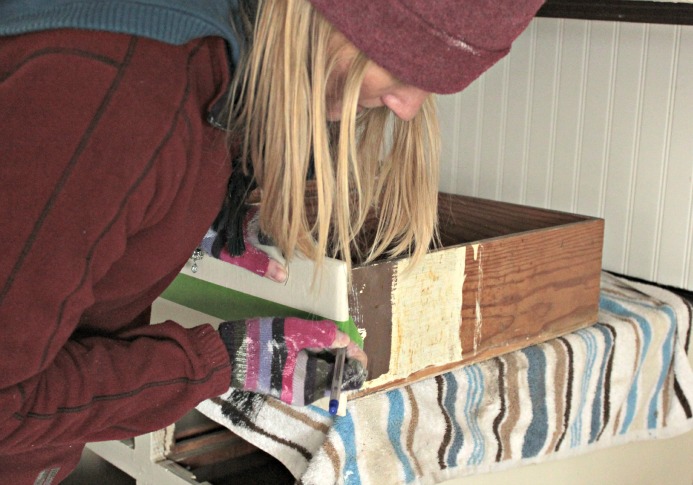 And my hat?
3 – Make your necessary measurements to get your hardware centered. This always takes me a few tries. I go from the top down, from each side in and then line up the hardware to make sure the marks line up.
The tape made sure I could mark away and not worry about messing up my ‘new’ cabinets and drawers.
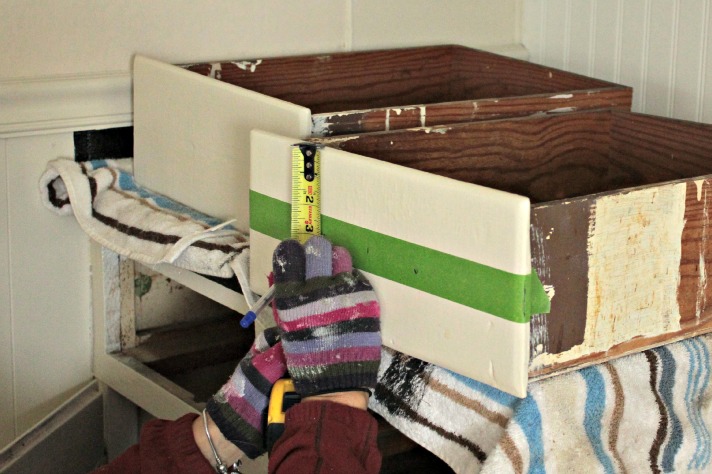
4 – Then just drill right through the tape on your marks.
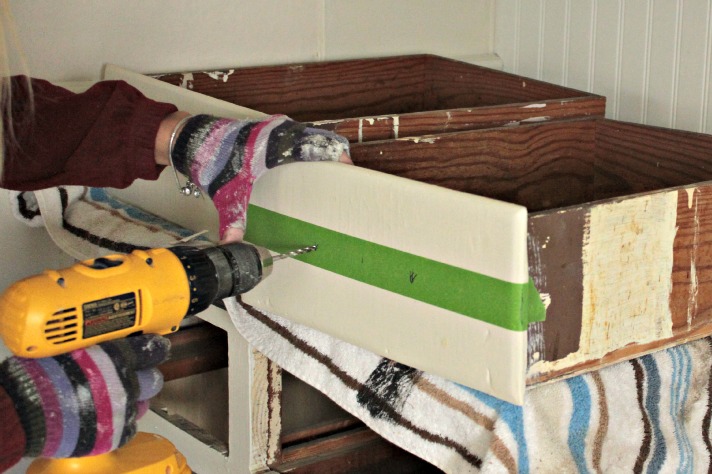
5 – Remove tape carefully to prevent peeling paint around your newly drilled holes.
6 – Attach hardware.
Now, if you have multiple drawers of the same measurement, just use the same piece of tape. Mark up the same amount (2 1/2 inches) on the sides of each drawer and line up your tape with the marks. Remember, you have a mark indicating where to line it up with the side of the drawer. Easy Peasy!
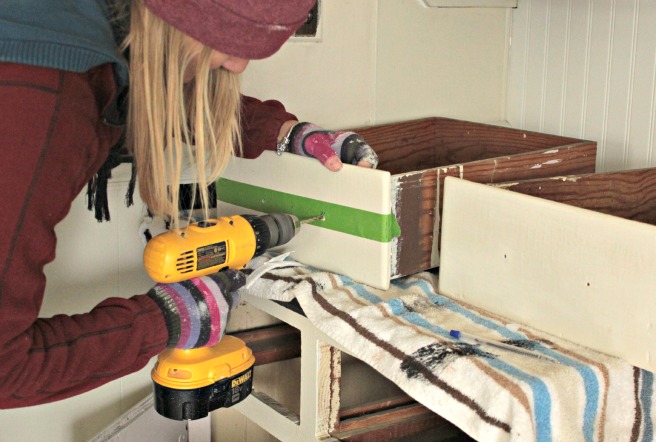
And there you have it. New cabinet hardware and no stray marks on your cabinets.
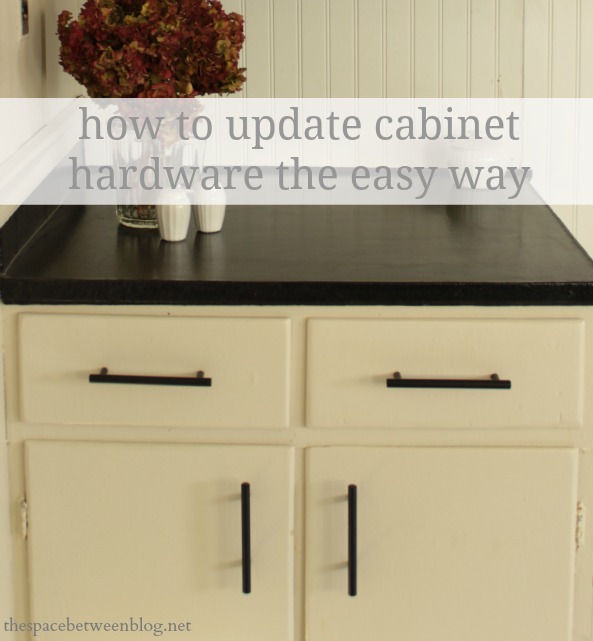
And, I don’t know if you ever check the random clearance shelving at your hardware store … but I got these handles for $.50 a piece … about 4 years ago. There was a whole table of random sizes so I just made sure to buy the sizes in pairs. Bargain!!
You can use the same technique on the cabinet doors too, just measure down from the top edge of the cabinet, and I used a strip of tape to create a ‘template’ for measuring in from the side of the door. There’s a ridge in the door you can’t see in the picture that the tape is lined up with.
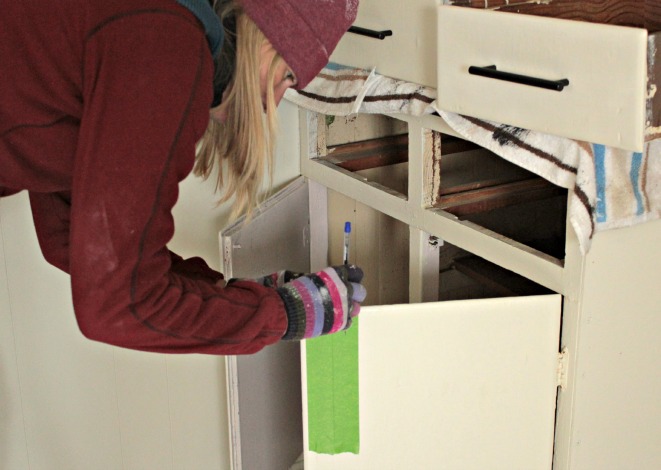
I also used the very scientific strategy of just holding up the new hardware to see where I thought it would look good before I picked the final measurements.
And because we had decided to remove all of the upper cabinets when we completed the cabinet transformation we only had the 2 drawers and 4 lower cabinet doors to add hardware. Extra easy peasy.
So, here’s where we stand in this kitchen:
- counter transformation – check
- cabinet transformation – check
- an easy tip for installing cabinet hardware – check
- wood slat backing to open cabinets – check
- how to hide water stains on a drop ceiling
- beadboard magic
- appliances
- maybe a new light fixture
- deep clean
So, are you handy with your hardware?


ali thompson says
those handles look great and for .50! not bad. well done!
Karah says
I know, right!?! I’m a sucker for a clearance table!
Debbie says
What a great idea to use the frog tape as a template! Genius! Oh, and they look great, too.
Debbie
Karah says
Thank you so much, Debbie!
Linda Barnett says
I’m more of a visual person when it comes to directions on how to do something – so I really like the way you explained the steps of what you were doing. Not only does the cabinet look fantastic, but I actually feel I might be able to try this kind of project. Thank you sooo much !! Great job !! Thanks, Linda in Southern CA.
Karah says
I’m so glad, I definitely think you could do it. Don’t hesitate to email if you run into any questions!!
Thistle says
Karah,
I love this idea! Great find on the hardware and great tips on installing! Hope all is going well down in Florida!
blessings,
karianne
Heidi @ Decor & More says
This is awesome, Karah! I just came across a similar technique for hanging wall shelves the other day — it’s so simple but GENIUS. Pinning.
xo Heidi
Jean says
Now why didn’t I think of that? Oh, yeah, ‘cuz I do everything the hard way, that’s why! Oh, yes, I do check the clearance bin at the hardware stores. I’ve gotten some amazing bargains there. Hardware for .25 cents, lamp shades for 14 cents, and a pack of crystal drops for .50 cents! You just never know what you’ll find!
Ashley@AttemptsAtDomestication says
Great tip! I’ll definitely have to keep that in mind whenever we get around to changing out our hardware!
Kelly @ Corner of Main says
Definitely an improvement! They look great.